
Create charming pumpkin mason jars with this simple tutorial and some basic supplies! This project is perfect for festive Halloween decor.
Skills Required: Beginner. You will apply tissue paper to a jar using Mod Podge and cutting paper. It helps to have experience with decoupage medium, but that isn’t required. Kids or adults can do this project.

Yay, it’s autumn! The leaves are changing, there’s a crispness in the air, and pumpkin-flavored everything has taken over. It’s the perfect time to add a little handcrafted warmth to your home with some festive DIY pumpkin mason jars.
Whether you’re an experienced DIY-er or a crafting novice, this project is sure to bring a bit of Halloween cheer into your space. Plus, it’s a fantastic way to upcycle those old mason jars you’ve got lying around!
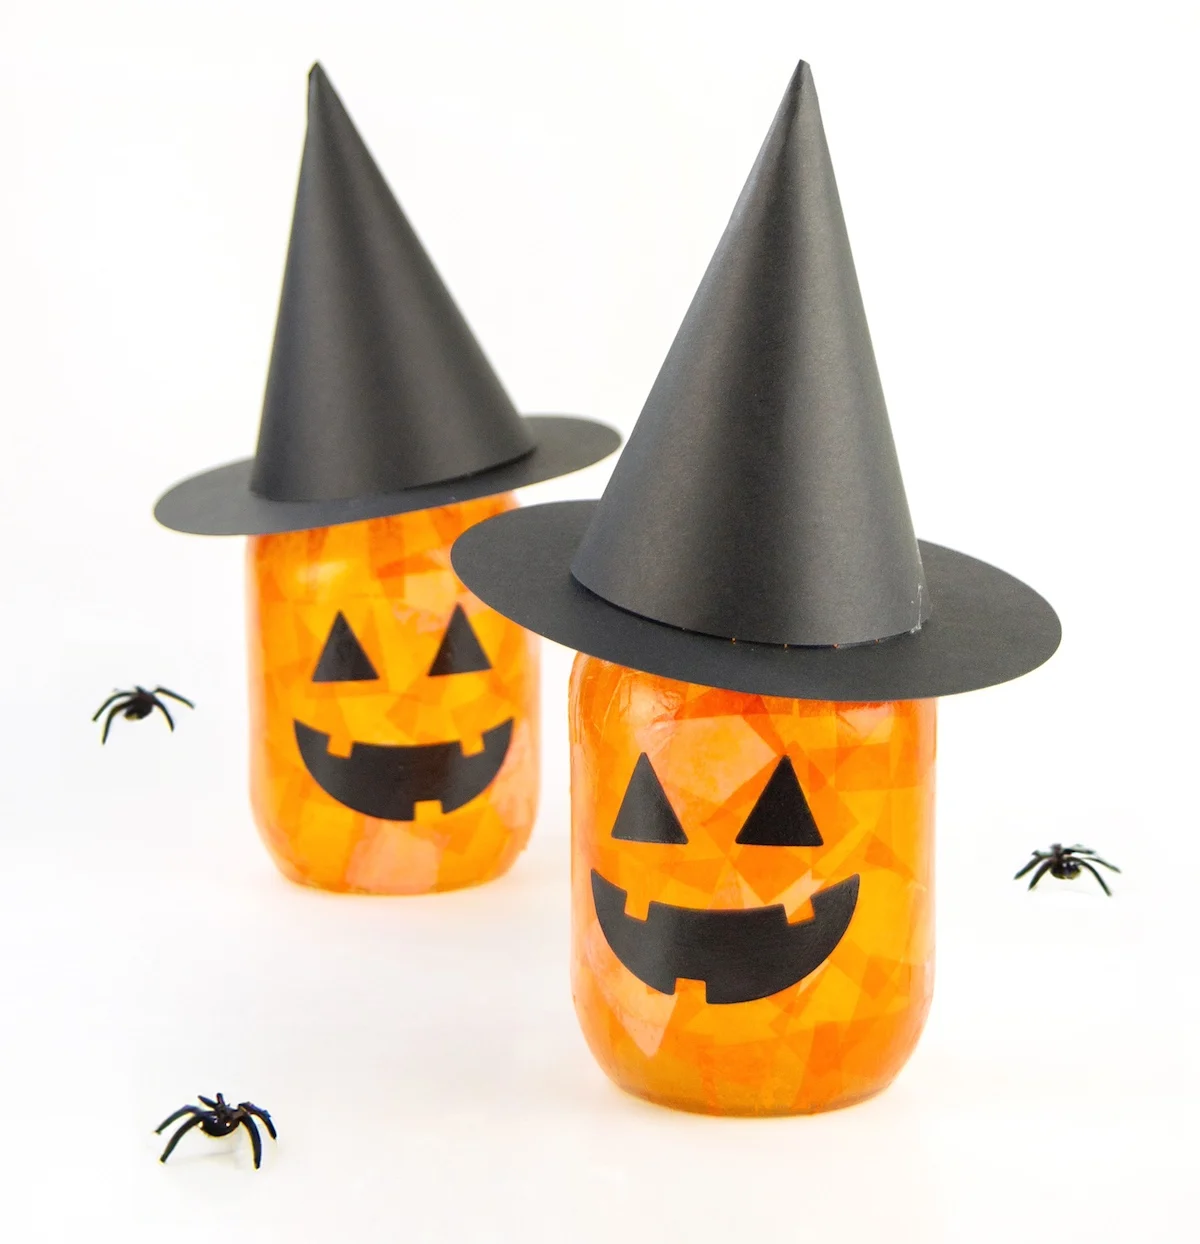
Today, I’m thrilled to walk you through how to transform those plain mason jars into adorable jack-o’-lanterns that light up, creating a charming Halloween glow without any of the fuss of carving a real pumpkin.
Imagine lining your walkway or adorning your dining room table with these glowing mason jar pumpkins, each one twinkling with its own little light.
It’s a simple project: you’ll decoupage colorful tissue paper onto the jars, craft a cute pumpkin face, and top it off with a handmade witch hat. Sounds fun, right?

And if you’re thinking you might not be crafty enough to pull this off, don’t worry! I’ve got you covered with step-by-step instructions and even a free printable mini witch hat template to make everything as easy as pie (pumpkin pie, to be exact!).
Ready to make your own mason jar pumpkins? Let’s turn those old jars into Halloween decor. Whether you light them up with battery-operated tea lights or just use them as decoration, these mason jar pumpkins are guaranteed to be a hit this Halloween season!
Gather These Supplies
- Mason jars
- Orange tissue paper
- Mod Podge (Glossy)
- Paintbrush
- Scissors
- Black cardstock – or color of your choice
- Hot glue
- Glue Dots
- LED tealights (optional)
Free Jack O’ Lantern & Hat Templates Here: Feel free to resize the templates as needed depending on the size of mason jar you are using.
Tips and Thoughts for This Project
You could use any color of tissue paper for this project – how about purple or green? For mine, I primarily used some of the bright orange but also added a few pieces of the darker orange.
These can hold candy, but if you put tealights in them, use LED. That way you can put the hats on with no risk. They look so cute lit up!
Get the printable how to card below:
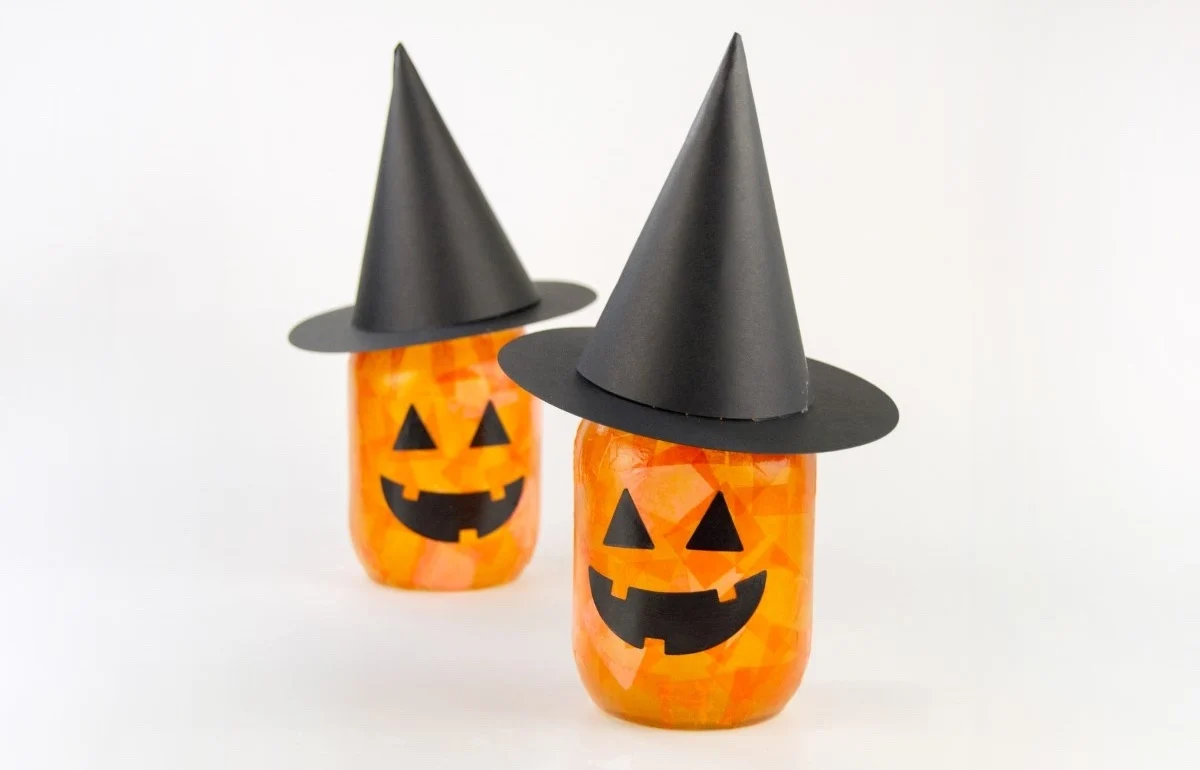
Pumpkin Mason Jars


Learn how to turn mason jars into the cutest pumpkin jack o' lanterns! These are perfect for Halloween decor.
Materials
- Mason jars
- Orange tissue paper
- Mod Podge (Glossy)
- Black cardstock
- Glue Dots
Tools
- Paintbrush
- Scissors
- Hot glue gun and glue sticks
Instructions
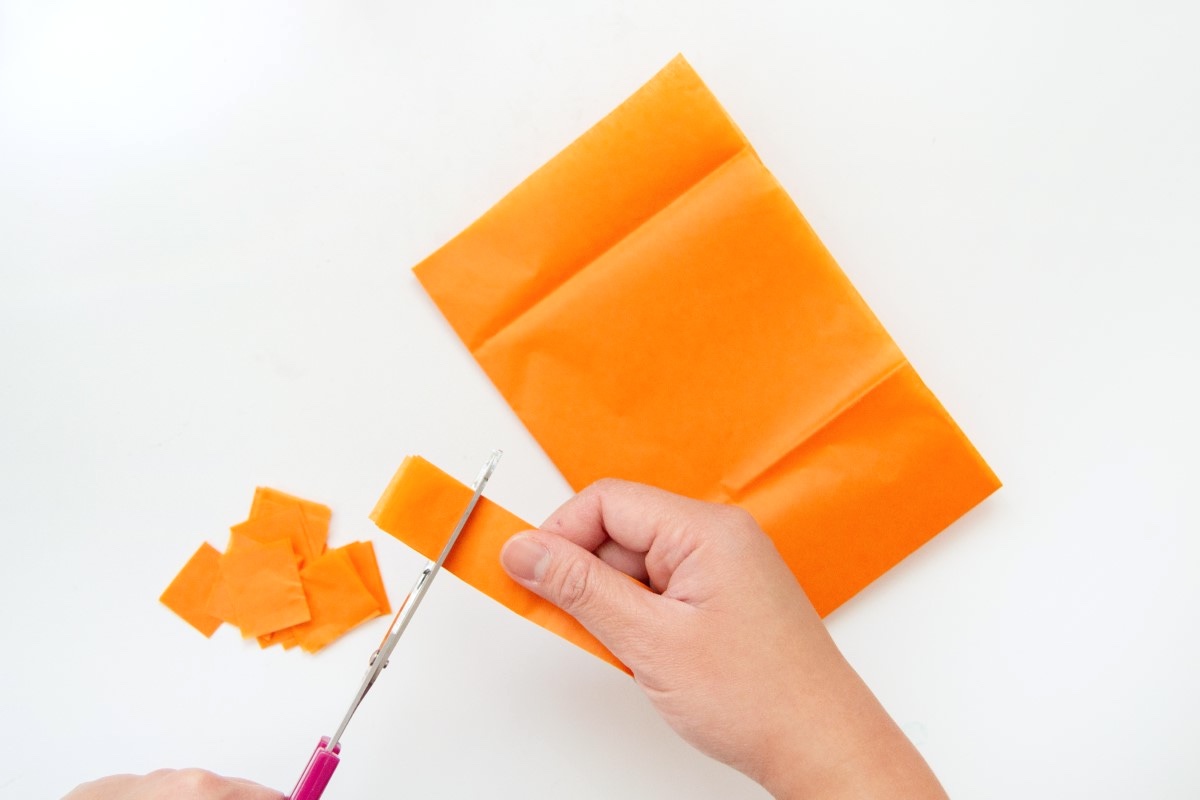
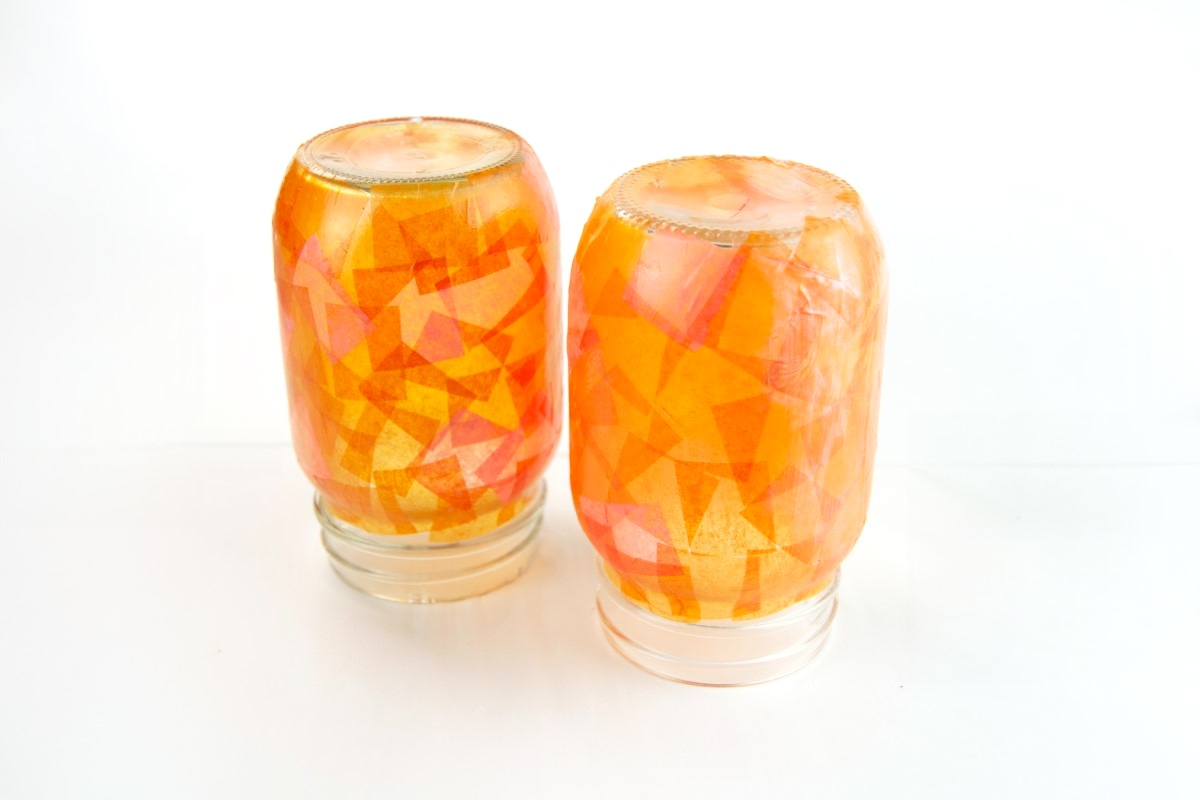
- Cut some small 1” x 1” squares from some sheets of tissue paper. I used a bright orange and a darker orange for some variety. To make it easier, fold your tissue paper a few times, cut a 1” strip and cut 1” squares from it.
- Using your brush, add a layer of Mod Podge onto the jar and begin laying out your tissue paper squares. Brush on a layer of Mod Podge on top of the tissue paper squares to secure it onto the mason jar. Repeat the whole process until you have covered the whole mason jar with tissue paper.

- Dry the mason jars upside down on top of some parchment paper or plastic to protect your work surface.
- Cut a pumpkin face (the one I used - two triangle eyes and a smiling mouth - template is provided if needed) and attach it to the mason jar using Mod Podge. You can also use different expressions for a custom look!
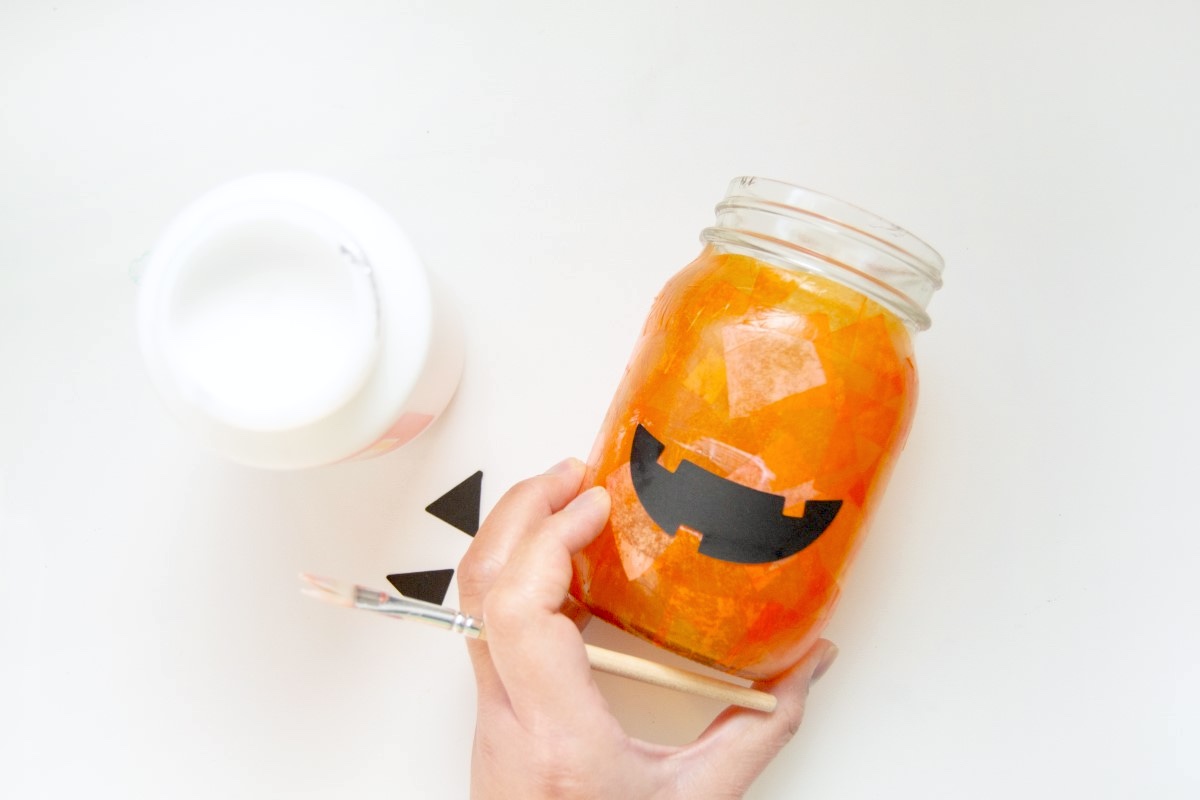
- Add a layer of Mod Podge over the pumpkin face details and leave that to dry as well.

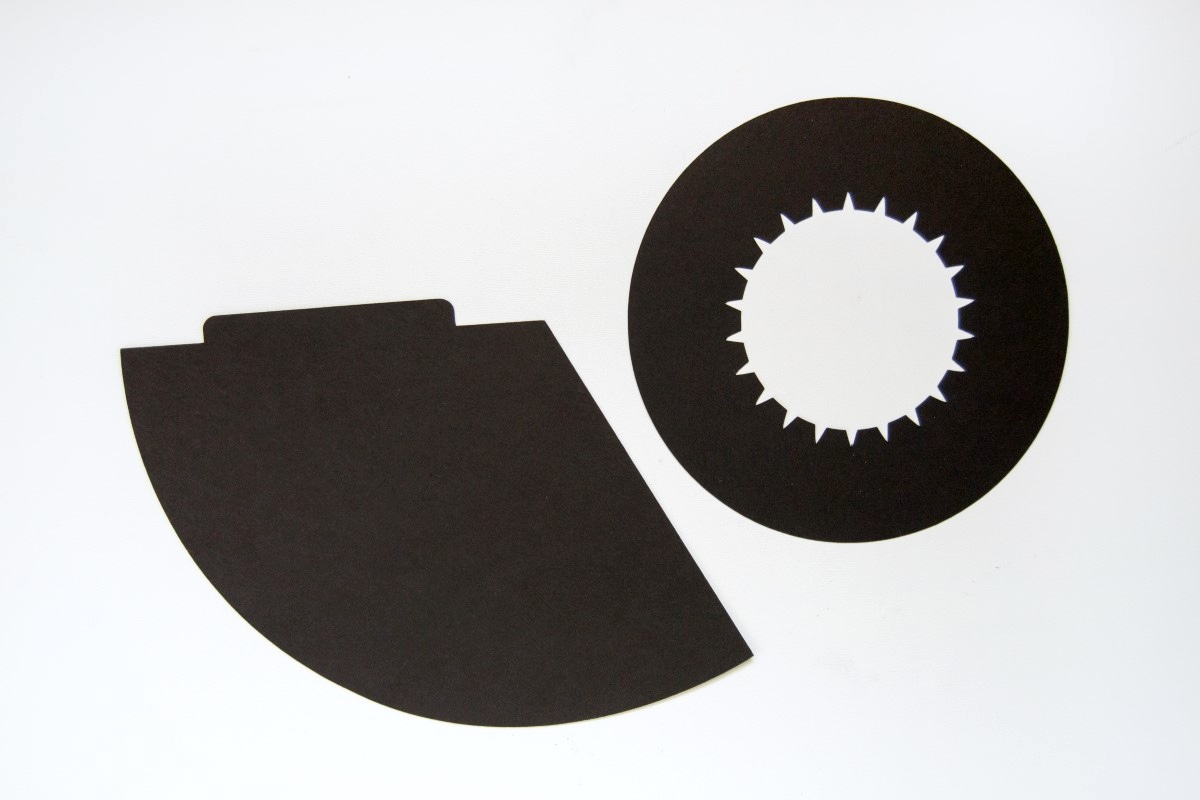
- Cut out the paper witch hat template with a die-cutting machine, or you can trace and cut it onto a piece of black cardstock.
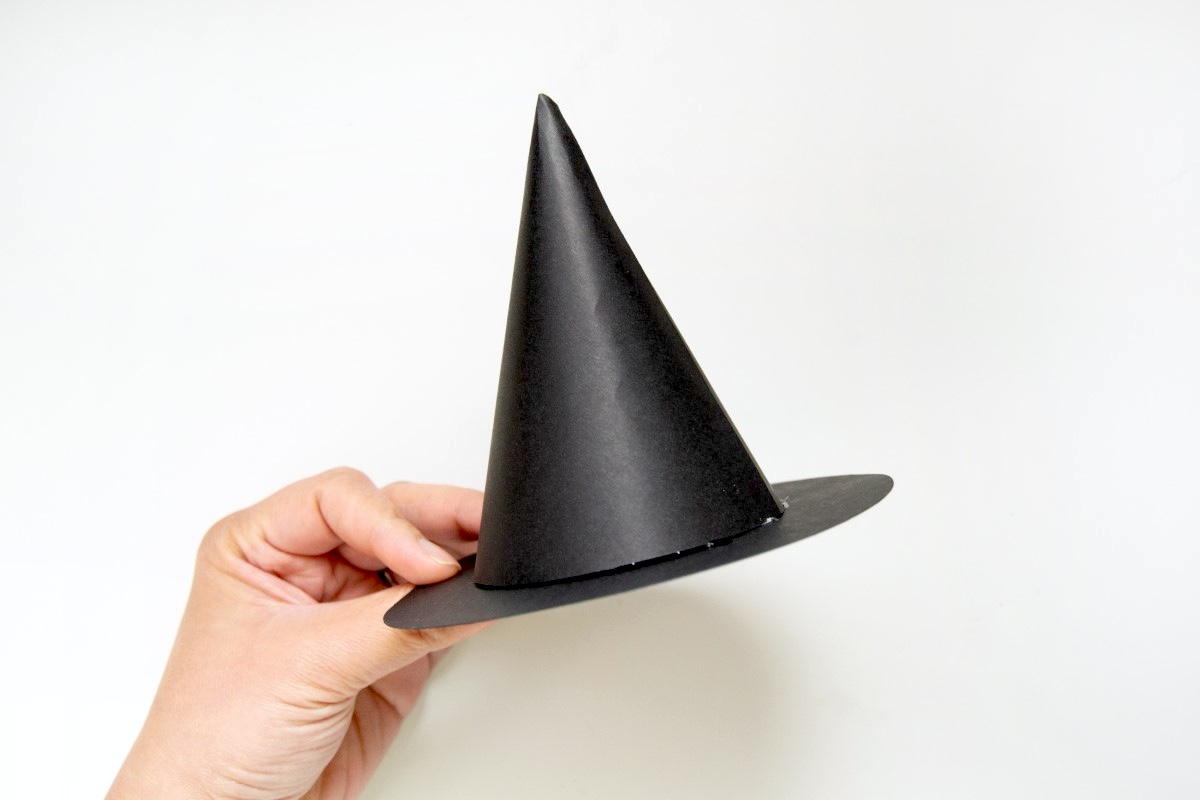
- Roll the triangle shape into a cone, and glue the flap under using hot glue. You may have to hold down the seam for a few moments until the hot glue dries to prevent it from unraveling.
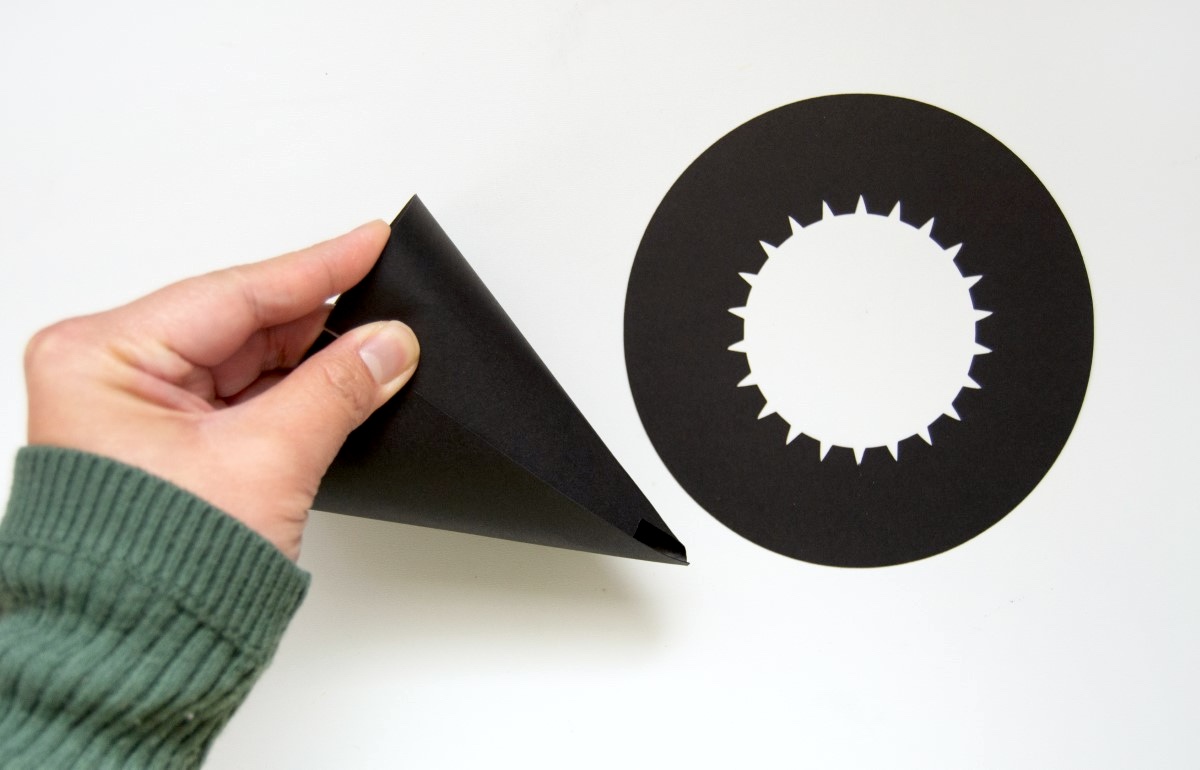
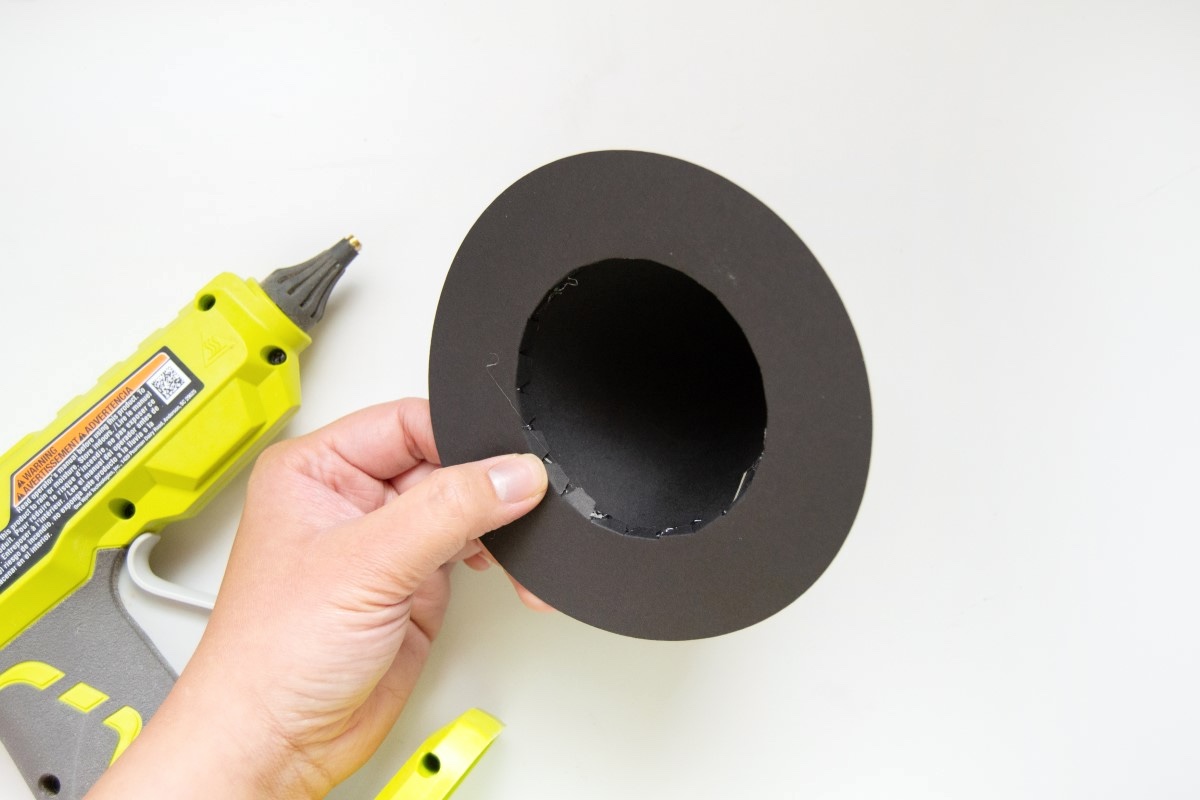
- Fold the trapezoid shapes up on the inside of the brim, and glue those parts to the opening of the cone (make sure they are inside the cone so they are not visible).
- Now, all that’s left to do is put the witch hat on the mason jar! I used some glue dots to hold the witch hats in place as I had some remote-controlled battery tea lights, but you can forego this step,
If you enjoy this fall mason jar project, let me know in the comments. I’d also love for you to check out these other ideas:
Halloween in a Jar • Milk Jug Skeleton • Paper Halloween Lanterns • Skull Bean Art • Skull Sand Art • Spooky Apothecary Jars • Toilet Paper Pumpkins • Wine Cork Skeleton