
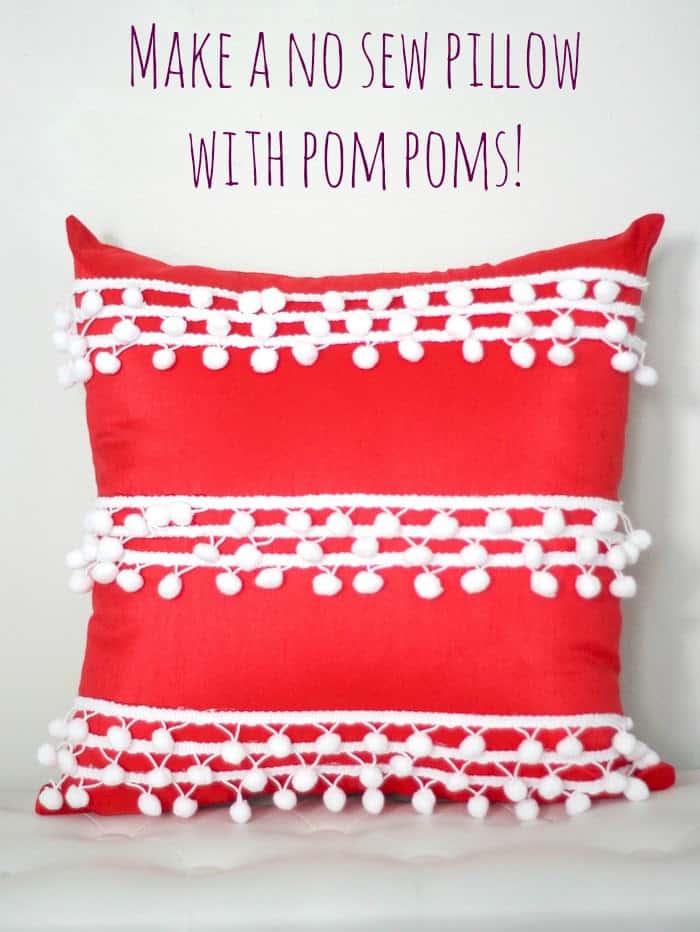
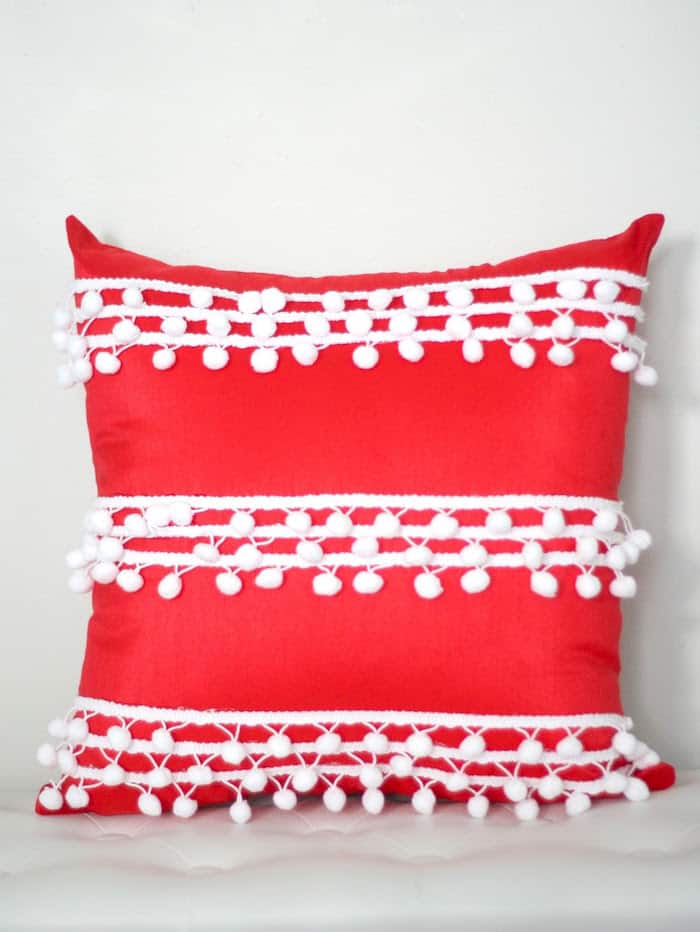
Add pretty details and a pop of color to any room with a simple DIY pom pom pillow – no sewing required! This is such an easy decor project.
Skills Required: None. Even if you’ve never made anything before, you’ll be able to make these pillows. They’re great for beginning crafters.

I was checking my Instagram the other day, when I saw the most adorable pom pom pillows in one of my friend’s pictures, and I knew I had to have them! I also knew that I could make these DIY pillows myself, so I got myself the supplies and whipped them up.
I don’t own a sewing machine, so these are a no-sew version, but you could just as easily sew these. They were easy and turned out CUTE so what else could I ask for, ya know?
Pom Pom Pillow Cover
Learn how to make these pom pom pillows in just a few easy steps! You’re going to measure the trim and cut it, then glue it down to the pillow. That’s it!
Any type of pillow cover should work for this project. I used inexpensive cotton blend ones. If you use a good fabric glue, then you should be fine.
I personally love getting pillow covers for crafts from IKEA. They have inexpensive ones made out of decent fabric. They are great basic surfaces that you can embellish for home decorating.
If you’re ready to jump into this easy adult craft, here are the instructions.
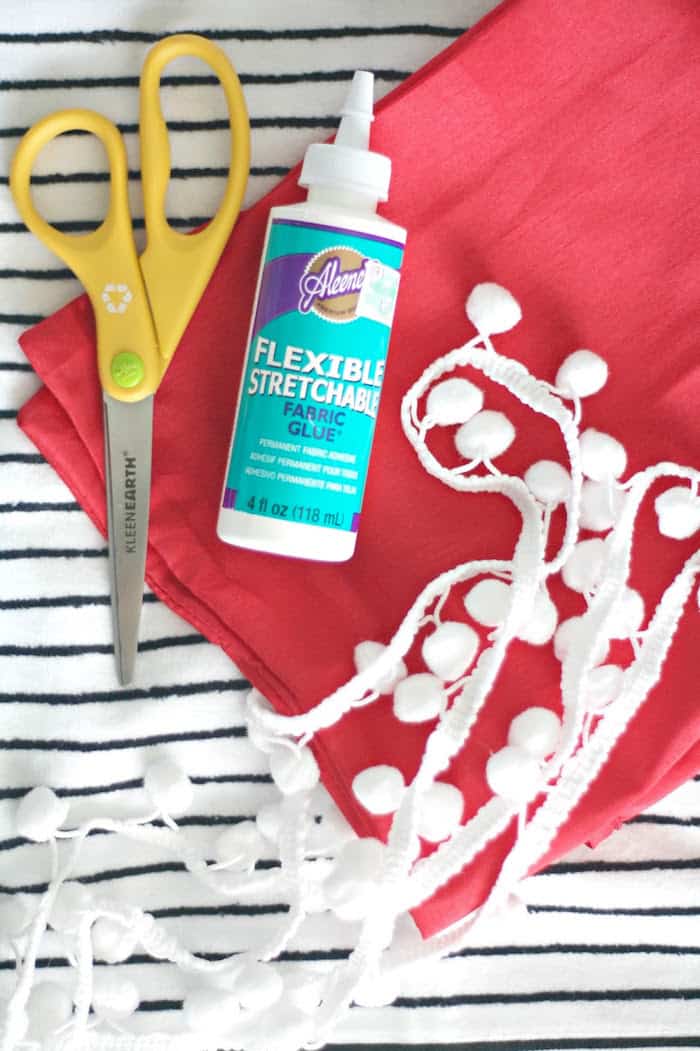
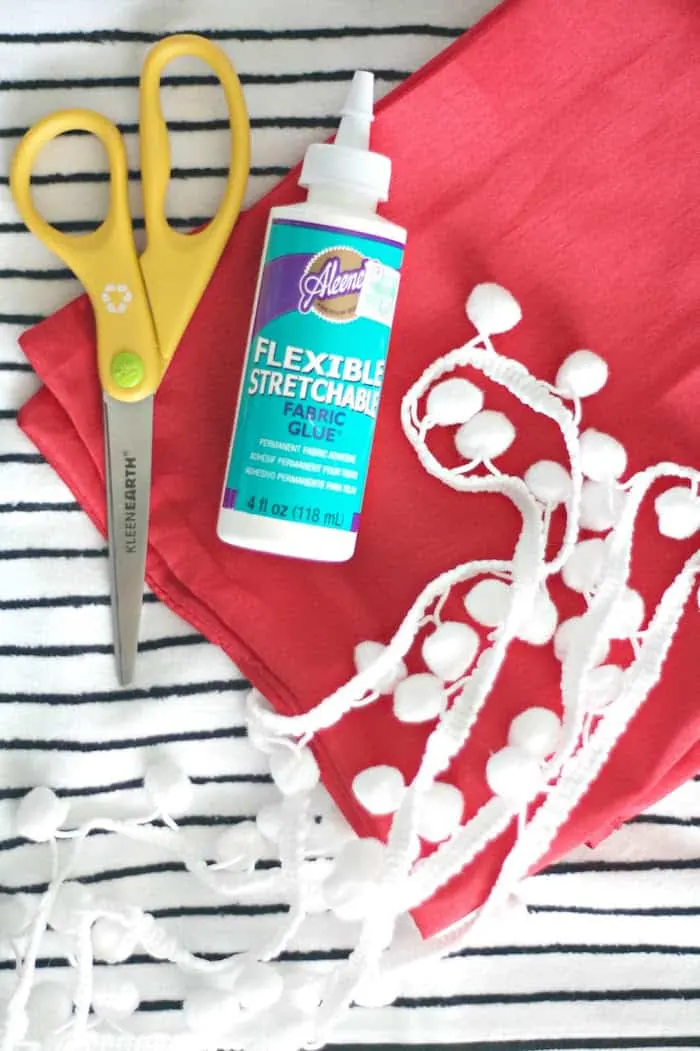
Gather These Supplies
- Pillow cover
- Pillow insert (I had extra throw pillows at home, so I just got a cover)
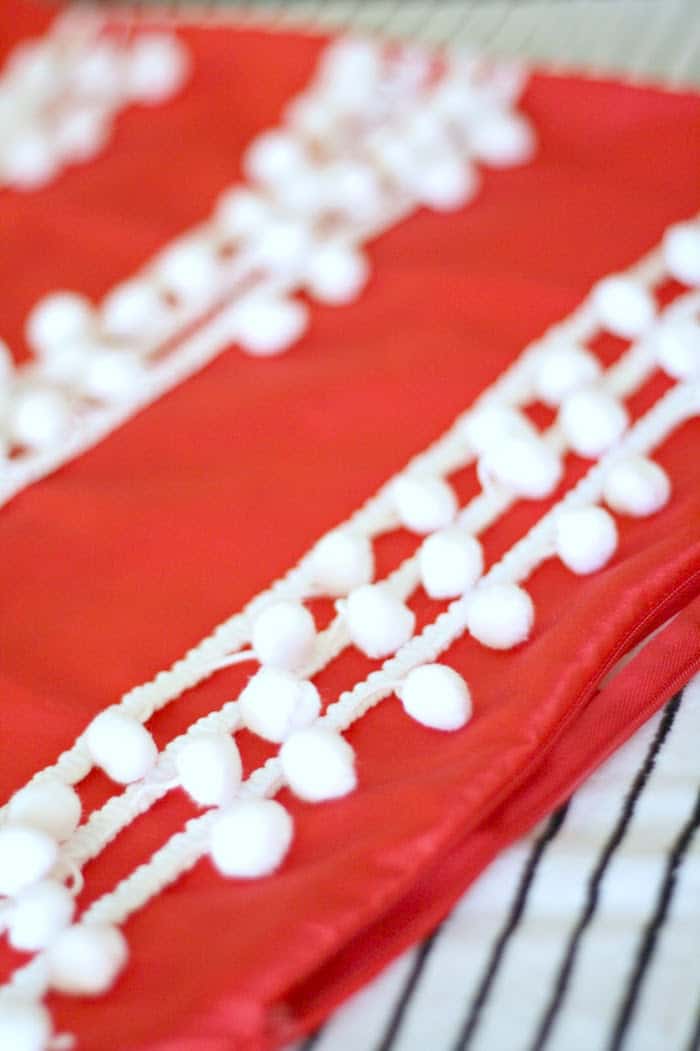
- Pom pom trim
- Fabric glue
- Scissors
- Measuring tape
- Fabric pencil (optional)
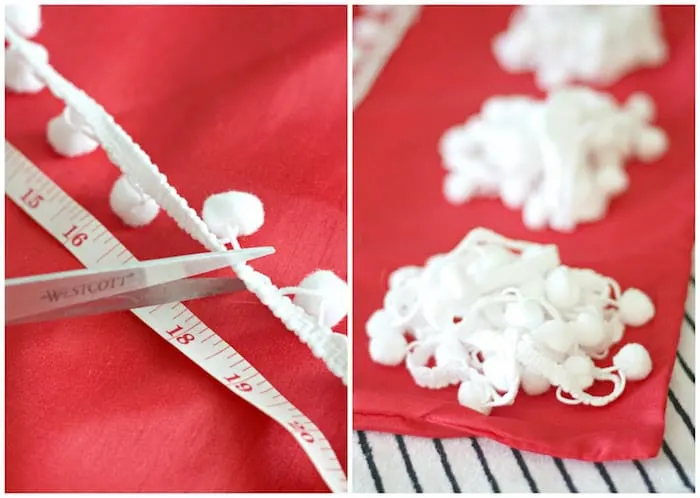
Measure and Cut the Trim
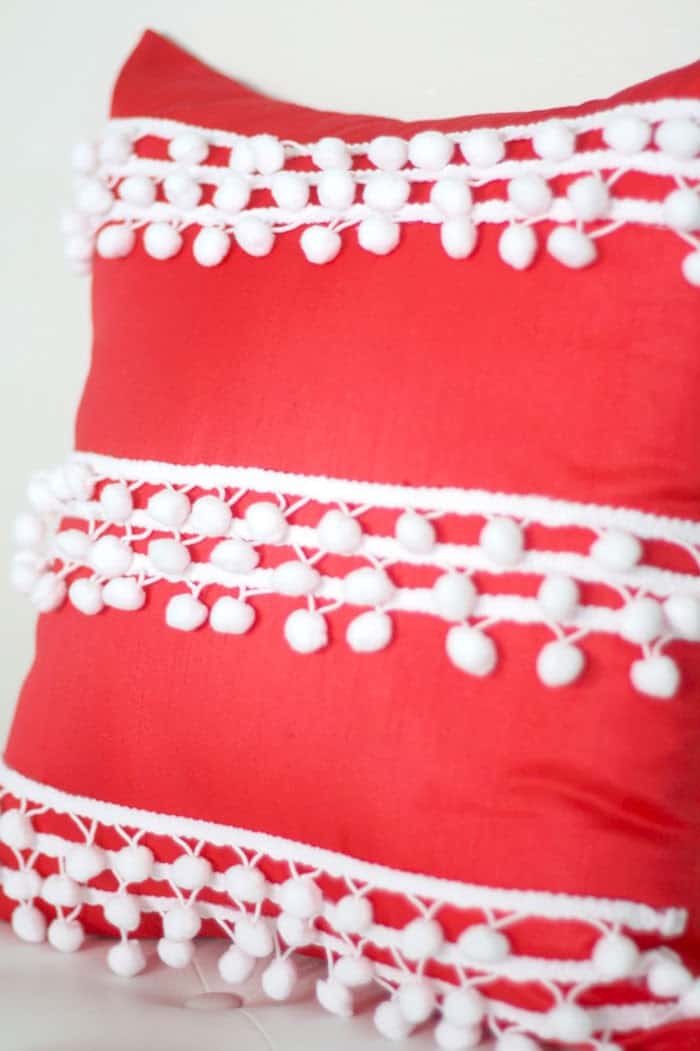
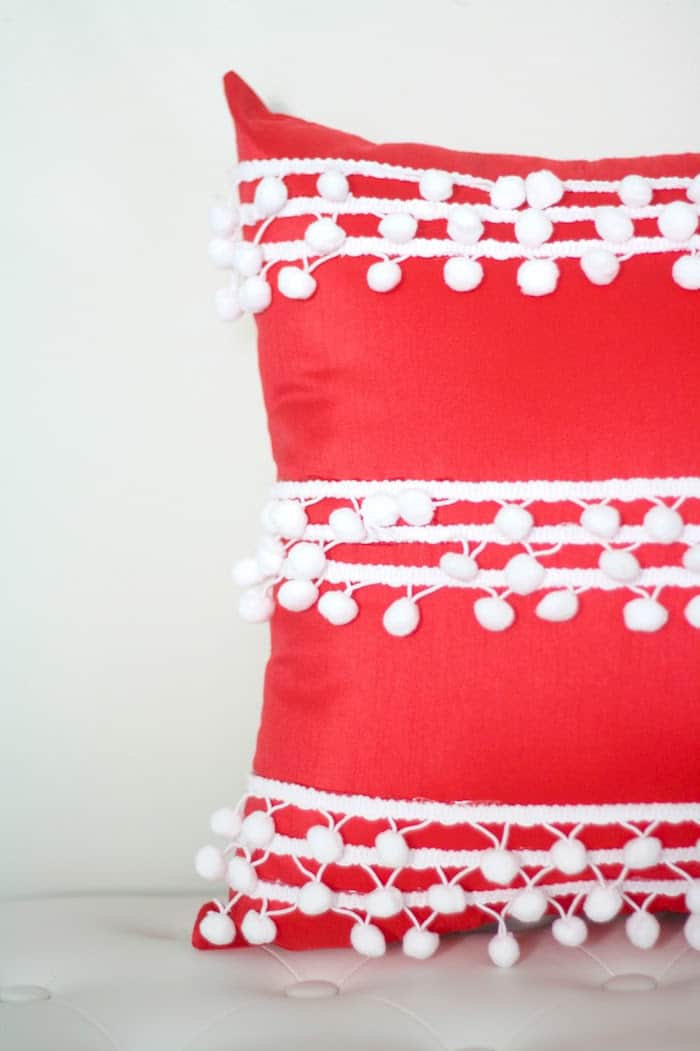
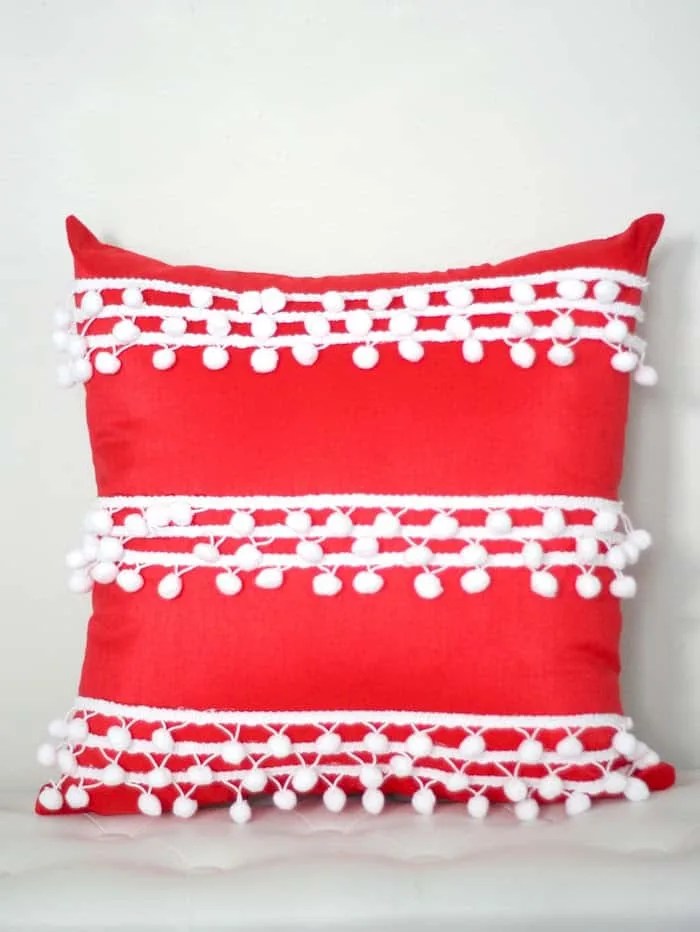
Step 1: Cut your pom pom strands to the length of the pillow cover. I used nine 18-inch strands on each pillow.

Attach the Trim
Step 2: Apply the fabric glue and pom poms. You’re going to use a thin line of glue across the pillow. Then you’re going to quickly smooth down the trim and let it dry.
If you feel nervous about attaching the trim in a straight line, you can use a ruler or measuring tape and pencil to draw your lines across the pillow cover. That will give you a very clear line to apply the glue.


Let the glue for one row set a little bit before adding the next row of trim. This way, you won’t bump the other row and smear the glue and create a mess.

Once all the trim is attached, let your pom pom pillow cover dry completely. Then add your pillow insert.

Once you see how easy it is to decorate one cover – you’re going to want to make another. Which is a-okay, because these look great in any room! Kids’ rooms, living room, spare bedroom . . . who doesn’t love pom poms?

See? I told you this DIY pom pom pillow was easy! Buy the stuff, complete a couple steps, and you’re done!
Be sure to come visit my sister and me as we blog about style, food, and the things we love over at The Pretty Life Girls.
If you enjoyed this project, I’d love for you to check out these other projects as well: