
Follow this simple DIY stamped skirt tutorial to give new life to some of your old clothes! Fabric stamping is so easy, and you’ll have a new look in minutes.
Skills Required: Beginner. I recommend having experience with paint and stamping before attempting this project. If you’ve never stamped before, practice a lot on paper or scrap fabric first.

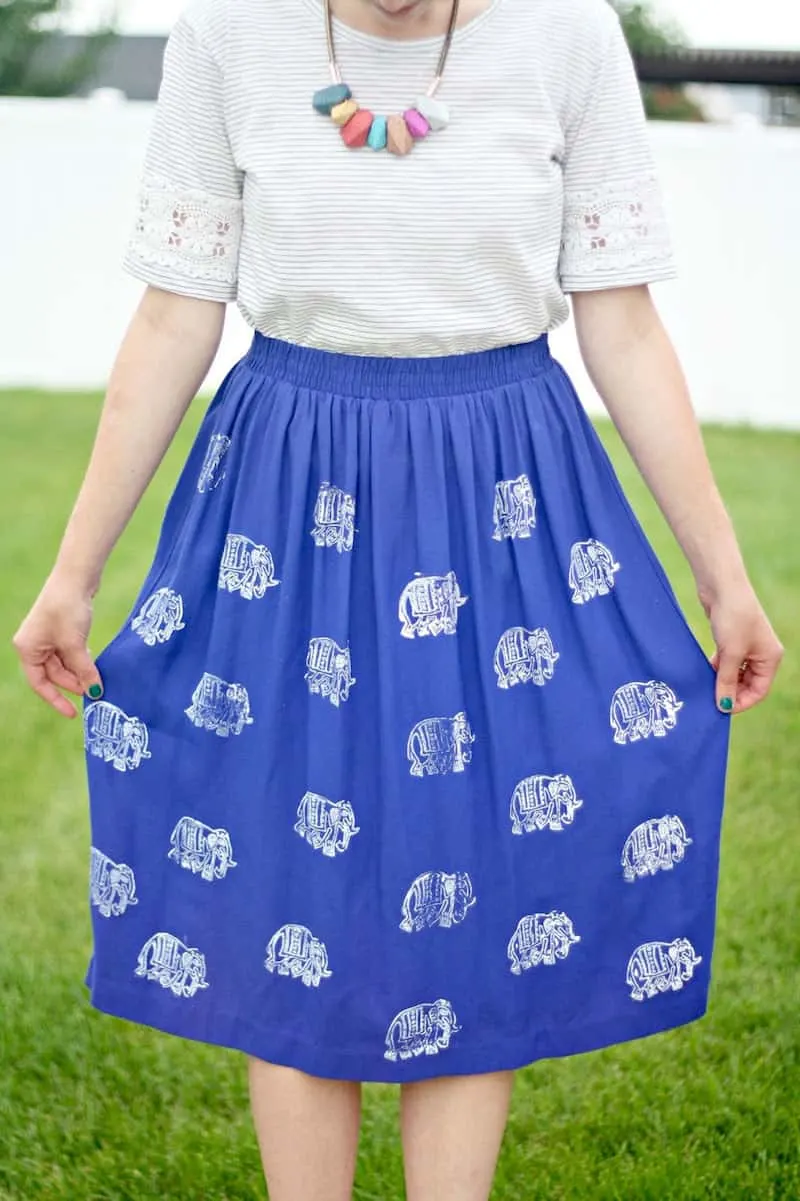
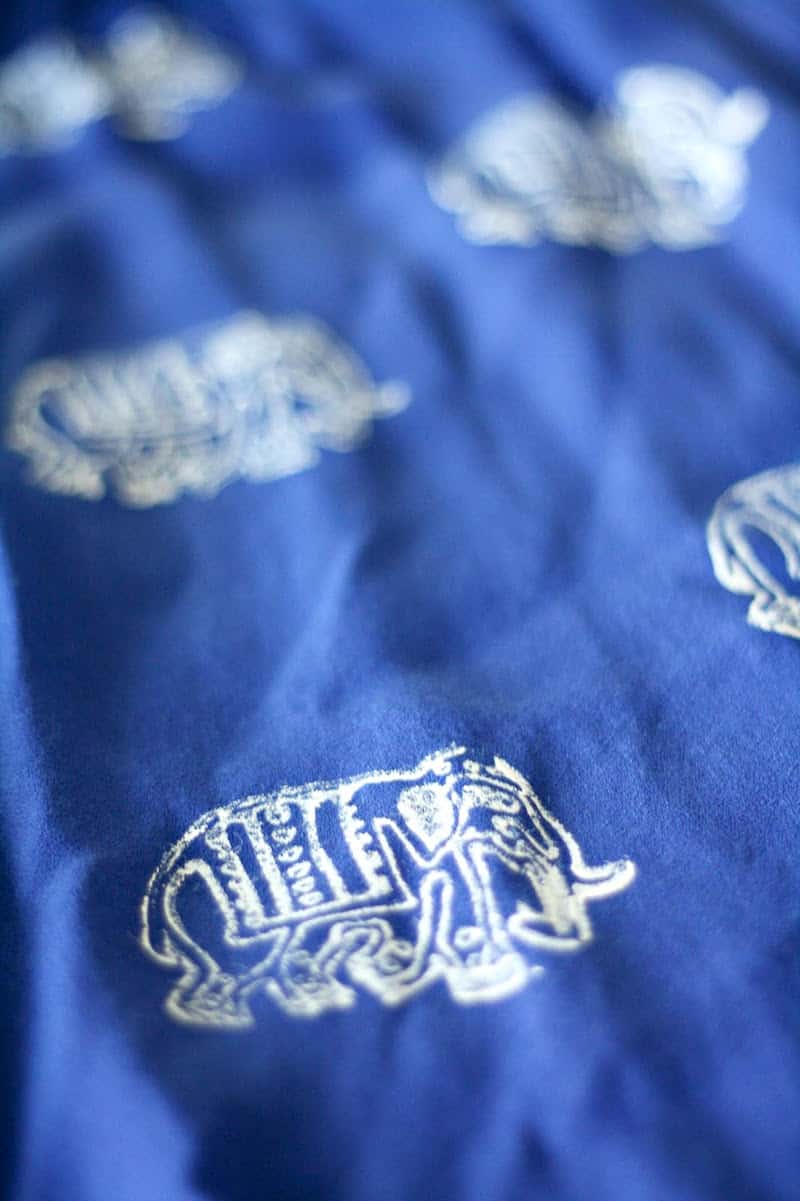
I was cleaning out my closet the other day, and I found a bunch of items I decided I wanted to revive. This blue skirt was one of them – it’s the perfect length, pretty color, and so comfortable.
BUT it was just a little boring for my taste, so I decided to stamp the fabric to make it more interesting.
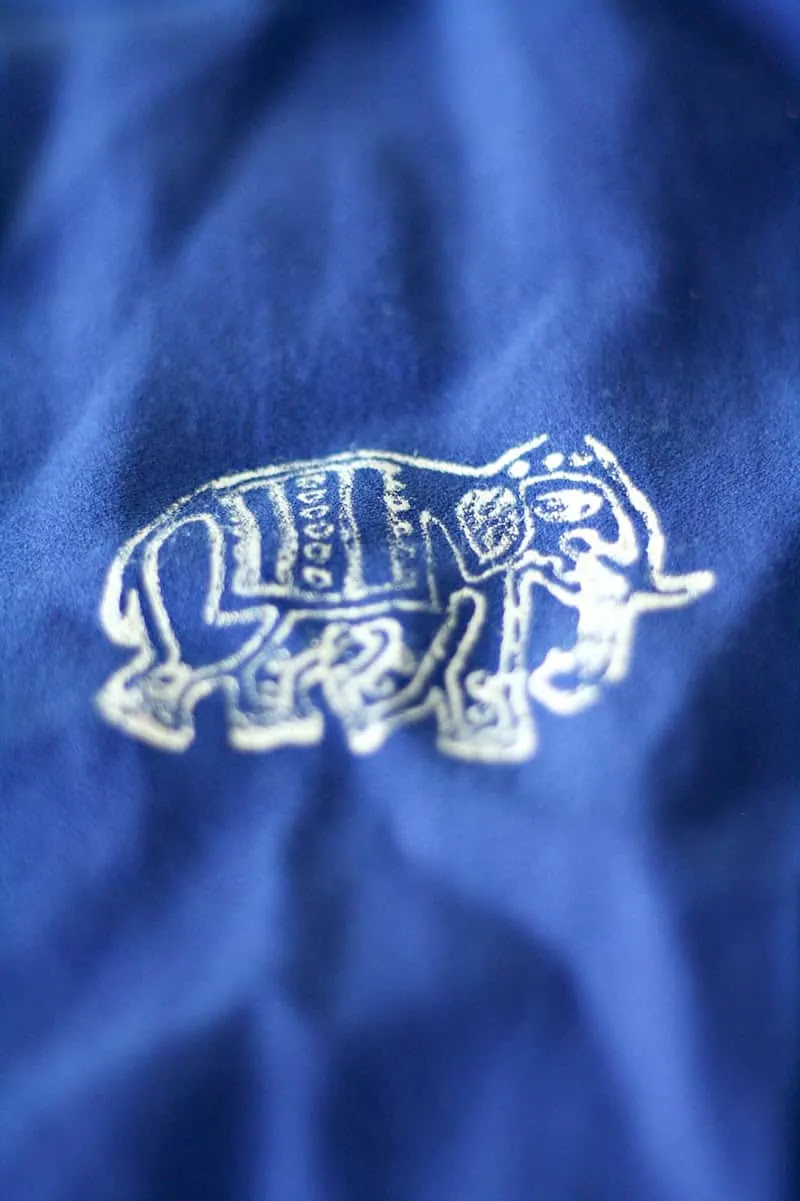
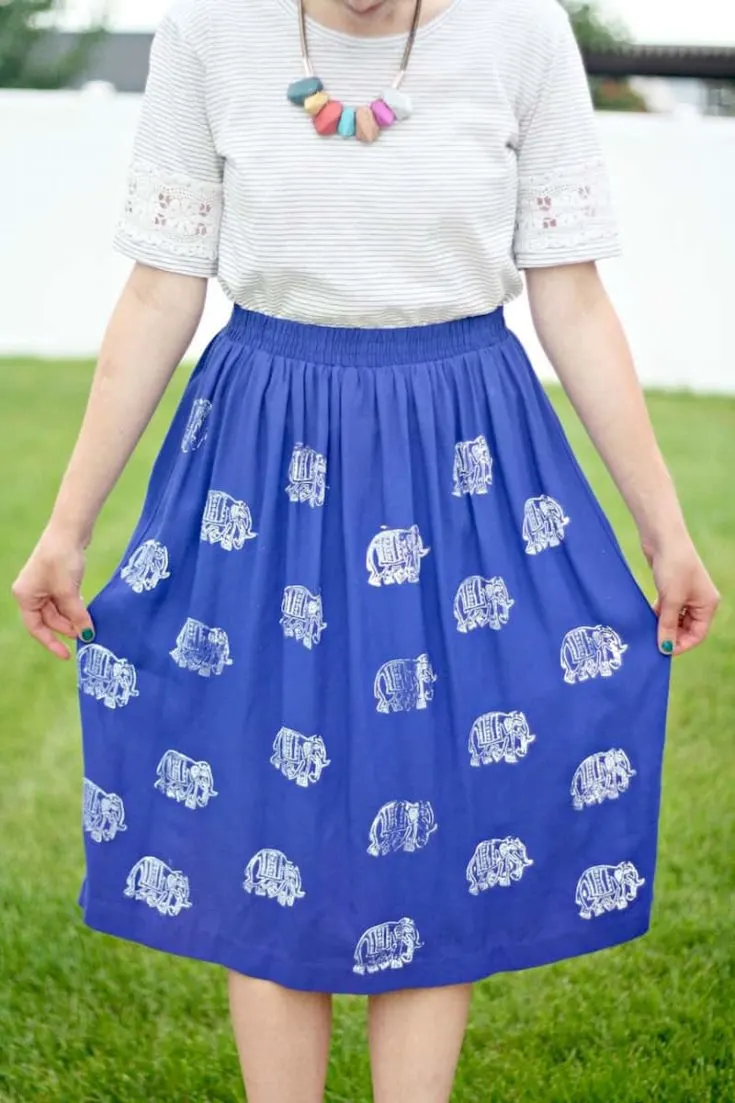
This DIY Elephant Stamped Skirt was so easy to make (as usual), and is such a fun new/old addition to my closet! If you like tackling fashion crafts, this idea will be for you. You can apply it to a variety of surfaces!
Before we get started, I wanted to share a few tips for stamping on fabric that I learned during the process.
- If your garment is new, prewash it to remove the sizing. Don’t use fabric softener.
- Check the fabric paint bottle and make sure it’s appropriate for your fabric. I like to use cotton and cotton blends because I always have the best results. Things like rayon, tulle, lycra, and similar don’t work as well, but you really have to check the bottle.
- Apply the ink or paint to the stamp, not the other way around. What I mean by that is you should leave the stamp face up on your work surface and either brayer on paint or dab an ink pad down on the stamp. This helps give you the most even distribution of paint/ink on your fabric.
- Practice fabric stamping on paper first before going right to the garment. You want to get used to the amount of pressure you’ll need to apply.
- Don’t expect perfection. It’s okay if not every stamping looks the same or the image isn’t *completely* crisp and clear. You can seek perfect fabric stamping, but understand there’s a little variation that makes the project interesting! Embrace it.
Are you ready to start? Continue reading.

DIY Fabric Stamping
Supplies
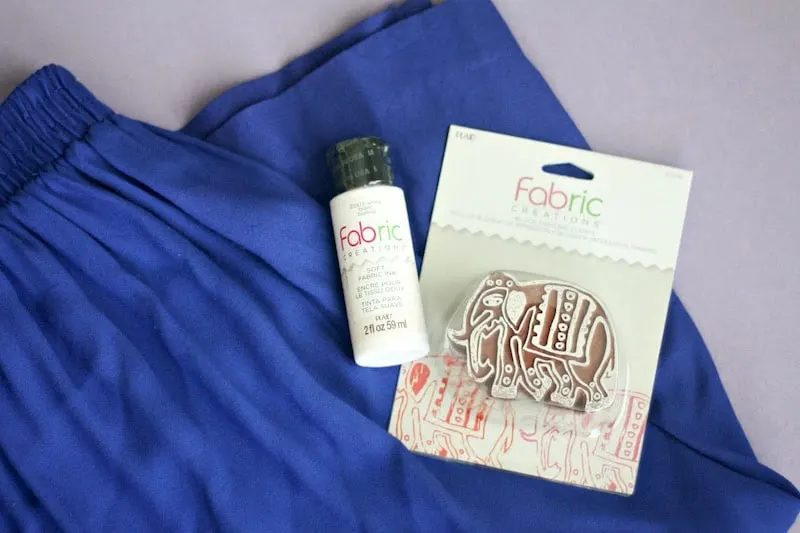
- Skirt
- Fabric Block Stamp
- Fabric paint (Fabric Creations Soft Fabric Ink is my fave!)
- Brayer
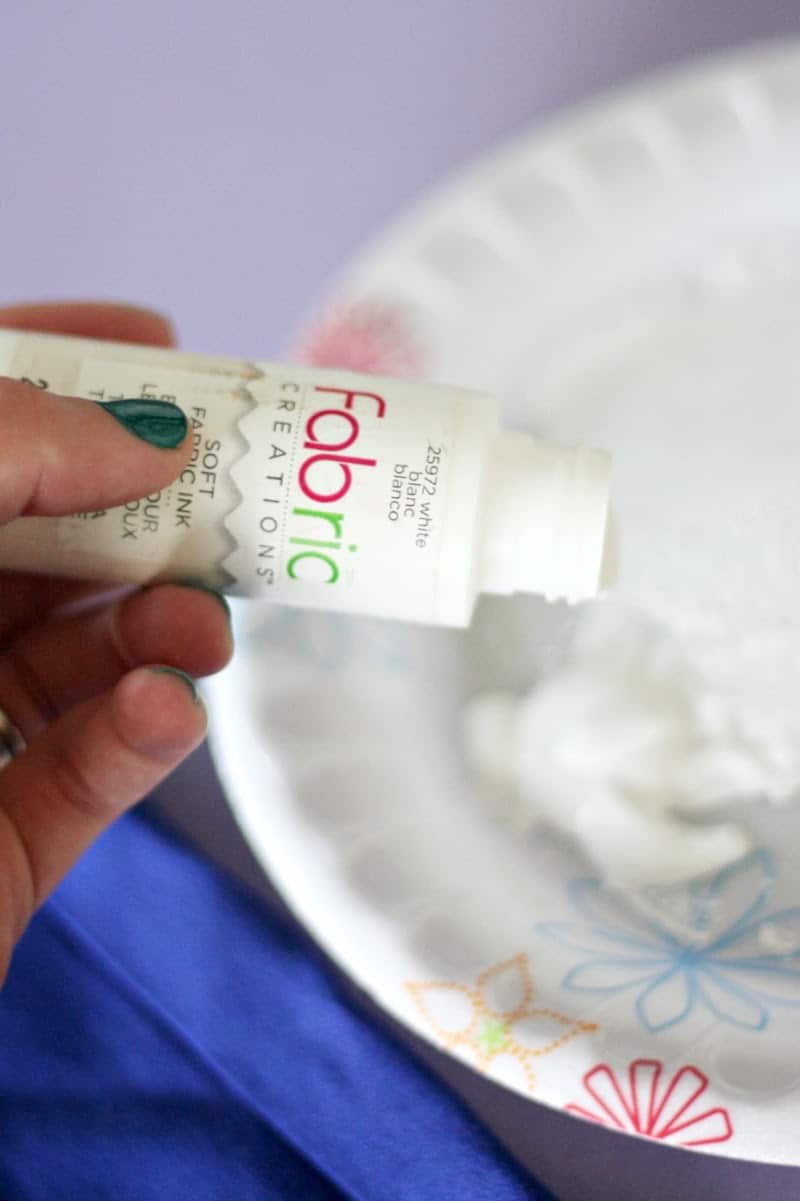
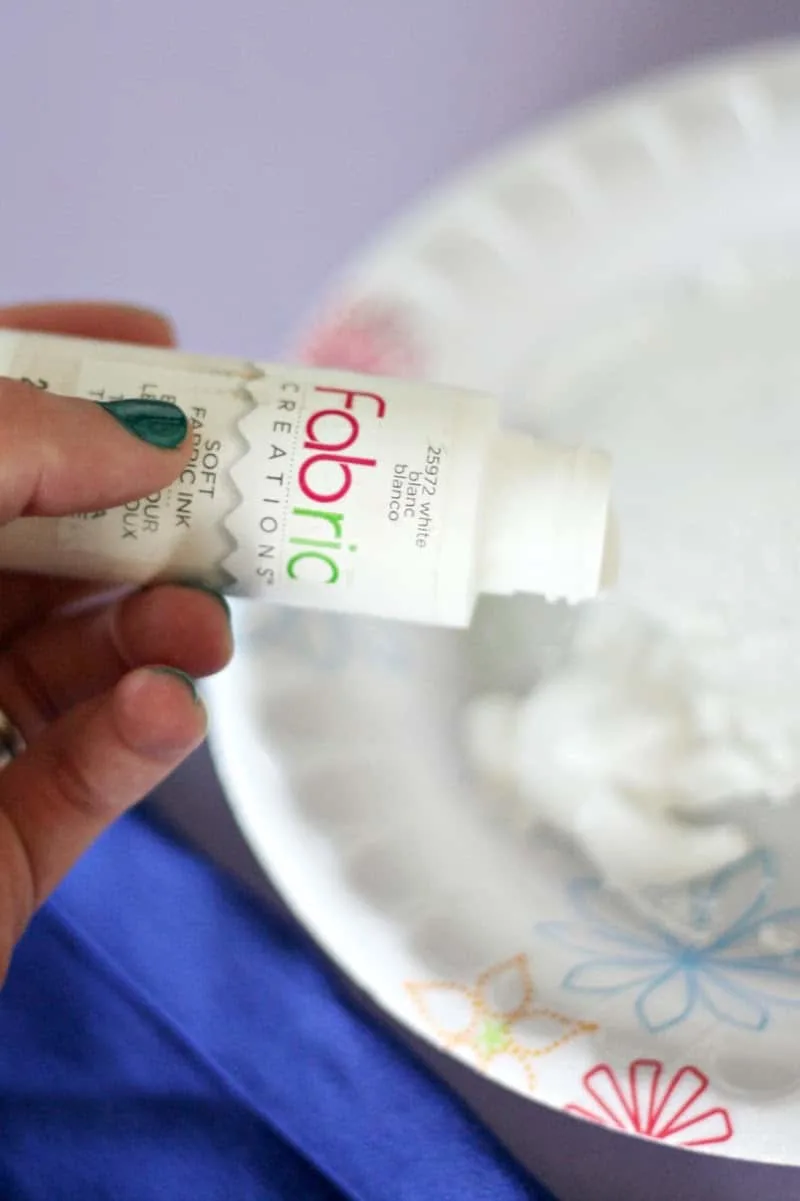
Step 1: Pour some fabric paint on a paper plate.
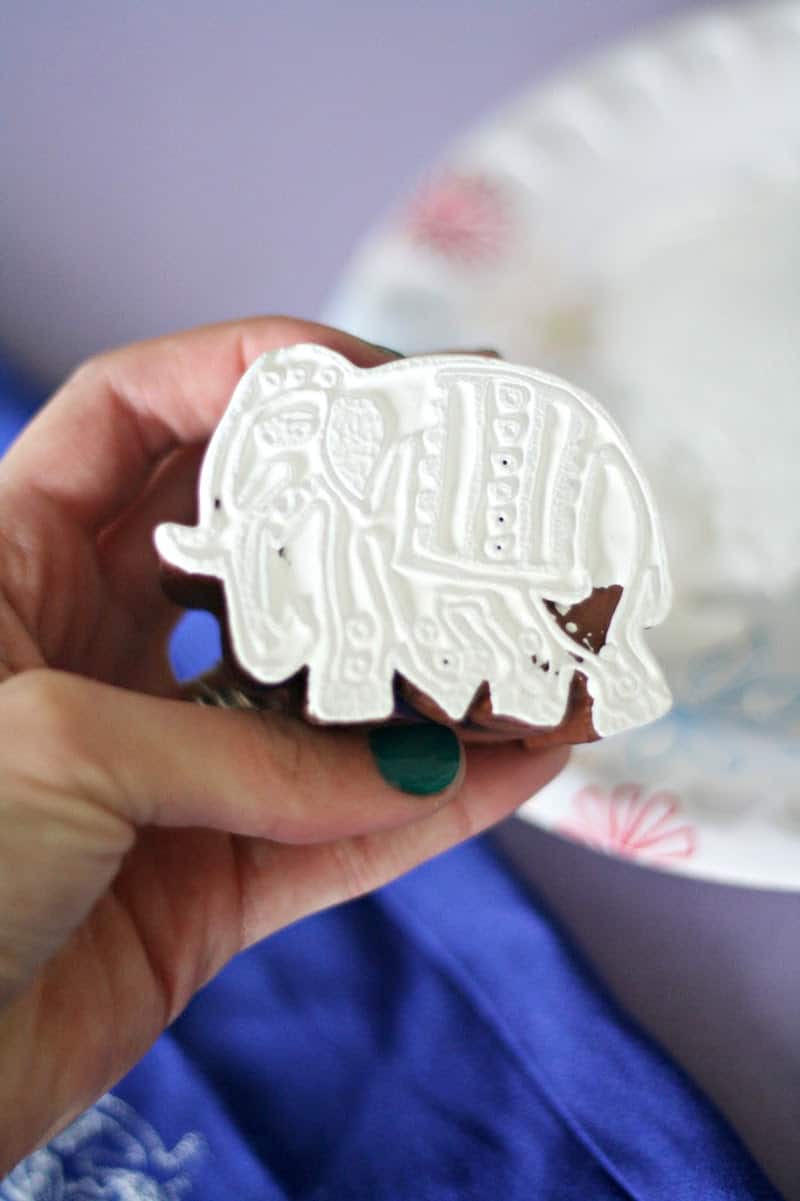

Step 2: Dip the stamp in the paint, dabbing it to remove excess paint.
Note: these stamps were specifically designed for stamping on fabric and I wanted my design to be a little thicker, so I dipped in the paint rather than rolled. But just for this project! The brayer tip still applies especially for regular scrapbooking and clear stamps.
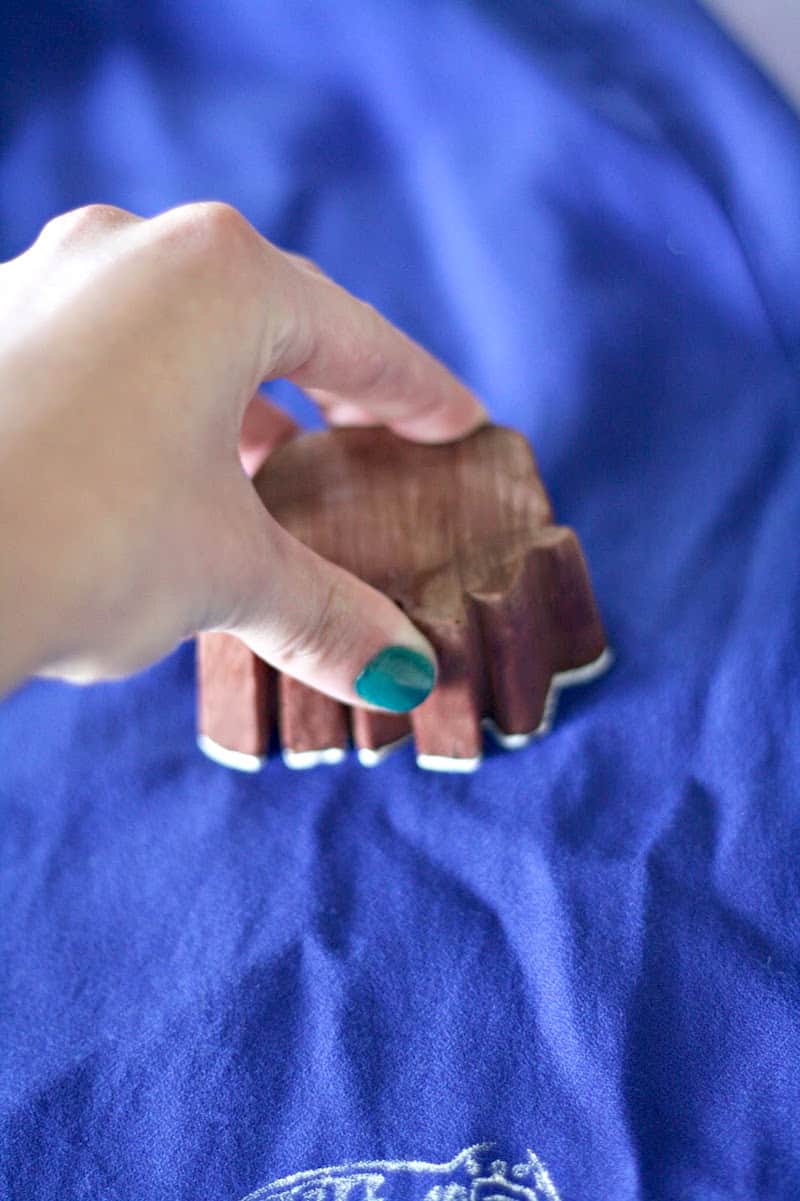

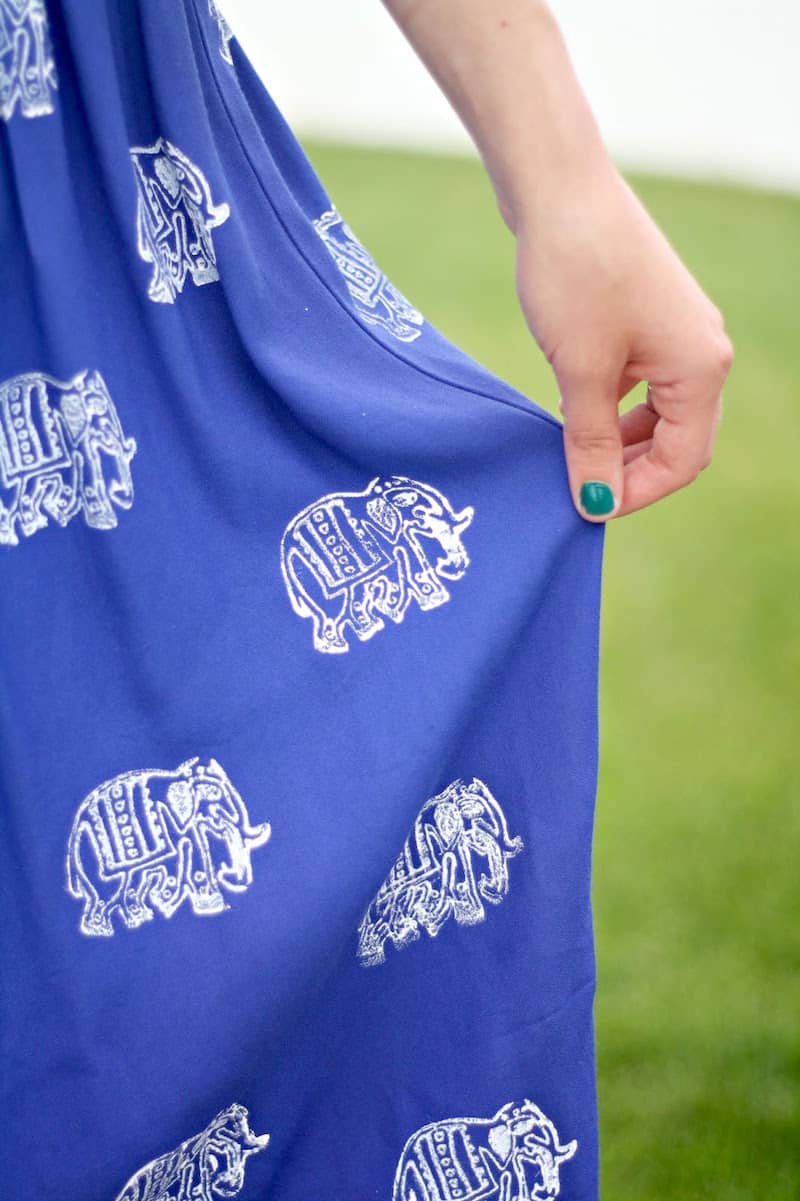
Step 3: Stamp the skirt.
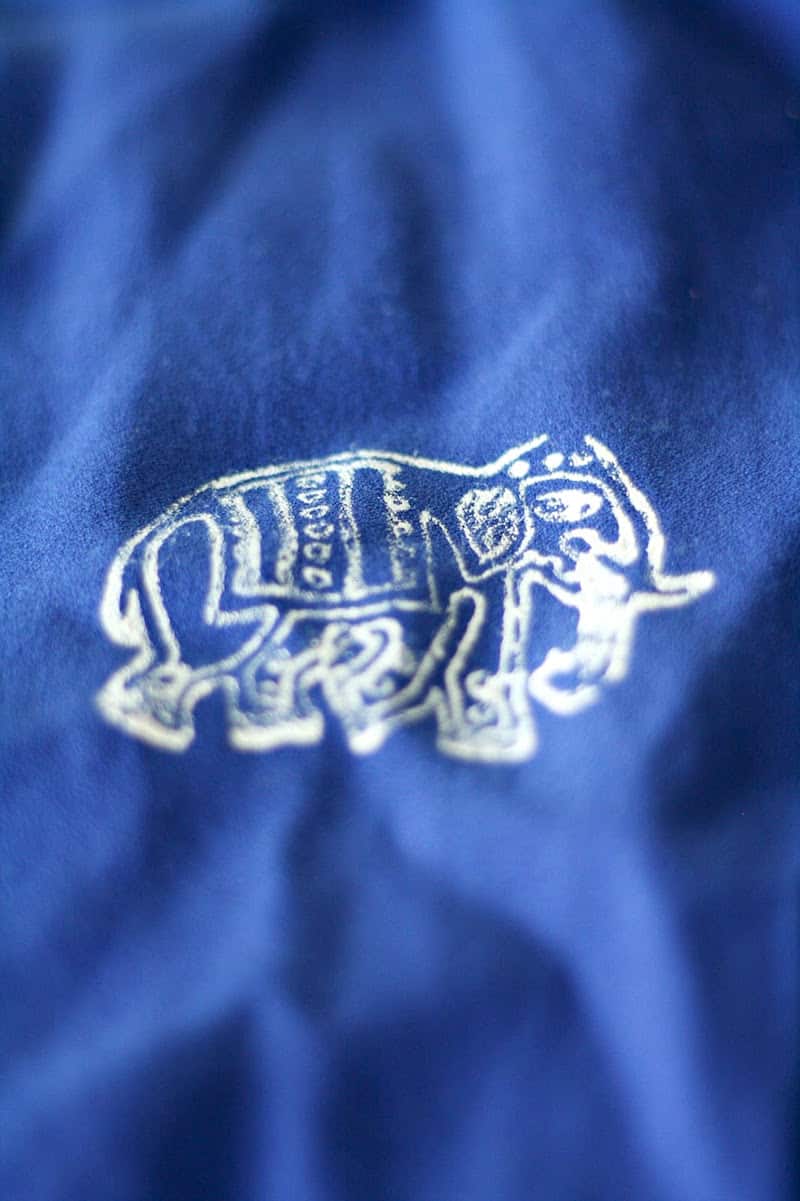
Step 4: Let paint dry, and follow any setting instructions on the fabric paint label.

Isn’t it so fun? Think of the possibilities!

What would you like to stamp on your clothes? I would love to hear your ideas. And be sure to come visit my sister and me as we blog about style, food, and the things we love over at The Pretty Life Girls.
Fabric Stamping

Learn how to use stamping on fabric to decorate a skirt! You can try this on shirts, jeans, and any other textile surface.
Materials
- Skirt (or other cotton garment)
- Stamp
- Fabric paint or ink
Tools
- Brayer
- Iron (optional)
Instructions
- Wash and dry your garment first, especially if it's new. Don't use fabric softener or dryer sheets.
- Iron your garment if necessary.
- Apply fabric paint to your stamp using a brayer, or dab an ink pad down on your stamp.
- Immediately press the stamp down gently on your fabric surface. Continue until your garment is covered in the design.
- Heat press or set according to the instructions on the paint or ink before wearing.
If you enjoyed this post about fabric stamping, I’d love for you to check out these other ways to alter clothing: