
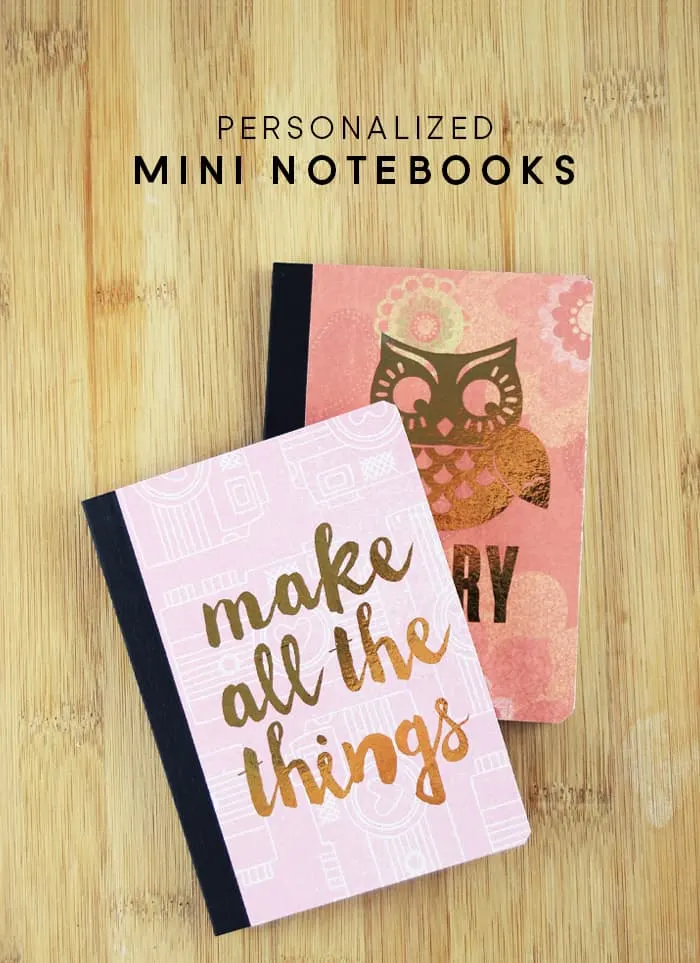
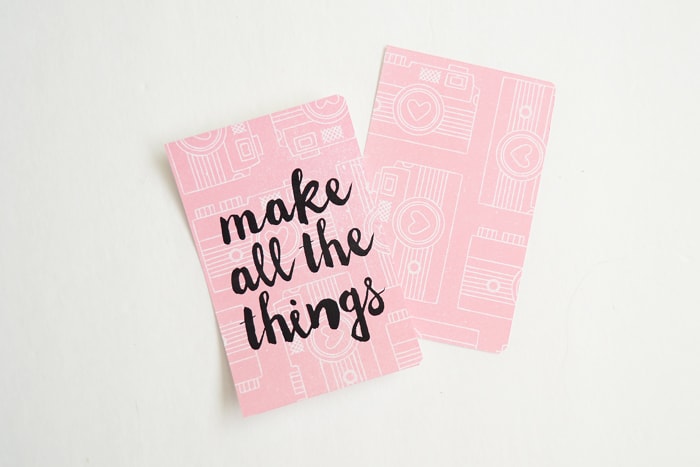
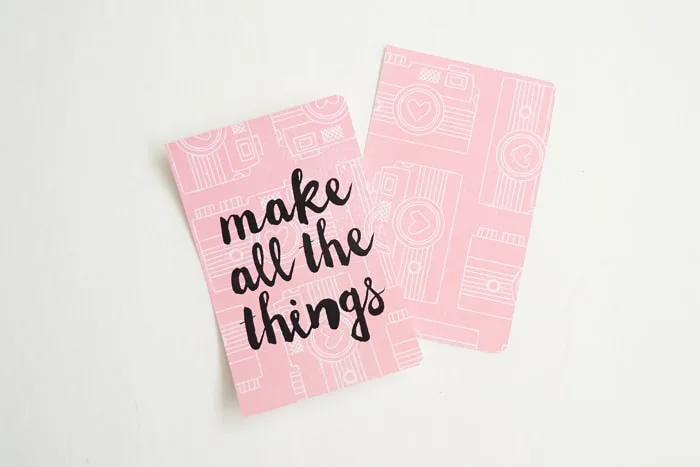
Use gold foil, Mod Podge, papers, and embellishments to create the cutest personalized notebooks ever – keep these minis in your pocket! These also make great homemade gifts.

Hi guys! It’s Aki from Minted Strawberry here again to show you a simple and fun DIY!
I love personalizing my supplies and one of those things are notebooks – I resist getting the really cute ones that cost more at the store since I know I can very well DIY them without breaking the bank, and I can choose my own patterns as well!
I needed some mini personalized notebooks that I could carry around with me everywhere so I’m sharing with you how I made these. Check it out below.
DIY Custom Notebooks
Supplies:
- Mini notebooks
- Scrapbook paper
- X-Acto knife or box cutter
- Cutting mat
- Mod Podge
- Foam brush
- Painter’s tape
- Laser printer (optional)
- Minc Foiling machine (optional)
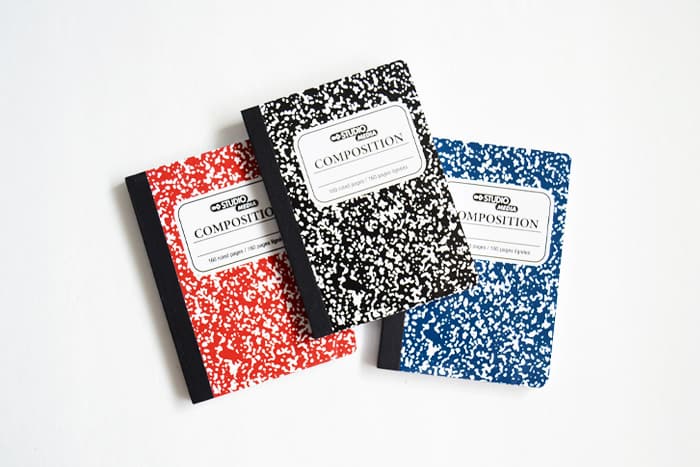

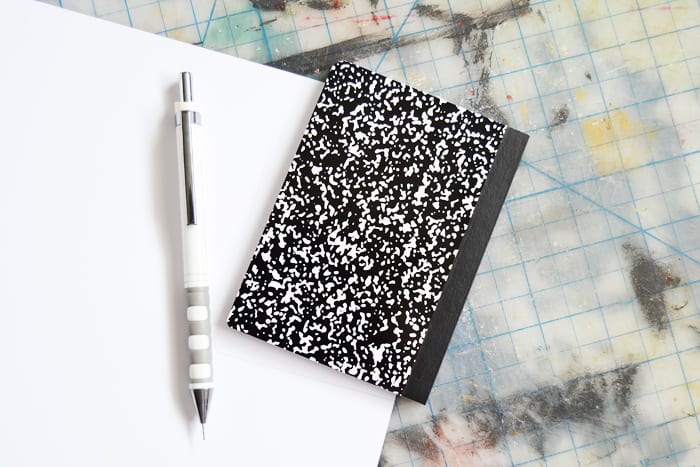
Step 1. Gather your notebooks – I found mine for a buck at the dollar store. Aren’t they so . . . blah?
Step 2. Align you notebook with the edge of the backside of your scrapbook paper and trace. The black binding on the notebooks I used helped as they naturally stopped the paper from moving, aligning it to the edge of the black binding.
Do this for the other side of the notebook as well. Note: If you have a pattern that only has one direction, make sure to trace the other notebook side on the opposite edge of your scrapbook paper.
Step 3. Carefully cut your pieces for your personalized notebooks. I find it easy to just use the notebook itself as a ruler to cut, just make sure you are going slow and that your knife is extra-sharp.
If not, you can always use scissors (I just can’t get straight lines when I do it so I prefer an X-Acto). As always, be careful when handling sharp objects!
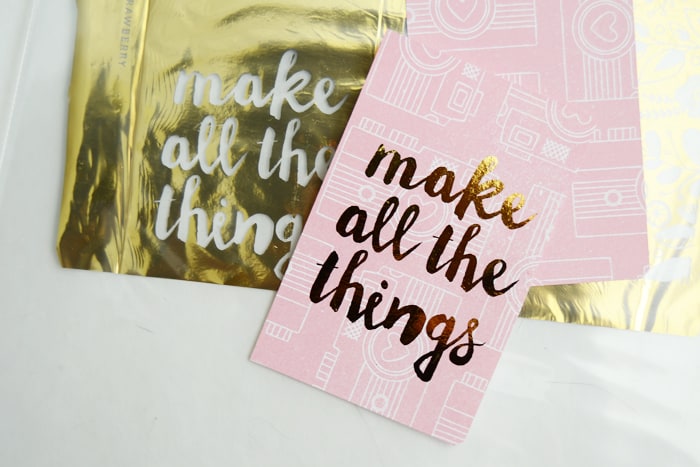

Step 4. You may notice I’ve printed on mine. I used a laser printer to print a quote after I cut it. How?
It’s easy – just set your printer to the size of the paper you have cut (in my case, it was 2.5 x 4.5 inches) and print away. I used a Minc Foiler to add some glitzy gold foil to my cover – but you can totally skip this step!

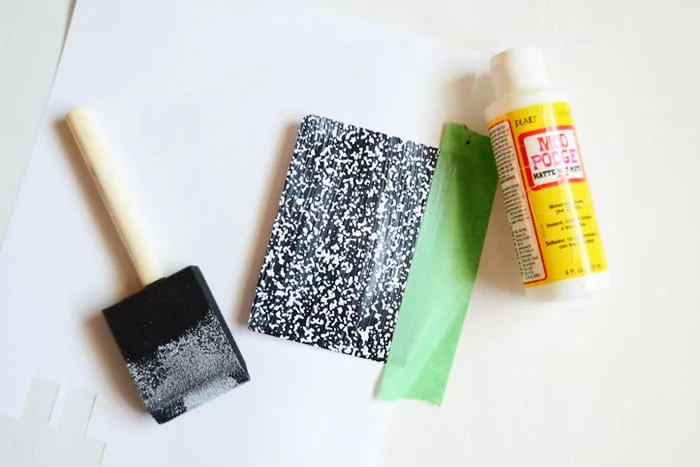
Step 5. Adhere your covers using some Mod Podge spread using a foam brush to keep it thin and even throughout the page.
Use painter’s tape to mask the black binding and insert scrap paper between the pages of your notebook and the end cover to protect the paper from getting Mod Podged.
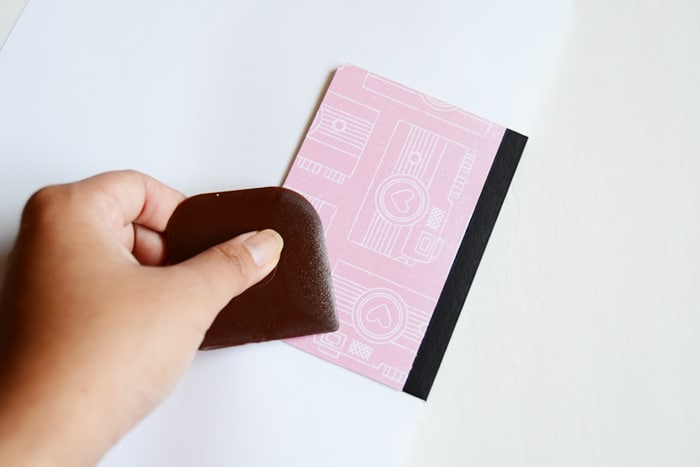
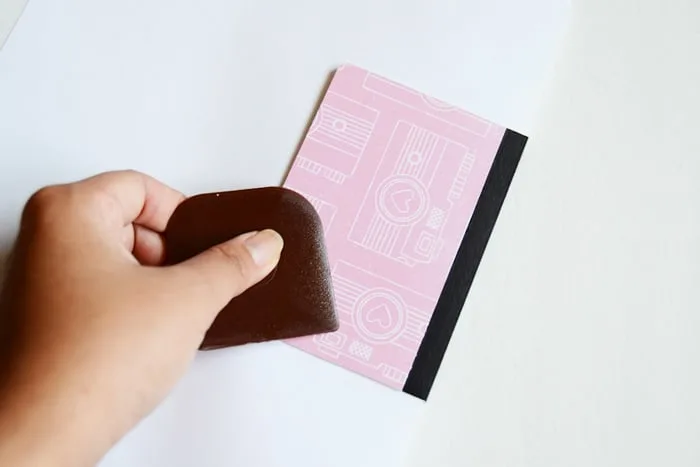
Step 6. Use a flat tool such as a credit card or in my case a hand spatula to fully adhere your new cover onto the old one.
Do the other side as well and then set a big, heavy book on top of it so it stays flat as it dries. And you are done with your personalized notebooks!
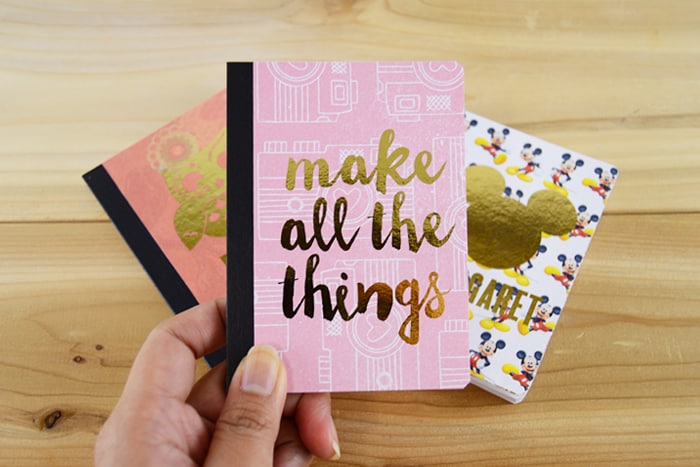
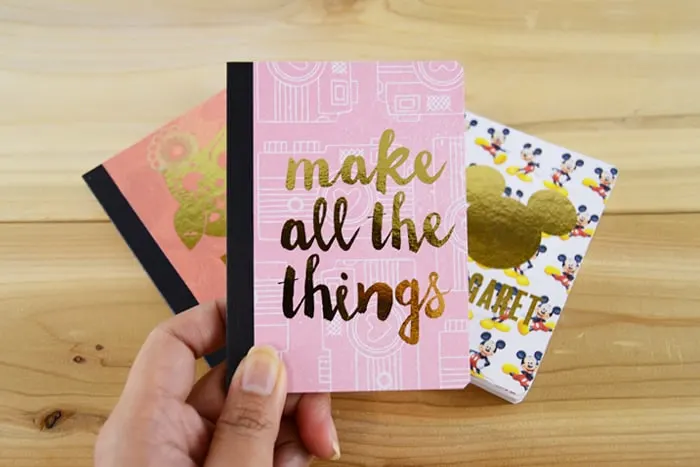

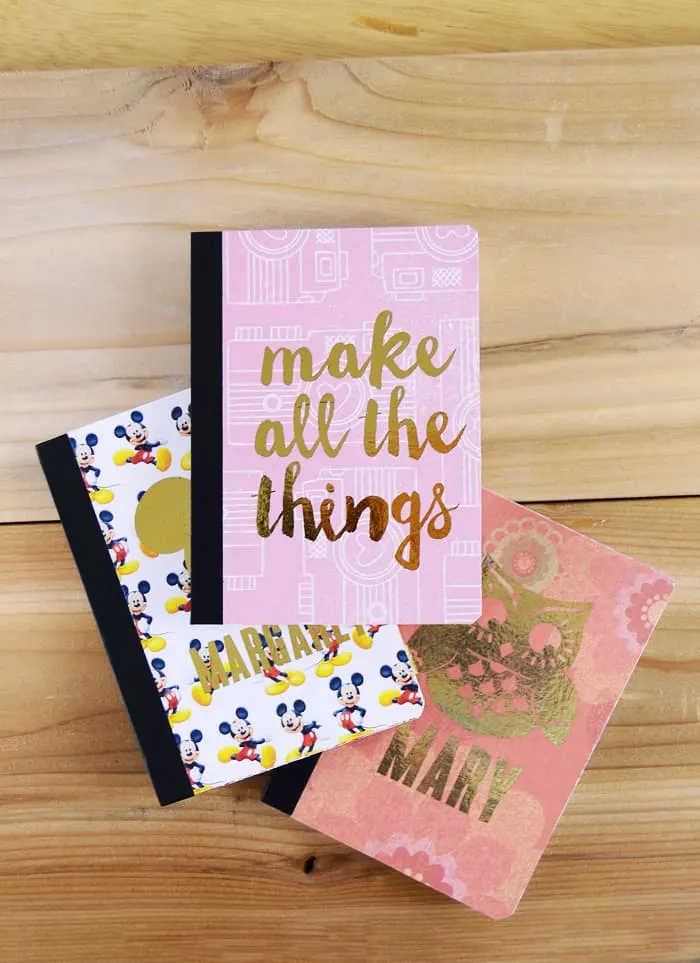
You can even personalize them with your name, your child’s name, a pretty quote or maybe another design! Have fun making these you guys, and don’t forget to visit my blog for more ideas like this and other inspirational DIYs! Happy crafting, friends!
If you enjoyed making these personalized notebooks, I think you’re also going to love making the following projects:
Hobgoblin
Friday 10th of August 2018
Can you mod podge over gold foiled scrapbook paper? Will it take the shine away?
Amy
Tuesday 14th of August 2018
You can, however, it will dull the gold foil a bit. Try the Gloss formula. That is your best bet.
Dayo
Thursday 4th of August 2016
How did you get the words? Were they already on that pink paper or did you print them out then place them on there?
Amy
Thursday 4th of August 2016
Hi Dayo! Aki printed the words onto the paper - then foiled over those! The pink paper was inserted into the printer, then she used the Minc https://www.joann.com/block?url=L2hlaWRpLXN3YXBwLW1pbmMtZm9pbC1hcHBsaWNhdG9yLXN0YXJ0ZXIta2l0LzE0MTk1MTY4Lmh0bWw/&uuid=d64f043d-fceb-11ed-ab27-6f42454d6a70&vid=) for the foil portion.