
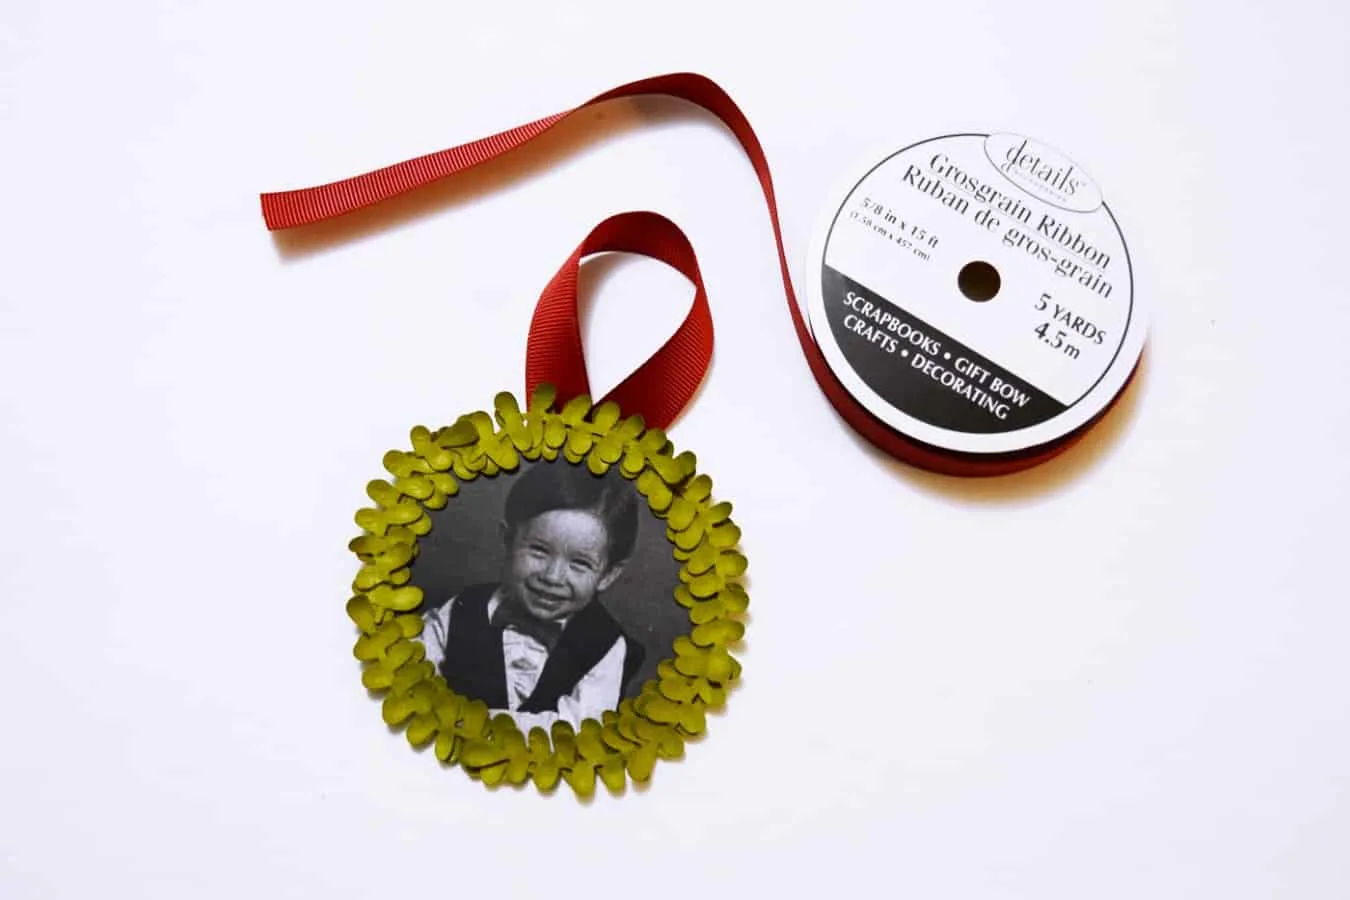
This mini wreath photo ornament is so easy to make! It’s the perfect little gift for grandmas, moms and newlyweds to decorate their trees.
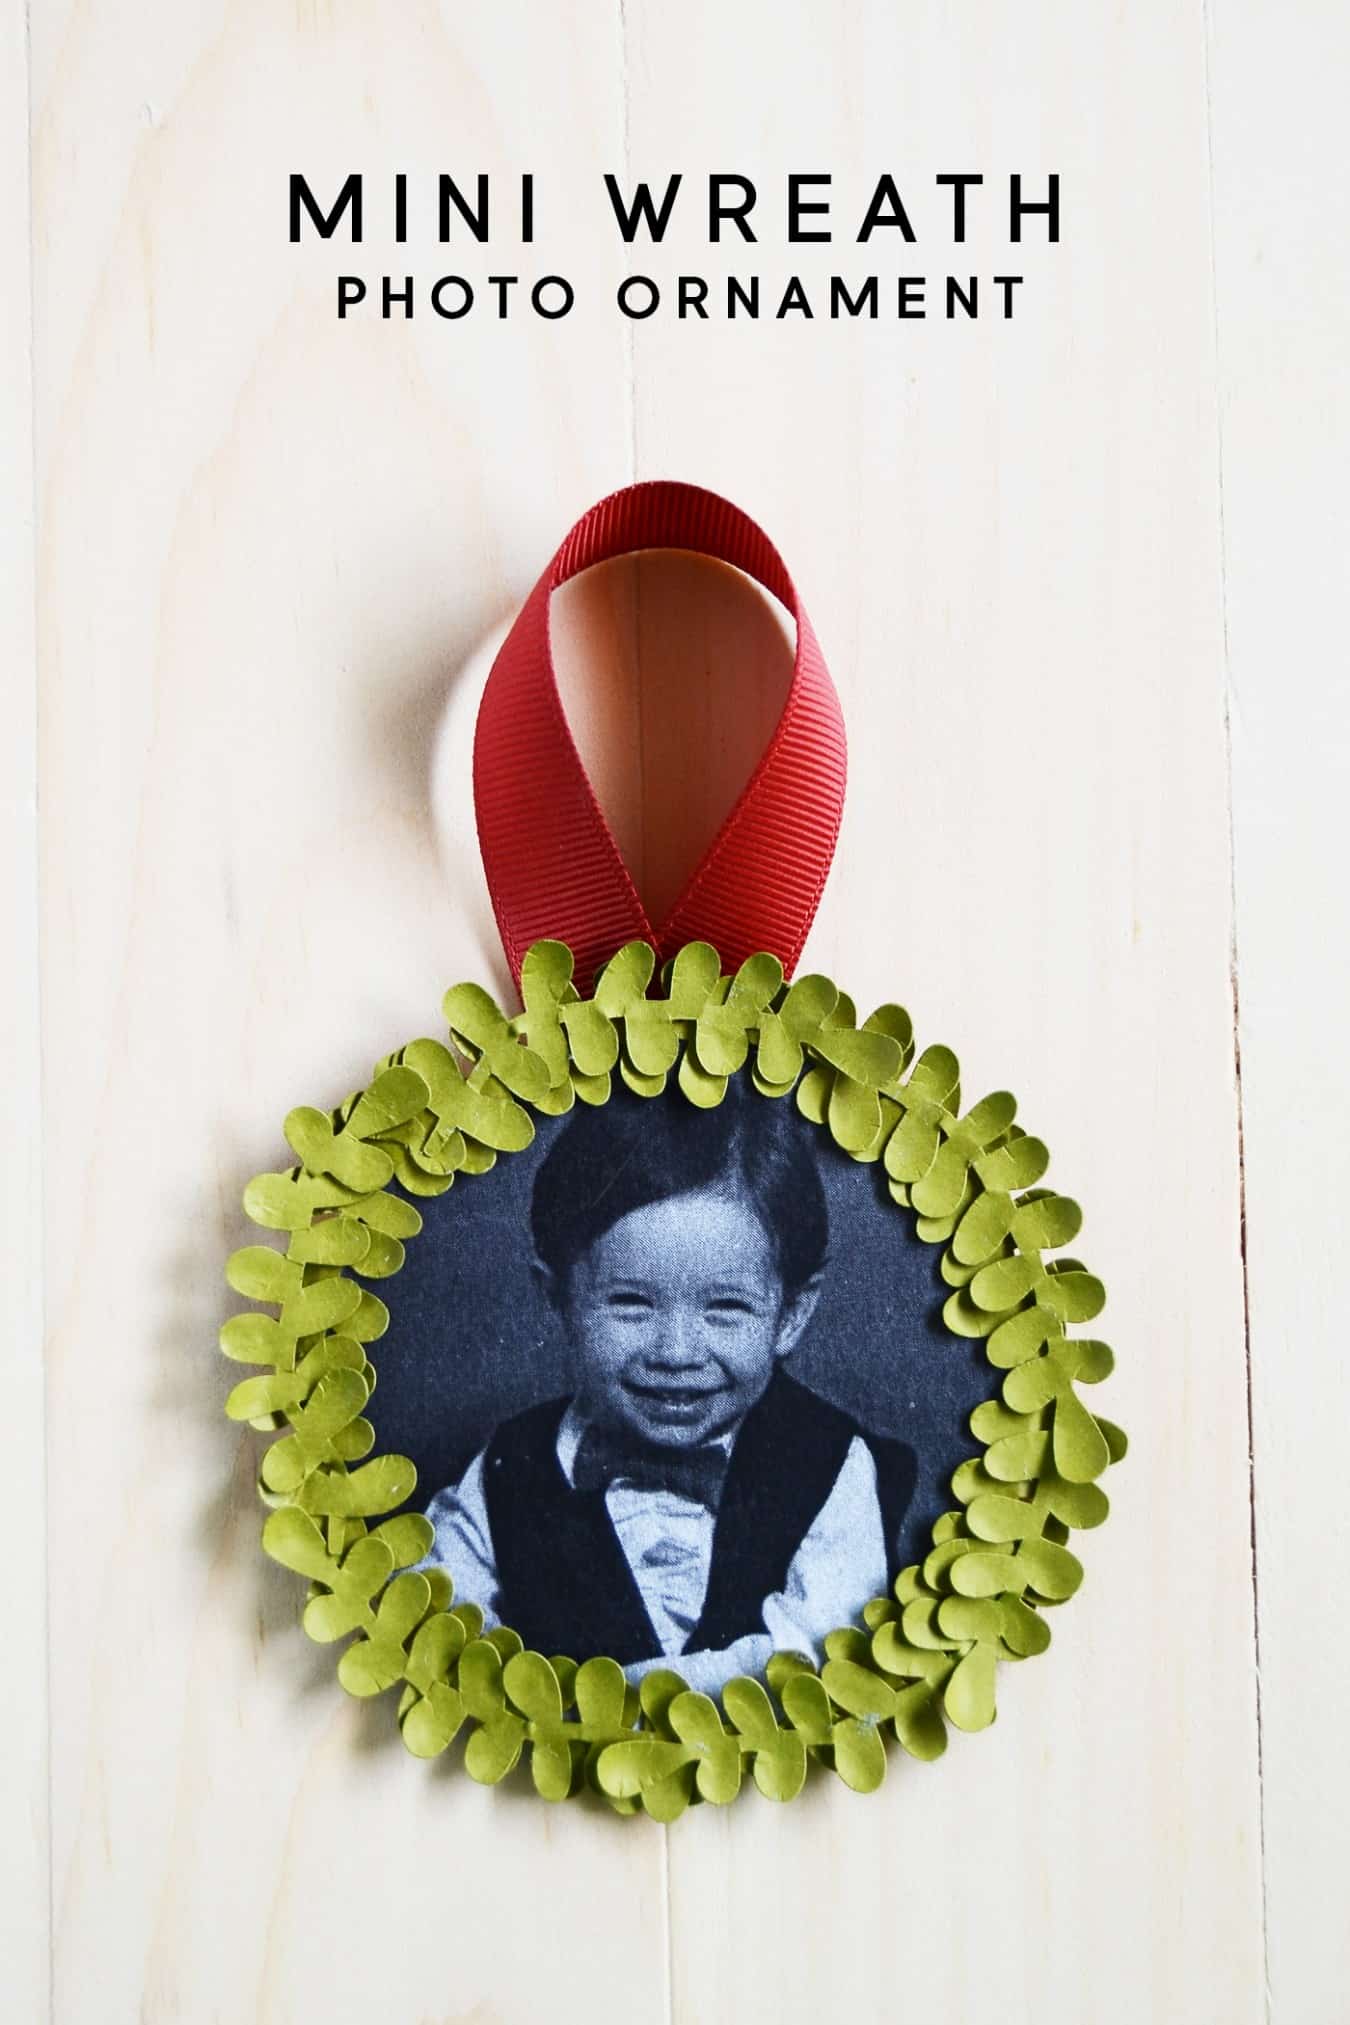

Hey guys – it’s Aki again from Minted Strawberry, sharing a simple tutorial for the holidays! Mini wreaths seem to be everywhere lately! I’ve always wanted to make them but for my version I wanted something different – so I made a mini wreath photo ornament.
This Christmas ornament is perfect little gift for grandmas, moms and newlyweds (if I may say so myself) to decorate their trees. And they’re very easy to make too – here’s how!

DIY Photo Ornament
Supplies:
- Flat wooden rounds
- Pictures
- Scissors
- Mod Podge
- Template for wreath leaves – download them here
- Green cardstock
- Ball-tip tool or similar tipped object
- Fun foam
- Hot glue gun
- Red grosgrain ribbon
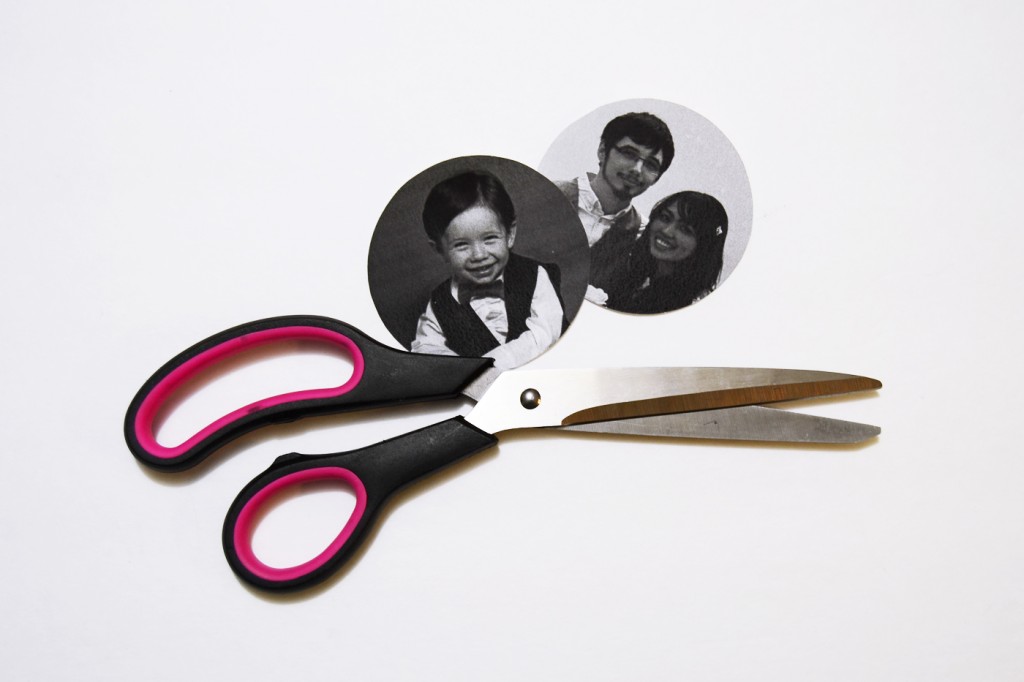
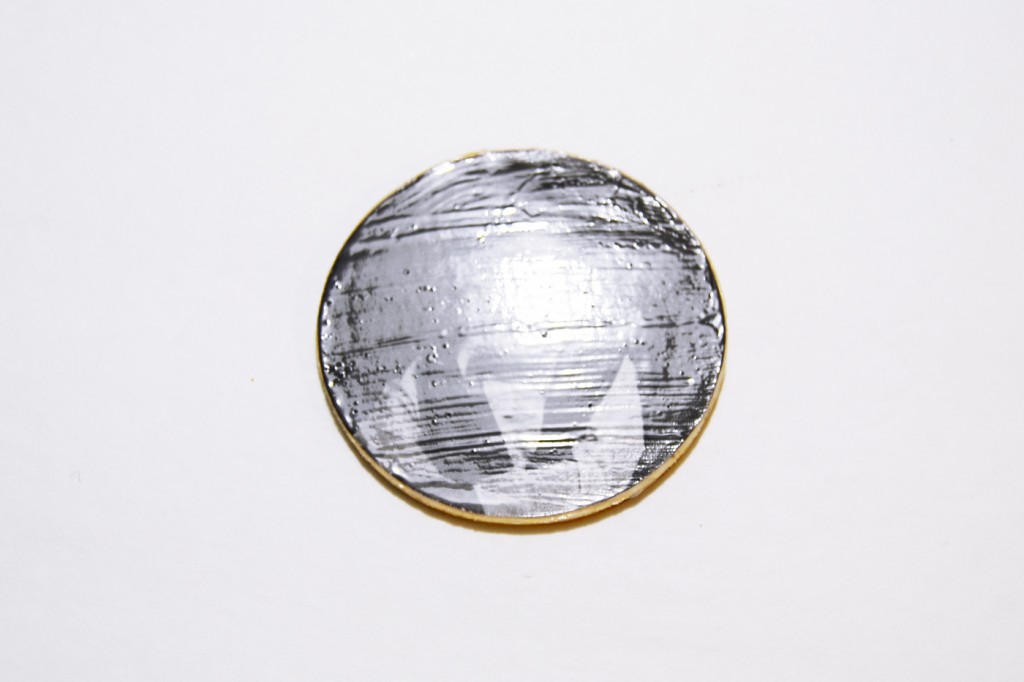
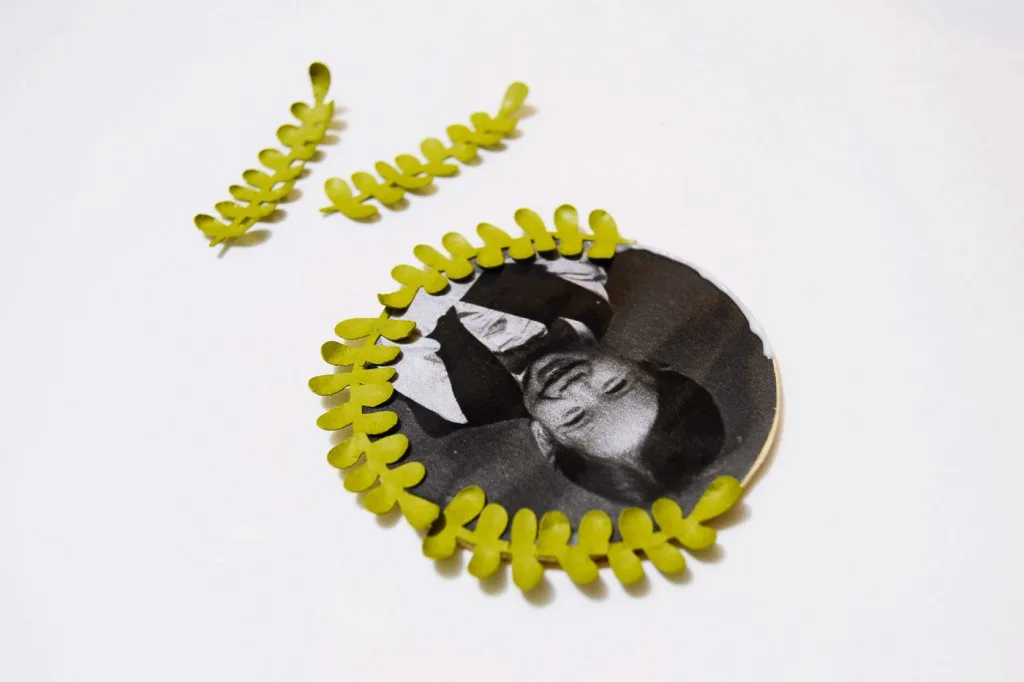
Step 1. Cut out the photos – use the flat wooden rounds (mine was about 3″ in diameter) as a guide. Make sure your photos are centered on the ornament.
Alternatively, you can print your photos as well – I used a monochromatic laser printer for mine since I wanted black and white photos, and printed them on white-colored cardstock.

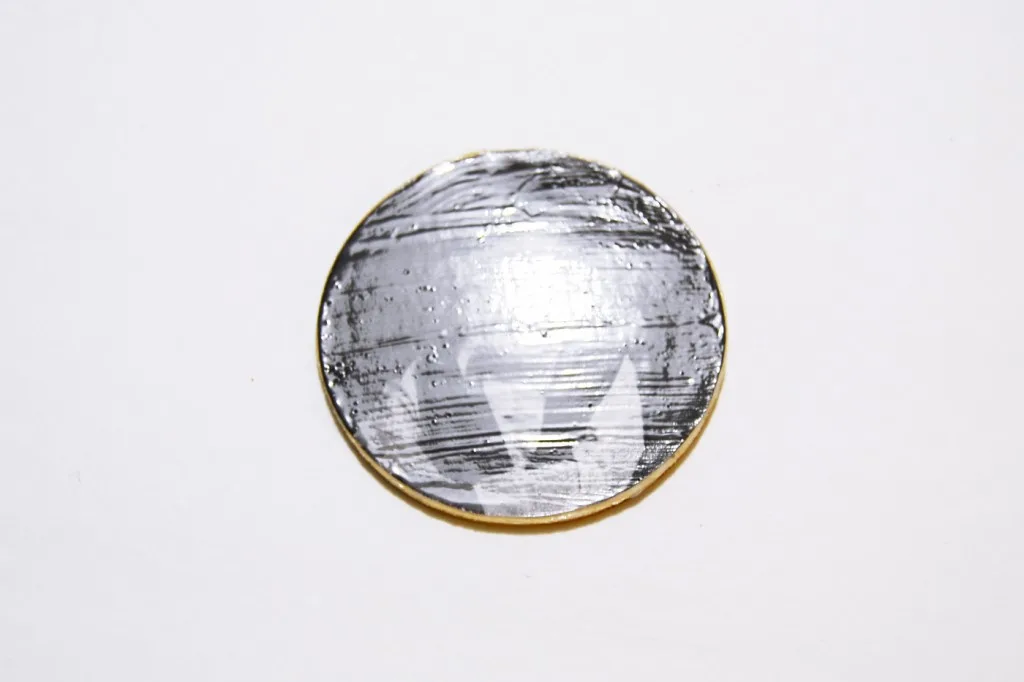
Step 2. Adhere the photo onto the circle round, making sure all the edges are secure and flat – you don’t want any air bubbles!
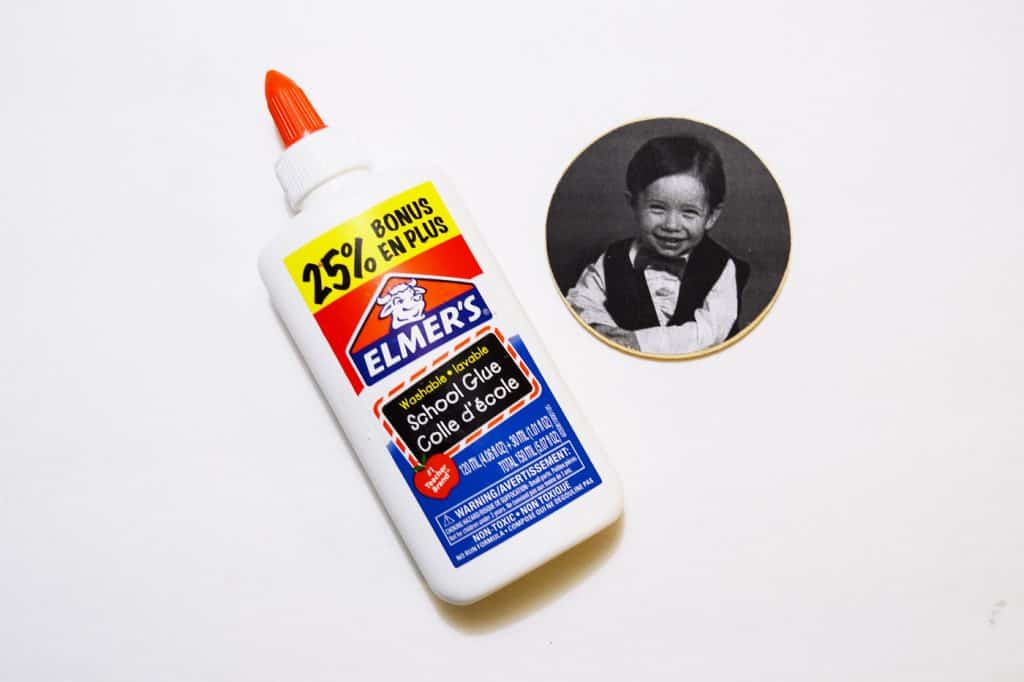

Step 3. Apply a layer of Mod Podge to secure your photo and to further protect it from elements (this is specially important if you just printed your photos using a home printer).
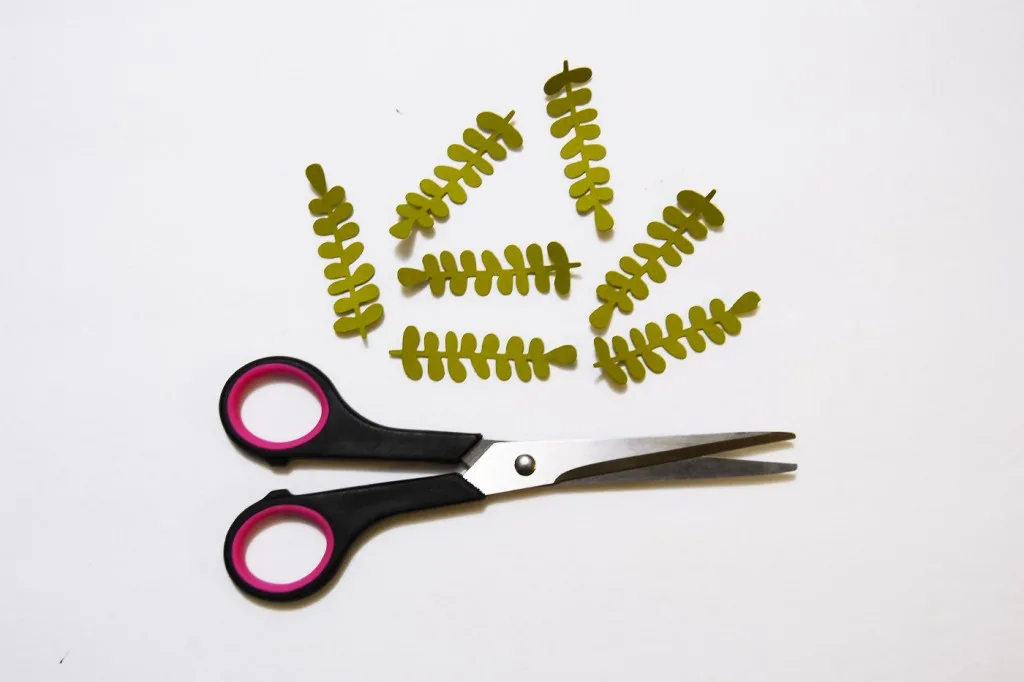
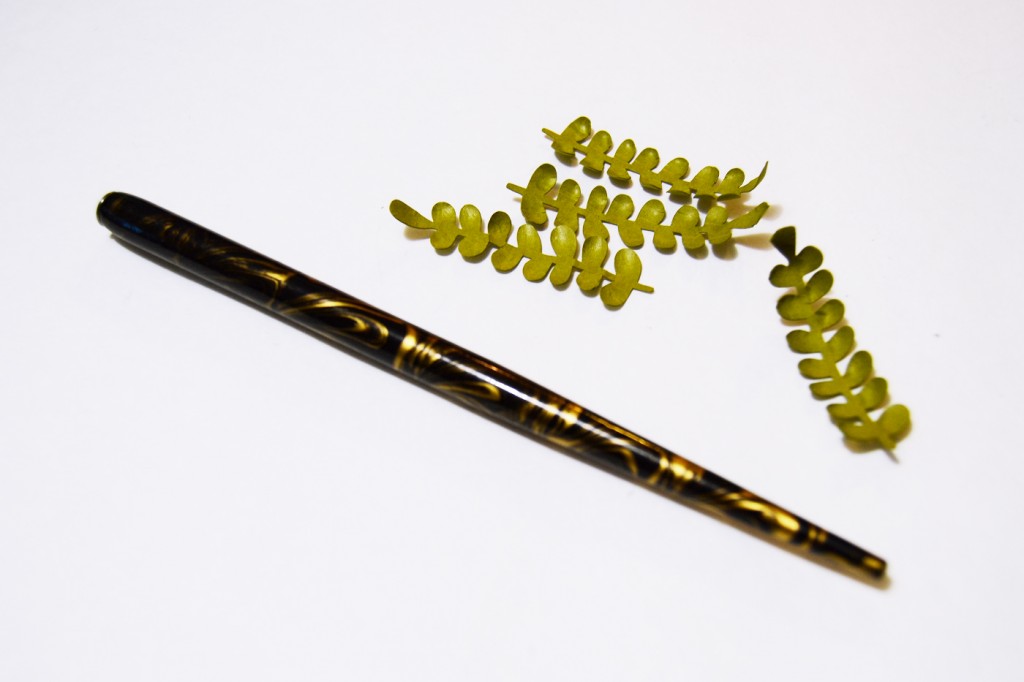
Step 4. Cut out your leaves on green cardstock paper – you can definitely cut this by hand, or use a die-cutter for convenience. You can trace the template provided! Alternatively, you can purchase leaf embellishments at the craft store or online.

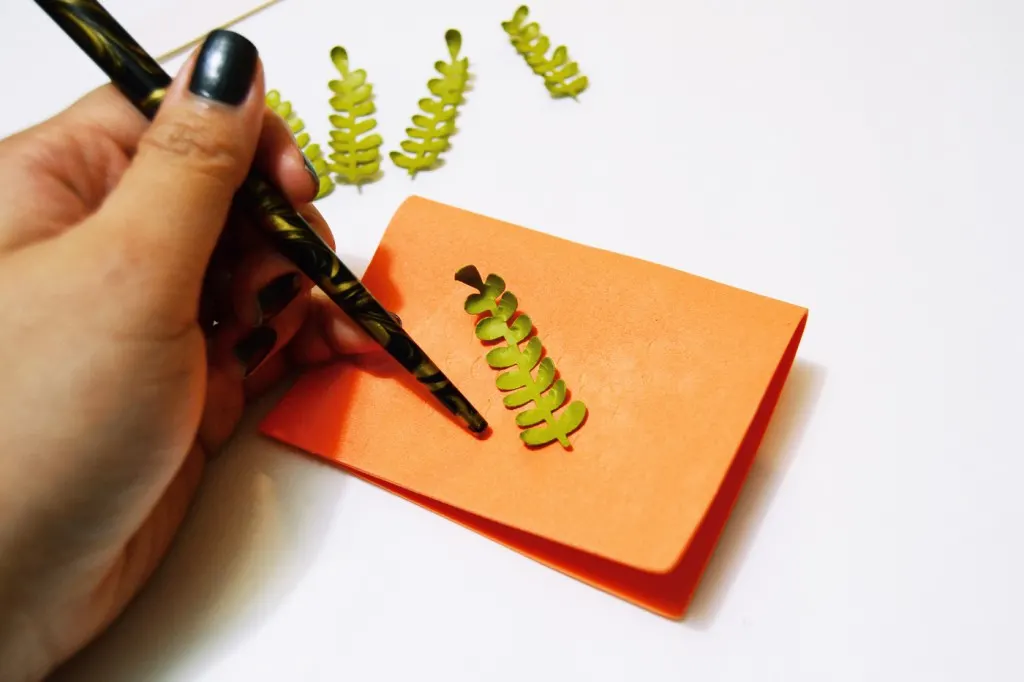
Step 5. Burnish your leaves to give them a more natural feel – It’s easiest to use a ball-tip tool (such as ones you use for fondant carving or nail polish designs) or something similar.
I used the tip of my calligraphy pen to burnish my leaves. You also want to burnish it on top of something smooth, such as fun foam.


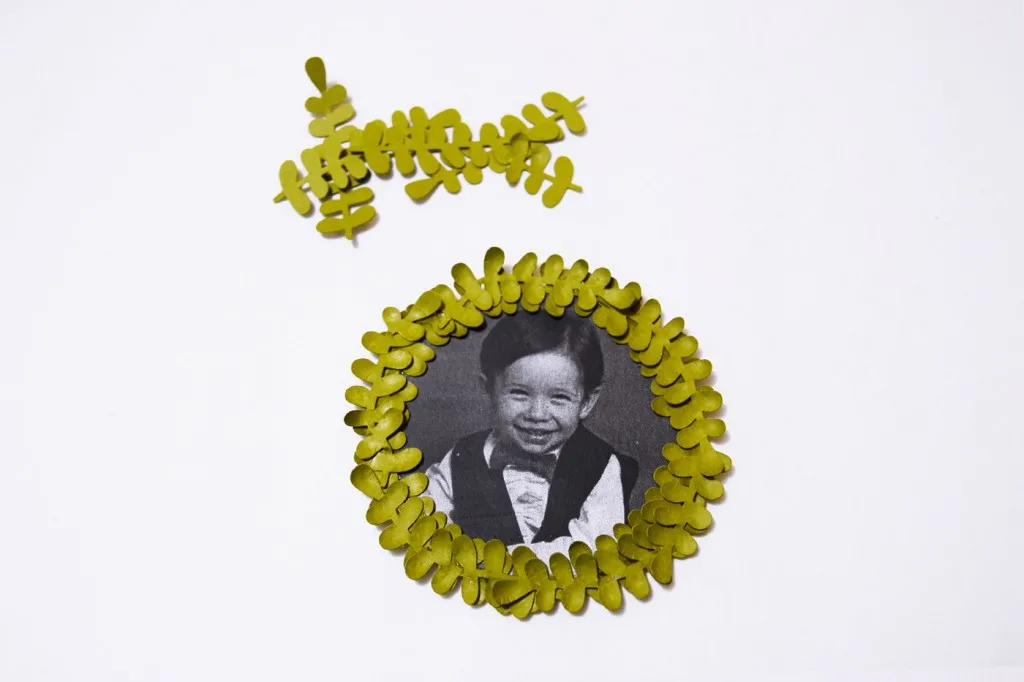
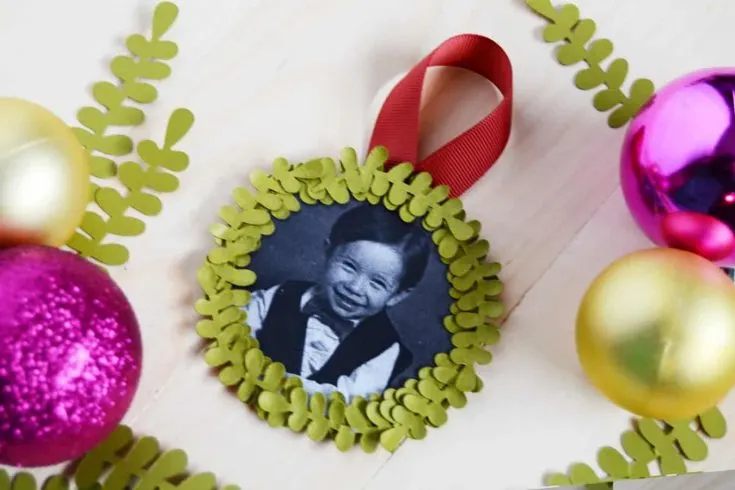
Step 6. Adhere the leaves around the photo. You may use hot glue or normal glue for this – I used normal glue for less mess and easier control.

Step 7. Adhere a second layer of leaves – you want it going the opposite direction of the first layer, and also not completely aligned to give it more dimension and a natural feel.

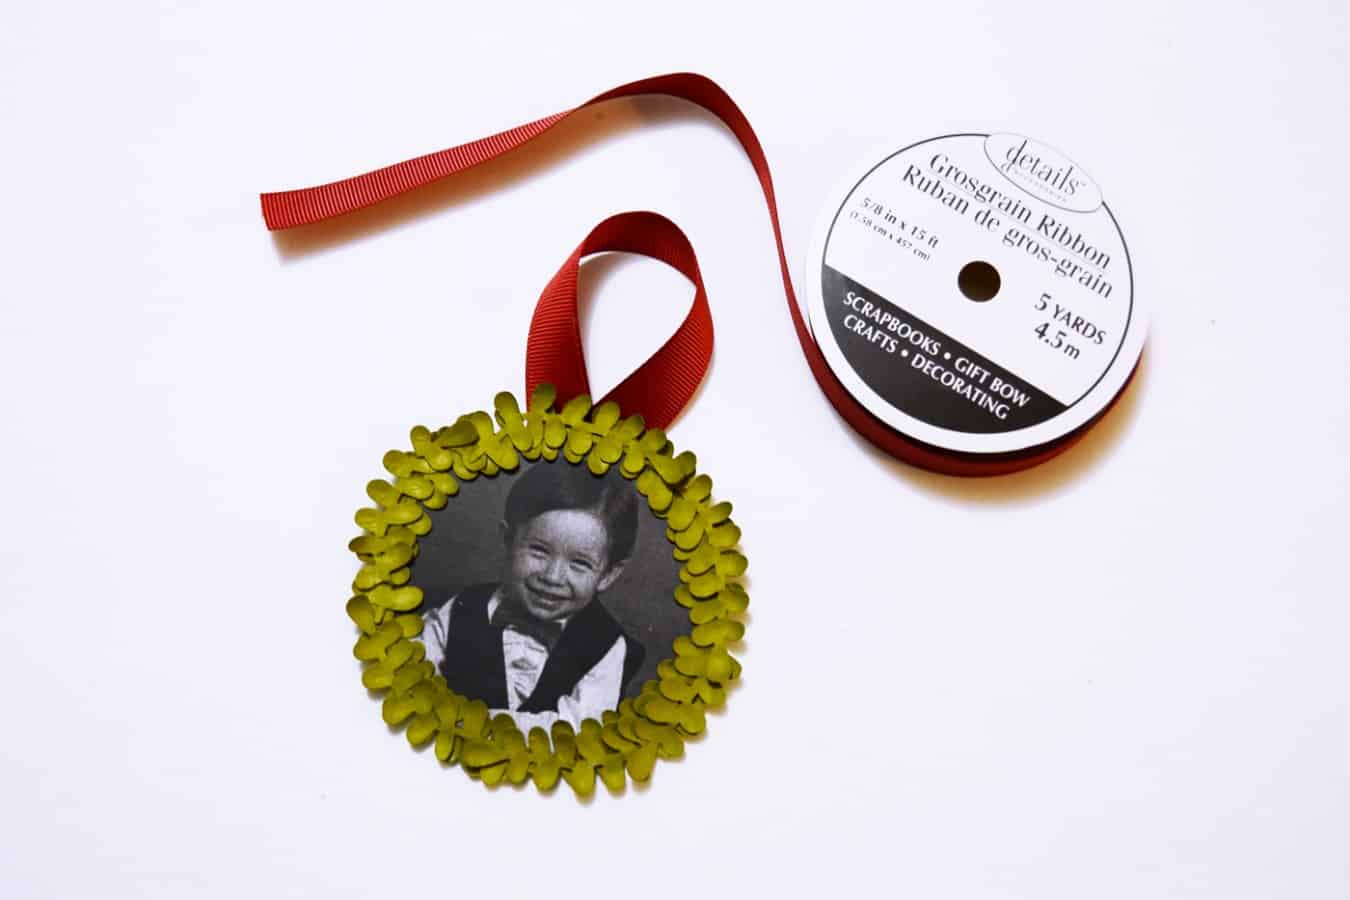
Step 8. Finally, attach a grosgrain ribbon on the back of the ornament to hang. You have the option of covering it with a felt or foam circle to make it more finished looking.
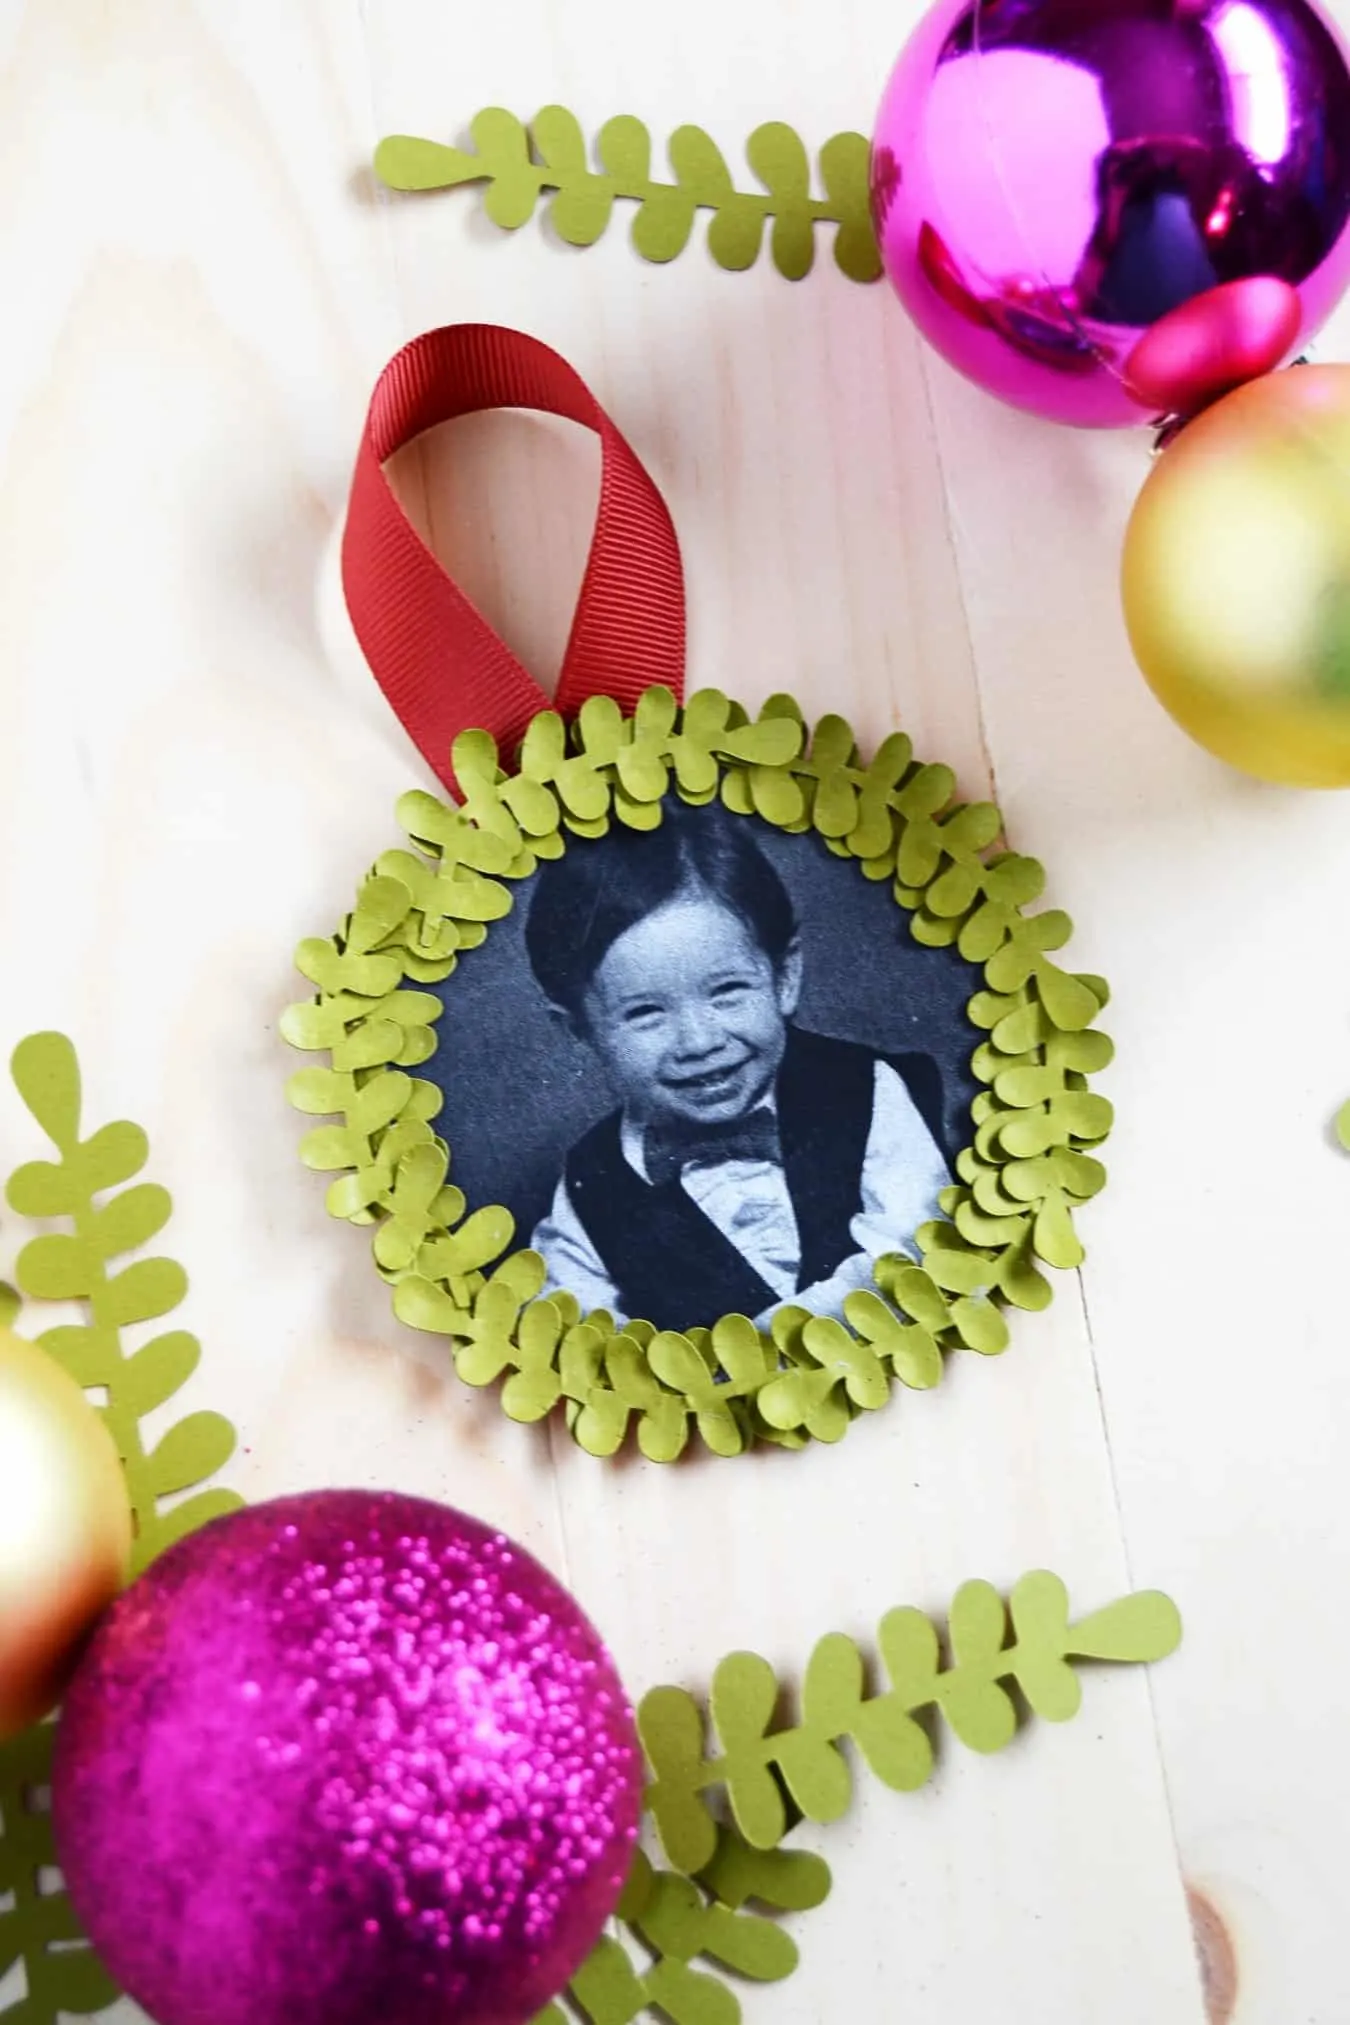
And you are done! This photo ornament is easy peasy – don’t you think? And a bunch of these would look perfect on grandma’s tree with a picture of each of her grandkids. In fact, these are great Christmas ornaments for kids to make and gift.
One would also be great as a memorial ornament. Or a first Christmas as a newlywed gift. I can think of so many reasons why you should make one – so go ahead and make them!


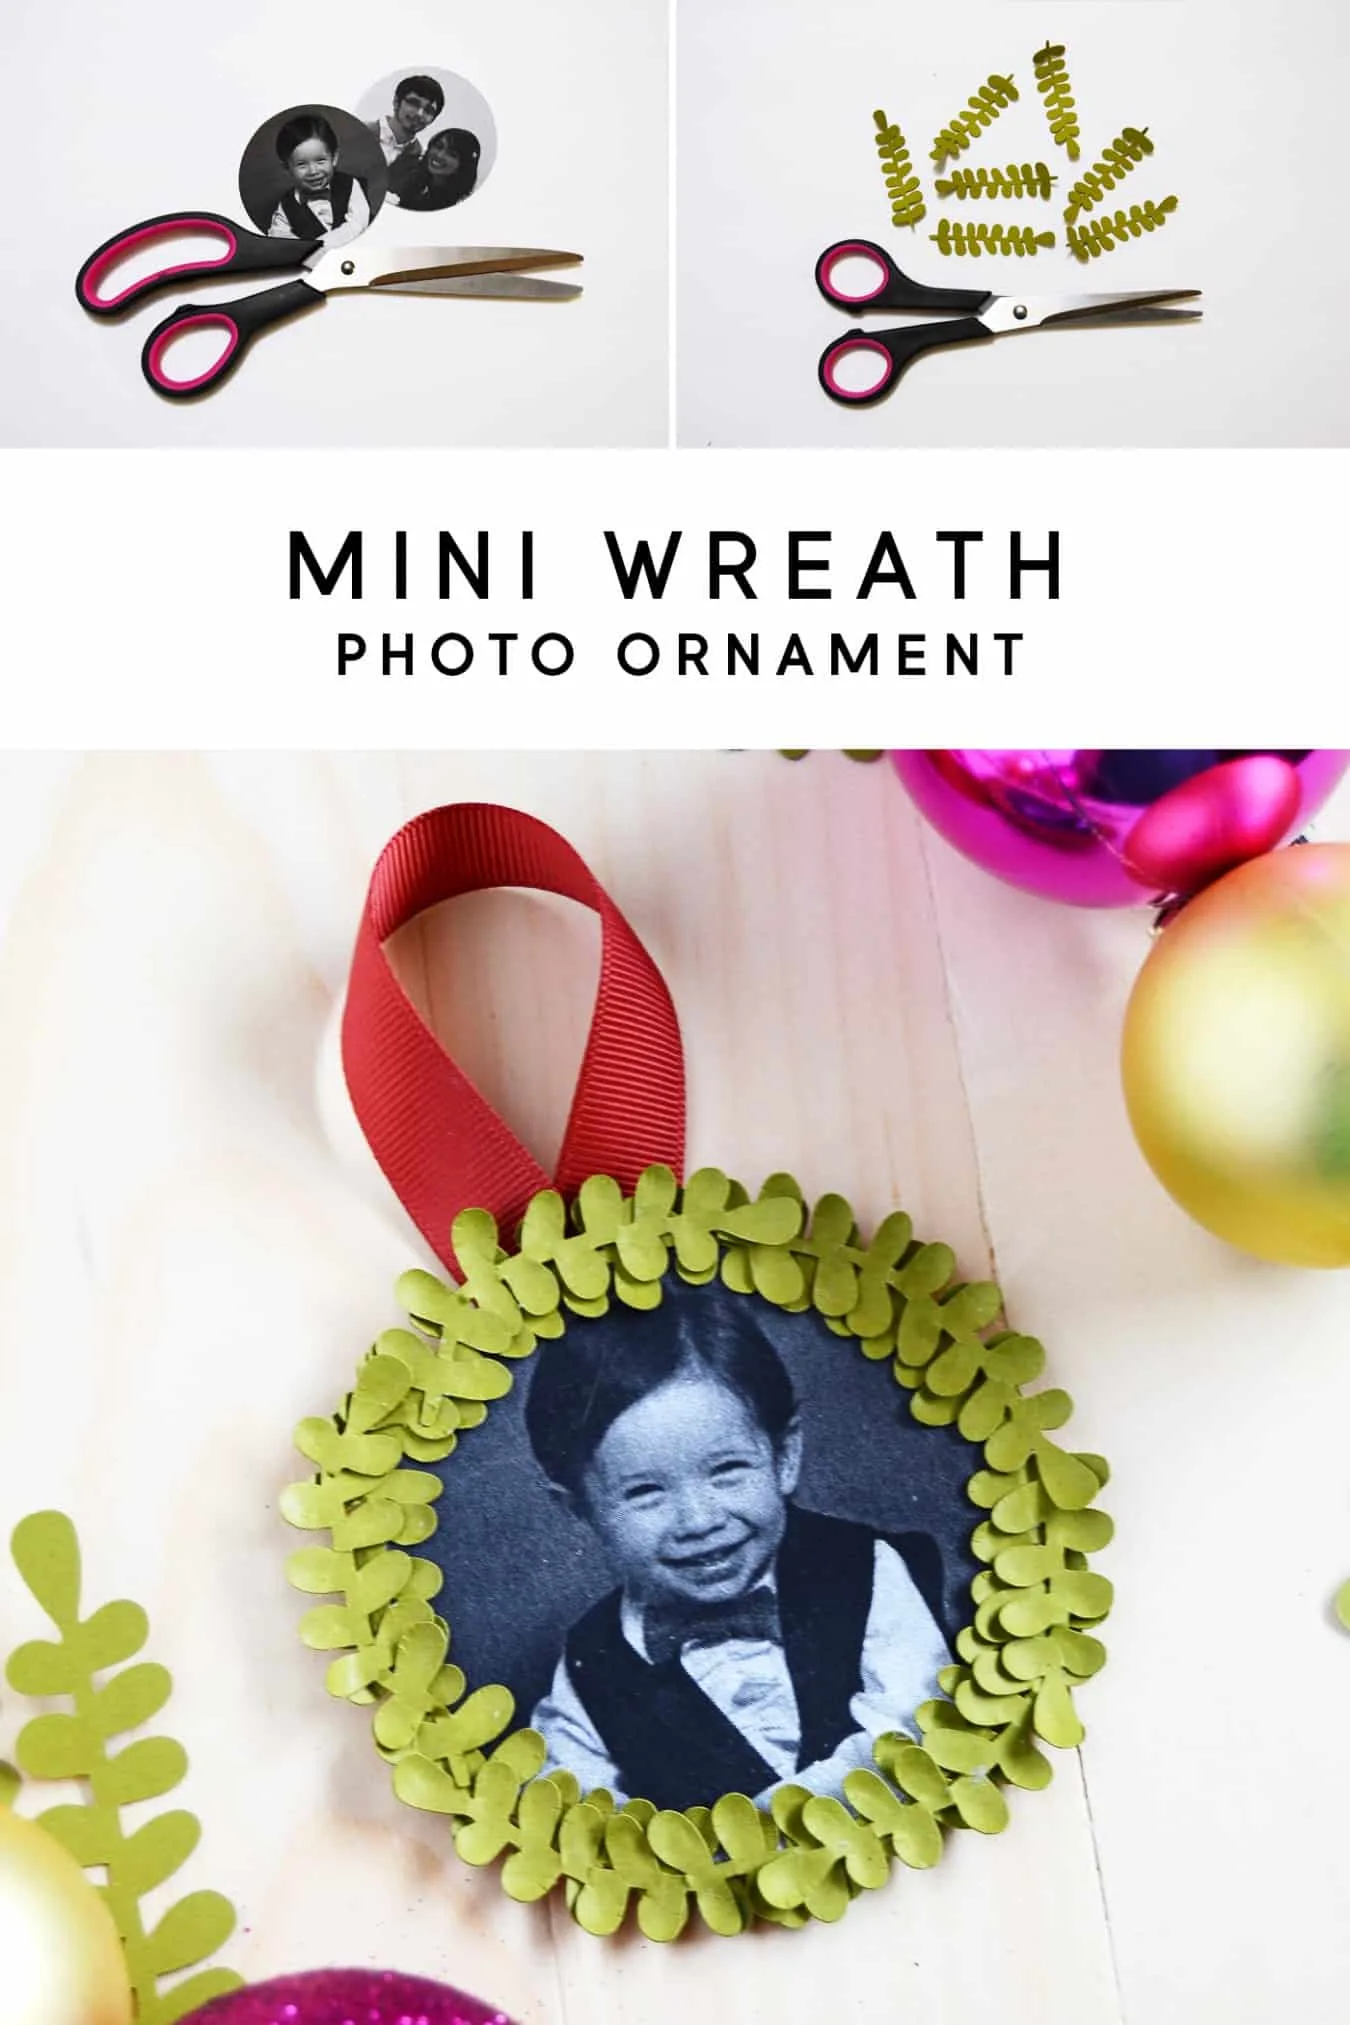
Photo Ornament

Learn how to make a photo Christmas ornament using a cute wreath theme! This is a very easy holiday craft.
Materials
- Laserjet photo printed to fit a 3" circle
- Flat wooden round
- Mod Podge
- Template for wreath leaves
- Green cardstock
- Fun foam
- Hot glue gun
- Red grosgrain ribbon
Tools
- Pen (optional)
- Scissors
- Paintbrush
- Ball-tip tool or similar tipped object
Instructions
- Print out a photo using a laserjet printer. Trace a 3" circle with your wood round and cut out.
- Adhere the photo onto the circle round with Mod Podge and smooth. Let dry for 20 minutes.
- Step 3. Apply a layer of Mod Podge to secure your photo and to further protect it from elements (this is specially important if you just printed your photos using a home printer).
- Cut the leaves out of green cardstock, using scissors or a die cutter.
- Burnish your leaves to give them a more natural feel, using the ball tip tool.
- Adhere the leaves around the photo using a hot glue gun.
- Adhere a second layer of leaves going the opposite direction of the first layer to add more dimension and a natural feel.
- Attach a grosgrain ribbon on the back of the ornament to hang.
Notes
Tips:
- If you only have an inkjet printer, use hairspray or acrylic sealer on both sides of the printed photo so the Mod Podge doesn't bleed.
- To give the ornament a more finished back, add a felt circle with craft glue.
I hope you enjoyed this photo ornament tutorial – and I hope I see you visiting my blog or social media for more crafty inspiration, free downloads and more! Happy crafting, friends!
I hope you’ll check out some of our other easy Christmas ornament ideas below:
Paige
Monday 30th of November 2015
These ornaments are way cute!
Paige https://www.thehappyflammily.com/
Aki @ Minted Strawberry
Wednesday 2nd of December 2015
Thank you! :)