
To profess my love for conversation hearts, I made some colorful little Valentine’s Day magnets! What a great gift idea, and so easy.
Skills Required: Beginner. You’re going to be mixing Plaster of Paris and pouring it in molds. Then you’ll be painting and gluing. It’s relatively easy to make these conversation heart magnets even if you don’t have much craft experience.

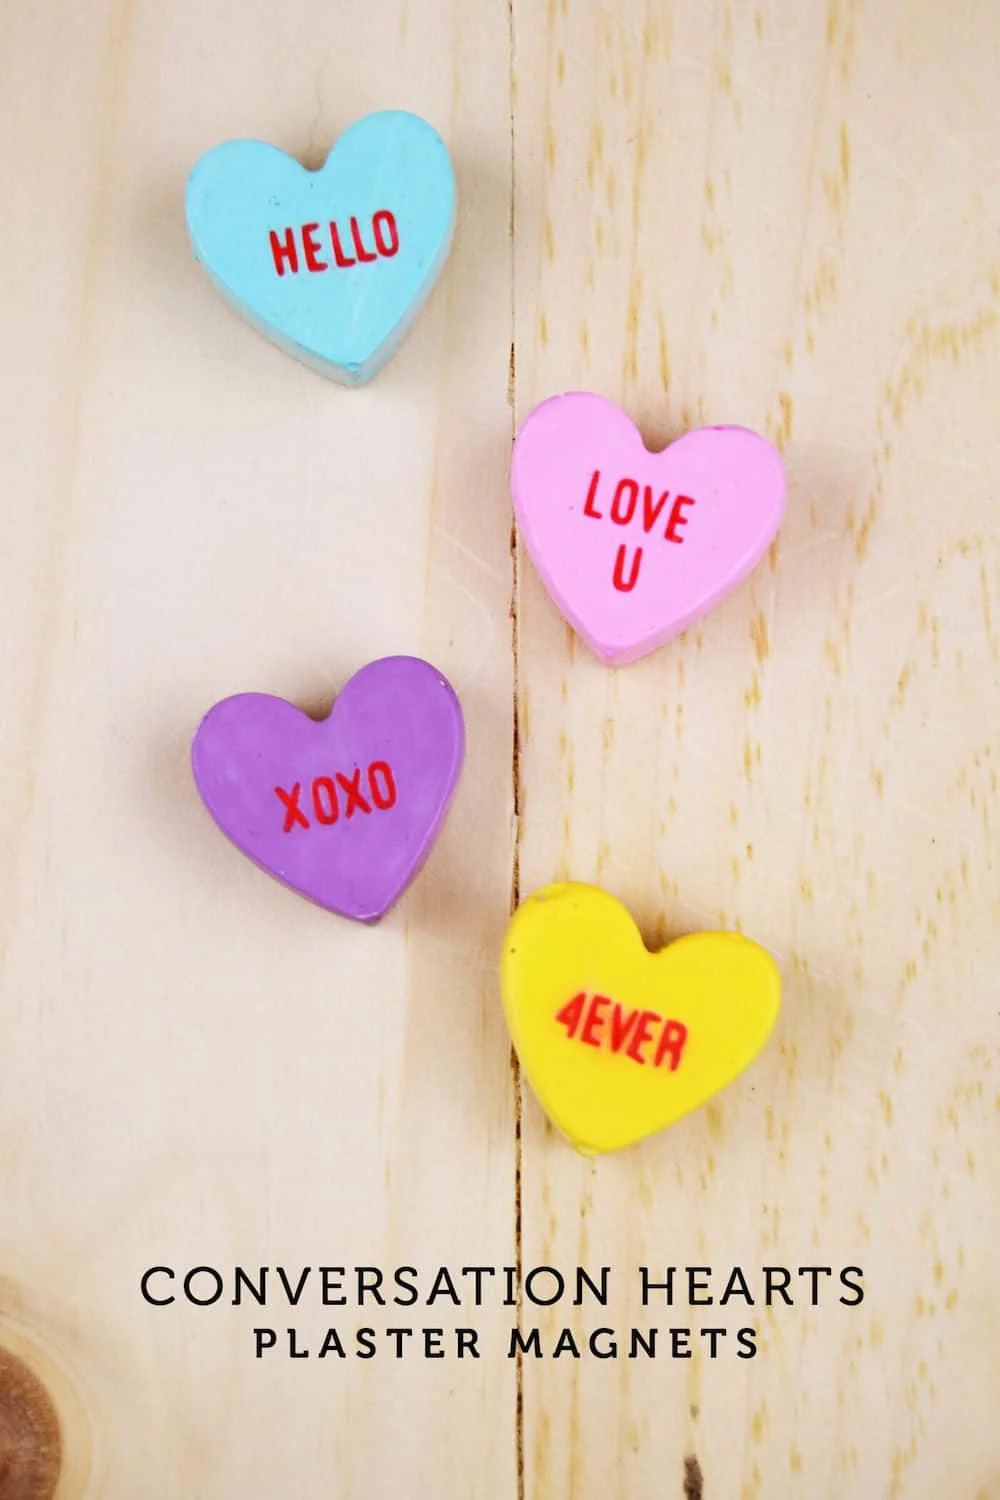
Hey guys – it’s Aki from Minted Strawberry stopping by to share a fun Valentines-inspired tutorial for you! I just love colorful conversation hearts – a lot of people say they don’t taste that great but I find them good to have every now and then (just not the really big bags!).
To profess my love for these colorful little candies, I made some magnets to stick on the file cabinet to hold up little notes for my husband (such as reminders to pick up more craft stuff for me!).
Valentine’s Day Magnets
Gather These Supplies
- Heart Mold
- Circle Magnets
- Plaster of Paris
- Container & Mixing Stick
- Sandpaper
- Paint
- Paintbrush
- Red pen / Vinyl Sticker / Sticker Paper
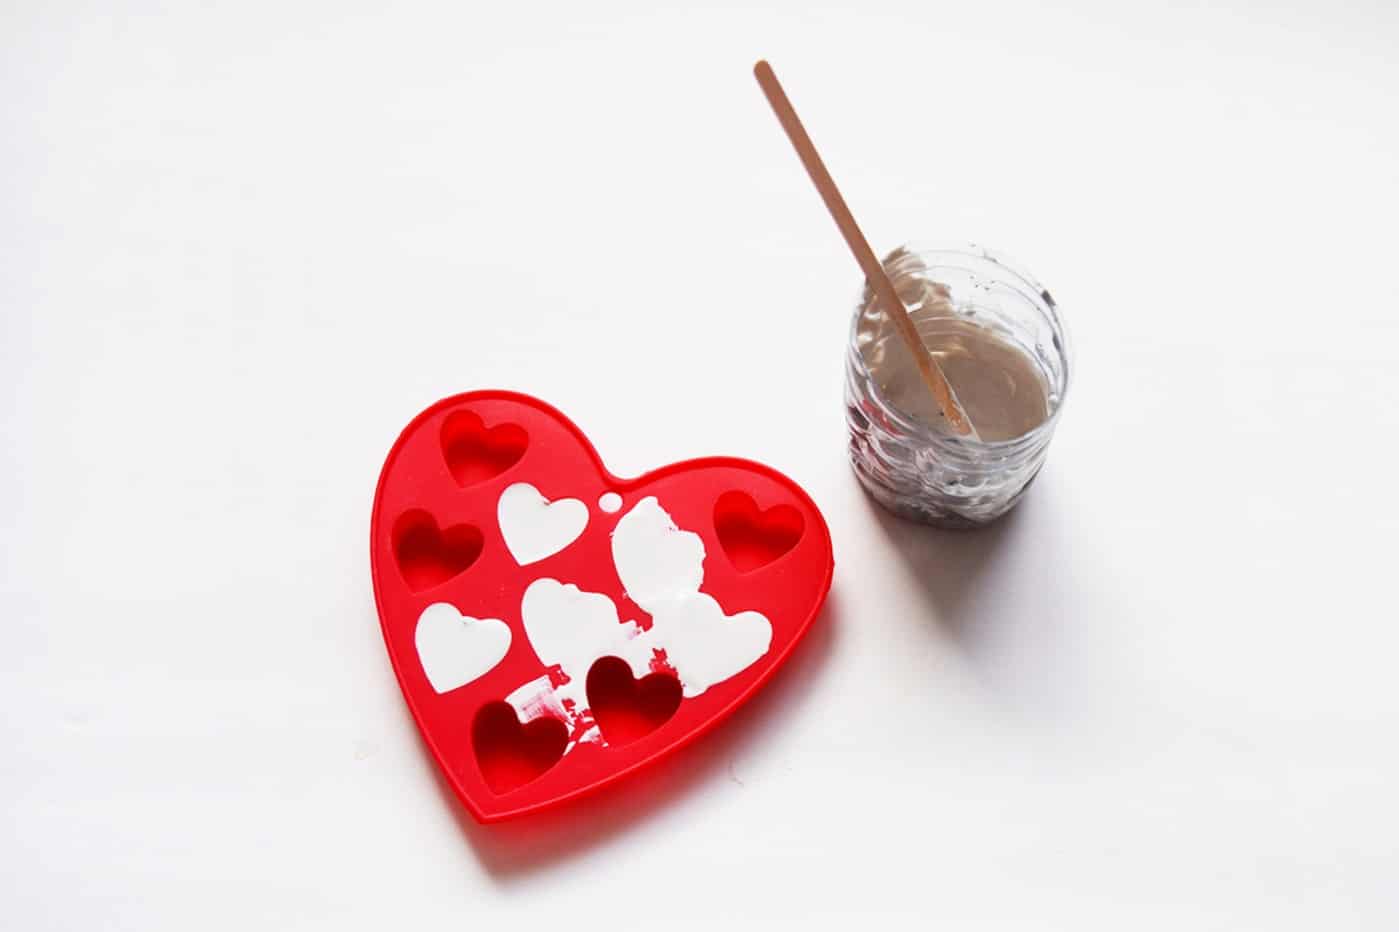
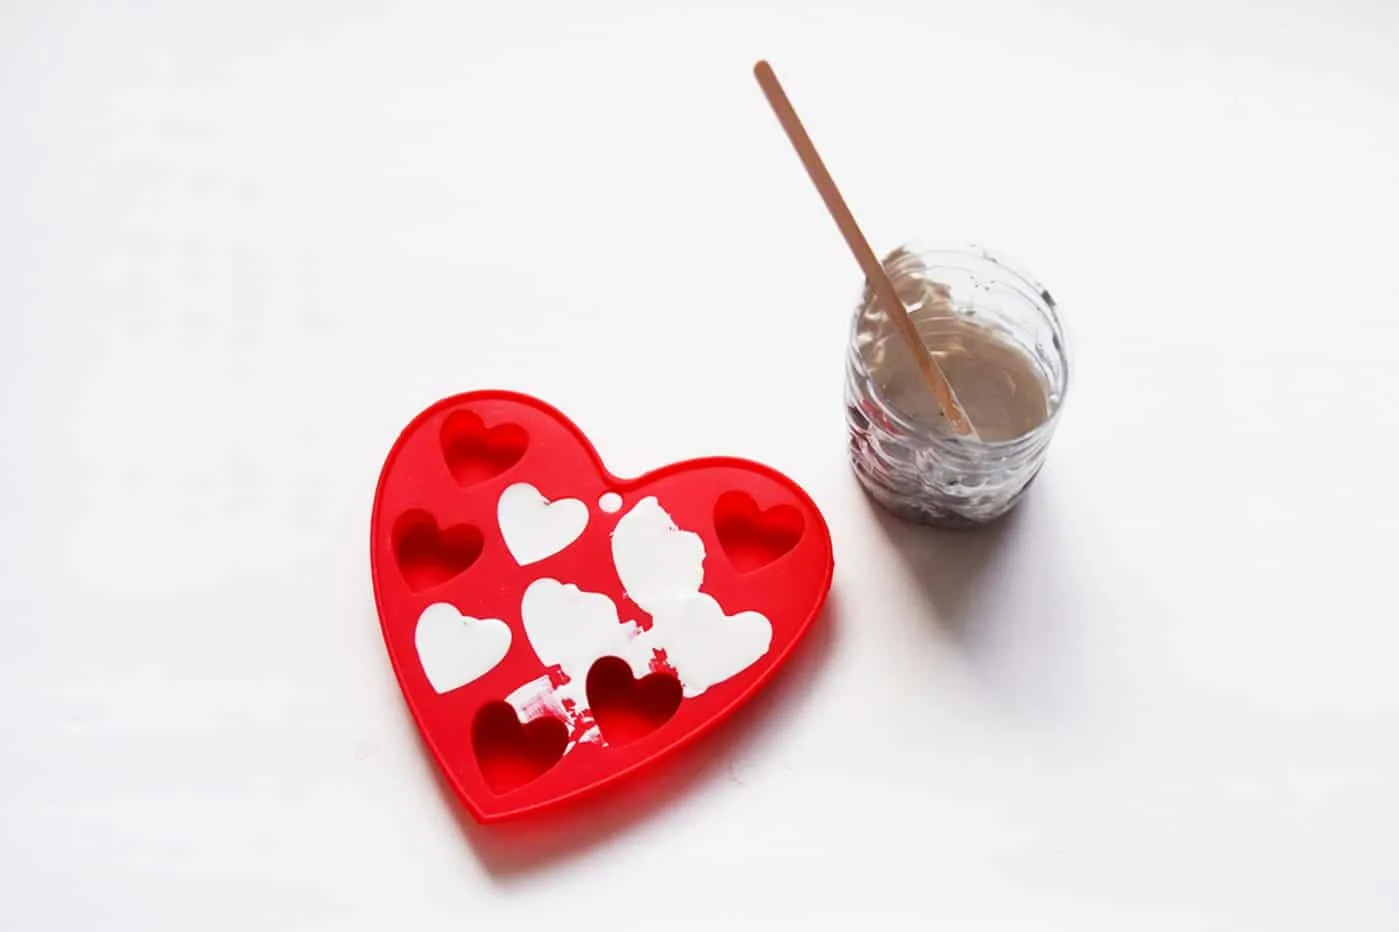
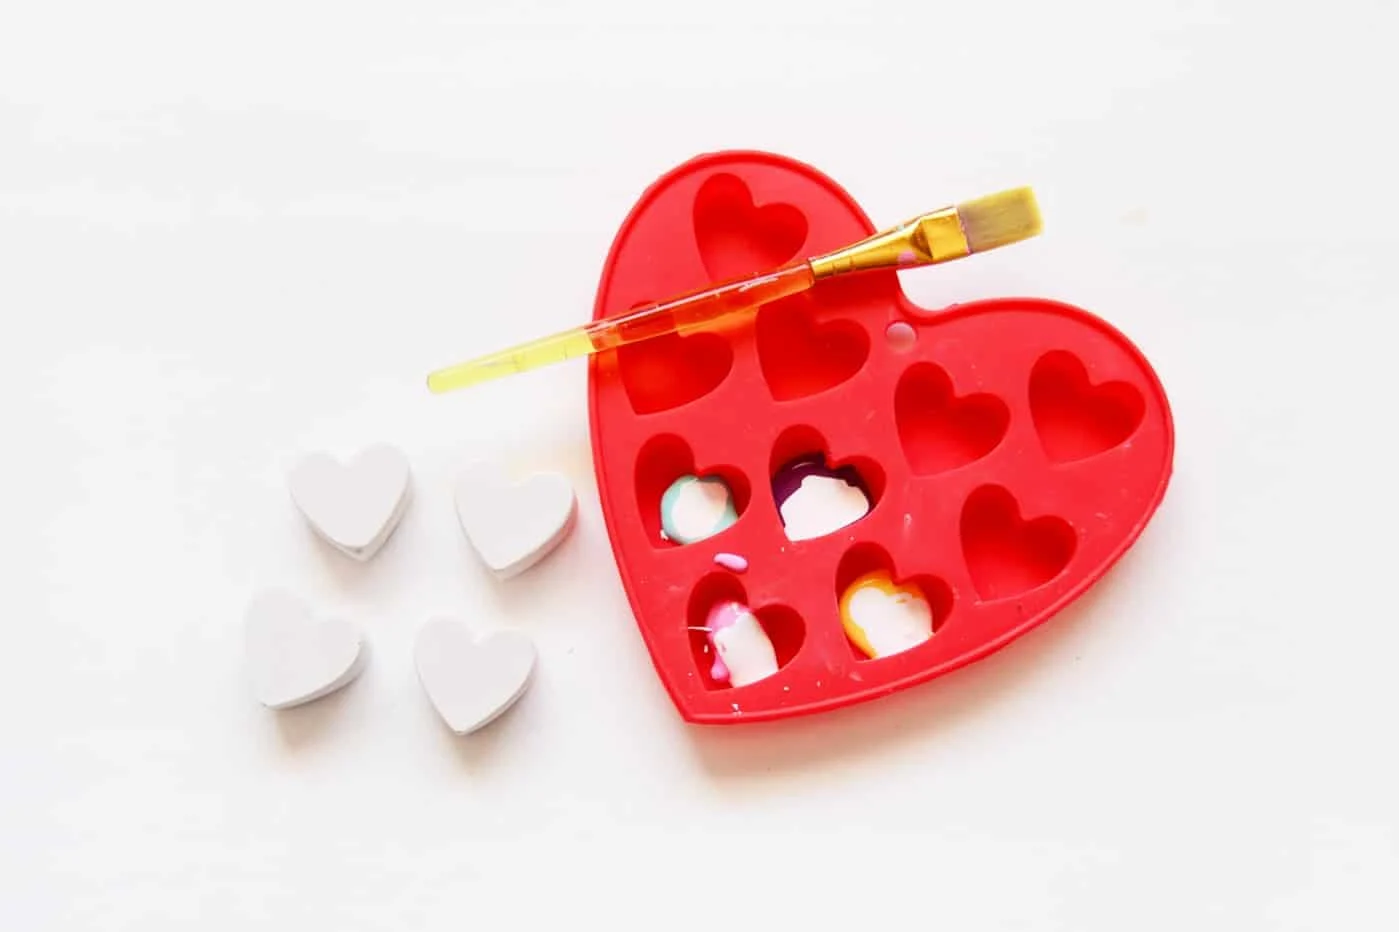
Step 1. Mix up your Plaster of Paris with water according to the package directions and quickly pour it into your mold. Tap it onto the table a few times to level it out.

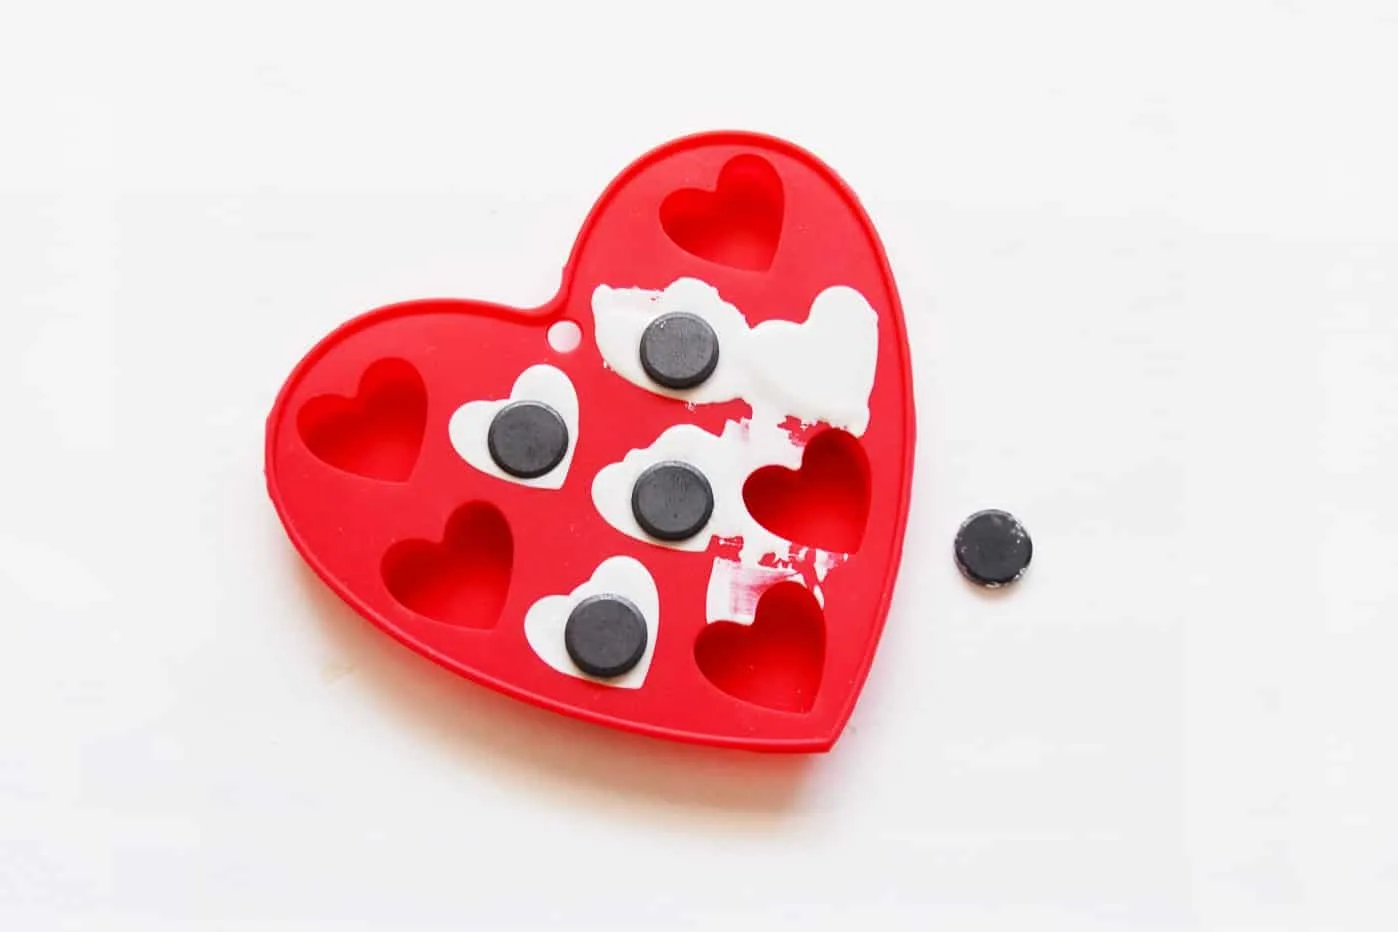
Step 2. Let it set for about 3 minutes and drop the magnets onto the middle of each heart – it should not sink since it has set a bit, if it still sinks, quickly take out your magnet and let it set for another minute or so before trying again. Push until the magnet is level with the back of the heart.
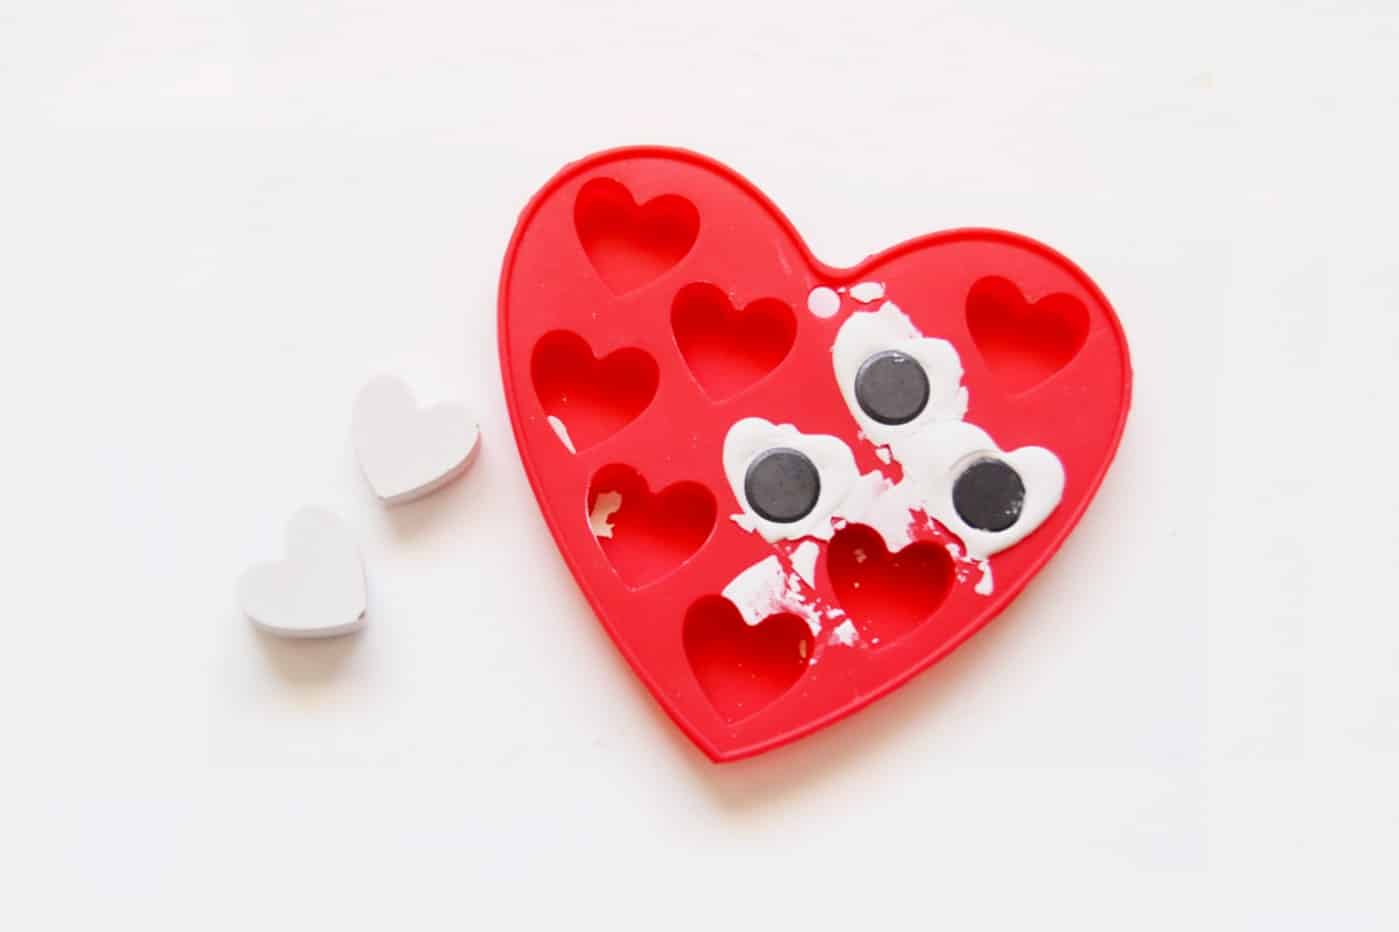

Step 3. Let the plaster set completely, about an hour or two for small objects like this, and pop it out carefully.
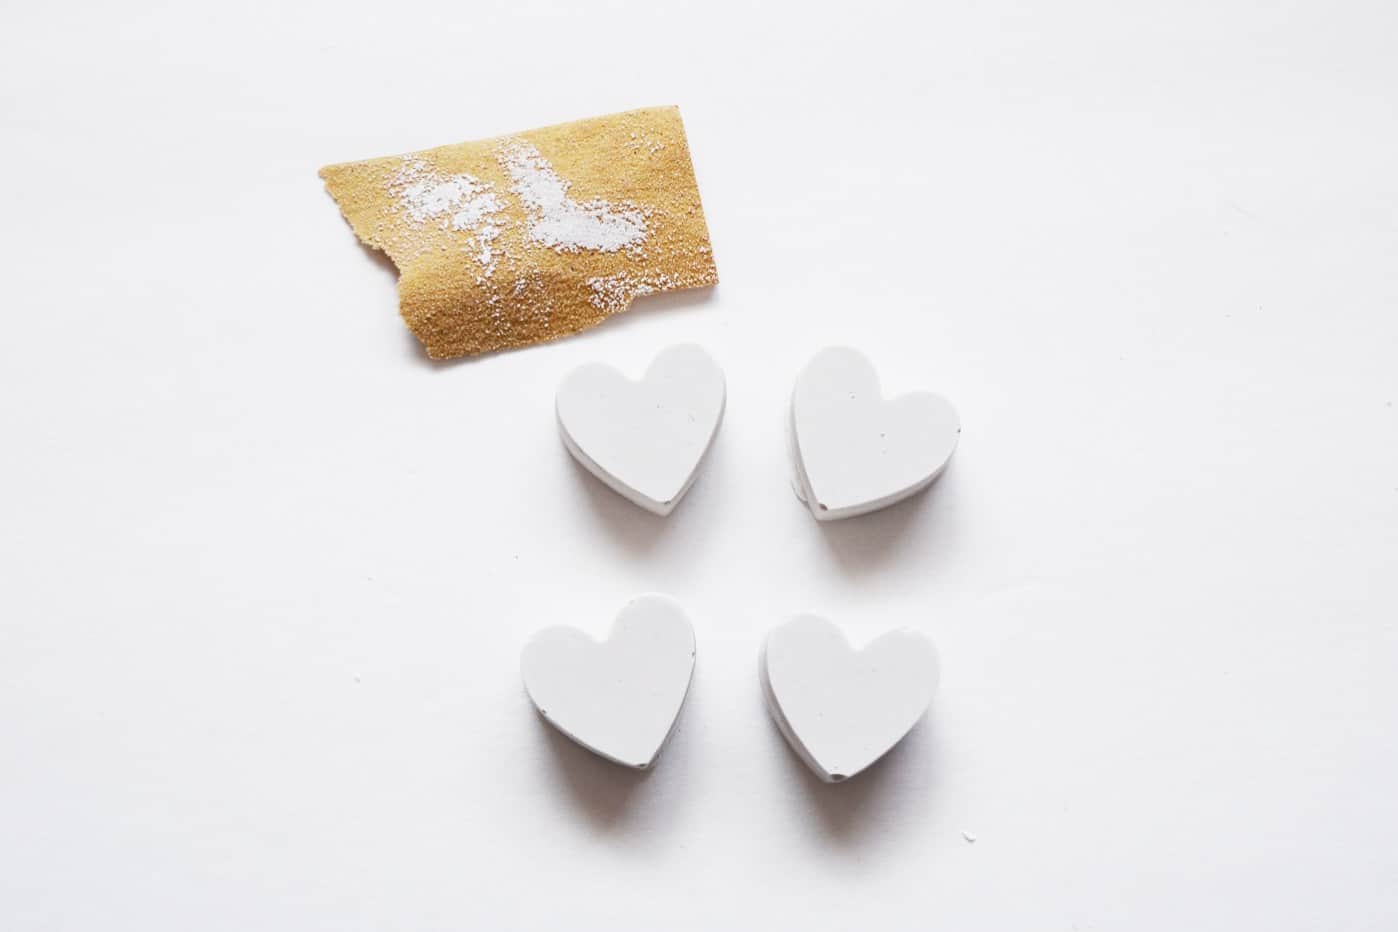
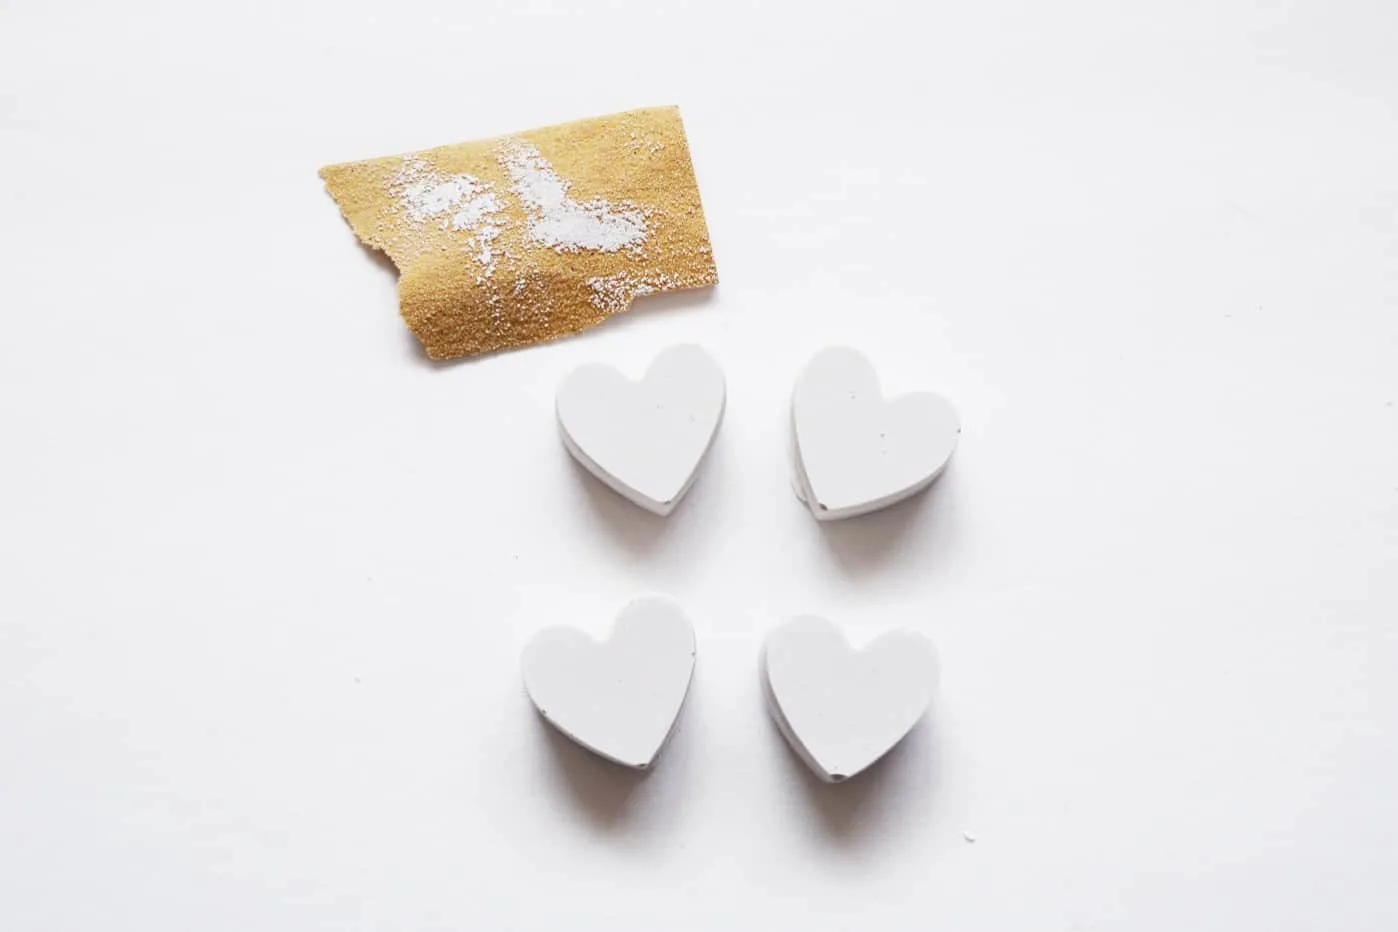
Step 4. If your plaster overflowed, you may have some extra bits. Sand it down with smooth-grit sandpaper.
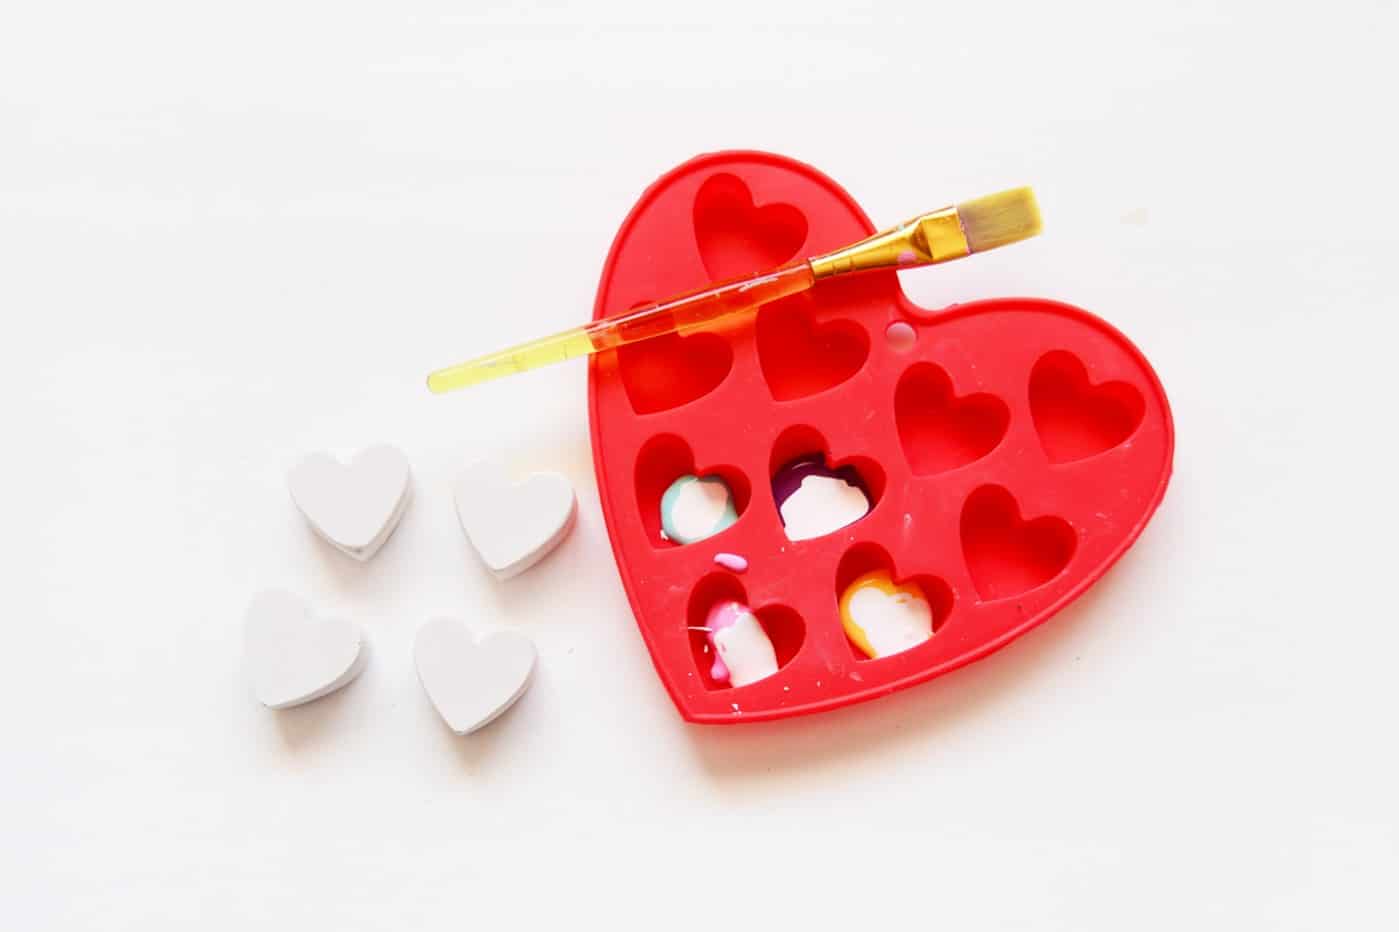
Step 5. Choose your paint colors – I had bright paints, so I mixed them with white to create the popular pastel colors that conversation hearts come in. This is a good way to prolong the use of each bottle of paint that you have!
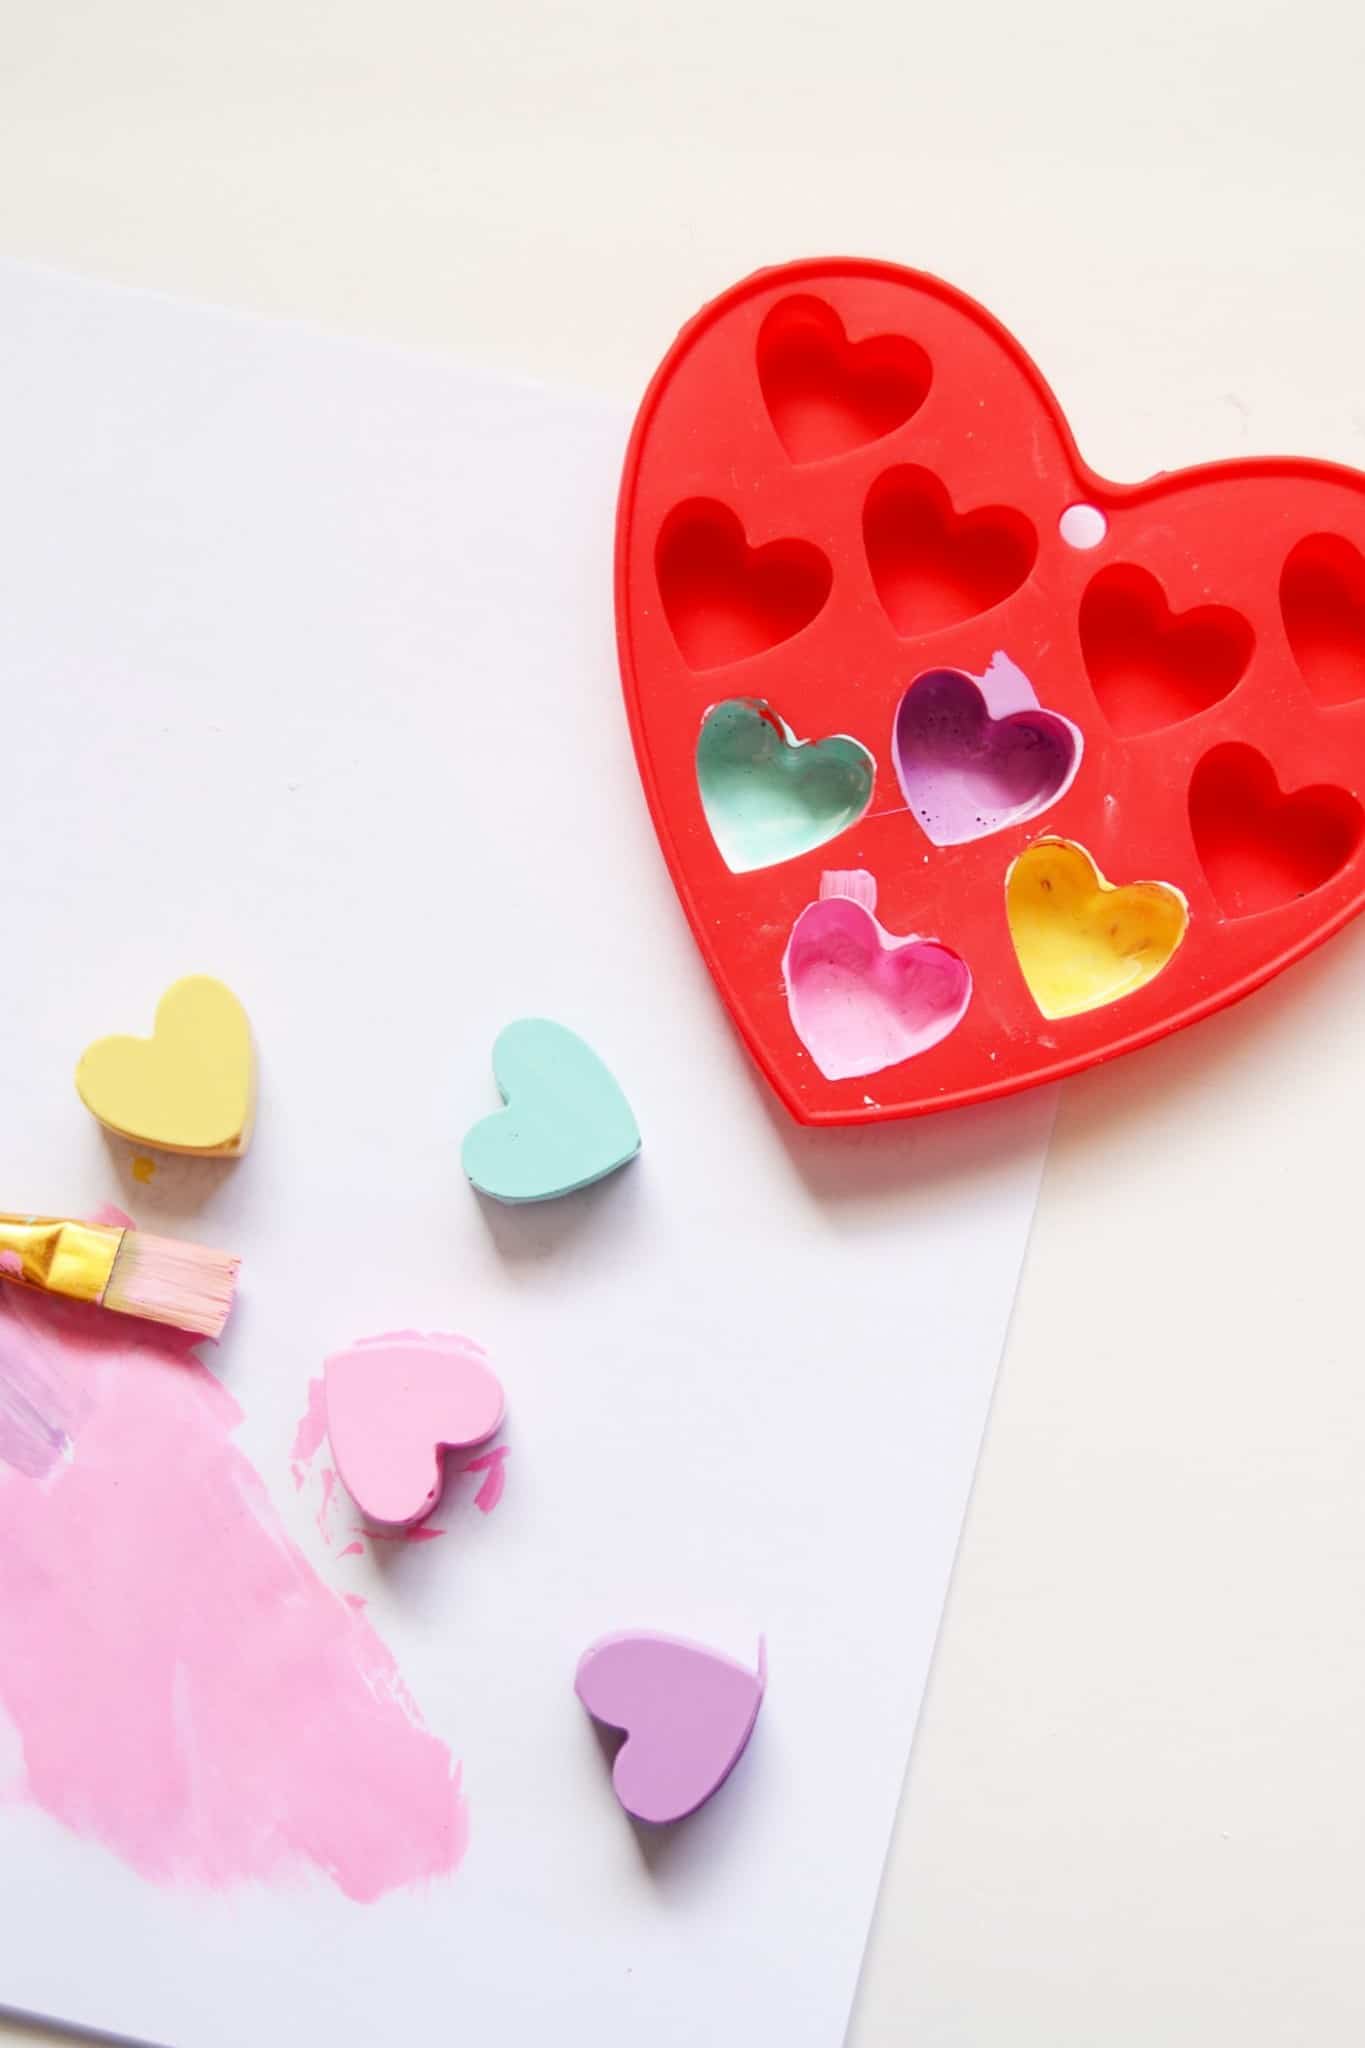

Step 6. Paint, making sure you get inside every nook and cranny. You will want to start painting the sides first, and the bottom, before finally painting the top. Let it dry.
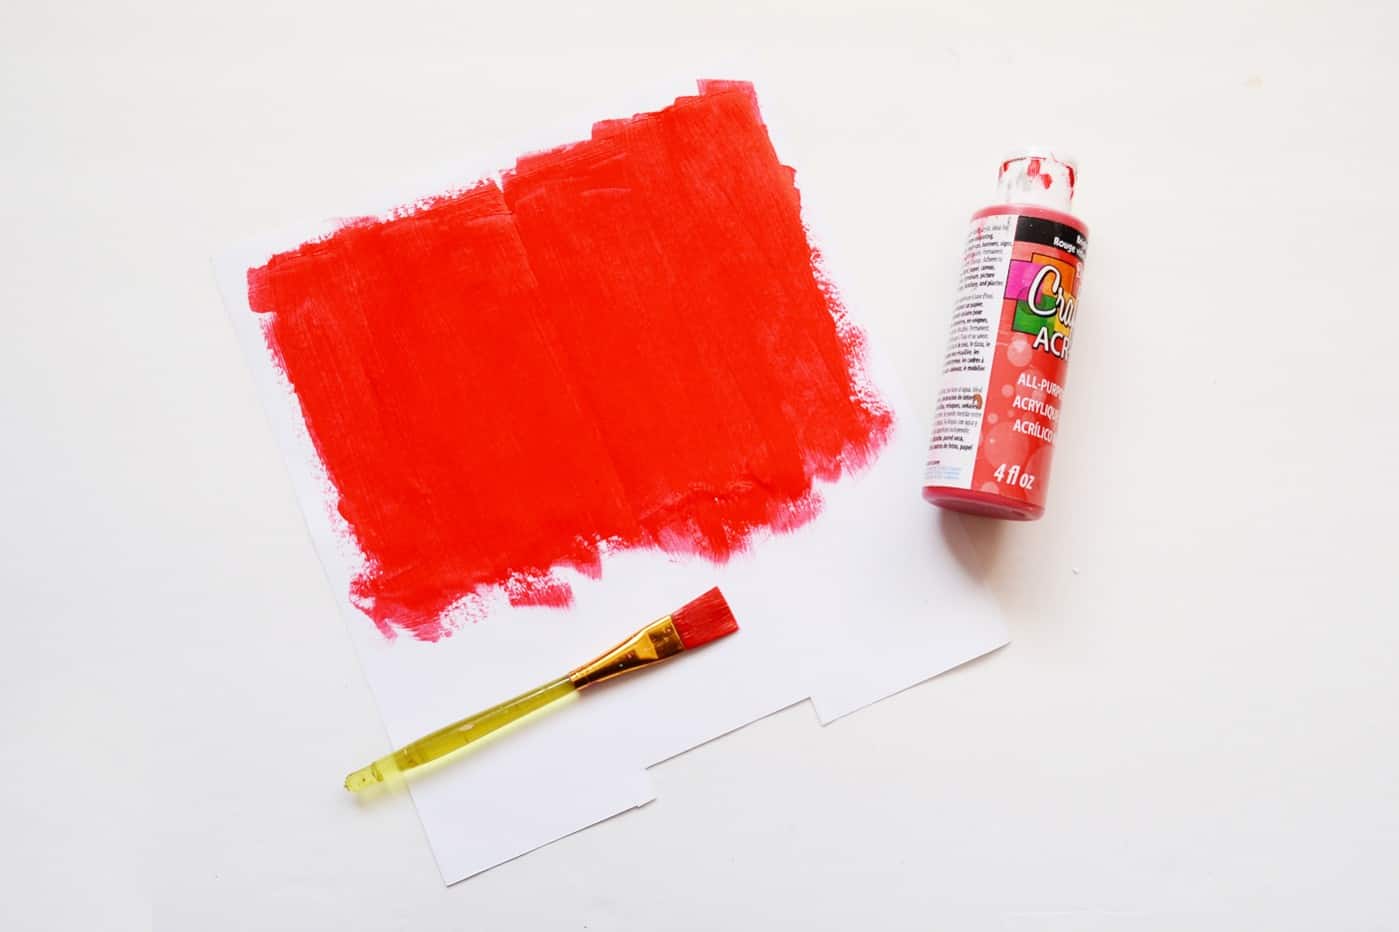

Step 7. While drying, you can work on the letters. You can use red vinyl or a red pen – since I had neither one of those things, I used some leftover sticker paper that I painted red. I also used my Silhouette Portrait to cut some small letters to fit my conversation hearts.
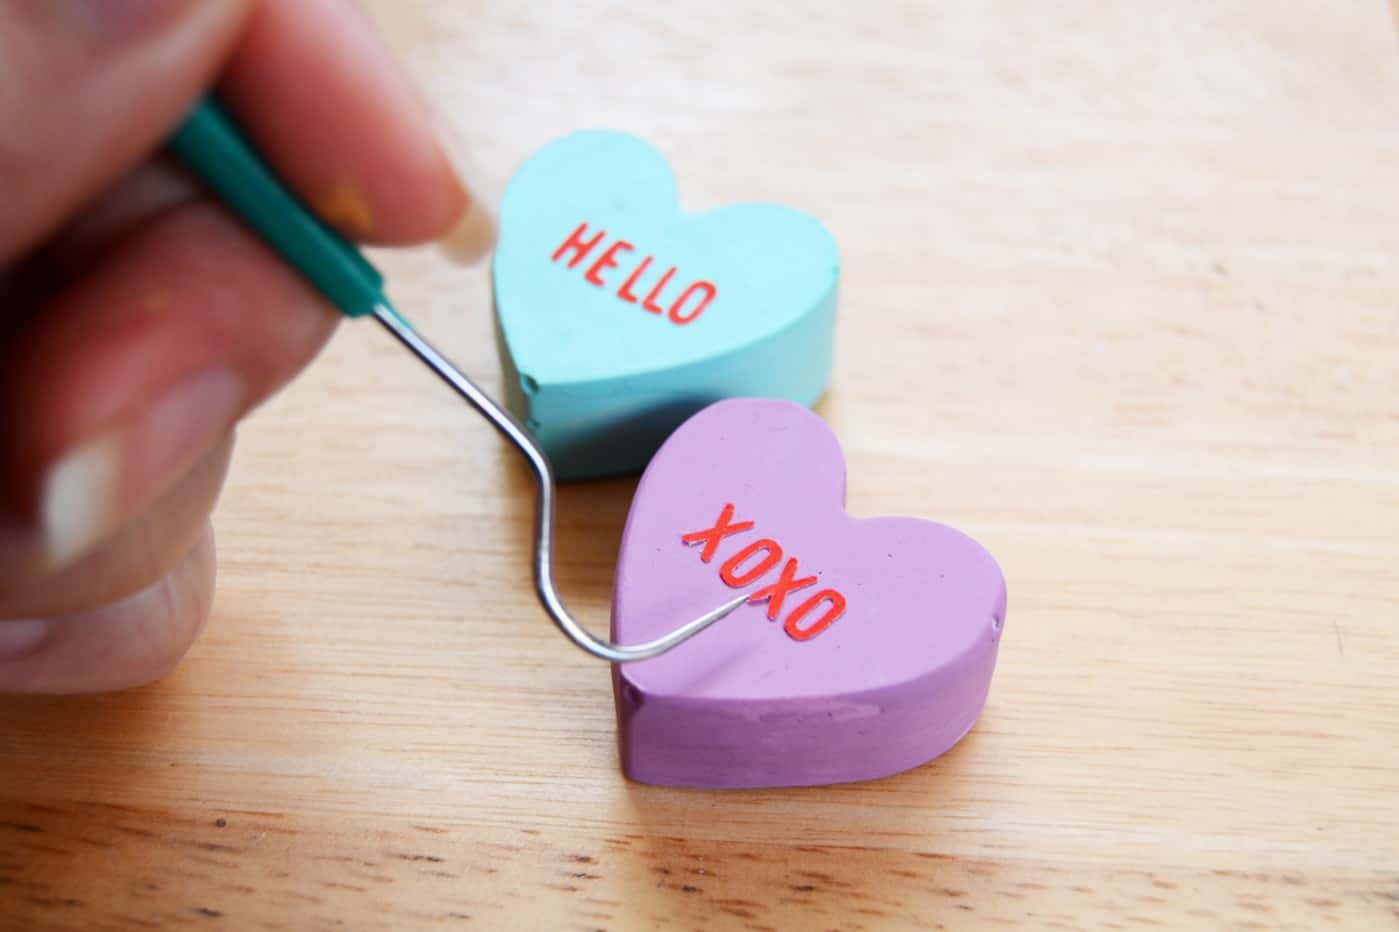
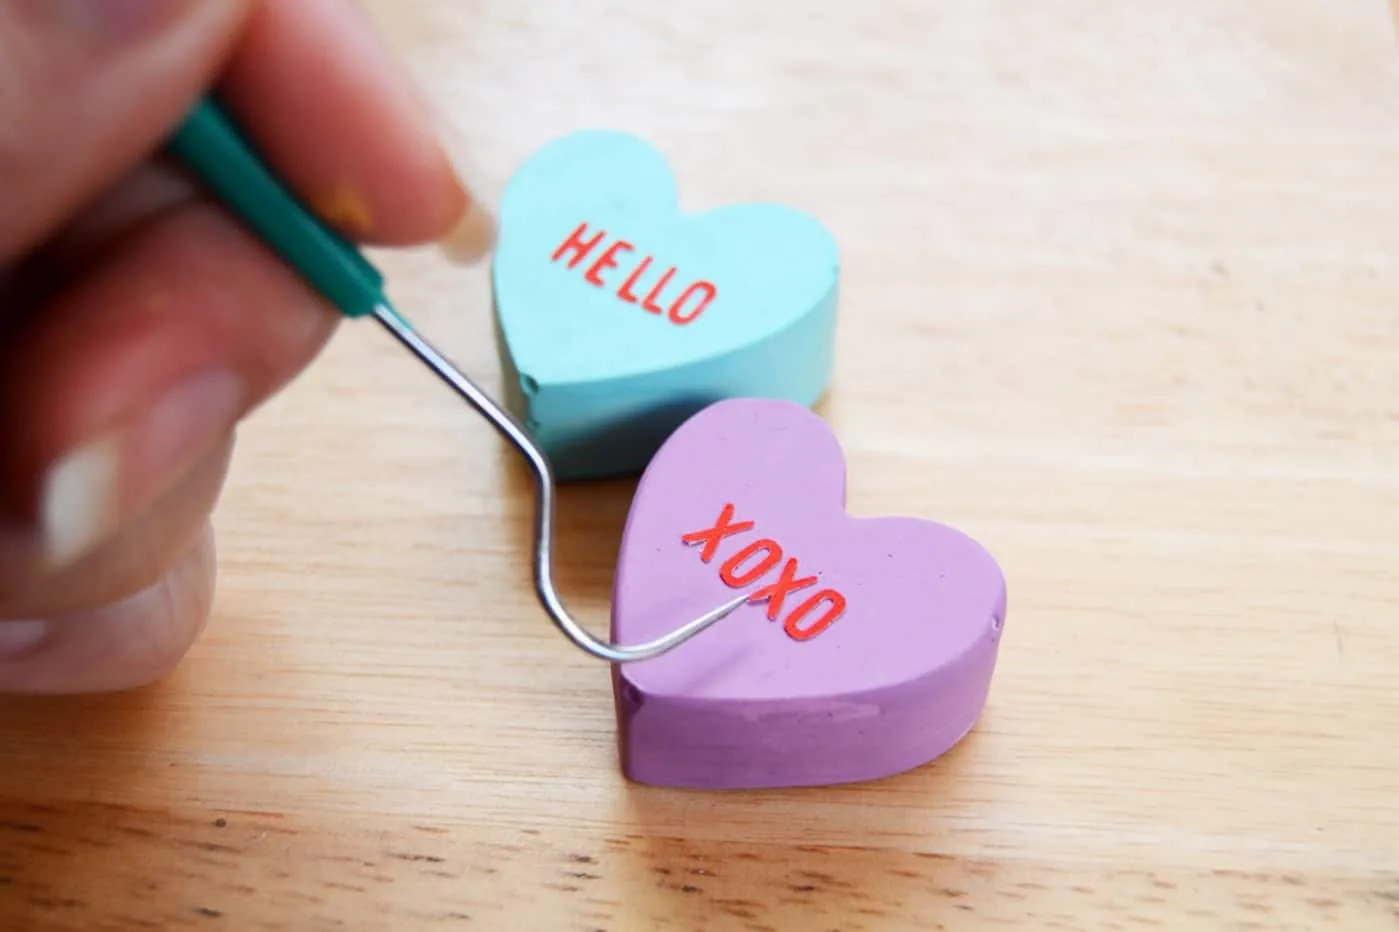
Step 8. Adhere it onto the hearts, using a hook tool to manipulate the letters. Press down gently for the letters to stick, and you are done!
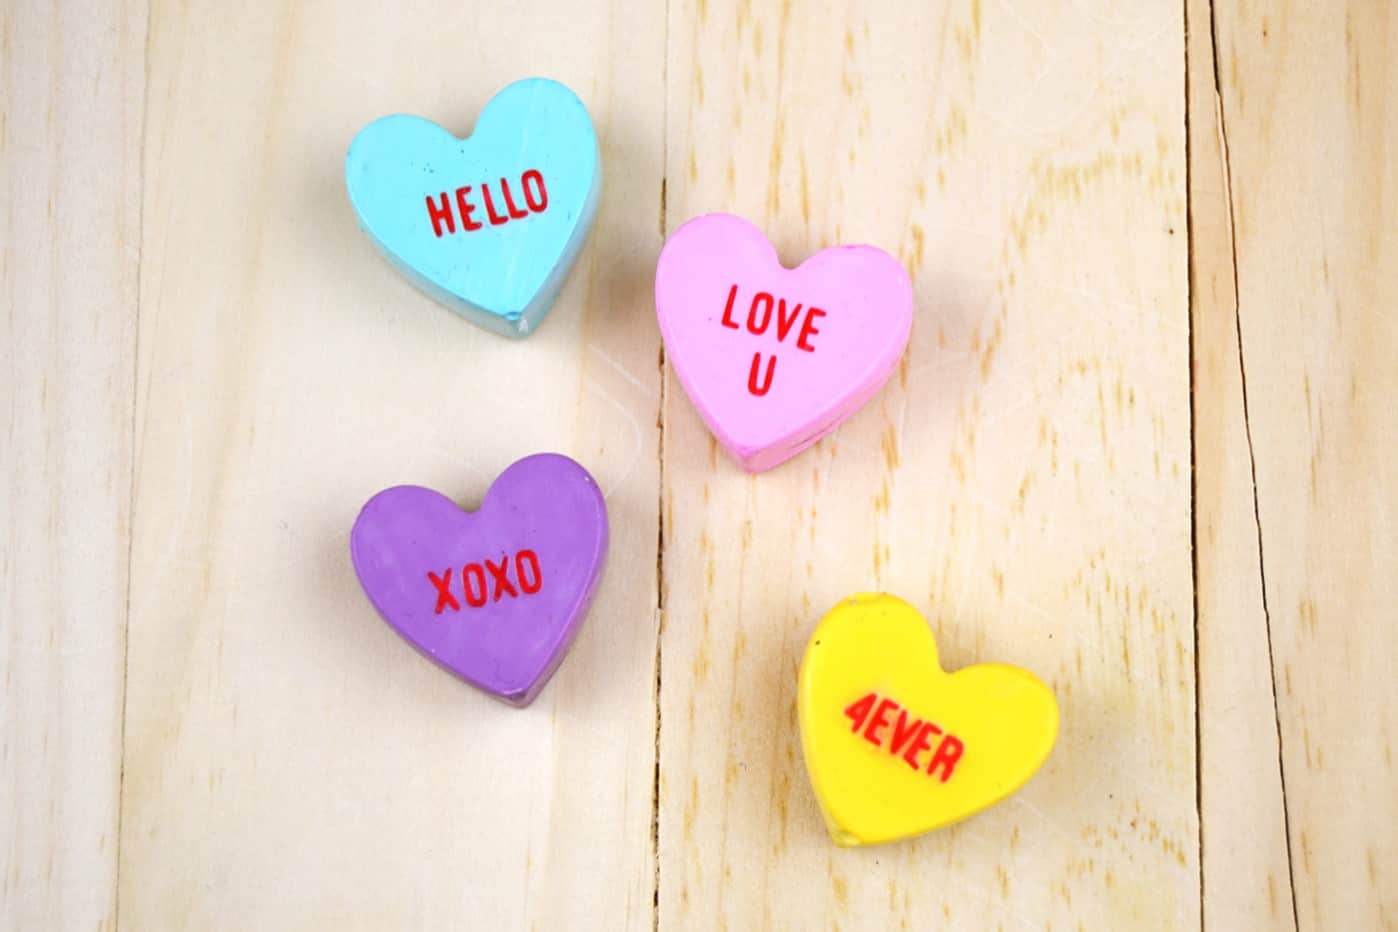

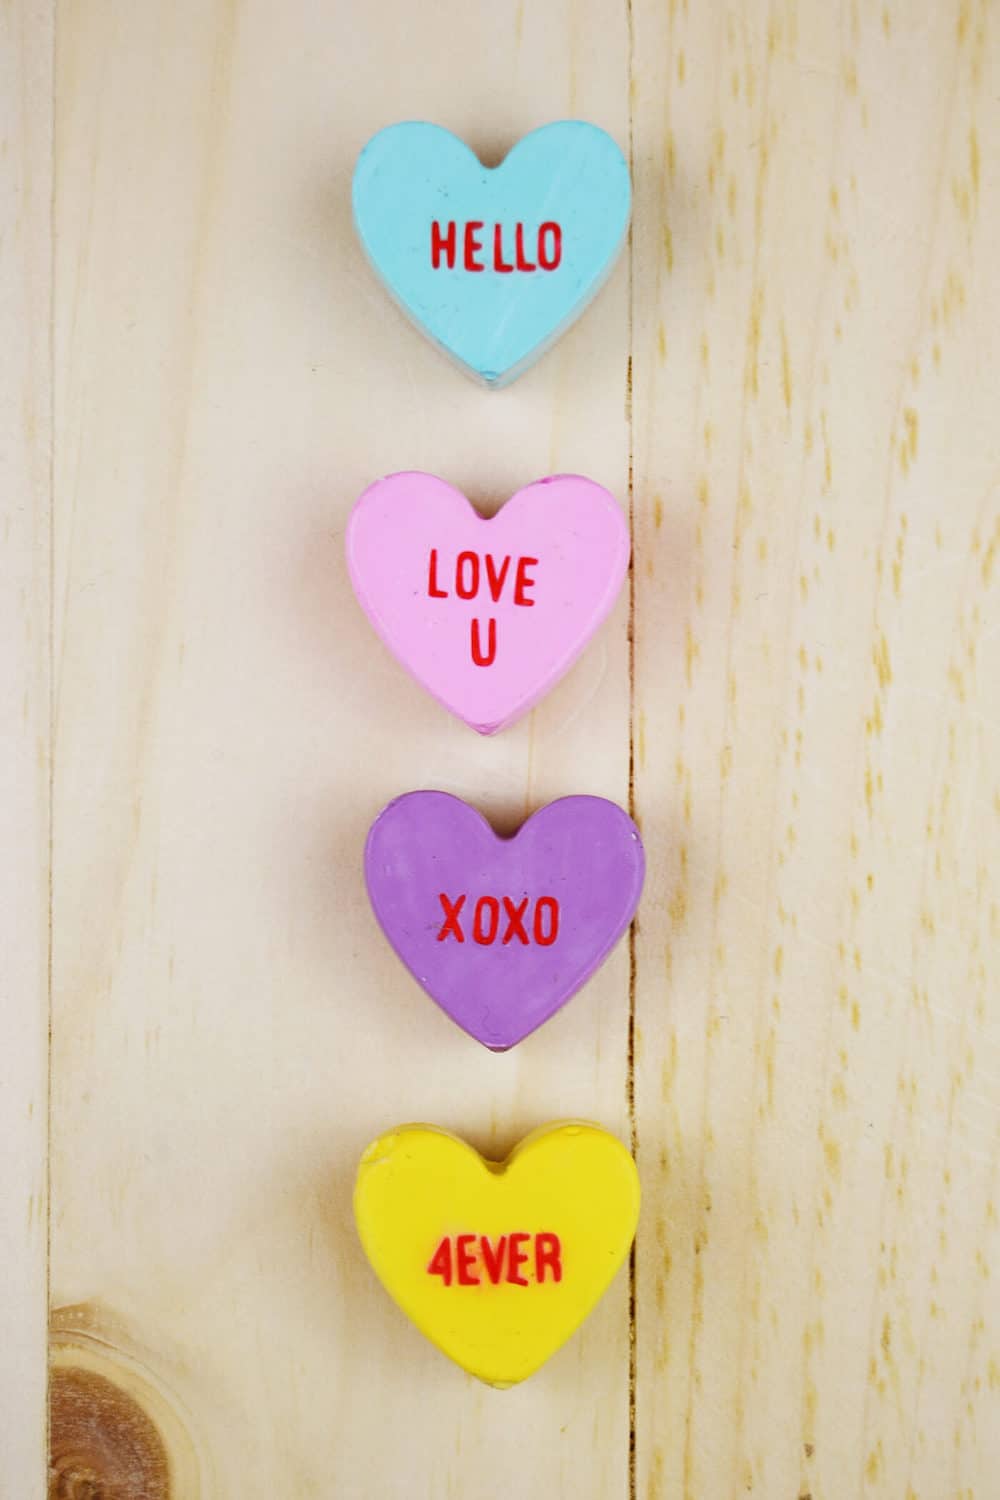
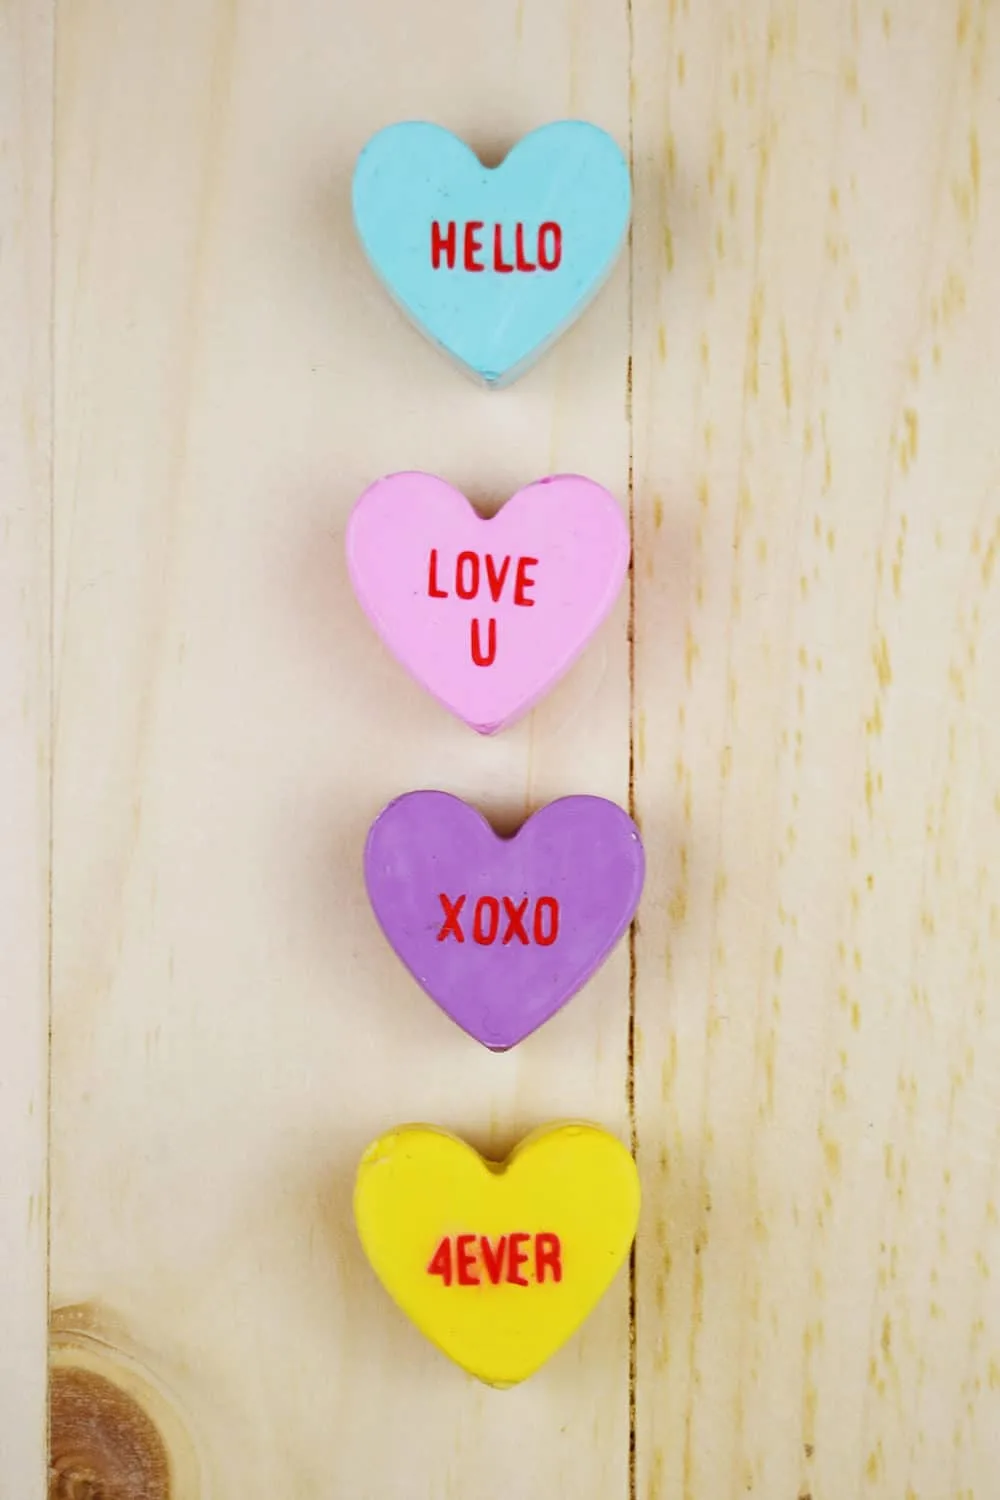
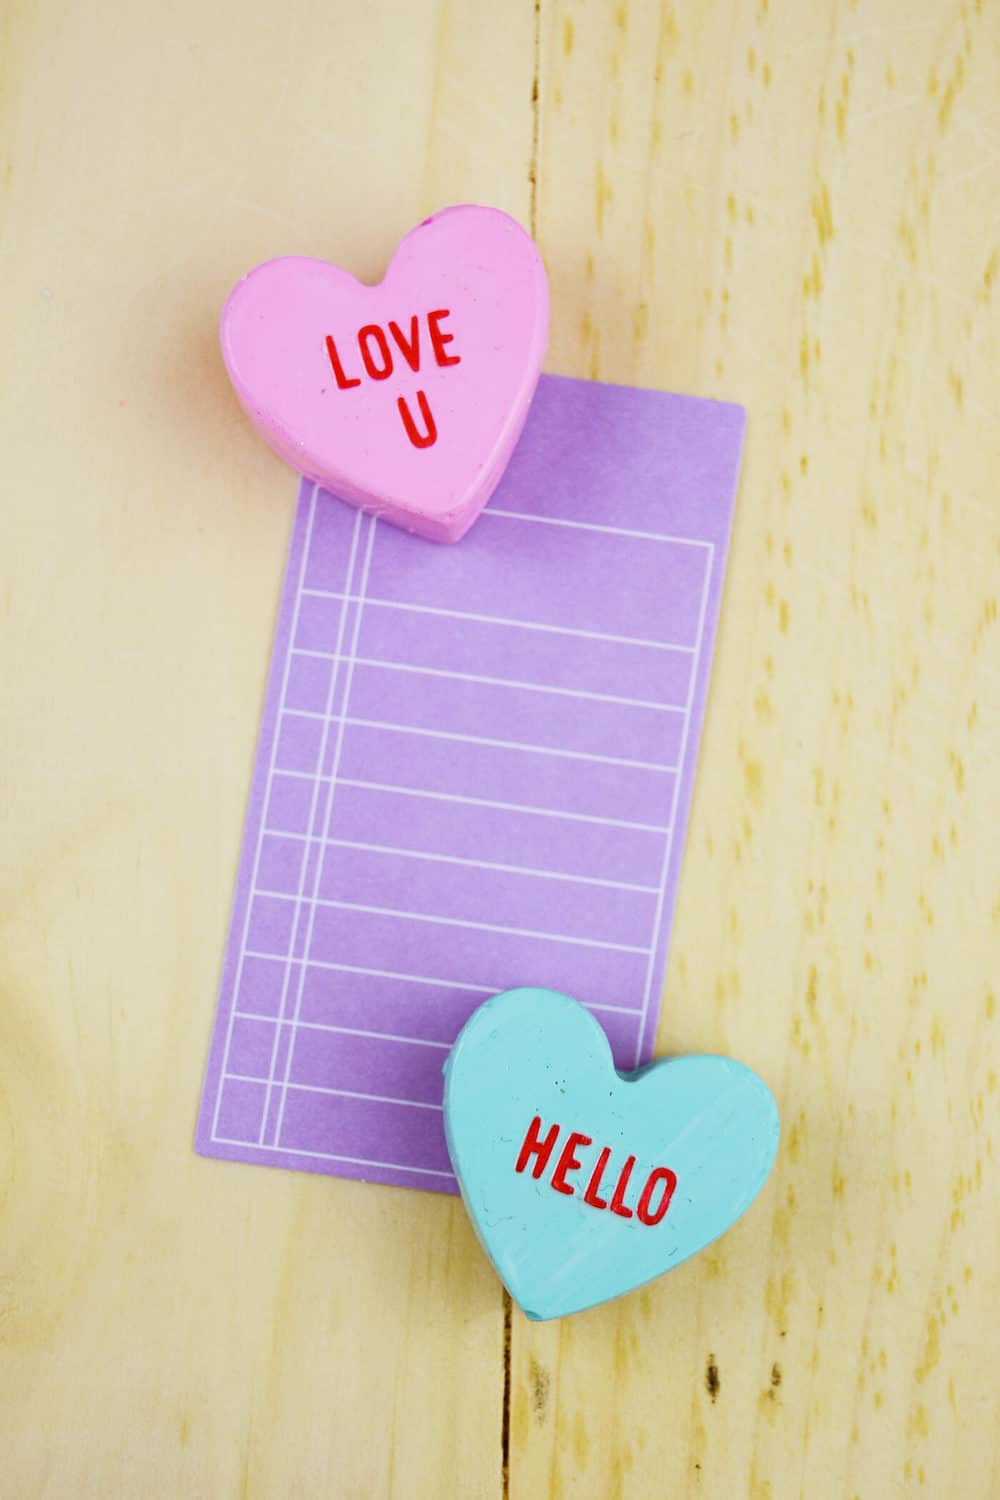


Love how cute these Valentine’s Day conversation heart magnets turned out! Do you like conversation hearts, too? Don’t forget to check out my blog for more creative inspiration, or visit some of the links below. Happy crafting, friends!
Holly
Thursday 8th of February 2024
My son's name is Aki! What a small world.
Paige
Thursday 28th of January 2016
These magnets are so adorable! I want to make some for my son! He would love them!
Paige https://www.thehappyflammily.com/
Aki @ Minted Strawberry
Friday 29th of January 2016
Thanks! They're really fun to make. The heart mold was very inexpensive too!