
Learn all about the electric sander – what it is, how to use it in your DIY projects, etc. You’ll find a hand sander will be one of the most used tools in your DIY arsenal!

For many years I used a piece of sandpaper or a sanding block to smooth wood. This was until I got smart and discovered the electric sander! I’ve always wanted to learn how to use a sander, so one day I jumped in.
We work with wood a lot so having a power sander handy makes every project that much nicer (and smoother!). And it does sand wood WAY more quickly than just a piece of sandpaper alone. If you love working with wood . . . a power sander is an important investment.
What Does an Electric Sander Do?
It gets rid of small blunders in the wood, smooths out bumpy or rough surfaces, and allow for MUCH EASIER painting or staining the wood surface.
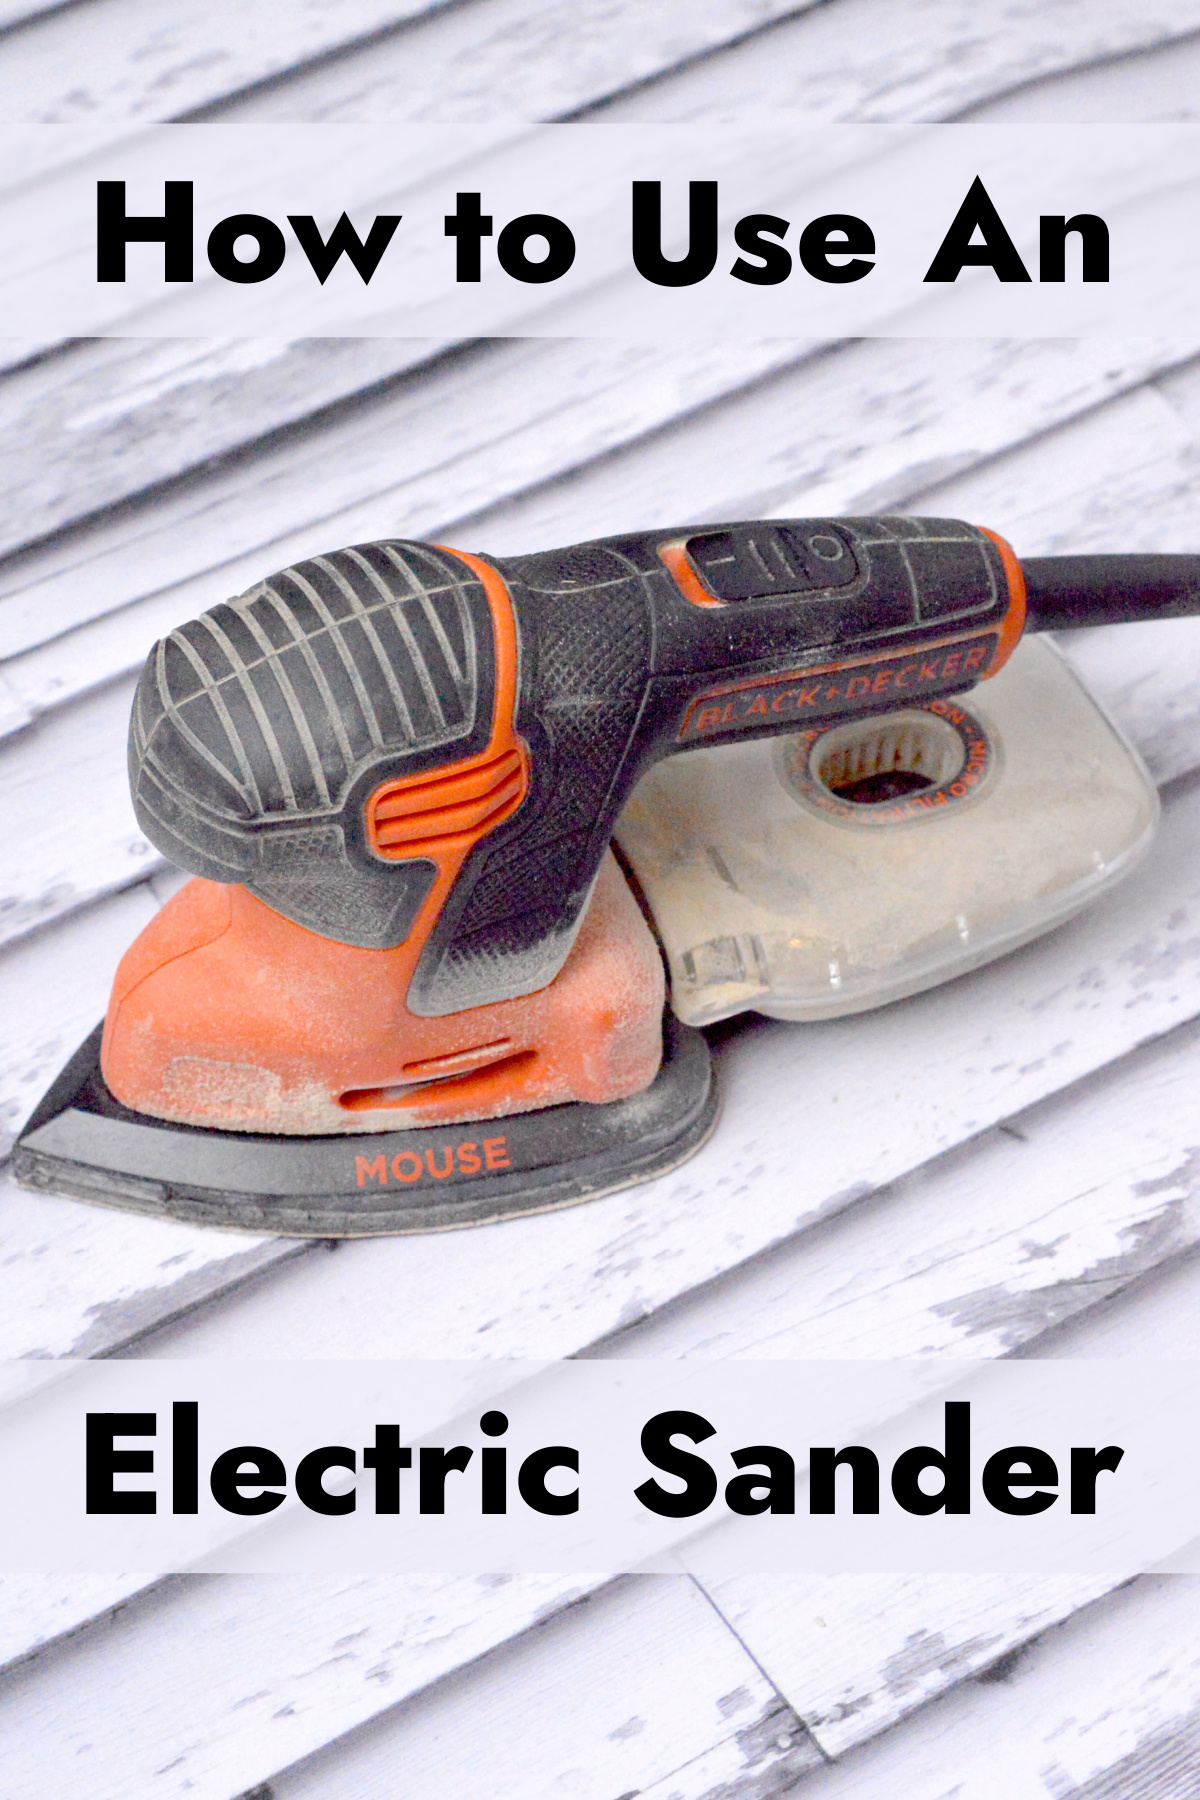
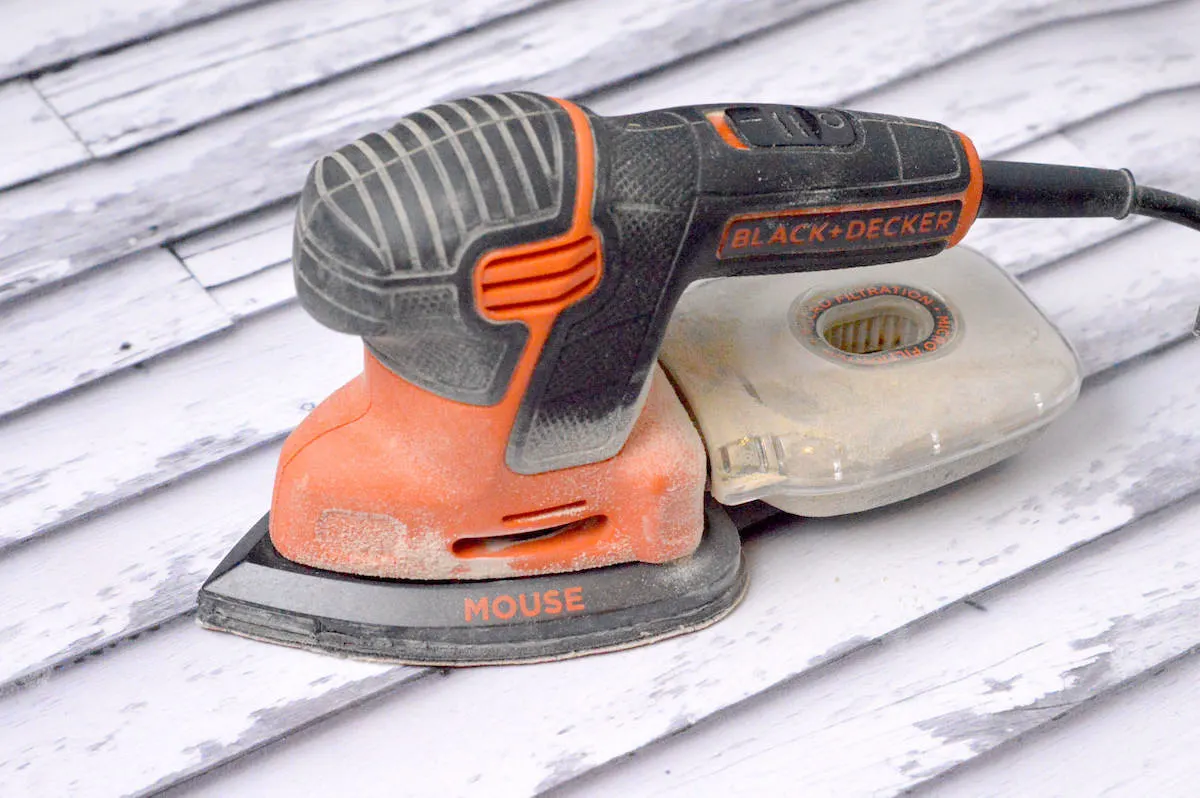
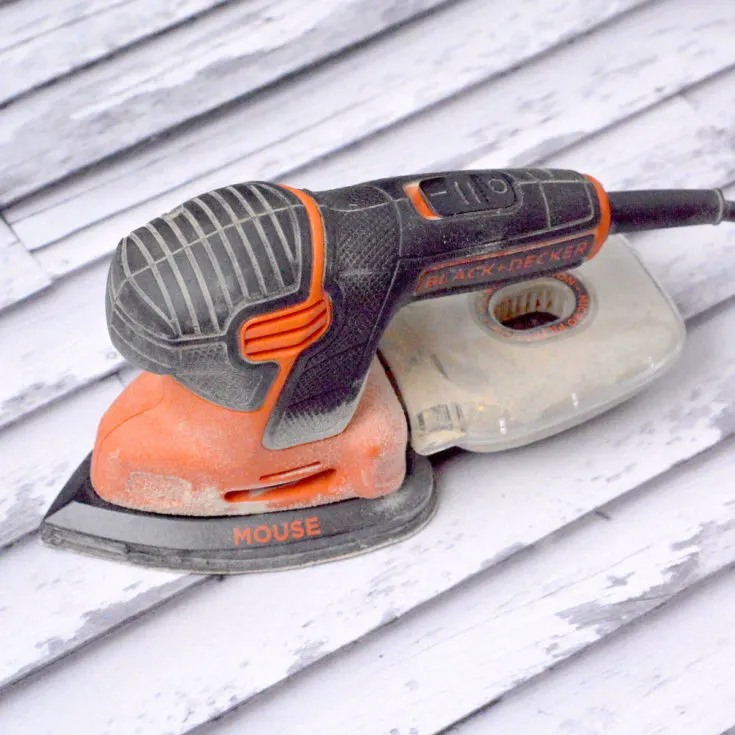
There are various types of hand sanders, and each one has their perks. The one pictured is called a mouse sander (and it’s amazingly priced!).
You will hold it like a computer mouse. If you have hard to reach places on your project, it features a smaller tip in order to reach those areas.
Hand-held sanders are quite cheap and nifty for any wood project. They are even safe for kids to use with adult supervision.

Operating an Electric Hand Sander
While the sander is on, the sandpaper moves rapidly. You might think if your hand touched the sandpaper that it would hurt.
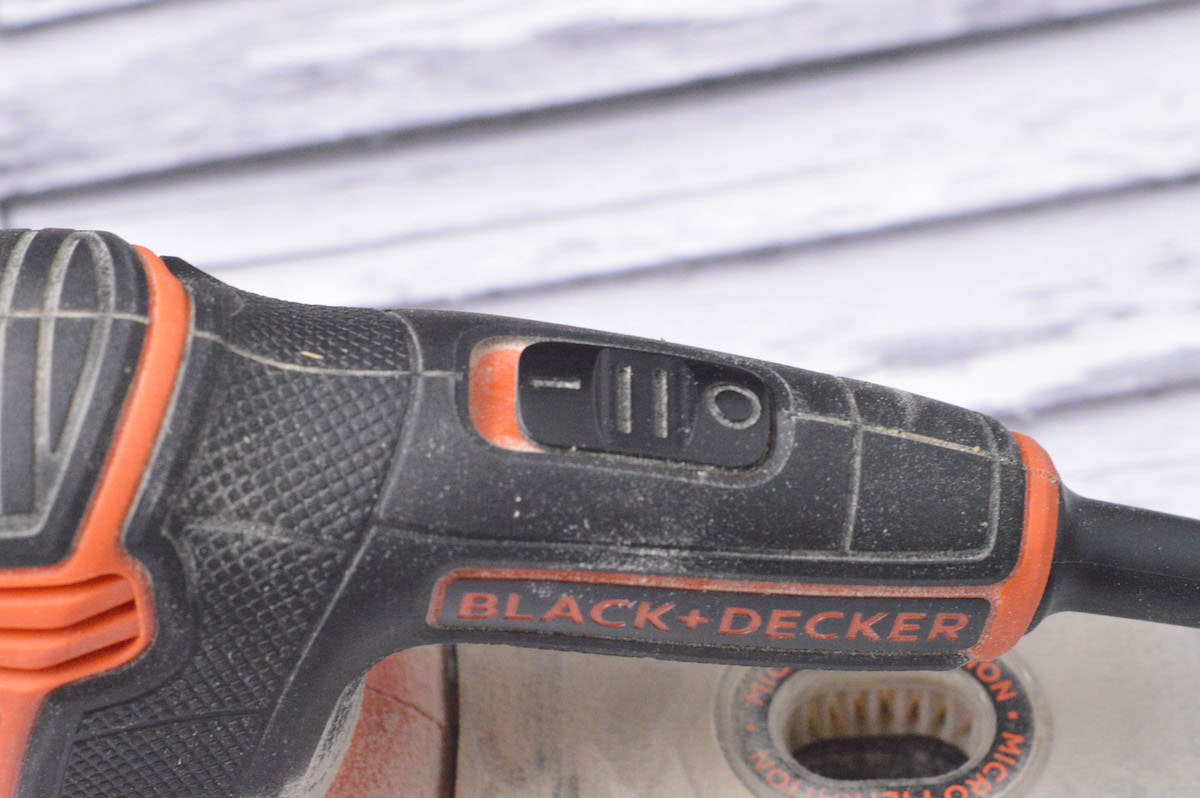
However, no harm will come to you if your hand or anyone else’s hand comes into contact with the paper while the sander is on. The sander in the photo is electrical which means it has to be plugged in.
Once plugged in, there is a switch that must be turned on in order for the sander to begin working.
Type of Sandpaper to Use
There are various types of sandpaper available for the types of wood or projects you are doing. The roughness of the sandpaper is referred to as grit.
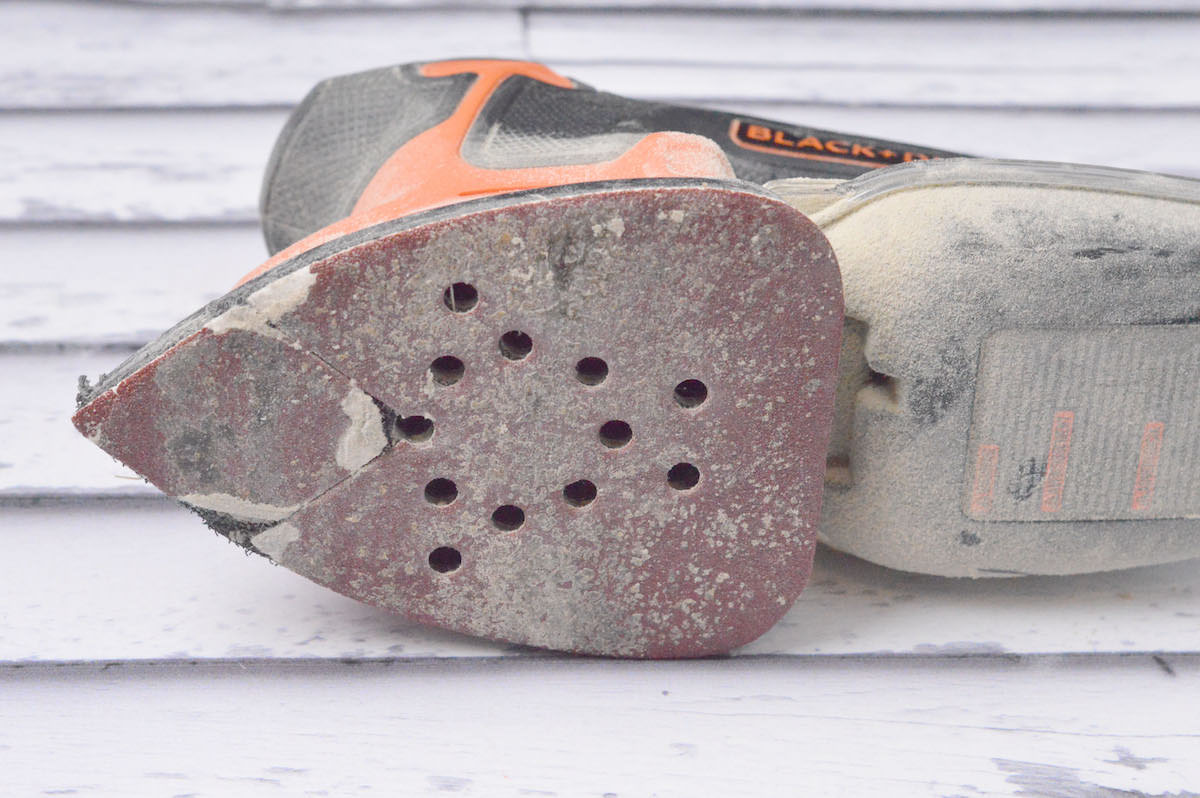
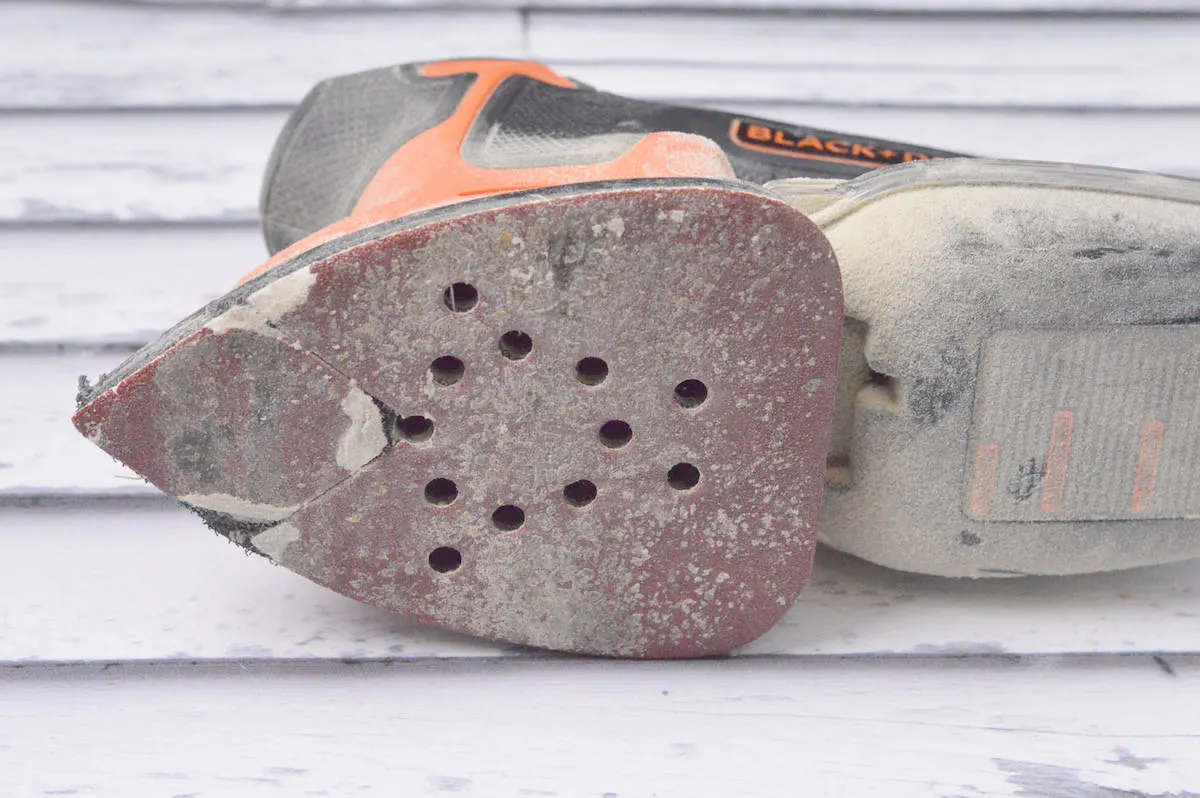
The lower the grit number, the rougher the sandpaper. Most sanders have a specific shape of sandpaper that must be used instead of just a random sheet of sandpaper in general.
To change out the sandpaper on your sander, simply peel off the old sheet and press on the new one. Most sanders have a velcro-type material that holds the pad.
For our sander, we have to purchase the sandpaper that is shaped to fit our specific model number in order for it to work properly.
If you are wondering which grit sandpaper you’ll need for your project, read more here.
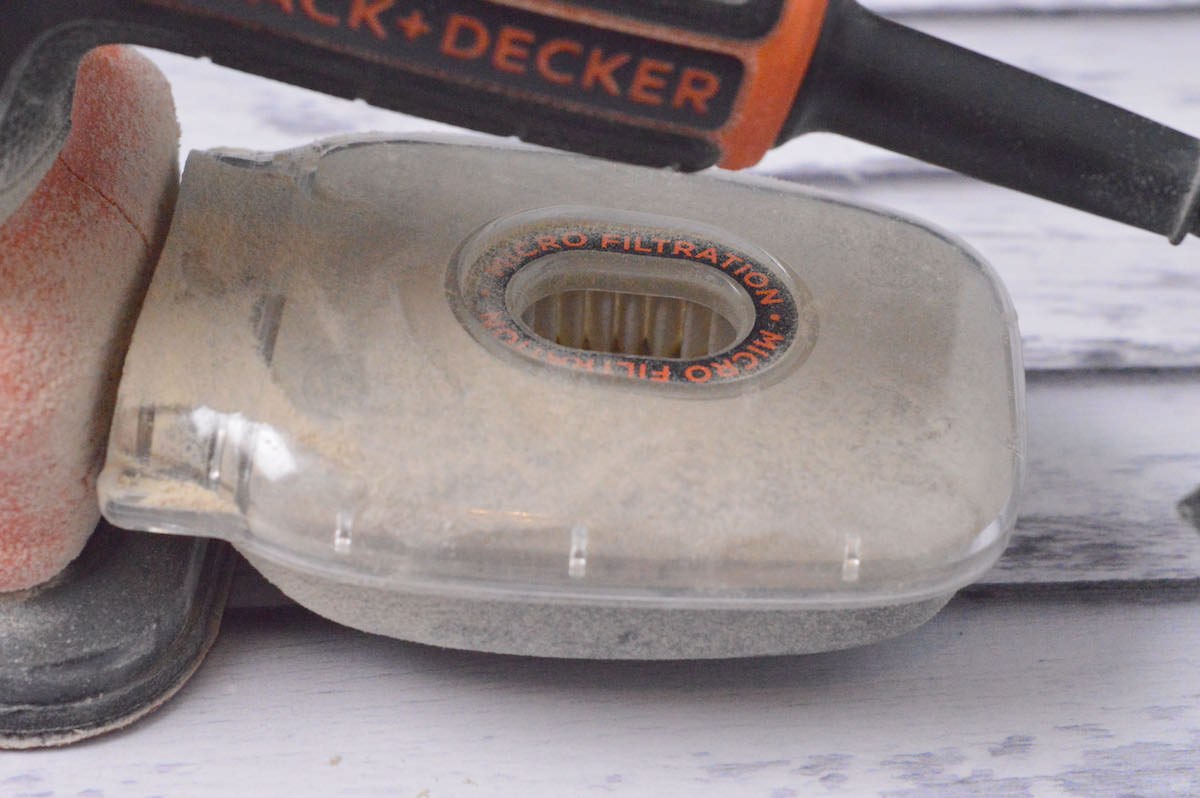

One thing I highly recommend is purchasing an electric sander with dust collection. It doesn’t catch every particle of dust, but it catches a lot of them.
This is CRUCIAL especially if you have respiratory problems or allergies like I do. You don’t want to irritate your sinuses!
If you are in a sensitive group or have several problems, I recommend wearing a mask in addition to purchasing a sander with the dust trap.

How to Use an Electric Sander
Each sander varies based on model and brand. Be sure to check your manual for any slight differences and read it thoroughly.
One thing all electric sanders have in common is that the operator needs to do little work to operate it. There is no need to press too hard or exert yourself while sanding.
When sanders turn on, they vibrate quite a bit which makes it easily glide across wood as soon as you touch down. This results in a self-propelled action which reduces work for the operator.
Simply press the sander back and forth lightly across the surface and let the sander do the bulk of the work. It’s that easy!
Once you’re done, brush off your surface and then remove excess sanding dust with a tack cloth. I thought I was a smarty pants and could get away with using a paper towel to wipe off sanding dust before painting; I ended up with grit in my paint. The tack cloth is pretty important, so learn from my mistakes!
It’s very easy to get a hand cramp while sanding because you feel like you should be doing more so you push too hard. Just let the sander do most of the work and give your hand a break.
Believe me, the hand cramps stink and it makes it hard to continue the job at hand. The only time you should be pressing harder is when there are major rough spots or blemishes.
If normal sanding doesn’t get rid of it, then press a little harder in order to go deeper into the wood.
You’re now a sanding master! To sum up an electric sander . . .
What it is: an electronic, plug-in device used to smooth wood and similar surfaces
When to use it: any time you need to remove blemishes from a wood surface or prepare a surface for painting
What you need: the sander and the correct grit sandpaper, in addition to your surface. You’ll also want a tack cloth to remove any additional sanding dust.
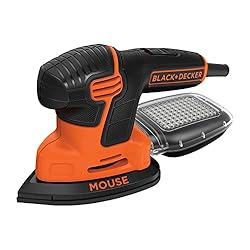
Here’s the Black & Decker electric sander we featured if you’re interested:
I’d love to hear your sanding tips in the comments!
Electric Sander

Learn how to use an electric sander - great guide if you're new to power tools.
Materials
- Tack cloth
- Sandpaper - grit of your choice
- Safety gear
Tools
- Electric sander
Instructions
- Begin by making sure the switch to the sander is an off position.
- Install the correct grit sandpaper for the job into the sander and make sure it's secure.
- Plug the sander into the wall or extension cord. Put on protective gear.
- Place the sander onto the work surface and hold securely. Turn the switch to the on position.
- Glide the sander across the surface with medium and consistent pressure. Continue across the surface until you've sanded as much as desired.
- Wipe away any sanding dust with a tack cloth.
Notes
Sandpaper Grit Guide
- Fine: 150-180 – this can be used to finish or refinish a surface
- Medium: 40-60 – this can be used to remove paint or stain from various surfaces
- Coarse: 20-36 – this is best used for removing an existing finish or smoothing a rough surface
We’ve got a wealth of information on various power tools – check out our latest articles below:
Linda Smith
Saturday 17th of September 2022
I have an older palm sander & the pads wore out. i bought some heavy duty felt & cut it to fit. It looks like the old pad was glued on so bought some glue that works on metal & cloth & can take heat up to 175 degrees, but i can't find any info on how hot the sander gets. Its so old that the name on it is gone, but it still works.
Amy
Tuesday 20th of September 2022
Hi Linda! I think you'd have to try that one at your own risk! I'm not really sure and the manufacturer probably won't want you to try that :o
E.Allan Turner
Sunday 27th of February 2022
An important consideration: Never press harder than absolutely necessary. The velcro pads and their cushion are susceptible to heat caused by friction pressure, and can melt away, making the tool useless. In addition, the Black and Decker product shown has a weak support system which will fail prematurely under those conditions, and there is no replacement part for repair. (Read..'throw away tool')
Anne Edwards
Tuesday 17th of August 2021
We have a mouse sander but don't know the make. It is very useful. The problem we have is getting the velcro sandpaper to fit it.
G
Sunday 31st of January 2021
What happens if I use palm sander on drywall?
Tammy
Friday 5th of August 2016
Nice to also include you cannot run a small sander or even a big one very long because the motor will get hot and on the small mouse one's, you can go through them (ruin them; will burn motor up completely) if used in larger area's, say kitchen cabinets or a lot of trim work of interior home moulding and such.
Amy
Friday 5th of August 2016
That's a great tip Tammy! I will edit to include when I get a chance. Thank you!