
Do you like working with cork in your crafts? I love the natural look of this unique material. Here are my top five tips for being successful.

Cork is one of those creative surfaces that I don’t give enough attention to – but when I work with it, I love it!
I appreciate natural materials, so I like the look of cork in general. I also like the texture it adds to a project just because of the pattern of the material.
Before I give you my tips, I wanted to talk about the forms that cork comes in just so you are are aware:

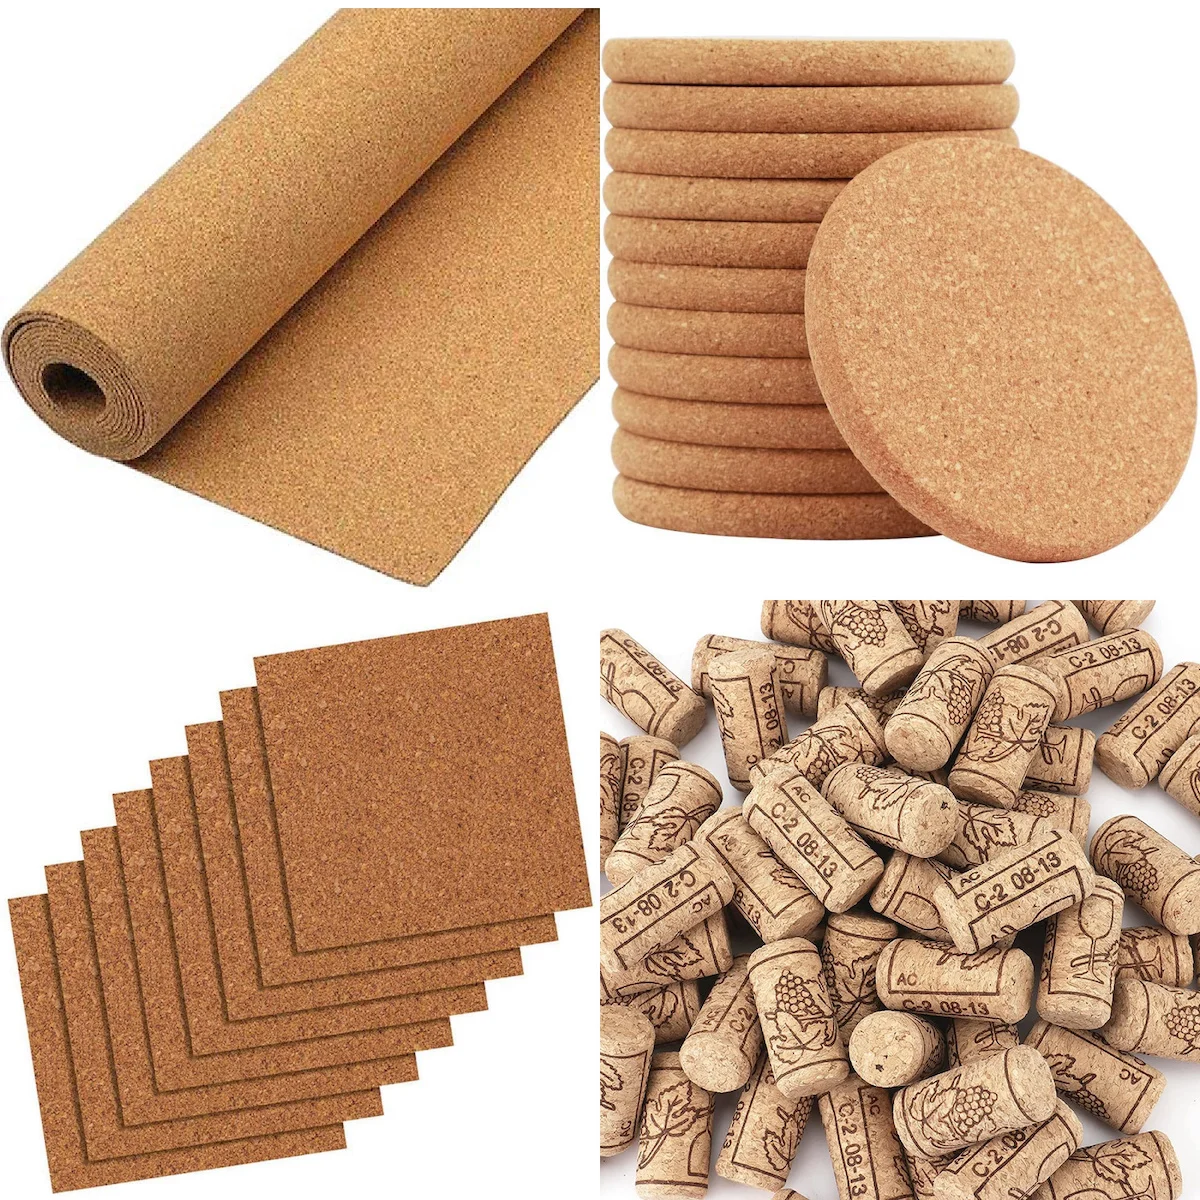
You can typically get it in rolls, rounds (like coasters), tiles, and then there are also wine corks (you can recycle but you can also purchase). There are many other options too, these just happen to be the most common.
It’s durable and you can use it for so many things from jewelry to home decor . . . and it’s lightweight. However, there are some tricks for using it successfully. Please read on for tips!
Tips for Working with Cork
1. Pick the right thickness for your project.
Cork comes in a variety of thicknesses – from very thin to as thick as wine corks. Make sure you carefully select the thickness that is right for you.
Thinner cork is harder to cut without tearing, and thicker cork requires a tougher blade.
I typically choose cork that I can cut with a craft knife, and layer it up and glue it if I need to stick pins into it (like if it make a corkboard).
If you use a thicker cork in a project, you will likely want to use a heavy duty craft knife.
That way you can cut through smoothly without shredding or tearing edges. Wine corks can be boiled and cut (see #3).
2. Let it air out and flatten.
I’ve noticed that sometimes the (natural) smell of cork can be a little overwhelming, so I typically take my cork out of the package and let it air before working with it. You might not mind!
Sometimes placing it in the sun for a few minutes can help take out the bad aroma. You don’t want blazing sun that dries it out and curls it. Just a little bit of air and sun exposure to release a little bit of the smell.
As far as flattening, this really comes into play if you purchase the cork on a roll. It’s harder to work with when it’s curling. To flatten cork, you can place heavy items on top after rolling out and leave overnight.

3. Pick the right cutting tool for the job.
As I mentioned before, thicker cork requires a tougher tool – like a heavy duty craft knife. I find that thin (delicate) to medium cork is easiest to cut with a craft knife or scissors.
Cut slowly because cork tears easily. I recommend practicing before doing your final project.
Note: boiling cork, like wine corks, makes it way easier to cut. Leave them in for ten minutes and then pour into a colander. Let cool down just enough to handle. They will cut like butter when they come out.
4. Clean it properly.
Clean and wash wine corks (and let dry), and dust older cork with a damp warm water washcloth. Make sure all particles are off of the surface before crafting with it.
If the cork has a stubborn stain or something on it, use a mild soap or even a white vinegar to try cleaning it.
5. Don’t let it sit in the direct sunlight.
Cork is relatively dry already, but you don’t want it to get more dry and brittle by sitting in the sun 24/7.
The project you spent so much time on will eventually break in half! Cork can fade too. Instead, keep it in a shadier part of your home with lower temps.
You can paint a clear, brush on UV sealer onto cork if you want to help keep it around longer and things get sunny where you are.
Having said that, I still wouldn’t keep your project in direct sun. The sealer is only going to do so much for a material that naturally breaks down and fades in harsh sunlight.
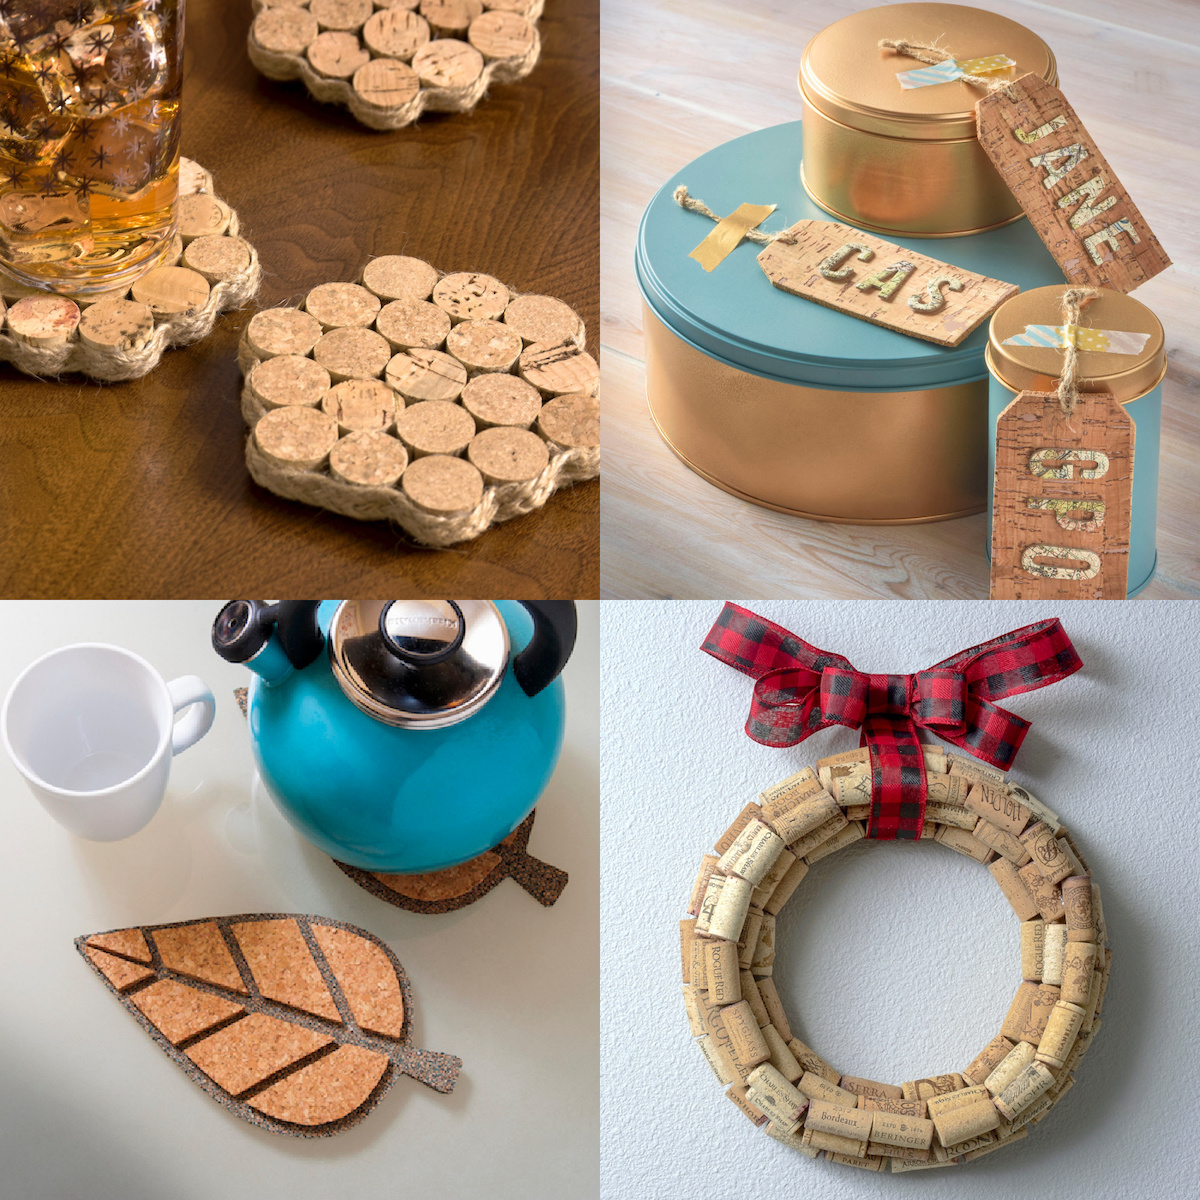
I’d love to know your experiences working with cork, and have you share some of your projects with me in the comments! For some cork project inspiration, visit some of these ideas below:
Phil
Sunday 6th of February 2022
Hi, I live in the south west Spanish mountains and have many cork oak trees, any ideas for crafts with in processed cork. Cheers
Tamar Yagil
Monday 1st of November 2021
what kind of marking pen/pencil to use. i am making wallets and need a marking tool that does not leave noticable marks
Adele
Sunday 14th of March 2021
I started working with cork this past Christmas. It was a lot of trial and error. I was very happy with my results. I use an exacto knife for cutting and a glue gun. I like your stamp idea and will give that a try.
Suzy
Wednesday 24th of April 2019
I’ve read that before cutting corks boil them for a few minutes. Haven’t tried it yet but I am going to
Ginger
Wednesday 10th of February 2021
@Suzy, boil or steam. Works great. Just a few minutes. Don’t have the exact time.
larry
Friday 25th of December 2020
Place corks in colander & steam in a covered pot 10 min or so.
Gerry Lynne
Friday 24th of May 2019
Yes, boiling corks and cutting them while they are still wet keeps the corks from cracking apart and lets you more easily cut a straight edge. The corks don't have to be dripping, but wet all the way through. If you let them completely dry out, you have the problem with cutting them easily. When you boil the corks you will have to weight them down with something. I use a heavy plate placed directly on top of the corks in the pot of water.
Amy
Wednesday 24th of April 2019
Suzy - sounds like a great tip! I need to try it too!
Samantha Johnson
Thursday 28th of March 2019
My Mom saves me their wine bottles and the corks. How do i know if I have 'Real or 'fake corks? I just assumed corks from wine bottles were the same.