
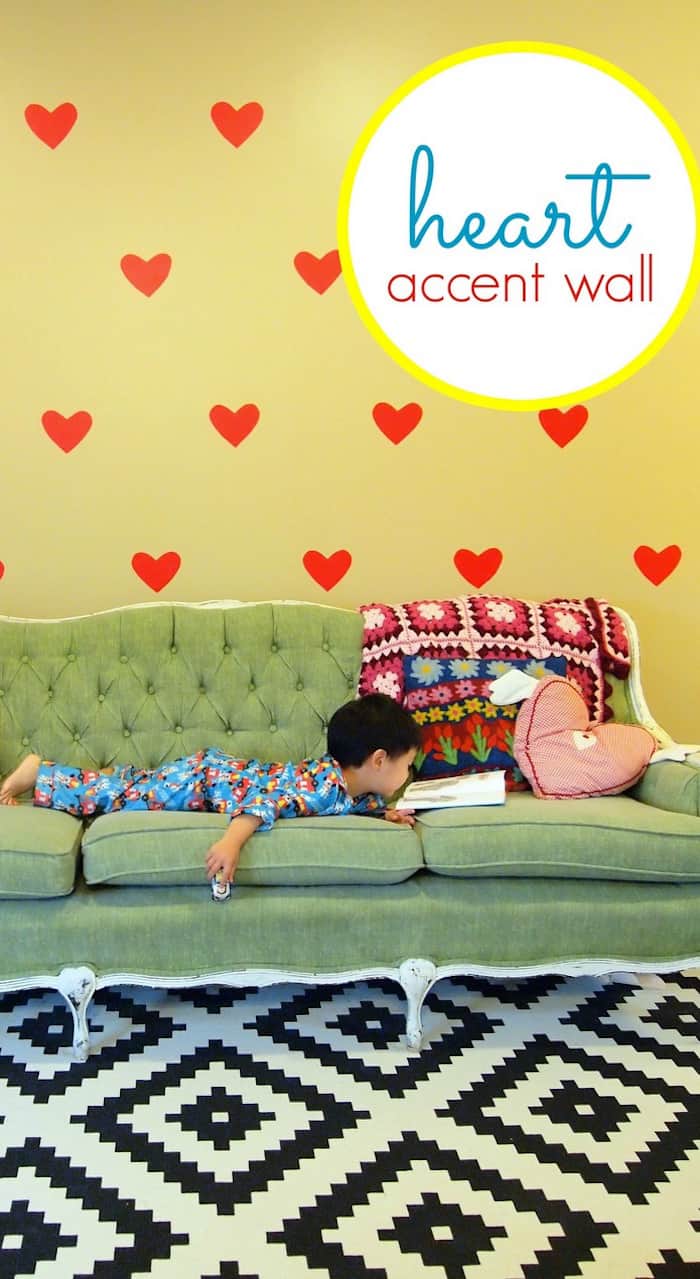
Stick a whole bunch of these heart DIY wall decals onto your living room wall to make a fun (and temporary) Valentine’s Day themed accent wall!
Skills Required: None. You’ll be cutting, so if you know how to use scissors, you can accomplish this project! The hardest part is measuring and getting spacing even. A ruler and a level help immensely.

Valentine’s is coming up and love is in the air. Can you feel it? Hiya! It’s Leslie from Pink Stripey Socks. We recently took down our Christmas decorations and I’ll admit, I felt sad seeing our bare walls.
I wanted to spruce them up with Valentine’s Day decor, but didn’t want to spend a fortune (or my entire weekend) doing so. Luckily, I had leftover red contact paper from a DIY Toadstool Chair Project.
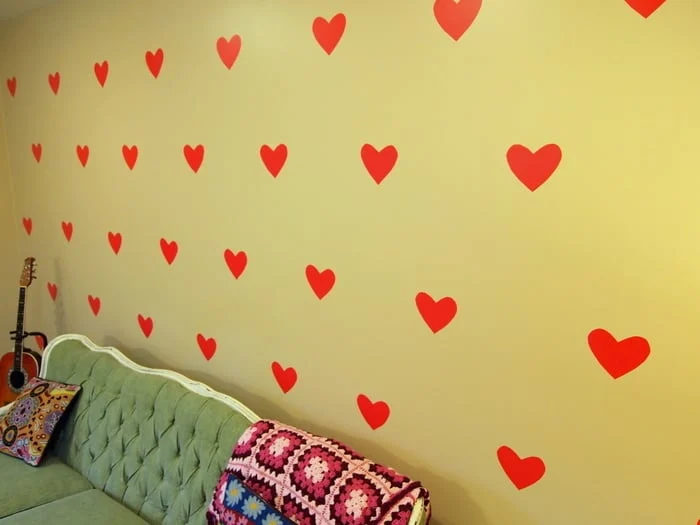
So I used it to make quick and easy DIY wall decals. Then, I stuck a whole bunch of these hearts onto our living room wall to make a fun (and temporary) Valentine’s Day themed accent wall!
This is a great Valentine’s Day craft for kids that they can do for their room. Here’s how this heart craft was made.
DIY Wall Decals
Here are the materials I used:
- Contact paper – red or color of your choice
- Cardboard scrap for template
- Pen
- Scissors
- Masking tape
- Tape measure (optional)
- Level (optional)
TIP: BEFORE beginning, I’d test the contact paper on a portion of your wall. It was easily removable from my wall. However, all walls and all paint or different. Please do a test!
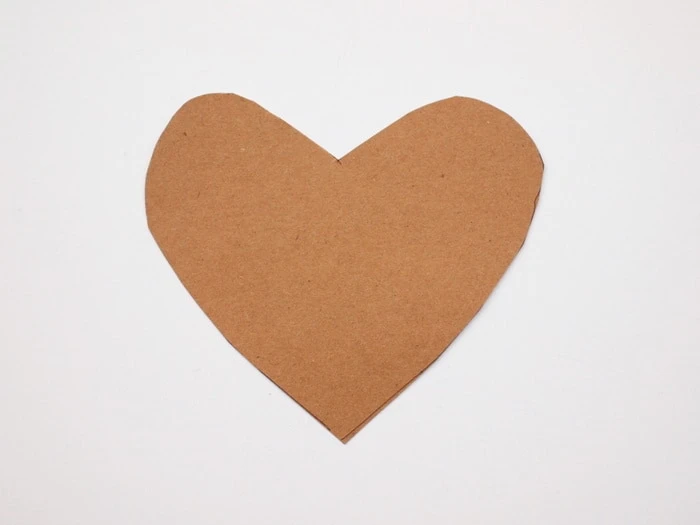
Step 1: Trace or draw a heart onto a cardboard scrap to make a template. Cut out with the scissors.

Step 2: Figure out where to place the wall decals using your measuring tape and level. Use masking tape to mark where the hearts should go.
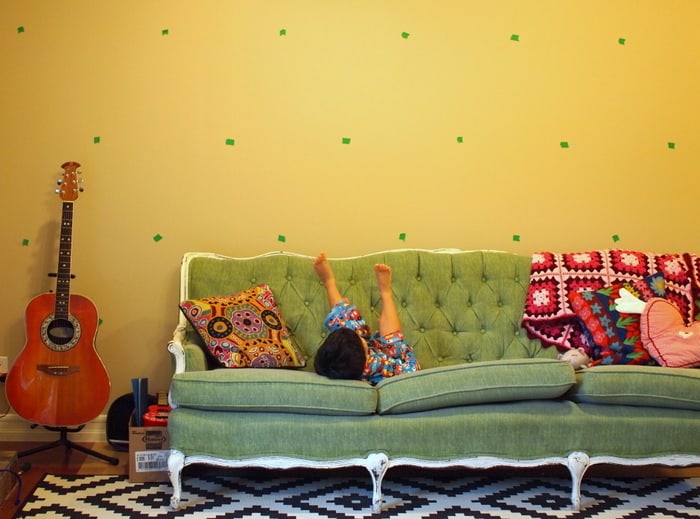

Not going to lie, this was the hardest and most time consuming part. I wanted an orderly design that spanned the entire wall. But, I’m not a patient crafter.
Hubby and I started off using a measuring tape and level to figure out where to put each heart. Ehh . . . it took awhile to make sure the measurements were correct. So after we marked a couple of spots with masking tape, I ended up just eyeballing the rest.
That’s why my pieces of tape aren’t exactly in straight lines. But I don’t mind one bit. (If you’re a precise kinda crafter, then by all means – measure away!)
Step 3: Trace your heart template onto the back of your contact paper. Then, cut out a ton of hearts. (I cut out 40!)


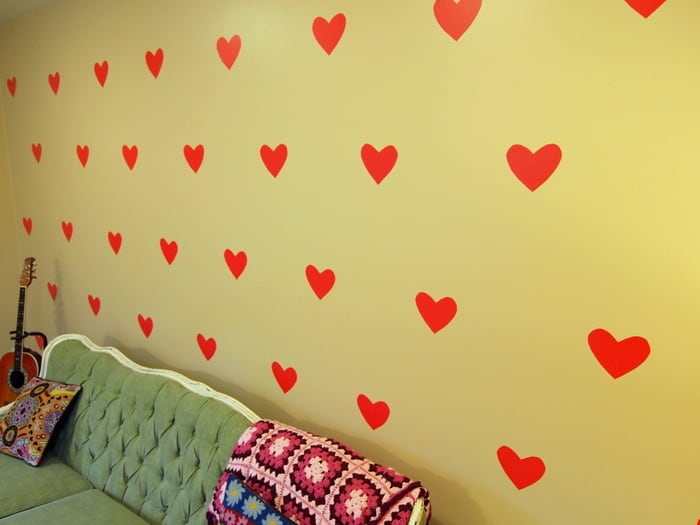
Step 4: Peel and stick the heart decals in place. I started off in the middle of the wall and worked my way outwards. I thought this would help me make straight lines and even out the spacing.
The contact paper shouldn’t be hard to remove from the backing. However, there are a few options if it won’t easily remove:
- Use a hair dryer to warm up the contact paper and loosen the adhesive so you can more easily peel.
- Use a strong piece of tape on both the back and then the front of the contact paper to separate the two.
Tada! Now we have a heart accent wall that really stands out and didn’t break the bank. My son and I love the way it looks. Hubby is still on the fence. But hopefully he’ll grow to love it soon.
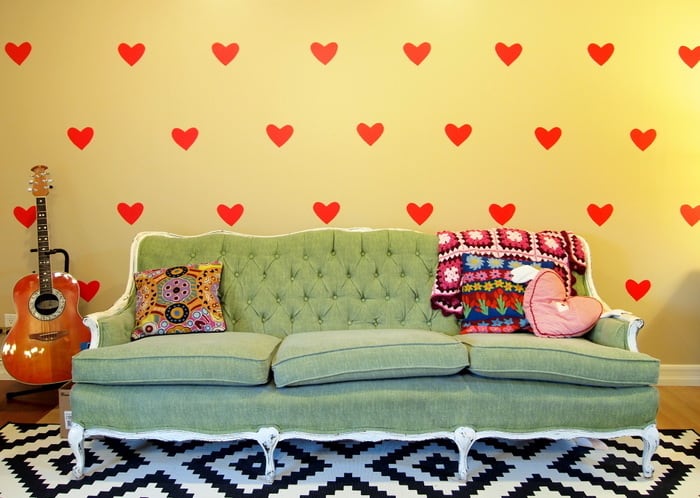

Ka-pow! Love is in the air! What do you think of my DIY wall decals? Remember that when you’re ready to remove these


DIY Wall Decals
Learn how to make wall decals the easy way! Customize with any shape and the best part - they are removable.
Materials
- Contact paper - red or color of your choice
- Cardboard scrap for template
- Masking tape
Tools
- Pen
- Scissors
- Tape measure
- Level
Instructions
- Trace or draw a heart onto a cardboard scrap to make a template. Cut out with the scissors.
- Figure out where to place the wall decals using your measuring tape and level. Use masking tape to mark where the hearts should go.
- Trace the decal template onto the back of your contact paper. Cut out shapes over and over again until you have enough.
- Peel and stick the decals in place. Start off in the middle of the wall and work your way outwards.
- Smooth each decal down and repeat until done. Remove when desired.
If you enjoyed making these decals along with me, I’d love for you to visit these other projects too. Happy making, friends!
Lisa Van Engen
Thursday 15th of January 2015
So cute!
Ursula Rosien
Thursday 15th of January 2015
I'm not a patient crafter either ;) love your hearty wall!
Amy Anderson
Thursday 15th of January 2015
Thank you!!