
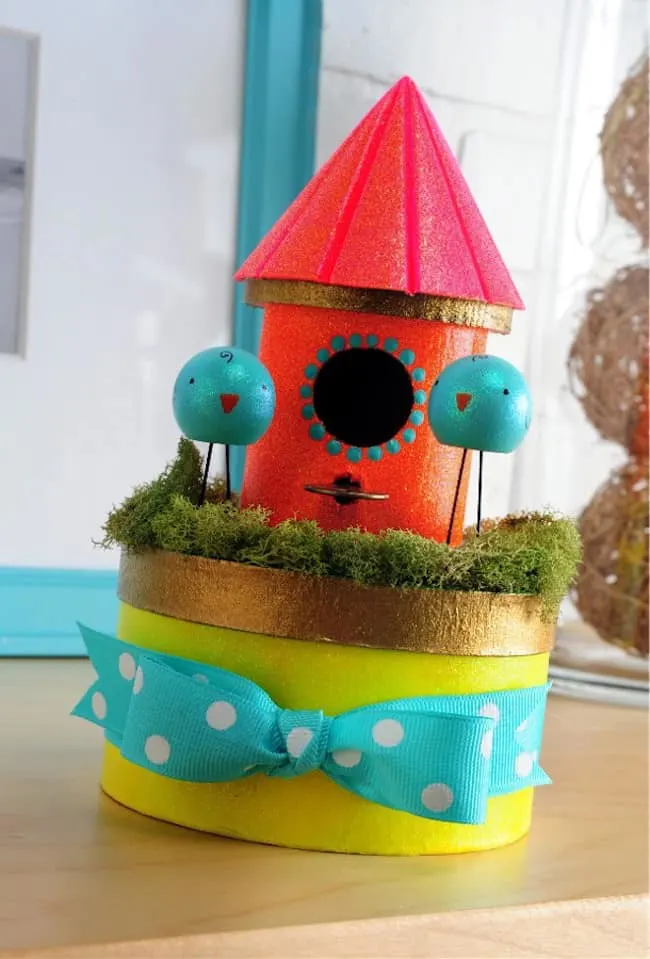
This DIY birdhouse box project is so perfect for spring! Decorate the top of a box with bright colors and glitters, and store goodies inside.

Have you ever tried Extreme Glitter? It’s one of my favorite craft products . . . and I’m not the biggest glitter person in the world.
But with the glitter in the paint base, you don’t have to worry about it exploding everywhere and upsetting your life’s balance.
This little birdhouse box is a perfect project for spring – and uses glitters in neon to make it even more fun. It’s bright and cheery and you can use as many of these supplies below as you like to make it yours.
Plaid designer Julie Lewis made this glittery DIY birdhouse project. It’s a gift box that doubles as a cute spring display! Wondering how it’s made? Here’s the full tutorial.
DIY Birdhouse Box
Gather These Supplies
- FolkArt Acrylic Paint – Neon Green, Neon Pink, Neon Orange, Neon Yellow, Wicker White, Patina, Pure Gold
- FolkArt Extreme Glitter –Neon Pink, Neon Orange, Neon Green, Hologram, Gold
- 1” wood doll heads (2)
- 4.5” round paper mache box
- 5” x 3” round wood birdhouse
- Glue
- 1” aqua/white polka dot grosgrain ribbon
- Scissors
- Old key
- Wire
- Moss
- Fine/ultra fine point black marker
- Various sized paintbrushes
- Craft knife
- Tape
- Wire cutter/needle nose pliers
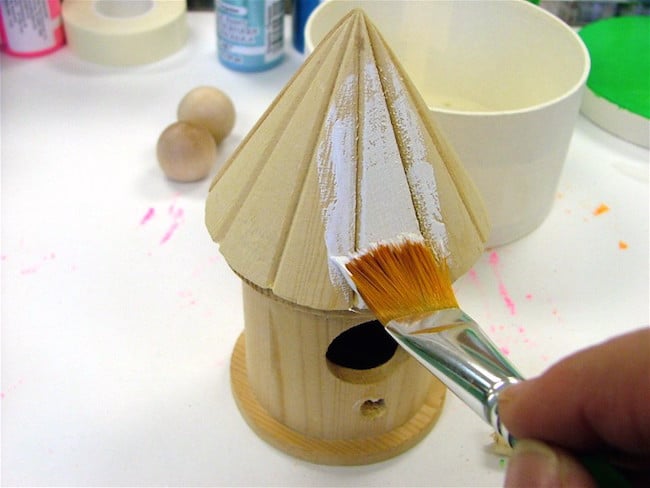

Remove the wood perch from the birdhouse using the pliers. Basecoat the roof and body with Wicker White.
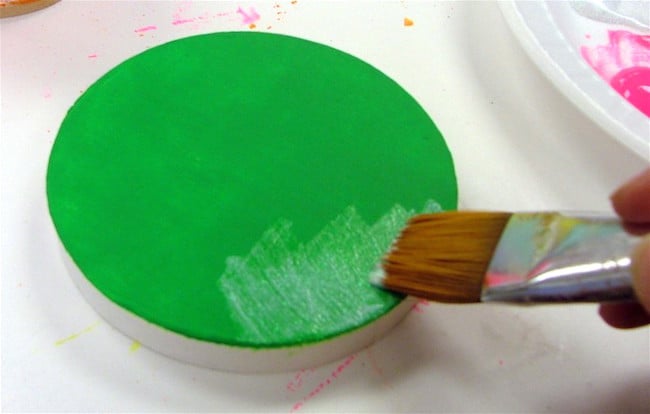
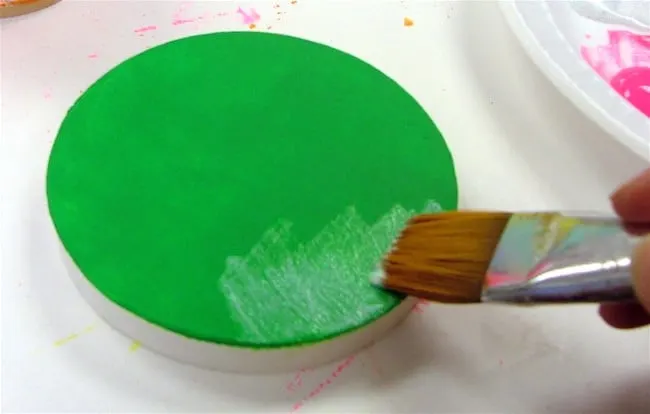
Paint the lid of box with Neon Green – allow to dry and then brush Neon Green Extreme Glitter over the top. Give two coats and allow to dry.

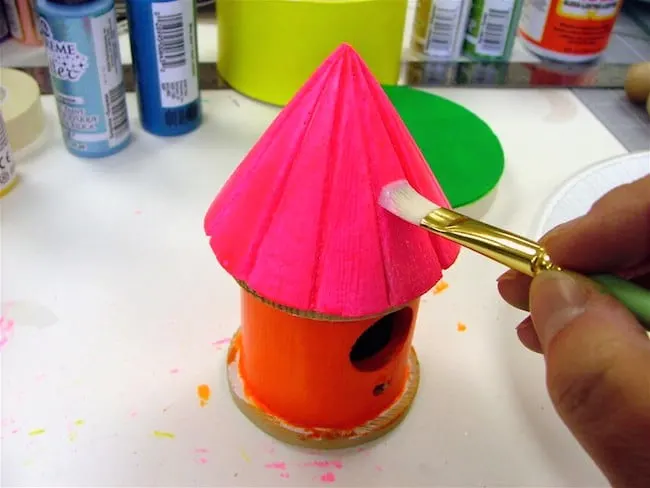
Paint the roof of birdhouse Neon Pink, the body Neon Orange and then apply corresponding Extreme Glitter color over the top. Apply two coats of each and allow to dry.

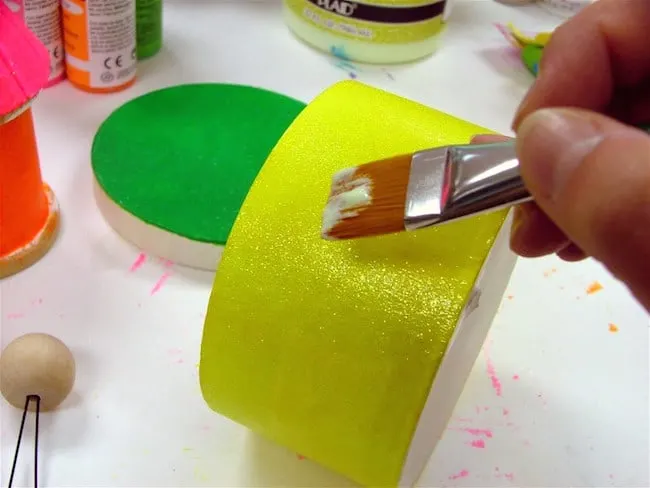
Paint the body of the box Neon Yellow, then paint Neon Yellow Extreme Glitter over the top. Give two coats and allow to dry.
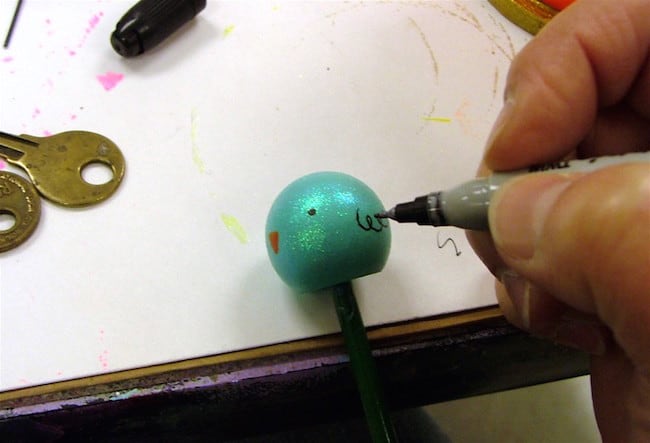
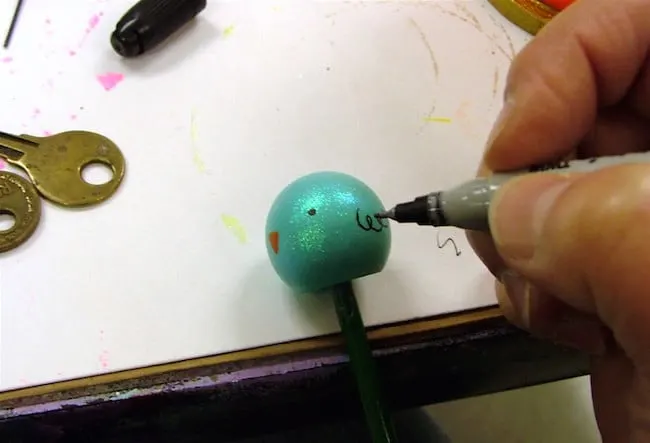
Paint the wood doll heads Patina and allow to dry. Give each two coats of Hologram Glitter and allow to dry. Paint a tiny beak with Neon Orange, then draw eyes and wings with the marker.

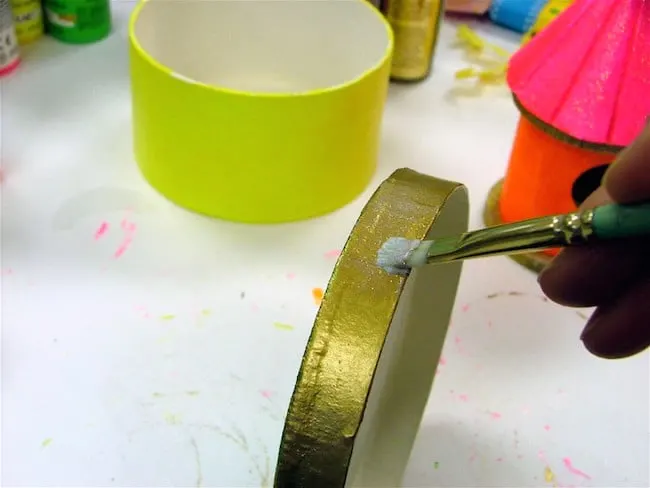
Paint the edges of the birdhouse as well as the box with Pure Gold. Allow to dry and then give two coats of Extreme Glitter Gold. Allow to dry.

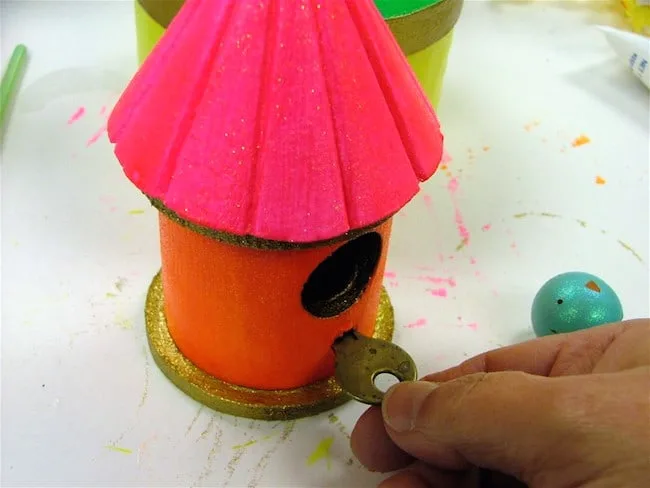
Glue the key into the perch opening. Allow to dry.

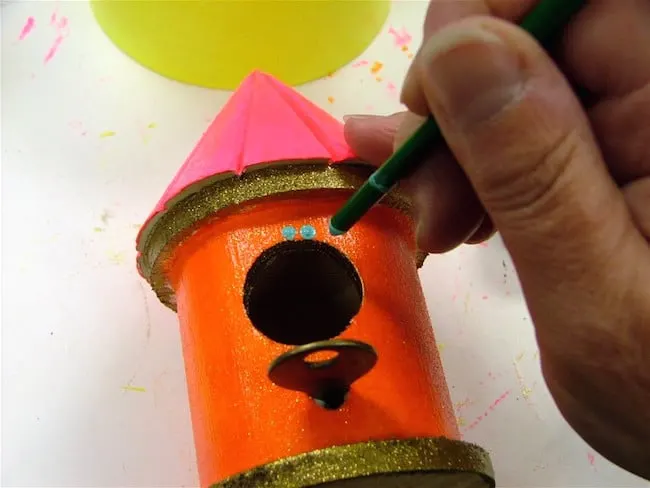
Apply dots around hole with opposite end of brush and Patina. Allow to dry.
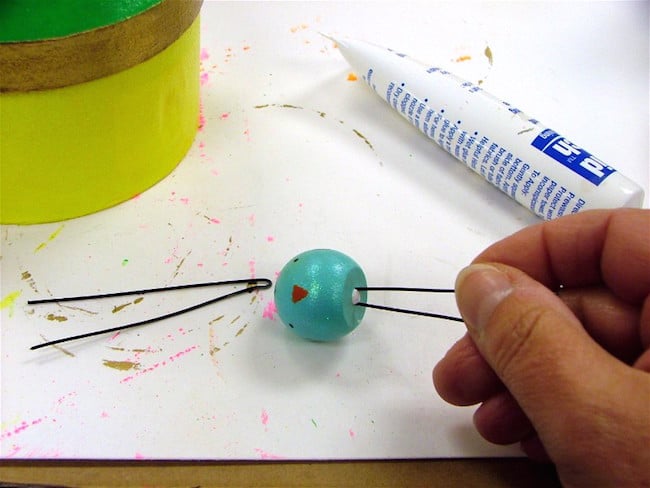

Cut a length of wire to act as the birds’ legs. Bend wire in half, glue into doll heads.
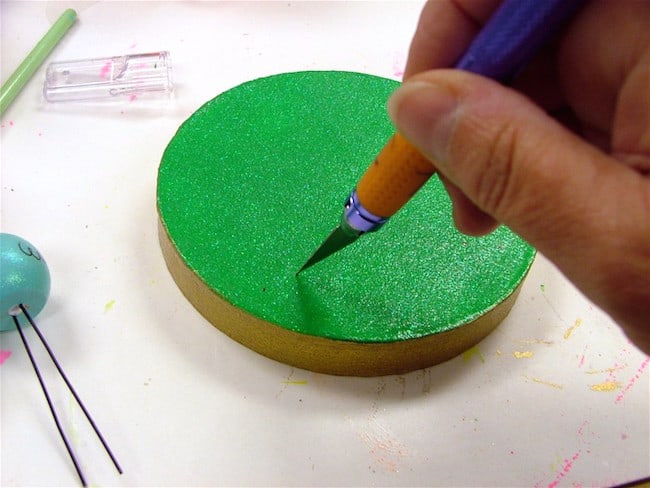
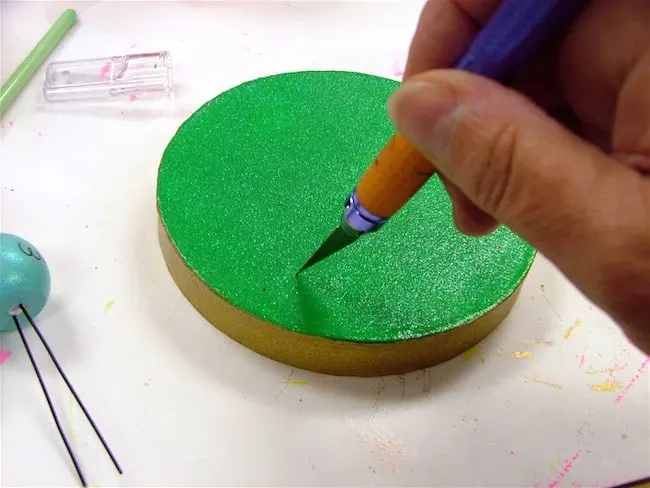
Mark placement for bird legs on lid, poke a small hole with the craft knife.

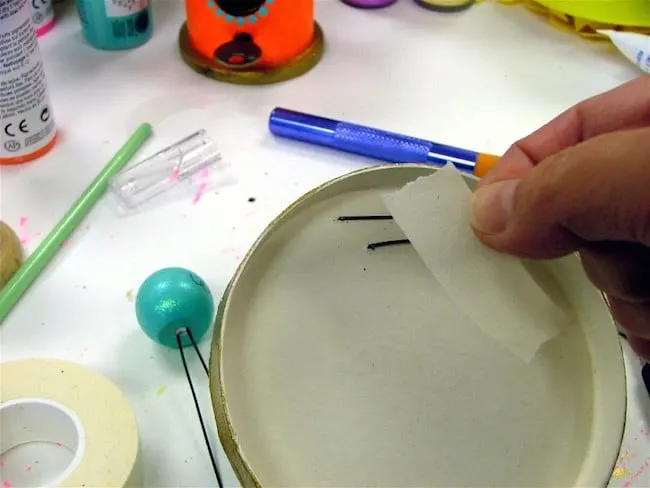
Insert wire, bend under lid and secure with tape.
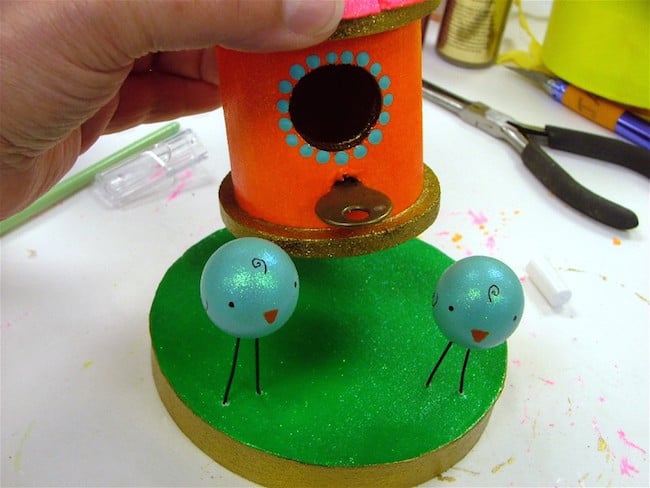

Add glue to the bottom of the birdhouse to secure it to the lid of the box.
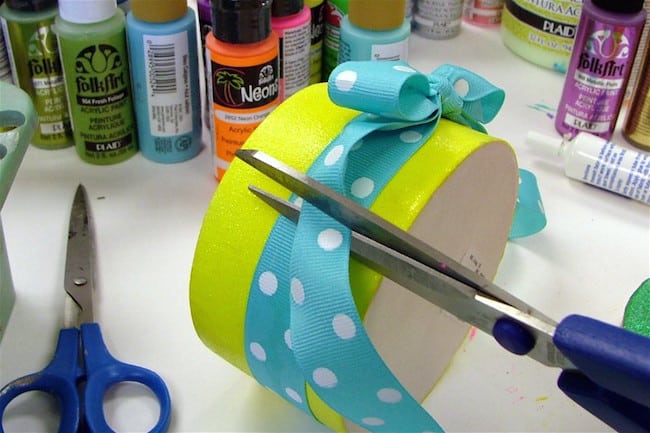
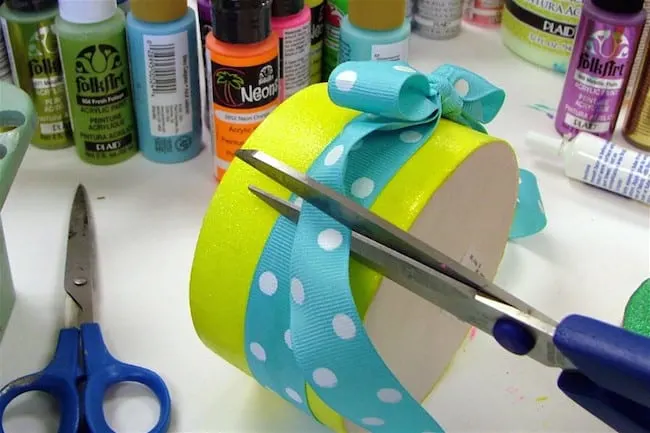
Glue and tie ribbon around base of box. Cut off the ends of the ribbon.

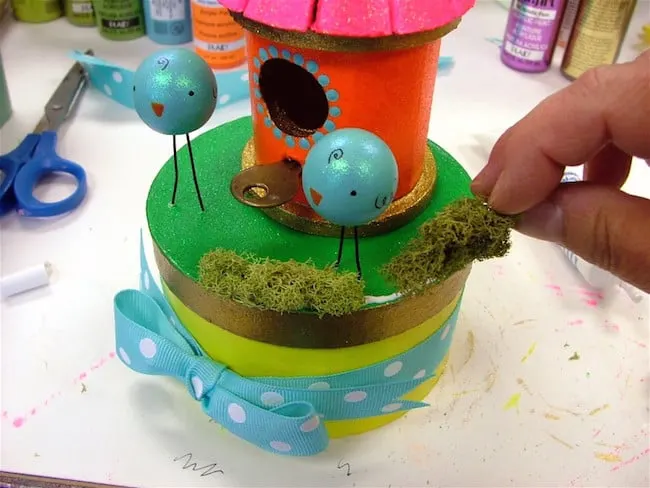
Glue moss around edge of lid and allow to dry before displaying.
We hope you like this “bling-y” birdhouse box! What would you do with it and how would you personalize it to make it your own?
If you enjoyed this spring-y project, you might also enjoy these other craft ideas that make me feel happy about warmer weather:
Alexandra
Saturday 4th of July 2015
I just LOVE birdhouses! This one is so cute! Can't wait for next Spring to come around so I can try my hand at something similar.