
Make this cute Christmas string art featuring a simple tree! Get a free template too – that makes this project REALLY easy. Love this unique holiday decor.
Skills Required: Intermediate Beginner. You’ll possibly need to cut a piece of wood if you can’t find one that fits the back of your frame. You’ll also be using Duck Tape and a hammer and nails, so it helps to have some prior crafting experience.


I’m going to be honest – I’ve fallen in love with string art again! I’m completely aware that string art isn’t anything new and it’s been around for awhile, but no so long ago my love was renewed thanks to a class at a local place called DIY Bar Portland.
It was cool because I got to go with friends and we each got to choose the kit we wanted to complete. I chose to do octopus string art (because, duh), while another friend did a mountain and yet another made a dinosaur.
We were hooked.
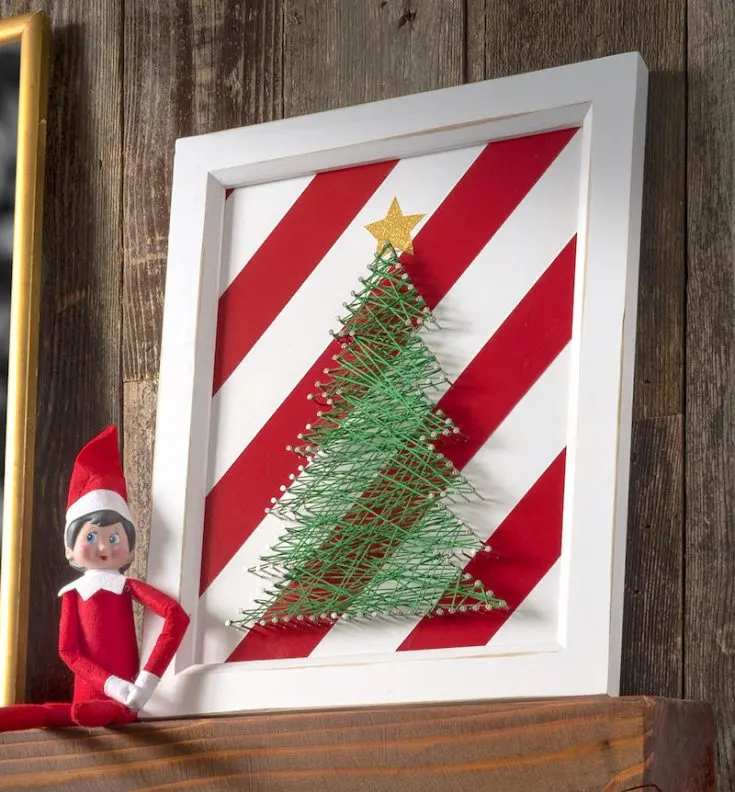
I was waiting for the perfect opportunity to make string art of my own, and Christmas ended up being that time. I decided to use Duck Tape for the “peppermint” themed background, and then a little bit of their Gold Glitter type for the tree’s star.
Christmas Tree String Art
The rest is history! Actually “the rest” is this Christmas string art project.


String Art on Wood
It’s important that you use at least a 1/4″ piece of wood for the background of your project, so that the nails have something to nail into.
It doesn’t really matter what kind of wood you use – pine is inexpensive, so I’d recommend that. We had a scrap piece from a previous project.
However, if I had to go out and get a piece of wood, I’d see if Lowe’s or Home Depot had a scrap I could have. Some of the stores are even nice enough to cut it for you!
String to Use
I use DMC floss from Michaels for string art. This floss is made up of six individual strands wrapped together. You will not separate the threads like you do for embroidery. You’re going to use the floss as-is.
There are a lot of other materials you could use for string art, I just happen to like all the colors that DMC floss comes in. I’d be willing to try twine, yarn, ribbon, etc. on a project, I just haven’t had a chance yet! If you try other materials, you have to share your project with me.
Are you ready to jump into the project instructions? Keep reading!
Christmas String Art
Gather These Supplies
- White frame – 11″ x 14″
- Wood back piece to fit your frame – at least 1/4″ thick
- Duck Tape – Red, White, Gold Glitter
- 100 – 120 1″ nails (make sure they have heads that can hold floss)
- Tree pattern
- Embroidery floss – 2 skeins of your tree color
- Craft knife and mat
- Scissors
- Hammer
Before you begin, you’ll need an 11″ x 14″ frame. Use this size if you would like to do the Christmas string art the exact same way that I did. Obviously you can make your string art whatever size you like.
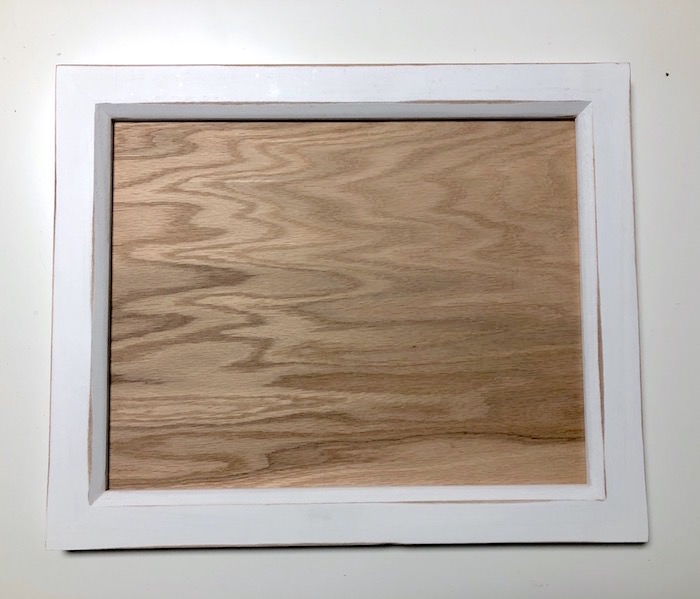
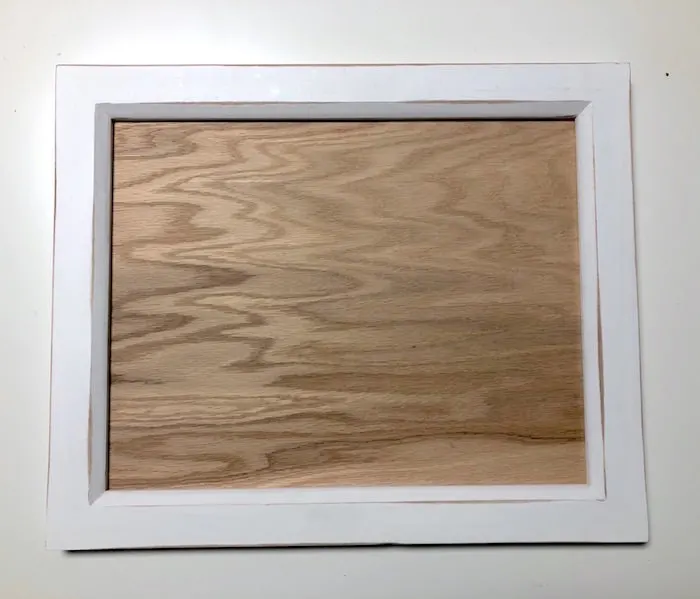
Get a board at least 1/4″ thick to use for your Christmas string art. Make sure it fits your frame, with a little bit of room around all sides for wrapping Duck Tape.
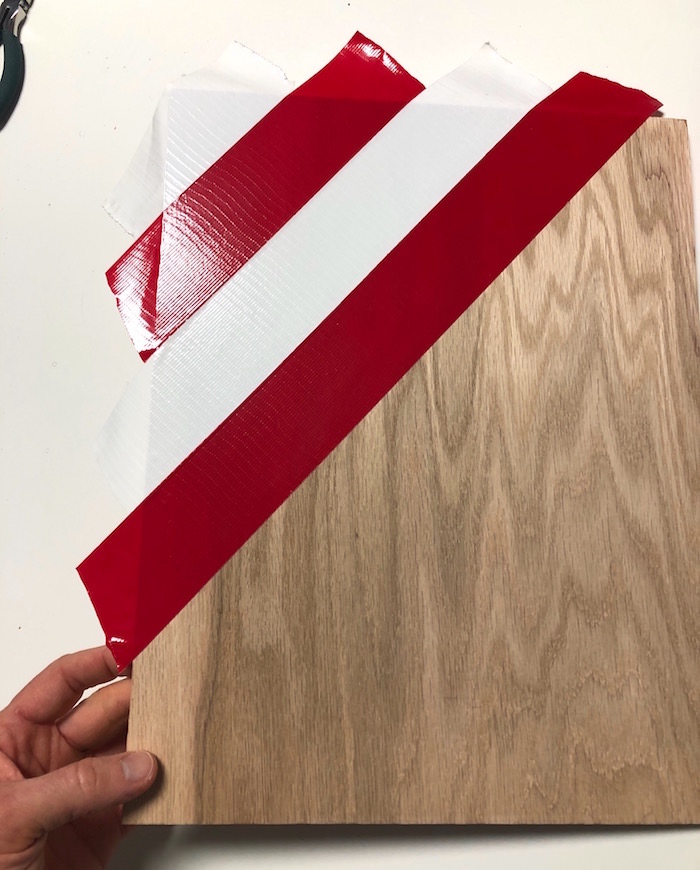

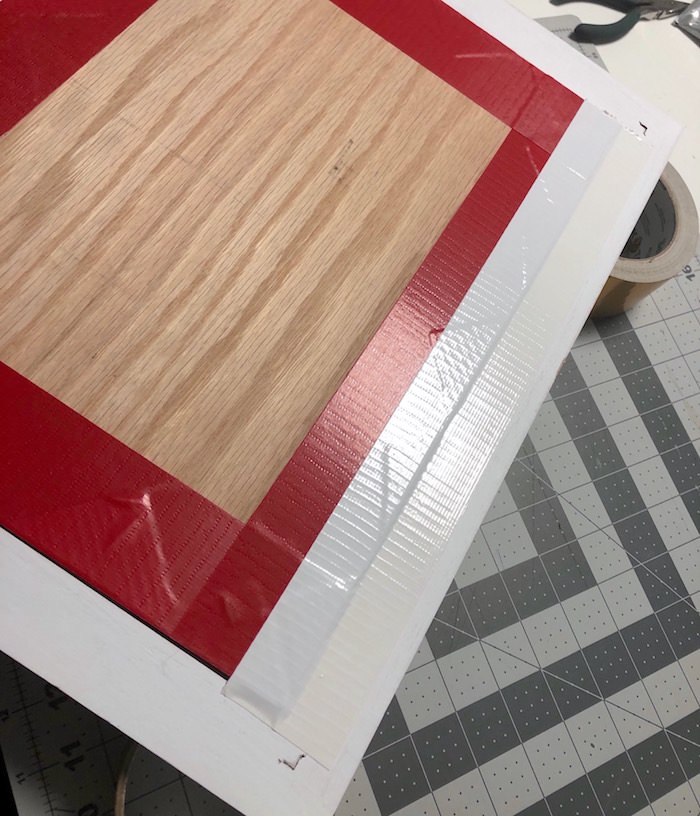
Stripe the red and white Duck Tape on the wood background, using a diagonal pattern. Butt the tape next to each other as you change colors, and fold it over the back. Repeat until the entire board is covered.

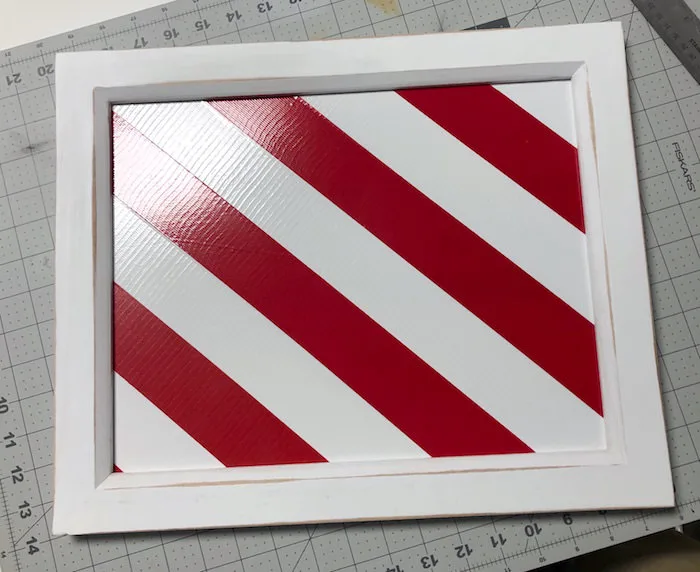
Make sure that the Duck Tape board fits inside the frame. Just so you don’t finish your project, only to realize that it doesn’t fit (this isn’t my first rodeo).
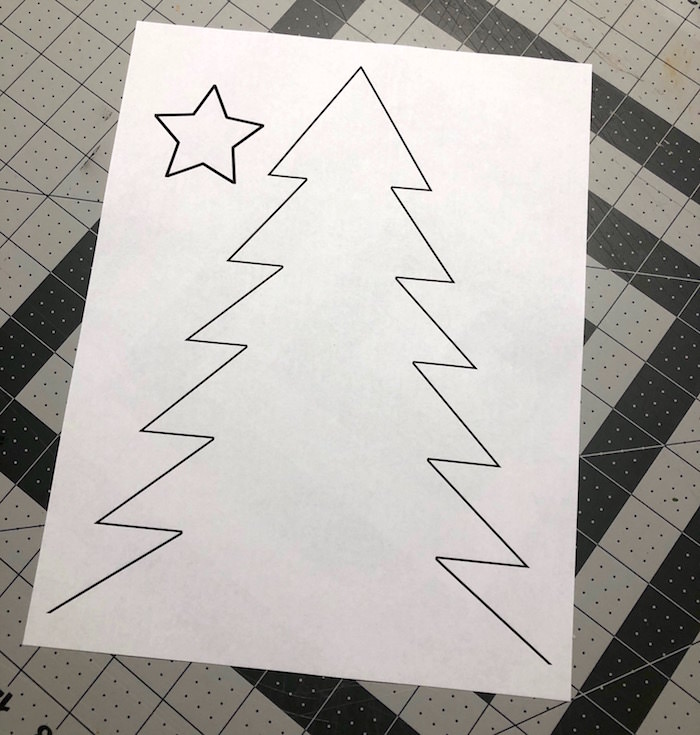
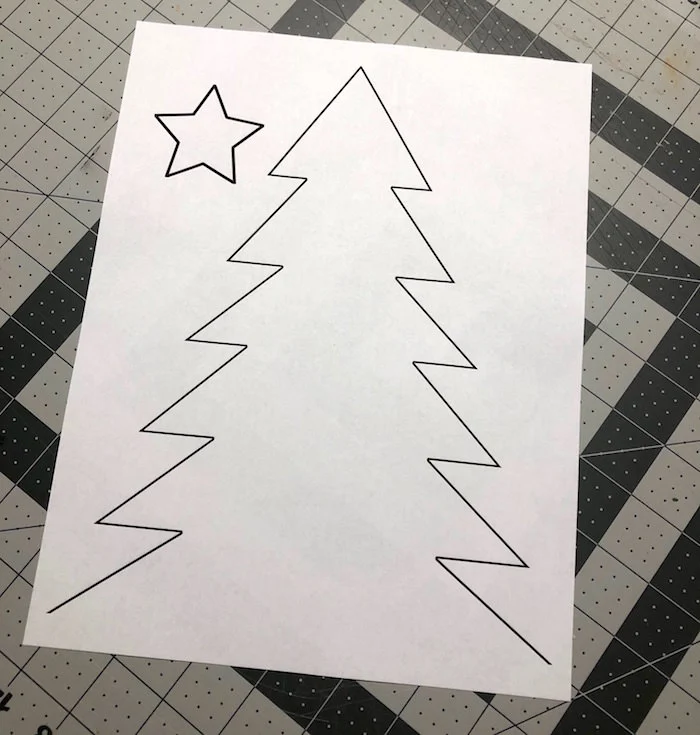
Grab the free template. If you aren’t using an 11″ x 14″ frame, you’ll need to re-size it to fit.

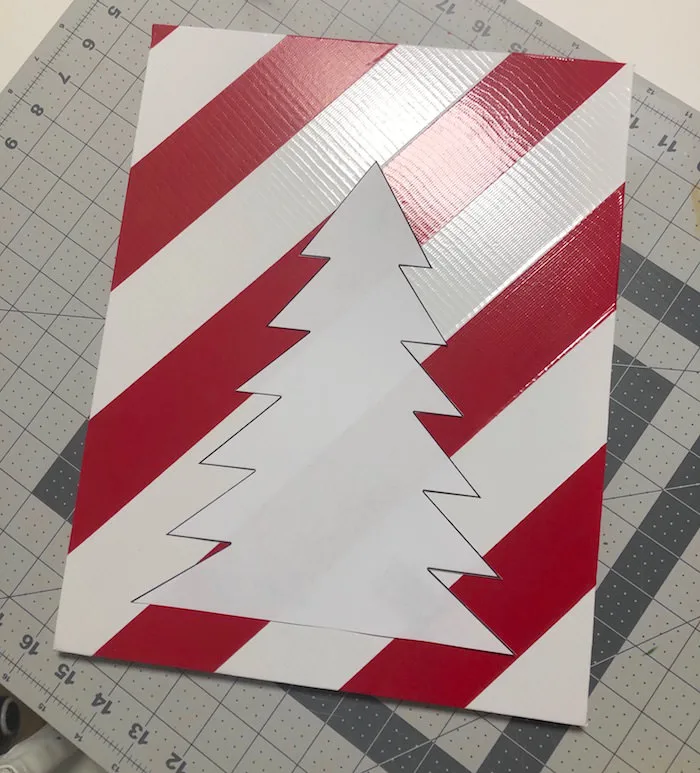
Place the template down on the Duck Tape board wherever you want the tree shape to go. Remember that the template can’t go all the way to the bottom – a portion of the board will be covered by the frame, all the way around the edge.
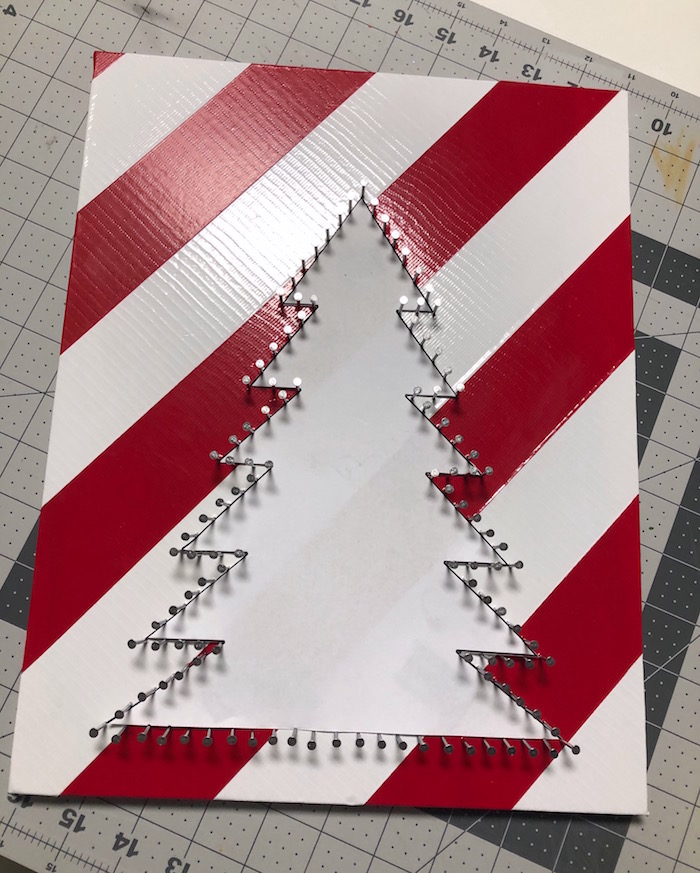

Stick your template down (just use double stick tape or Duck tape) and then nail around the edge of the template. There are no “rules” for the distance between nails. I’d do about 1/2″ – 3/4″ between each nail (Steve did them a little tight in the photo above).
Tear away the template when all of the nails are in place. It’s time to start wrapping!
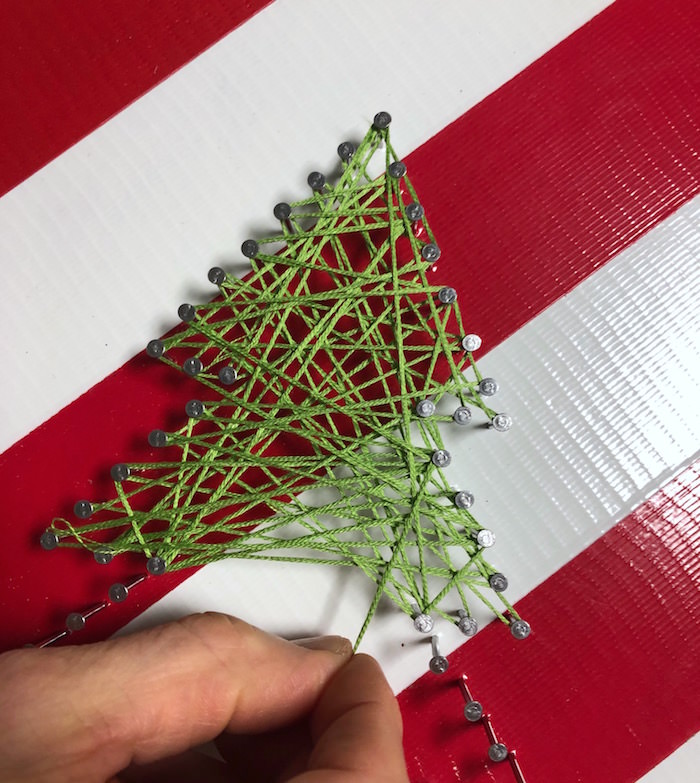

Pick a nail to start on – it doesn’t matter which you choose. Unwrap the embroidery floss and go about 1 1/2″ up the strand with your finger. Tie a knot around that nail to secure the floss to start. You can clip the excess floss off later.
Begin weaving your floss around all the nails, criss-crossing. There’s really no technique to string art in my experience; you just go back and forth. It does look better with more criss-crossing, because it fills in the area more.
The only decision you have to make is how much coverage you like. The more you wrap the thread, the more your Christmas string art will be filled in and look “solid.” It took two skeins of floss before we were happy with the effect.
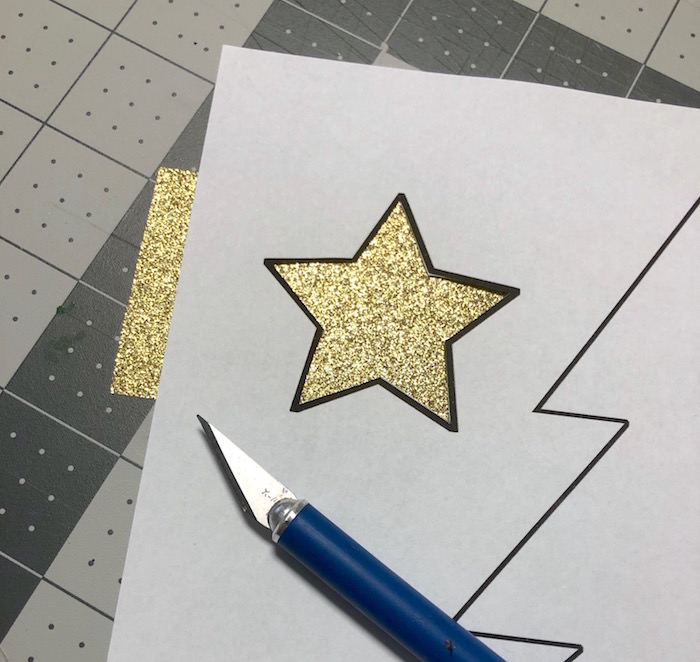

To complete the tree portion, we used the template to cut a star out of some gold glitter Duck Tape. We placed the Duck Tape down on a craft mat and used an X-Acto knife. Peel up off of the craft mat and then stick down on the wood right above the top nail.

To complete the project, simply insert the nail art portion of your craft into the frame and use Duck Tape to secure around the edges. It doesn’t matter which color you choose since no one is going to see it!
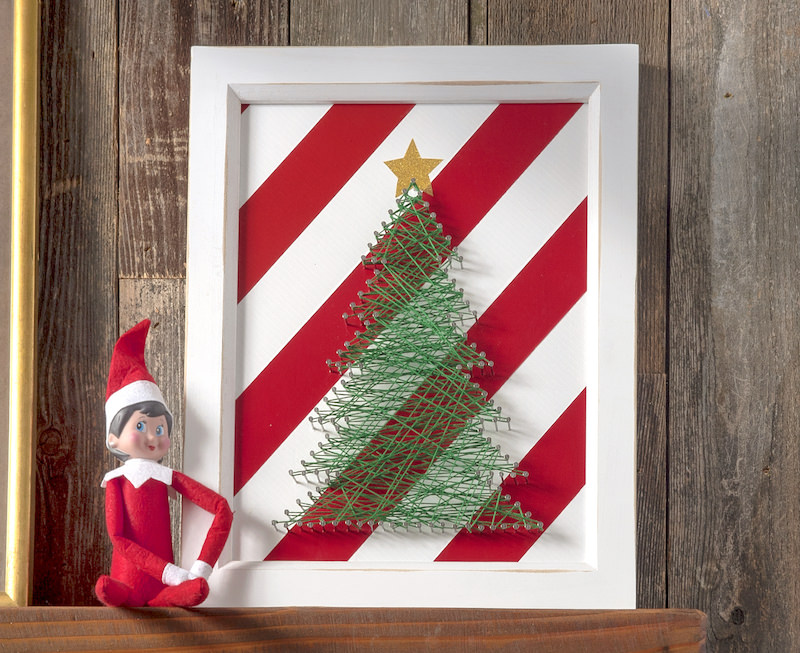

Your Christmas string art is done and ready to display. I love how whimsical it looks. Whimsical is my favorite when it comes to Christmas!
Did I mention that older kids love to join in the project action as well? My niece was excited to help tape and wrap string.
Christmas String Art

Learn how to make Christmas string art that looks like a tree! Use the included template for success; it's very easy.
Materials
- White frame - 11" x 14"
- Wood back piece - at least 1/4" thick
- Duck Tape - Red, White, Gold Glitter
- 100 - 120 1" nails with heads
- Tree pattern
- Embroidery floss - 2 skeins of your tree color
Tools
- Craft knife and mat
- Scissors
- Hammer
- Printer
- Table saw (optional)
Instructions
- Remove the back from your frame.
- Use the table saw to cut a board to fit the frame, with a little bit of room around all sides for wrapping Duck Tape.
- Stripe the red and white Duck Tape on the wood background, using a diagonal pattern. Repeat until the entire board is covered.
- Open the free template and print.
- Place the template down on the Duck Tape board wherever you want the tree shape to go.
- Stick your template down and nail around the edge of the template.
- Pick a nail to start the thread. Unwrap the embroidery floss and go about 1 1/2" up the strand with your finger. Tie a knot around that nail to secure the floss to start.
- Begin weaving your floss around all the nails, criss-crossing to fill the area until you are satisfied with the coverage.
- To complete the tree, use the template to cut a star out of some gold glitter Duck Tape. Use the craft knife and mat; stick to the top.
- Insert the string art into the frame and duck tape around the edges to secure.
I hope you enjoyed this Christmas decor idea. If you like holiday Duck Tape projects, check out this farmhouse wooden tree. You should also check out these other posts: