
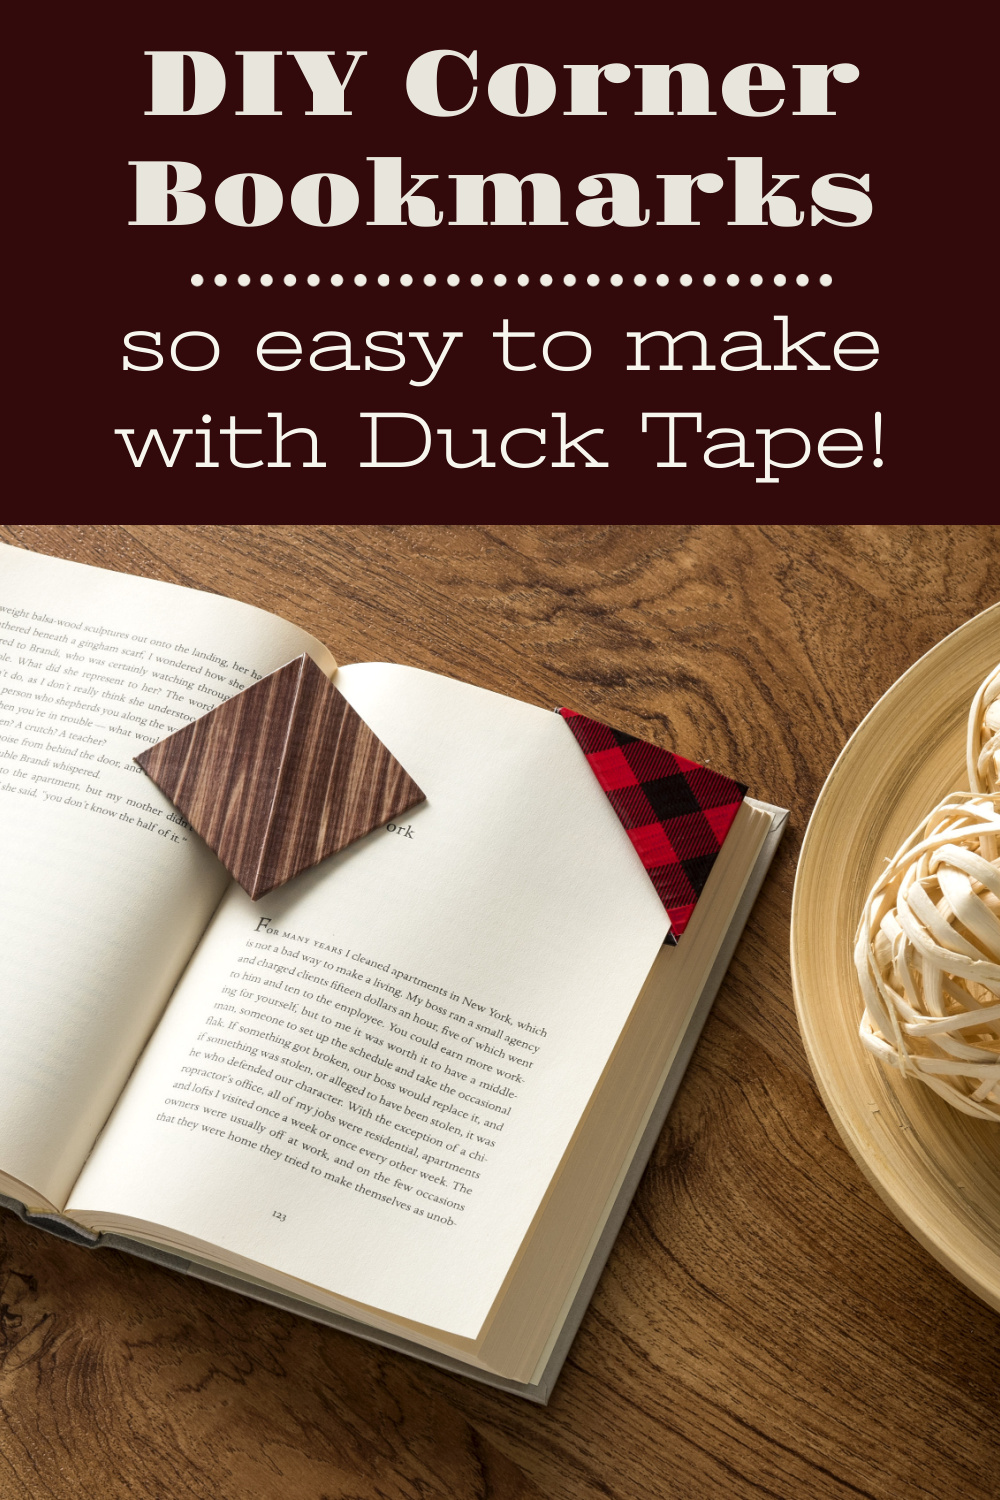
Learn how to make DIY corner bookmarks using cardstock and Duck Tape! Both kids and adults will love making these; they’re so easy.
Skills Required: None. Even if you’ve never crafted before, you’ll be able to accomplish this project. It requires folding paper, cutting, and taping. Even kids will be able to do it, though adults might have to help with some steps depending on the age.

I have a dad that absolutely loves to read! Ever since I was little, one of his favorite pastimes was to enjoy a salty snack with a book in his hand.
Another interesting fact about my dad: he’s always bought himself everything he’s ever wanted. And since he’s a man of simple needs, he’s very difficult to buy gifts for!
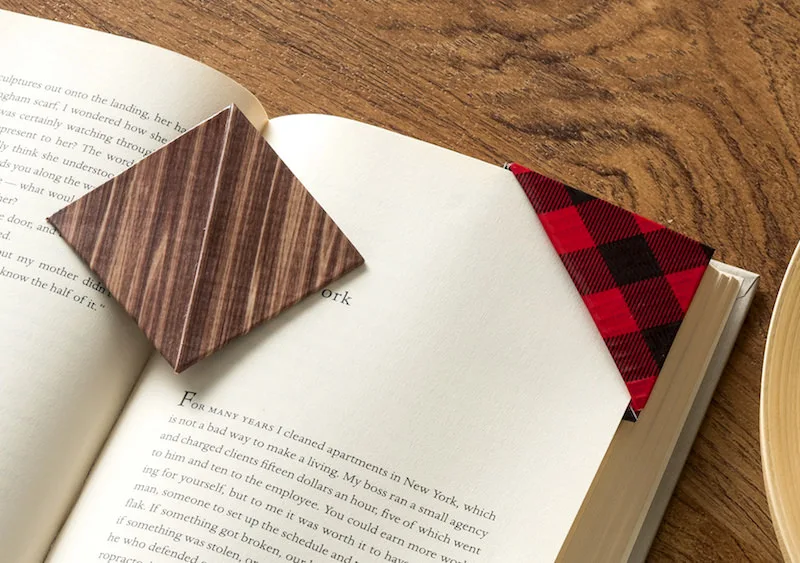
But what he does always appreciate is a gift that’s handmade and from the heart. I am excited to share these DIY corner bookmarks using some very manly patterns: woodgrain and plaid. They’re very easy and very inexpensive.
Obviously they don’t really need to be for dad alone. You can use any patterns you like to make these corner bookmarks. Have fun exploring the patterns, and learn how to make them below!
Make a Corner Bookmark
Gather These Supplies
- Duck Tape – colors and patterns of your choice
- Cardstock
- Craft knife and mat
- Scissors
- Ruler
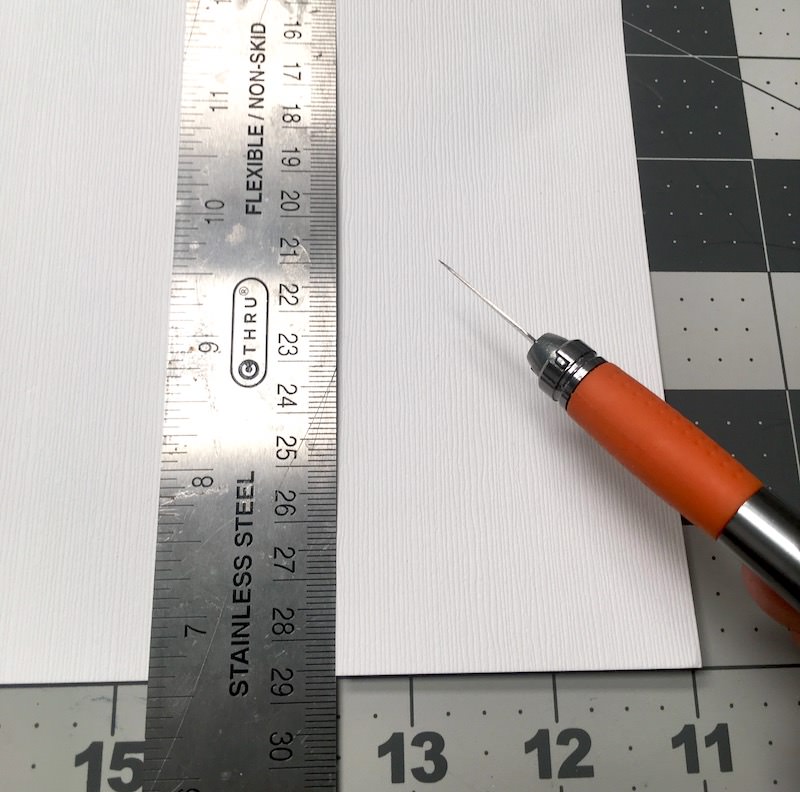

Cut two squares that are 2.5” from your cardstock using your ruler and craft knife.
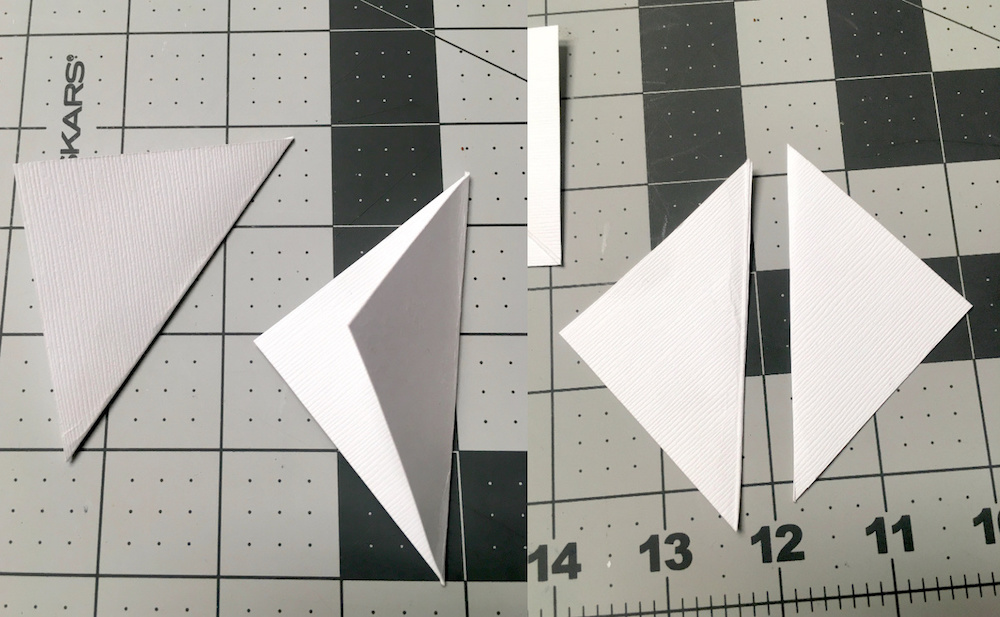

Fold one of the squares in half and cut down the middle.

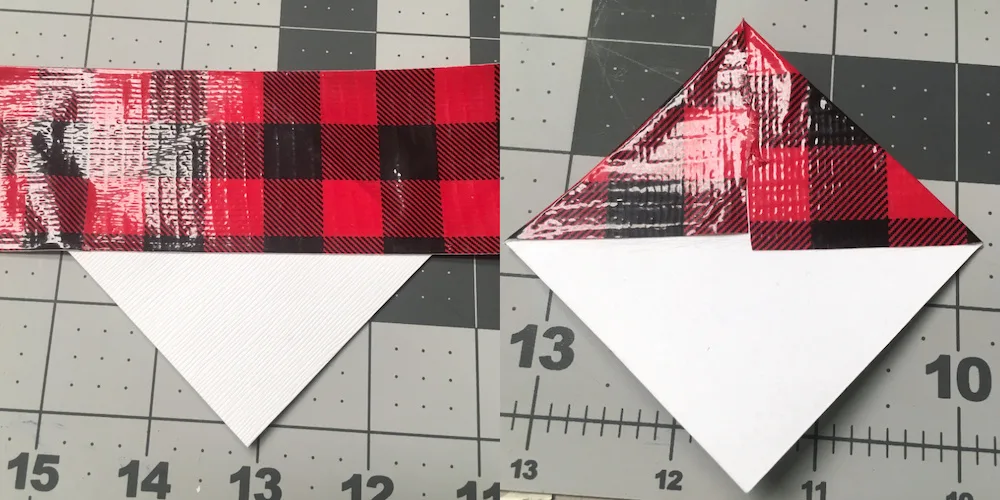
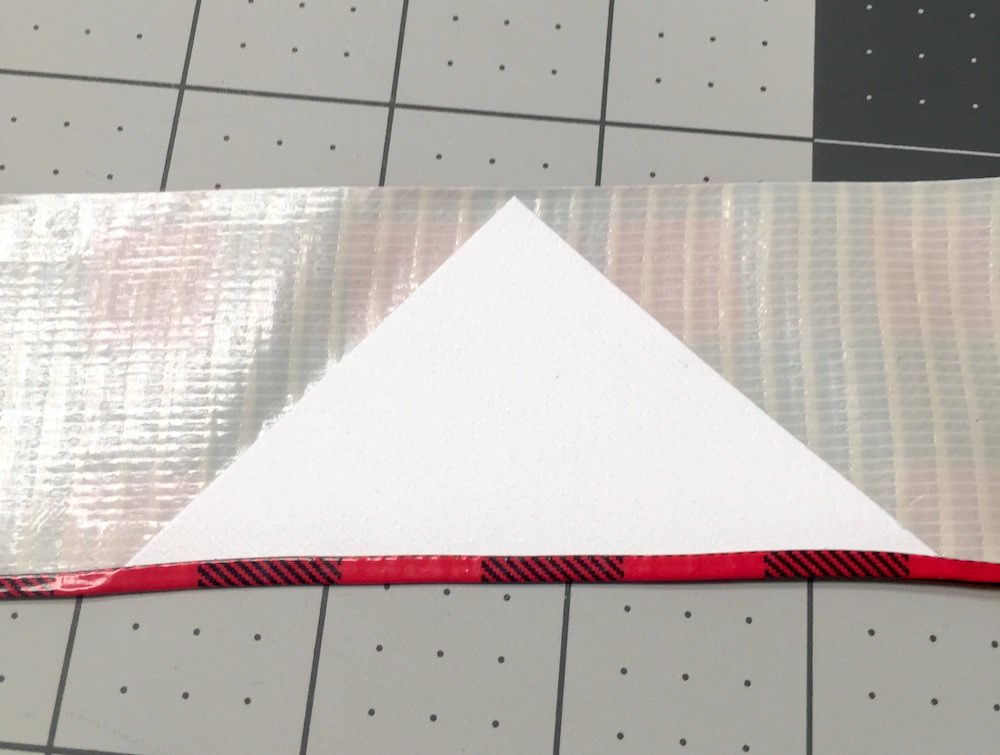
On the square that is still in tact, place a piece of Duck Tape as shown. Trim straight up on each point and fold across the back. Repeat with a second piece of tape on the bottom of the square.
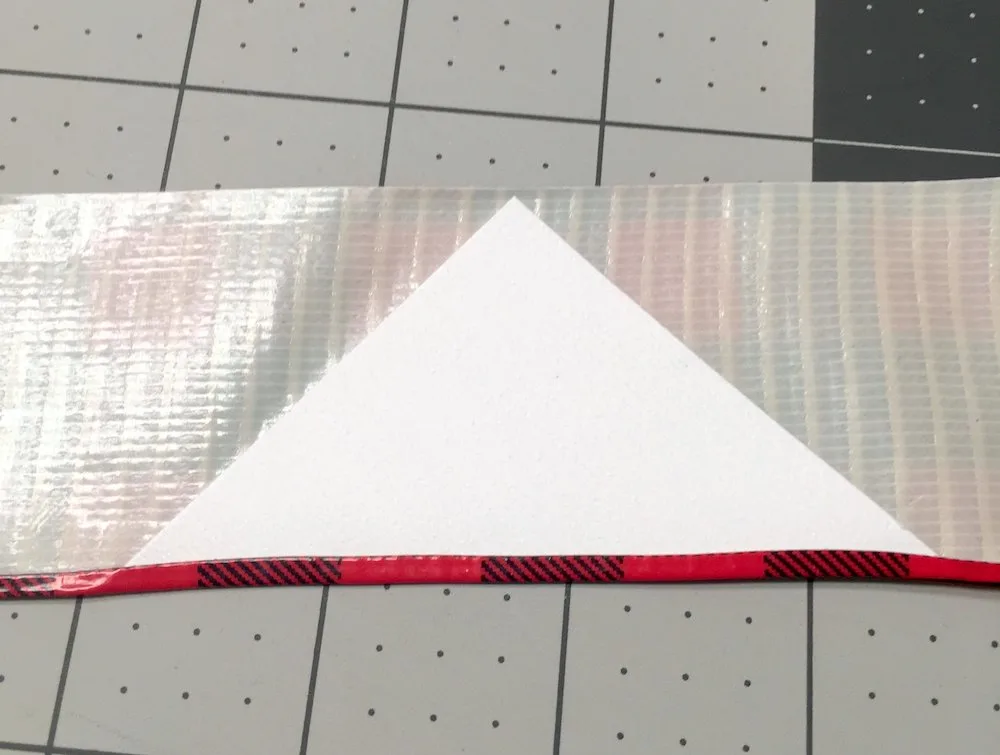
Cut another piece of Duck Tape and turn over so the sticky side is facing up. Place the half square as shown on the left above and fold the small portion on the bottom up.

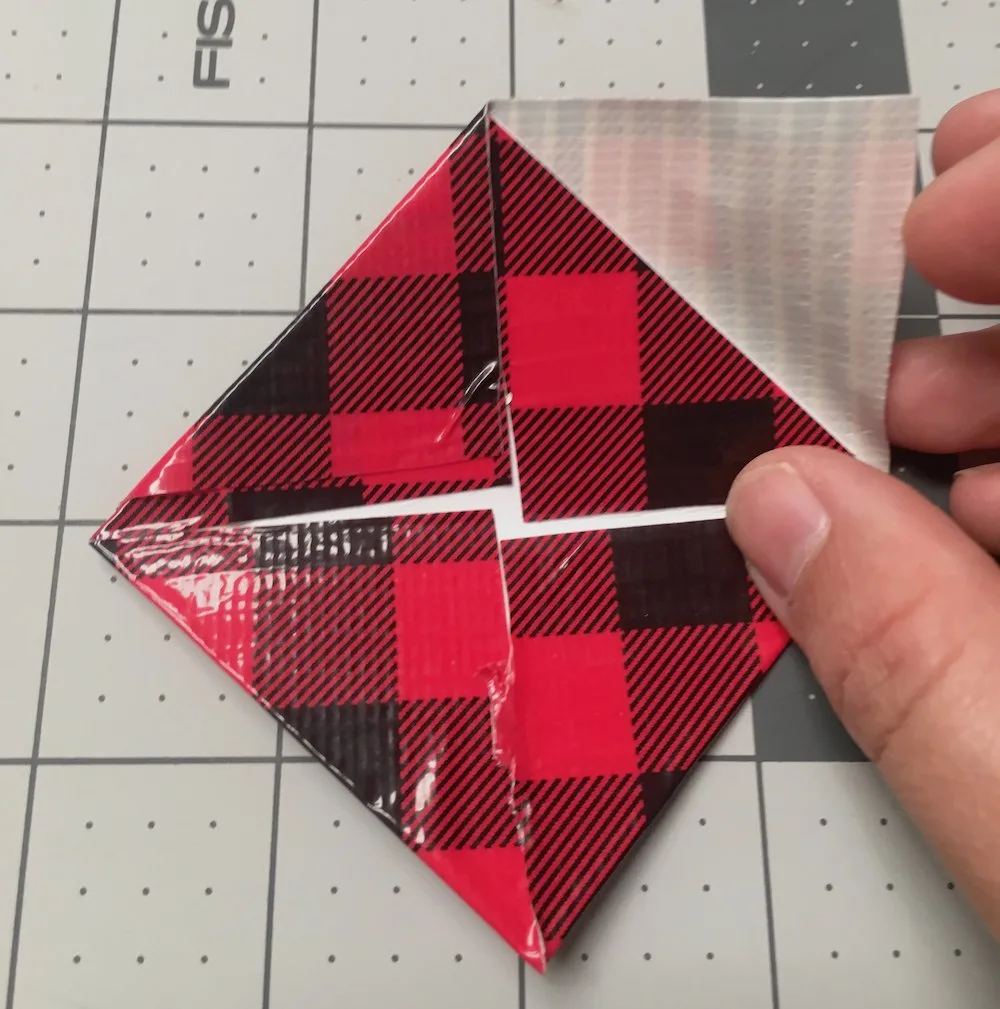
Trim the edges straight up (perpendicular to the corners). Tape the half triangle to the full triangle as shown above. This creates a pocket for your pages to go into.
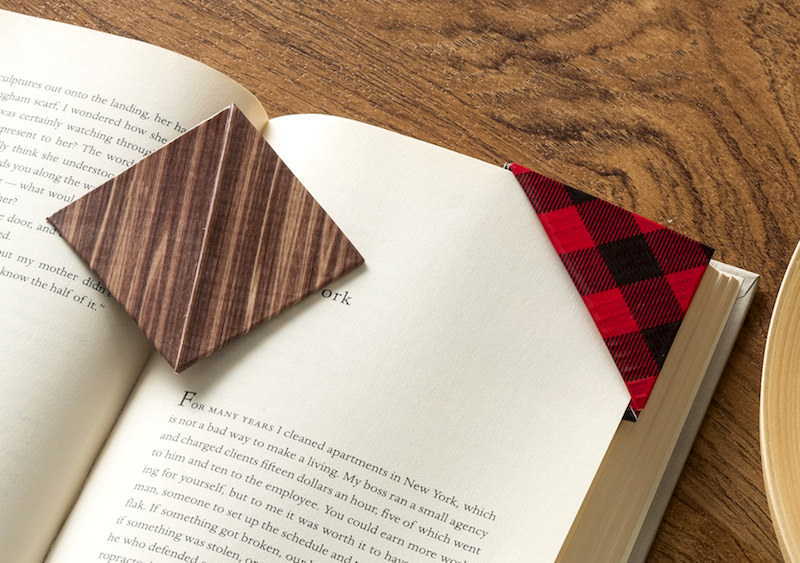
This is your completed bookmark! The book page inserts into the corner. So fast and easy!
If you’re more of a visual person, you can see a video for how to make these DIY corner bookmarks below:
If you love this Duck Tape corner bookmark idea, I’d love for you to check out these other easy crafts:
- DIY Bookmarks to Make Reading Fun!
- Cute Cat Bookmarks From Paint Chips
- Confetti Bookmarks for Kids Are Colorful
- Spring Flower Paint Chip Bookmarks (Fun for Kids!)
- Origami Heart Bookmark You Can Make in Minutes!
- Perler Bead Bookmarks Are a Cute Kids Craft
- DIY Corner Bookmarks In a Few Easy Steps Story