
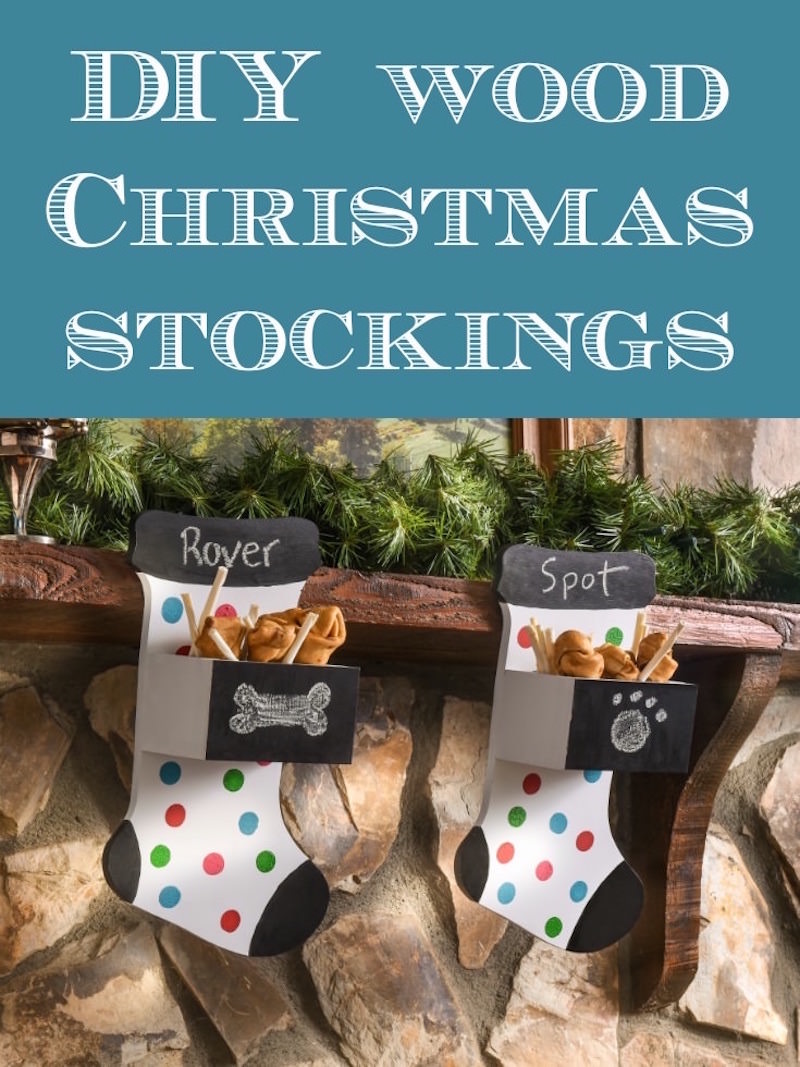
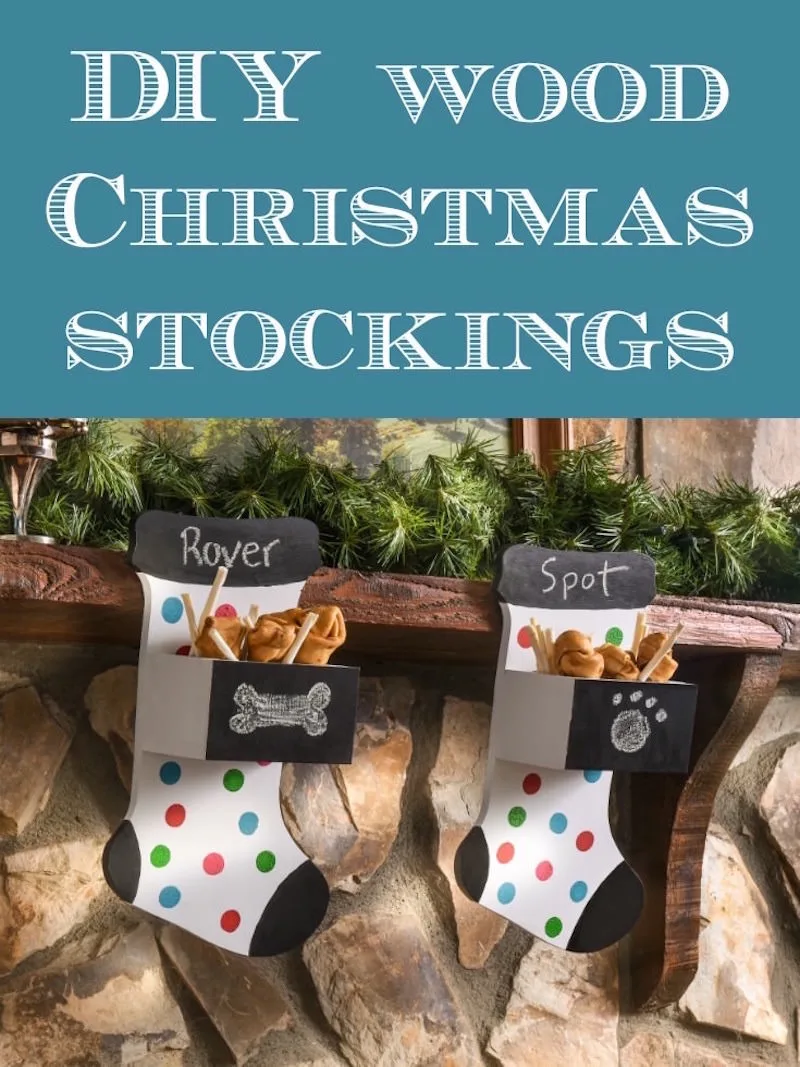
Learn how to create wood Christmas stockings than can be hung on the mantel or used as a planter outside. Perfect holiday mantel decor!
Skills Required: Intermediate. You’ll need to be comfortable with woodworking and the associated tools to do this project. If you are a beginner with that, it’s fine, but there is cutting and assembly required.
I’m a big fan of stirring things up every now and again. By that I mean doing the types of projects you might not expect, especially when it comes to the holidays.
Don’t get me wrong: I love the standard Christmas decorating – glitter-izing ornaments, Mod Podging wreaths, etc. But I also like to try projects I’ve never done before.
Wood Christmas Stockings
Woodworking is at the bottom on my list of strengths. It’s actually been just the past few years that I’ve tried projects that use more than just a brush and some paint, and these wood Christmas stockings are one of those projects!
I love these wood Christmas stockings because they are a twist on a classic, made with plywood and featuring a small, wooden box up front where you can stash your treats.
How did I learn to make these fun stockings? From a class at The Home Depot called Do it Herself Workshops.
They are great for anyone who wants to get the skills and confidence to be a DIYer. I received instruction on how to build this wood stocking holder, and I’m excited to show you how to do it today!
DIY Wooden Stockings
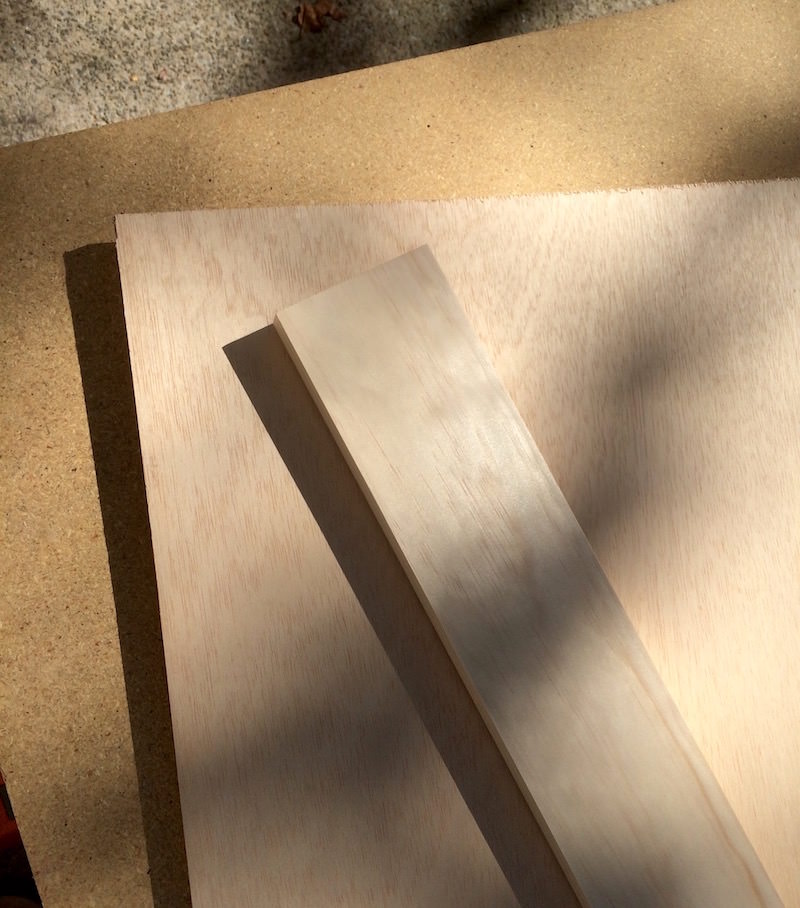
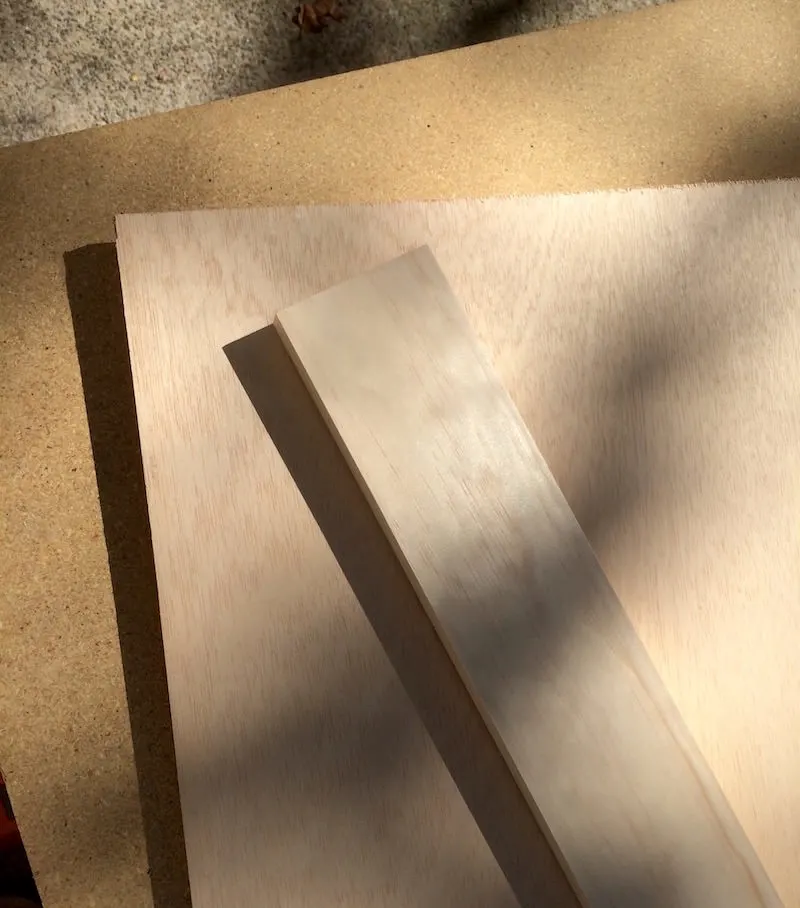
Gather These Supplies
- 1 – 24″ x 48″ x 1/2″ sanded plywood
- 1 – piece 1″ x 4″ x 6′ common pine board
- 1-lb. pack #15 x 1 1/2″ 4D bright steel finish nails
- 8 oz. bottle wood glue
- Steel sawtooth ring hangers
- Jigsaw
- Table or circular saw
- Hammer or nail gun
- Tape measure or yardstick
- Pencil
- Clamps
- Sanding block
- Safety goggles
- Painter’s tape (optional)
- To paint the stockings: spray paint, acrylic paint, chalkboard paint, spouncer, paintbrush
- Sparkle Mod Podge to add bling (optional)


Start by measuring your pattern. You’re going to use a pencil and tape measure to mark a grid of 6-by-6-inch squares on the sanded plywood.

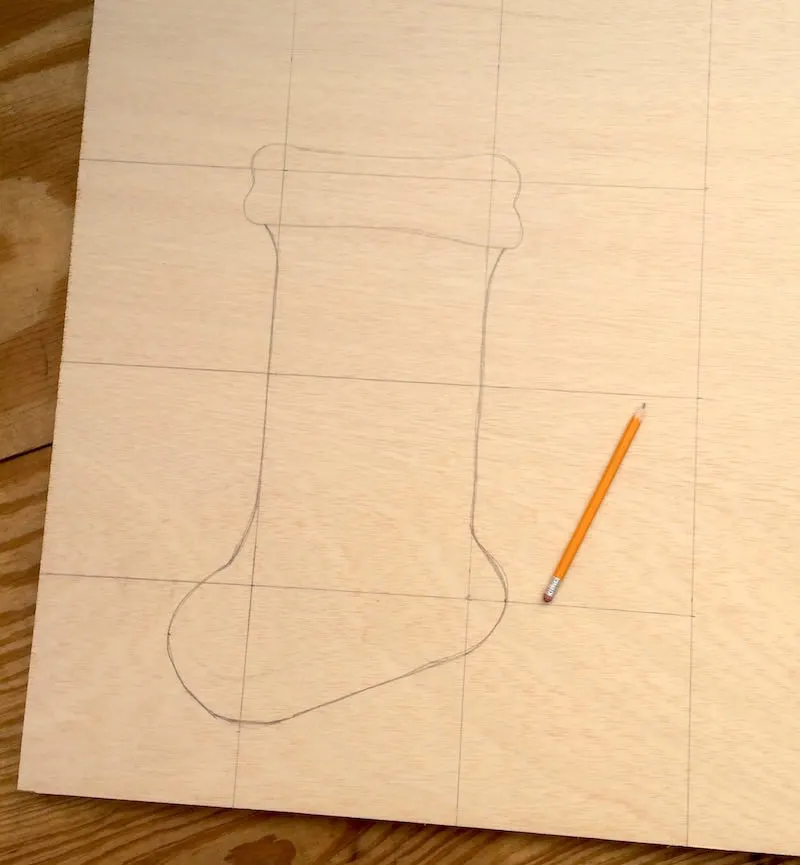
Next, you’re going to freehand your pattern. Use the grid as your guide; draw two stocking shapes (they will fit best if you draw one upside down, and the other right side up).
As an estimate, the neck of the stocking is 1 grid square wide, the length is 3 grid squares long, and the foot is about 2 grid squares wide at the bottom. I encourage you to get creative here!
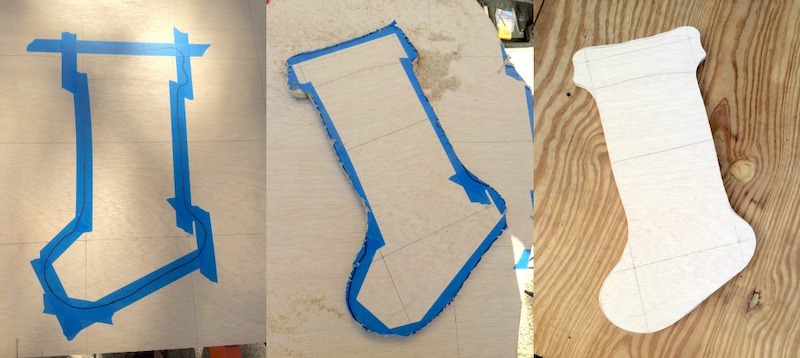

Use a jigsaw to cut out the stocking shapes! One thing we always do around here is use painter’s tape over the top of the designs to reduce the chance that the wood is going to splinter.
The tape is thin enough for you to see the pencil lines through, so you can cut that way or simply trace the pencil lines over the top with a Sharpie (we’ll leave that up to you!).
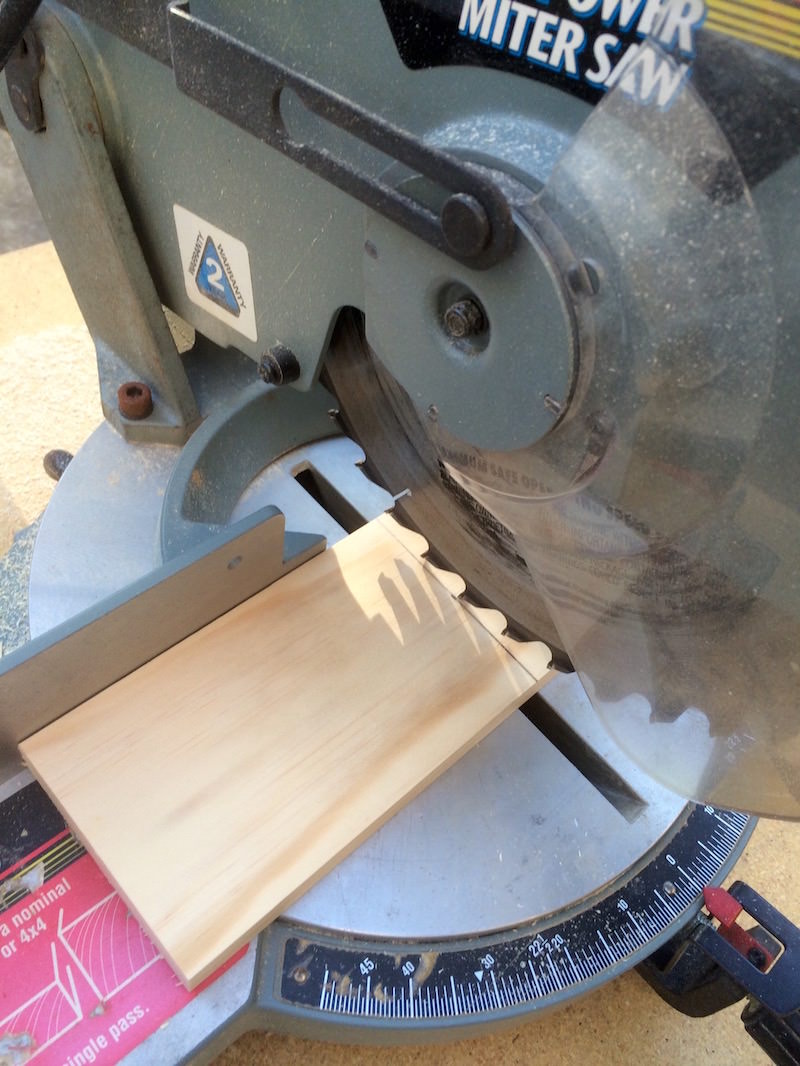

Now that your wood Christmas stockings are cut out, cut out the boxes as well. You’ll need:
- 4 side pieces, 3.5 inches long
- 2 bottom pieces, 4.5 inches long
- 2 front pieces, 6 inches long
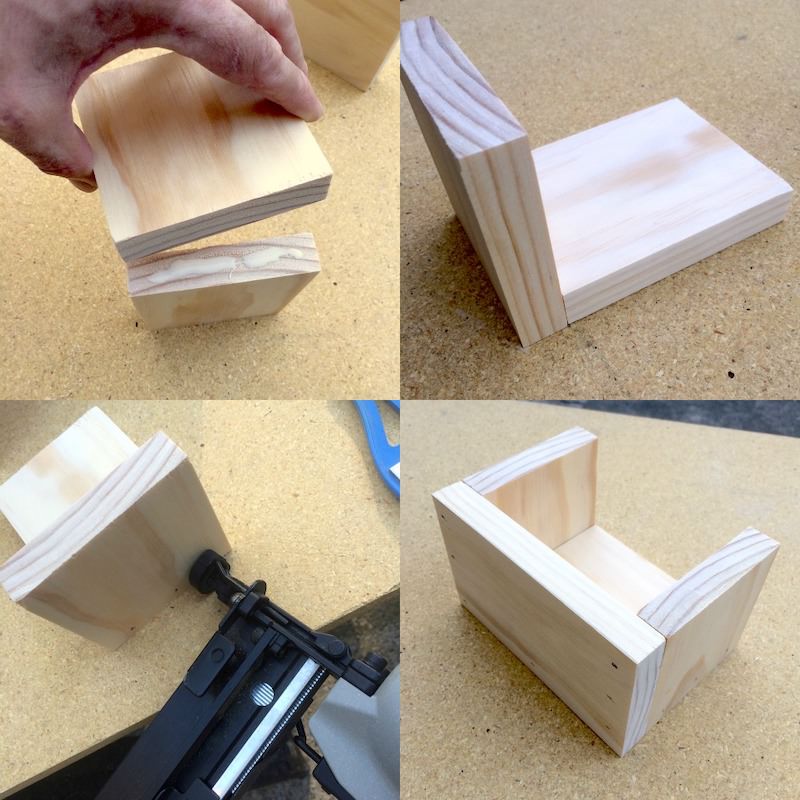
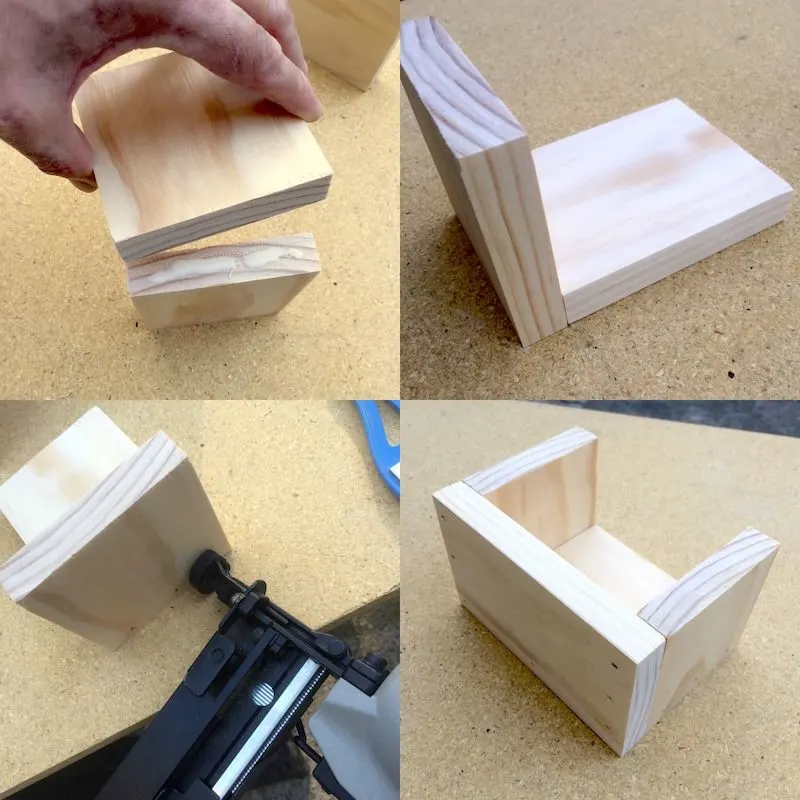
Assemble the boxes by applying the wood glue to the bottom piece and adding the sides. Nail into place, and add the front piece with glue. Nail that into place as well. Repeat with the second box.
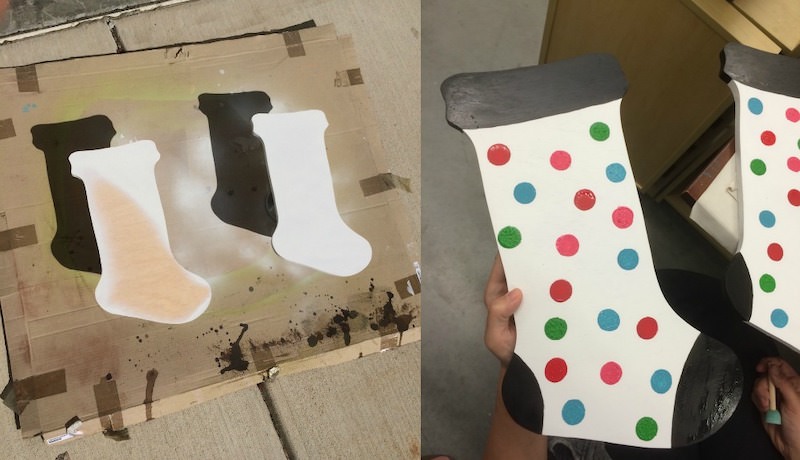

The next step is to paint your wood stockings. I didn’t want to glue or staple the boxes to to the backs of the stockings yet because I had a polka-dot theme in mind that would be easiest to execute with no box in the way!
I spray-painted the stocking and the box white, and then added multi-colored polka dots to the stocking only using the spouncer. Then I added chalkboard paint to the top of the stocking, the front and back of the toe, and the front of the box.
I encourage you to come up with a paint scheme for your wood Christmas stockings that works with your decor!
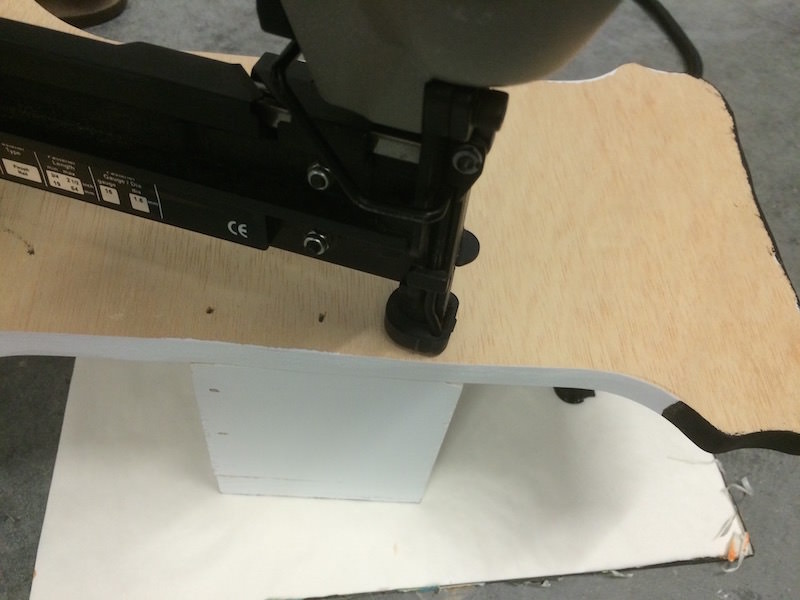

You’ll attach the boxes to the stockings with a nail gun – you can also just use really strong wood glue, but we wanted to ensure the boxes would be secure.
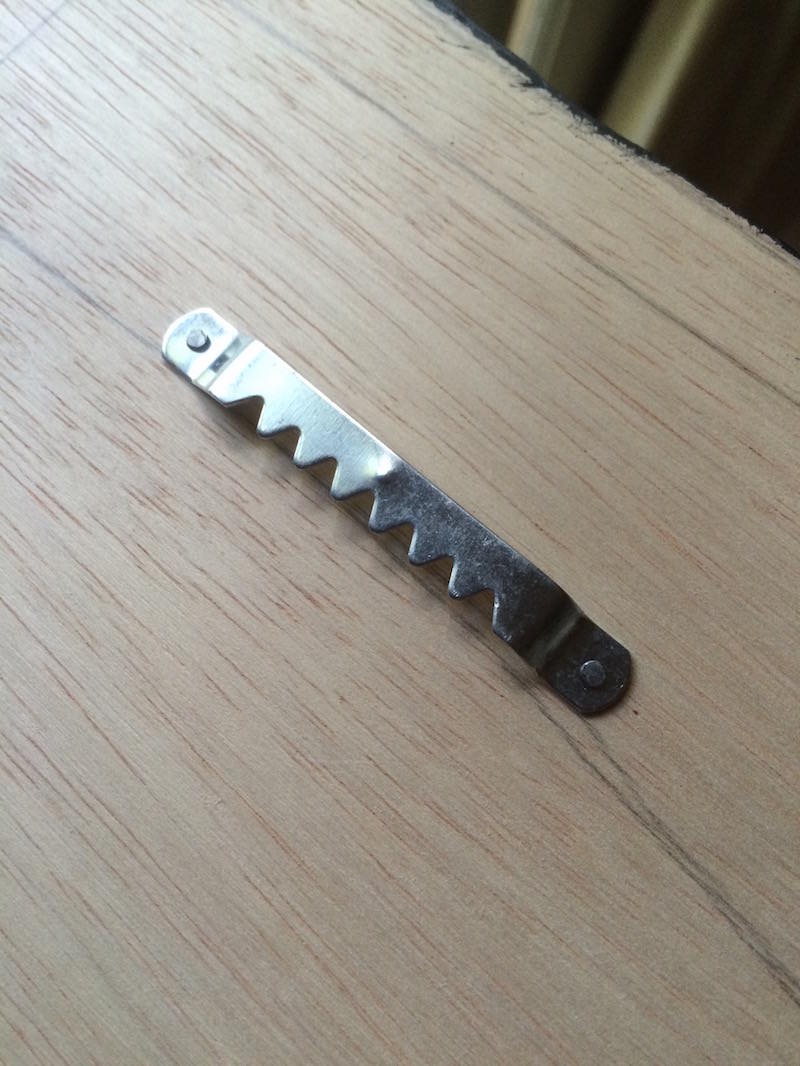
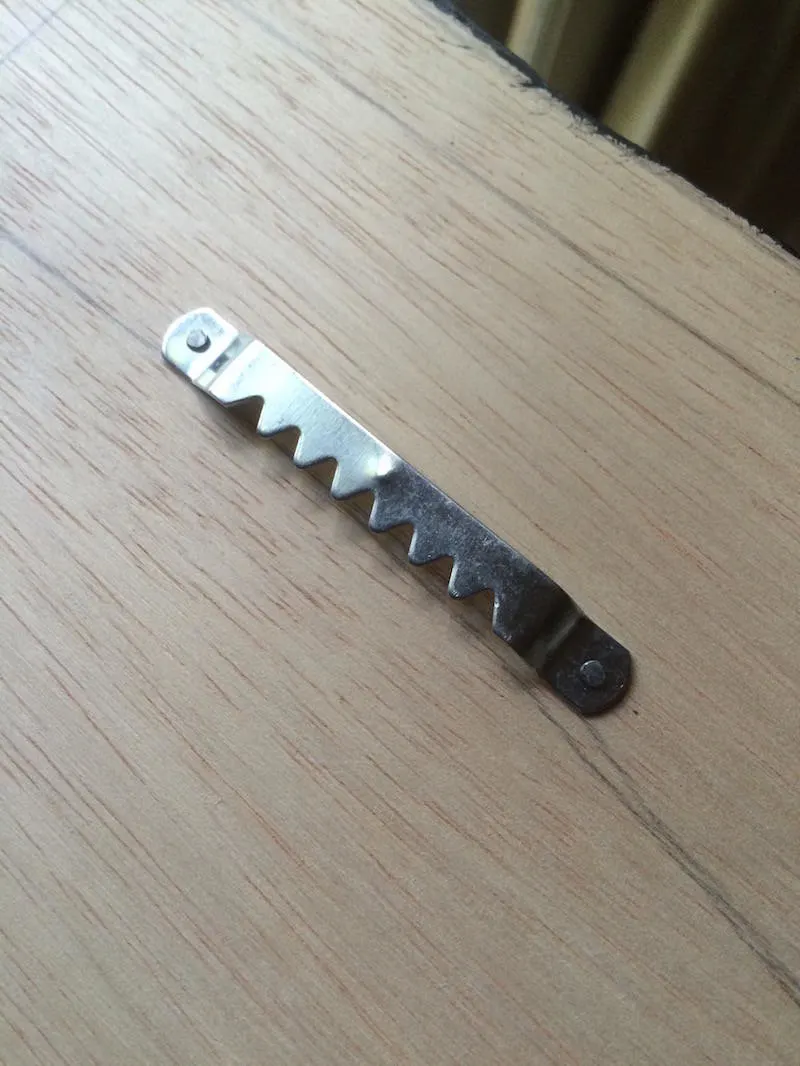
Then add a sawtooth hanger to the back of both of the stockings to hang.

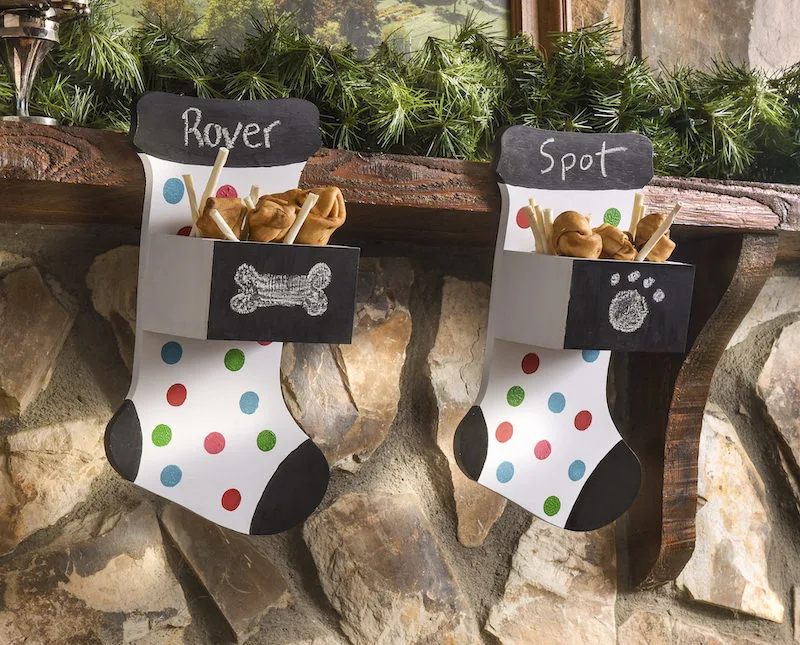
That’s all there is to it! We decided to make our wood Christmas stockings pet-themed, adding chalkboard paint so we could write messages and designs on the fronts and bands.
I love that you can not only use these inside, but they can also be outside planters. (You’ll want to forgo the chalkboard and use an outdoor polyurethane to protect them if you choose that route.)
If you love these wood stockings, I’d love to hear in the comments! I also think you’ll like these other Christmas decor projects: