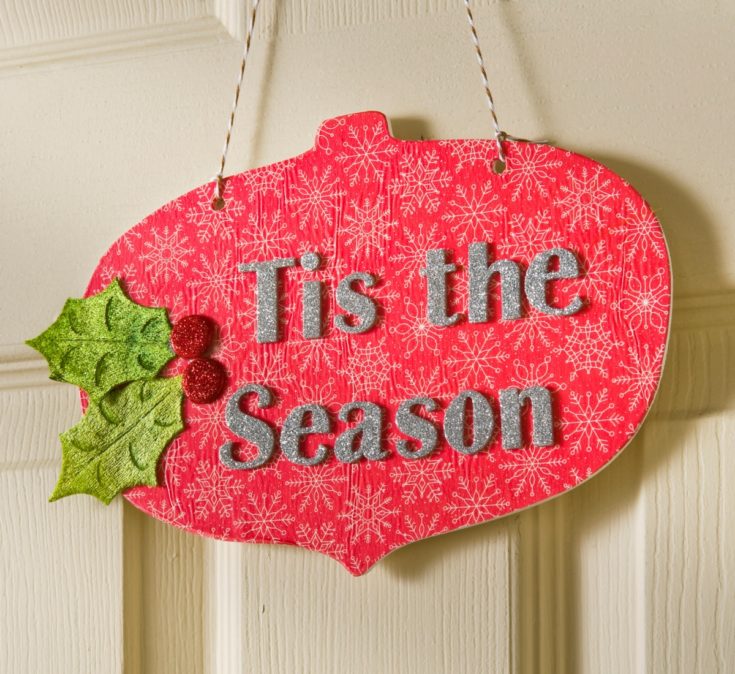
Use dollar store supplies to make wood Christmas ornament decor in a few easy steps! This will add a unique and festive touch to your holiday home.
Skills Required: Beginner. This is a good project for beginners! You’ll be cutting out paper, painting, decoupaging, and then gluing down embellishments. It helps to have used Mod Podge once or twice.
Every few years, I decide to go through my craft supplies. I wish I could say it was more often, but that’s about as frequently as I can get to it.
I always find that slowly but surely, my stash has built up to way more than what I need, or what I can use, and I have to do a big purge.
Also sometimes I feel like it’s Christmas all over again, because inevitably I find something that I don’t remember buying. Okay, more than one thing!!
And if you’re laughing at me right now, tell me it happens to you. And for me, it often happens with surfaces. You know, like wood plaques, boxes, blocks, etc.
Wellll . . . it happened recently with a large wood ornament shape from the Dollar Tree. Totally forgot that I had it, and had slid the shape down into a bin a few years ago.
Then I noticed this year they had them for sale (they’ve had this shape the past few years actually) and I said “ah-ha!” I’ve seen this same shape at a few other places also.
I decided to take this wood sign out of my stash and make some wood Christmas ornament decor. With Mod Podge and more dollar store supplies.
And the good news is that Dollar Tree seems to always have this shape or something similar, so you can make some Christmas decor of your very own with the same idea!
If you’ve ever decoupaged with napkins, you can use the iron on method, or you can smooth the tissue paper down by hand (or with a brayer). You’ll learn more below.
Gather These Supplies
- Large wood ornament shape
- Mod Podge Matte
- Acrylic paint – white
- Tissue paper in a holiday theme
- Adhesive glitter letters
- Christmas embellishments – holiday leaves, brads or buttons
- Baker’s twine or ribbon
- Paintbrush
- Scissors
- Pencil
- Craft glue
- Brayer (optional)
Tips and Thoughts for This Project
I used printed tissue for this project, but you can also use scrapbook paper, fabric, napkins, or anything else you like.
Matte was my Mod Podge formula choice for a flat finish, but I think it would be fun to try the Sparkle as well. I wouldn’t use the Extreme Glitter (it would start to cover the pattern).
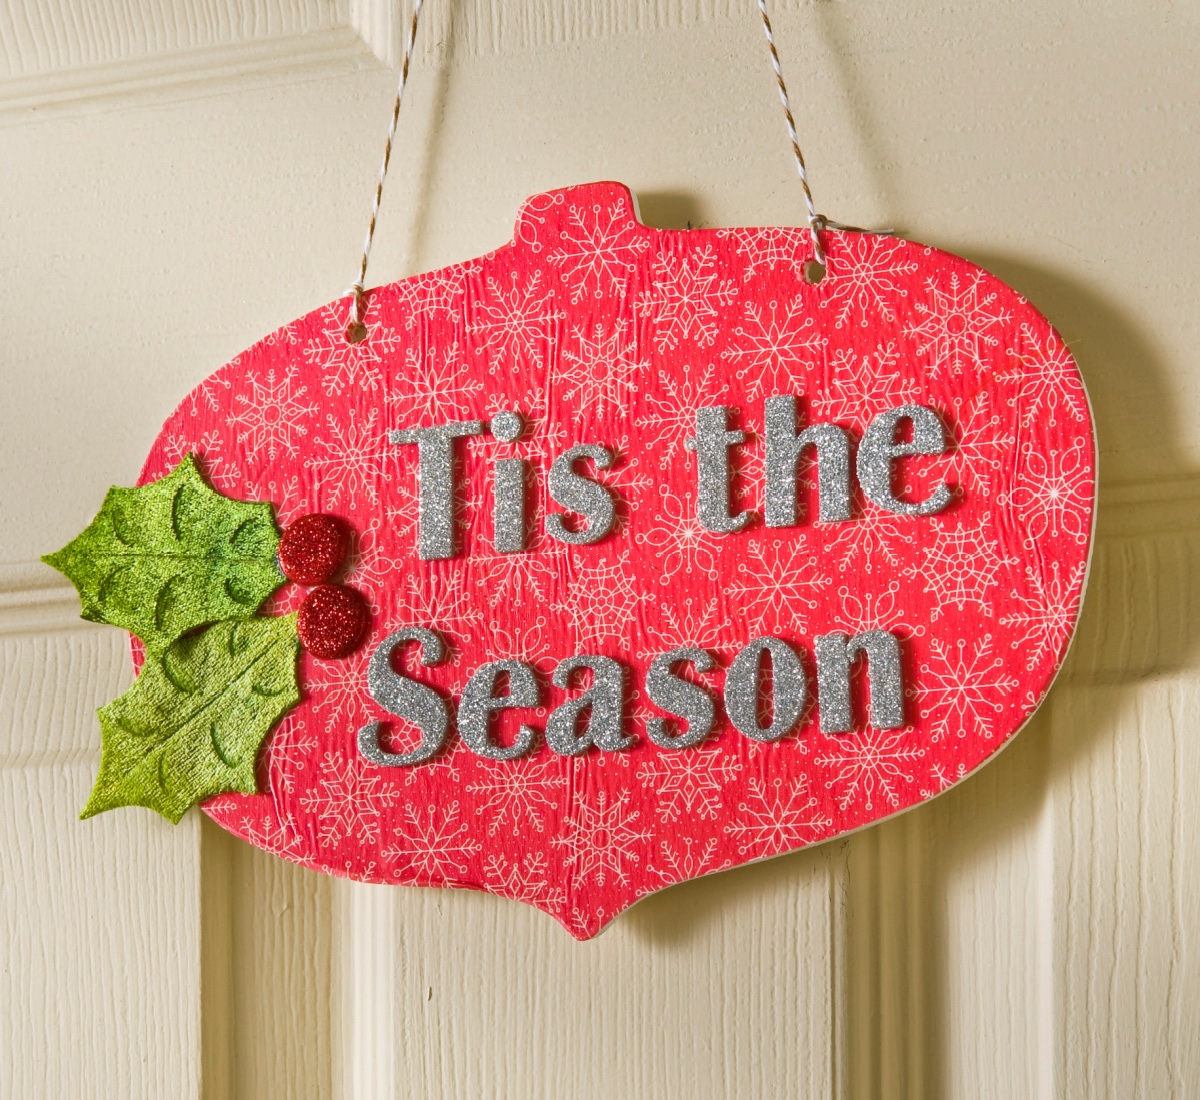
This is one of the quickest Christmas crafts I’ve ever done. I love it! There’s a Who-ville element to it with the large ornament shape, but with some added glitter and velvet.
Get the printable how to for this project below.
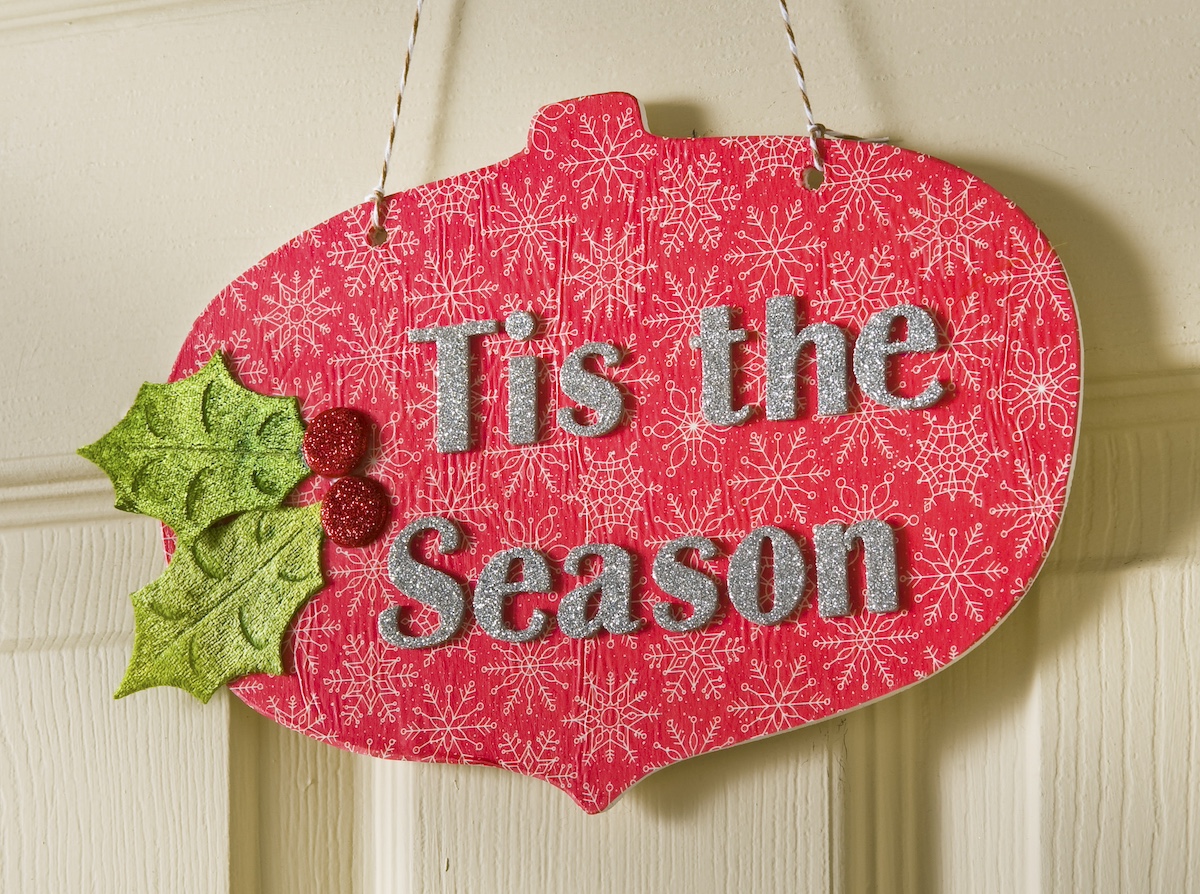
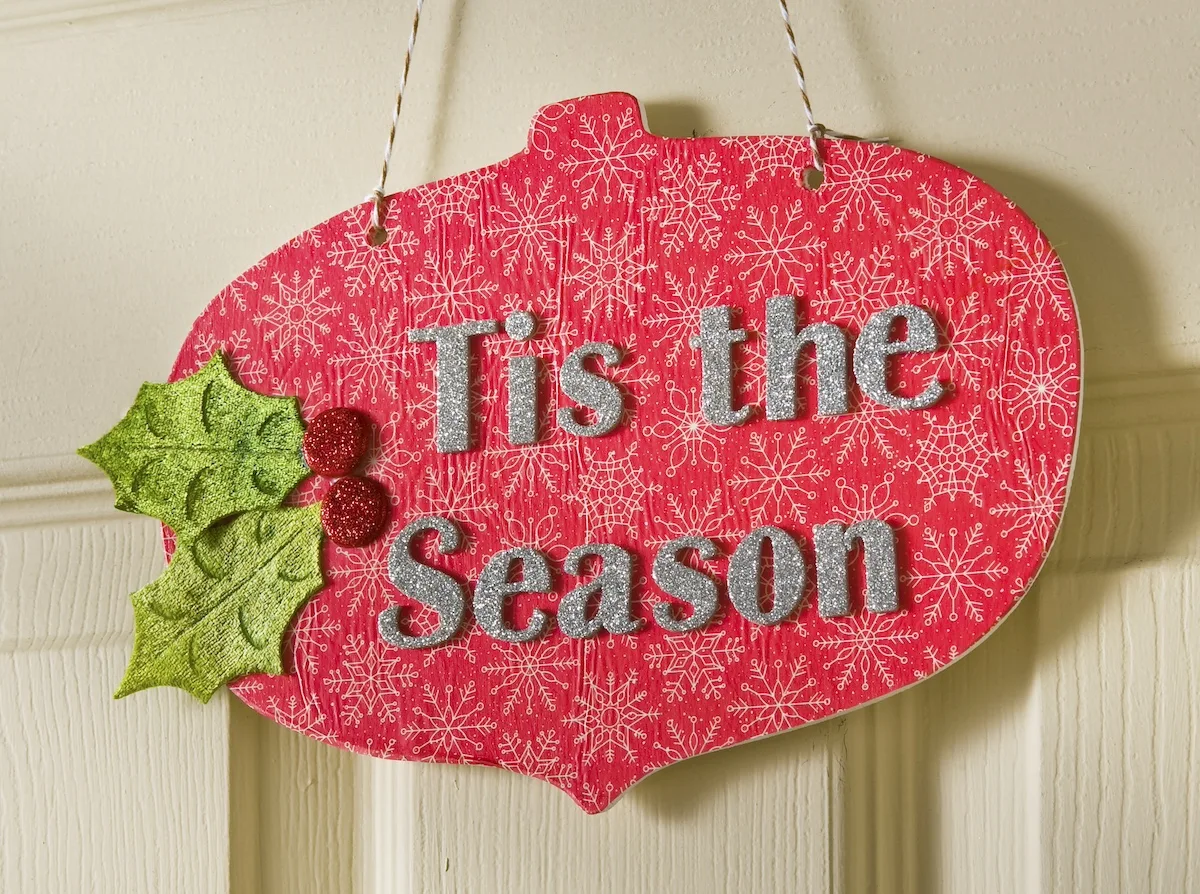
Wood Christmas Ornament Decor

Learn how to decorate a wooden ornament sign from the Dollar Tree and turn it into unique Christmas decor.
Materials
- Wood ornament shape
- Mod Podge Matte
- Acrylic paint – white
- Tissue paper in a holiday theme
- Adhesive glitter letters
- Christmas embellishments – holiday leaves, brads or buttons
- Baker’s twine or ribbon
Tools
- Craft glue
- Paintbrushes
- Scissors
- Pencil
Instructions
- Trace the wood shape on the back of the tissue paper using the pencil.
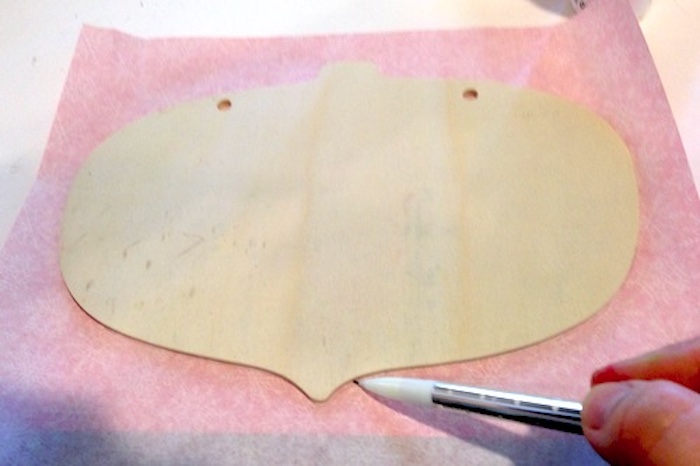

- Cut out just inside the line with the scissors and trim to fit where necessary.


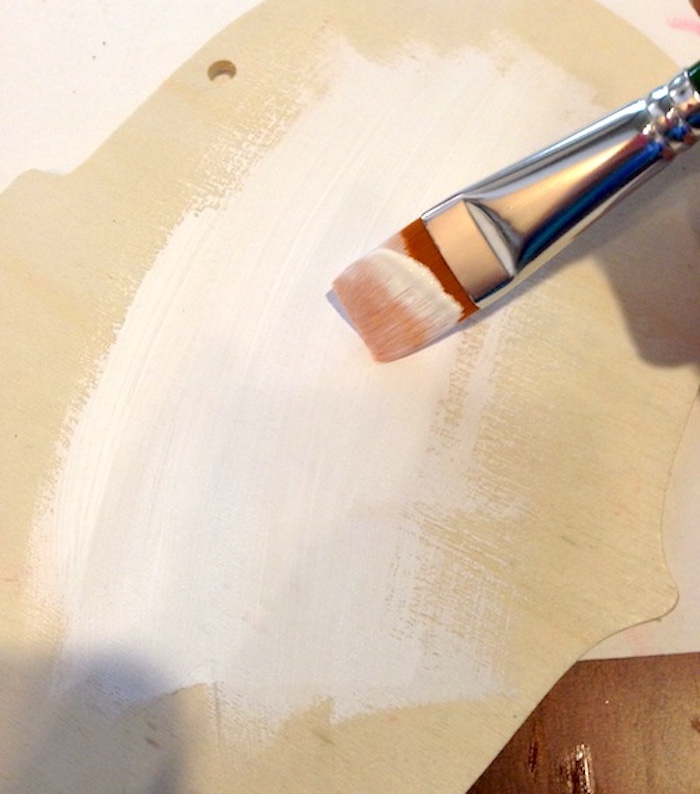
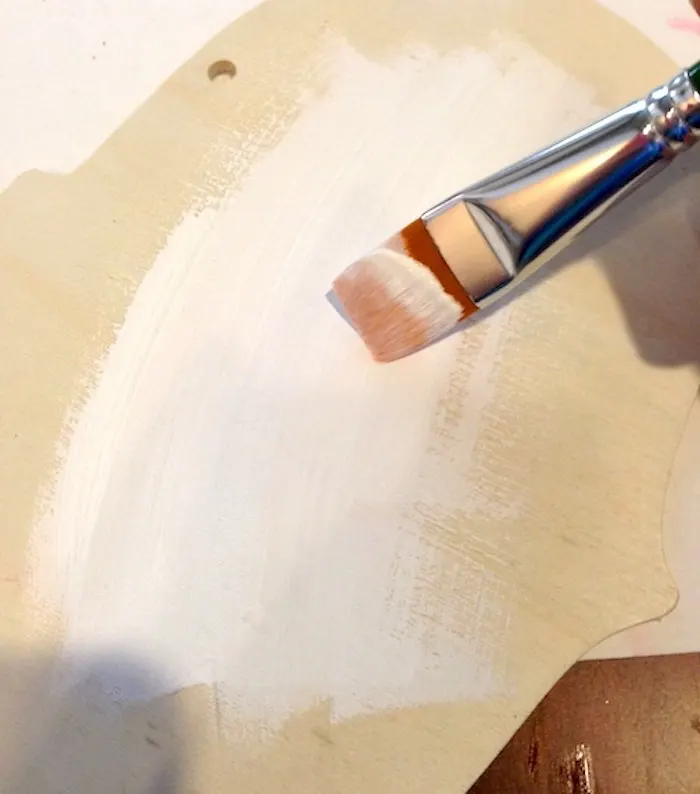
- Paint your wood shape with the white paint. You don’t HAVE to do this, but I always do so that the paper “pops" off the surface. This is more important with thin tissue.
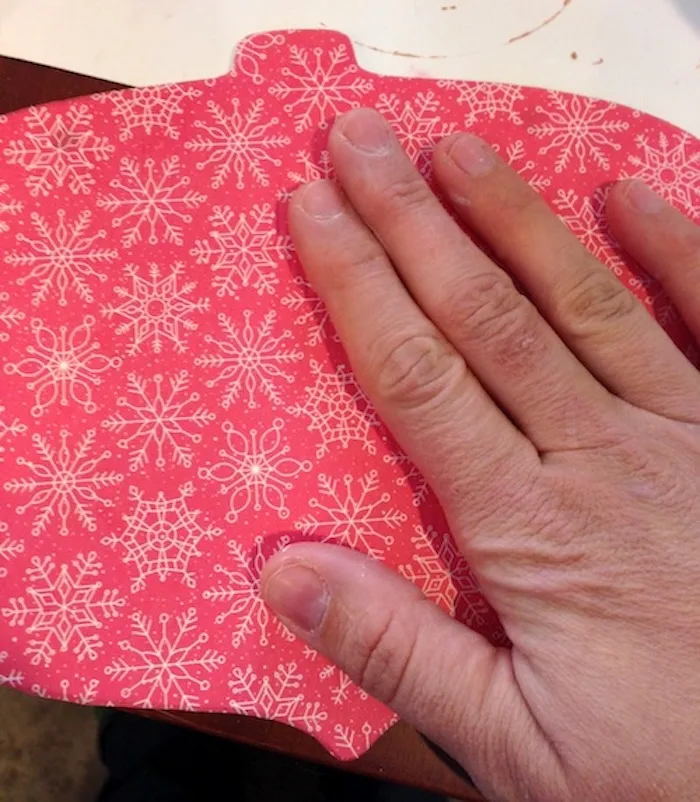
- Mod Podge your wood shape and smooth down the tissue paper. You probably want to use a brayer just because tissue paper is fussy and it tends to wrinkle. Let dry for 15 – 20 minutes.

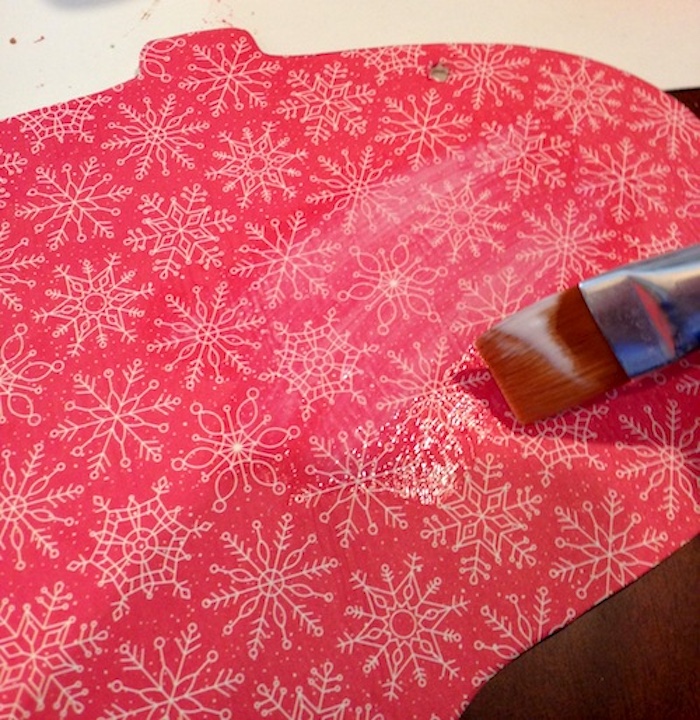
- Add Mod Podge over the top and let dry.

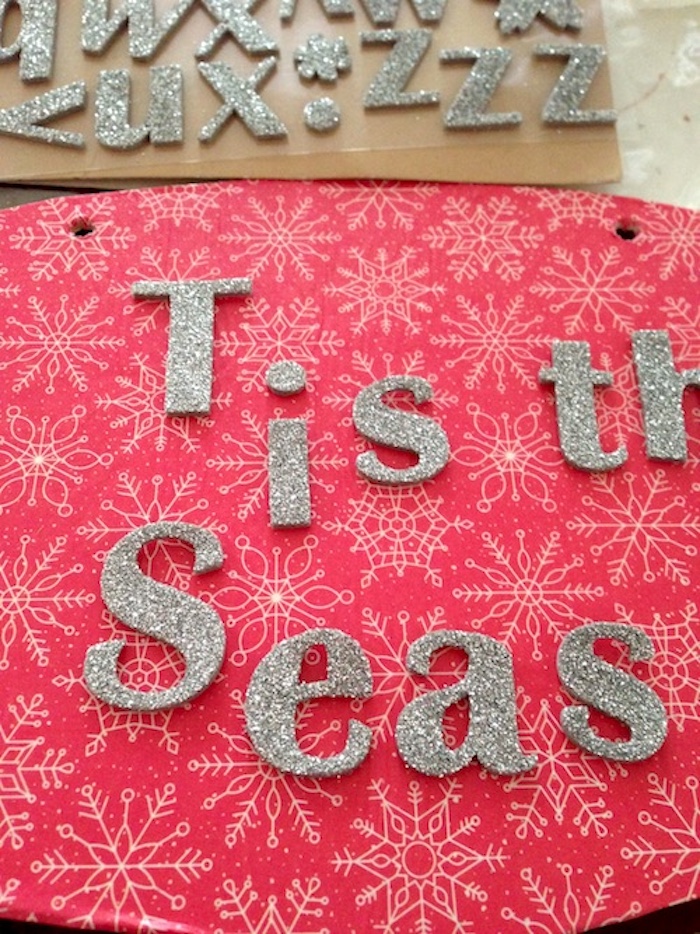
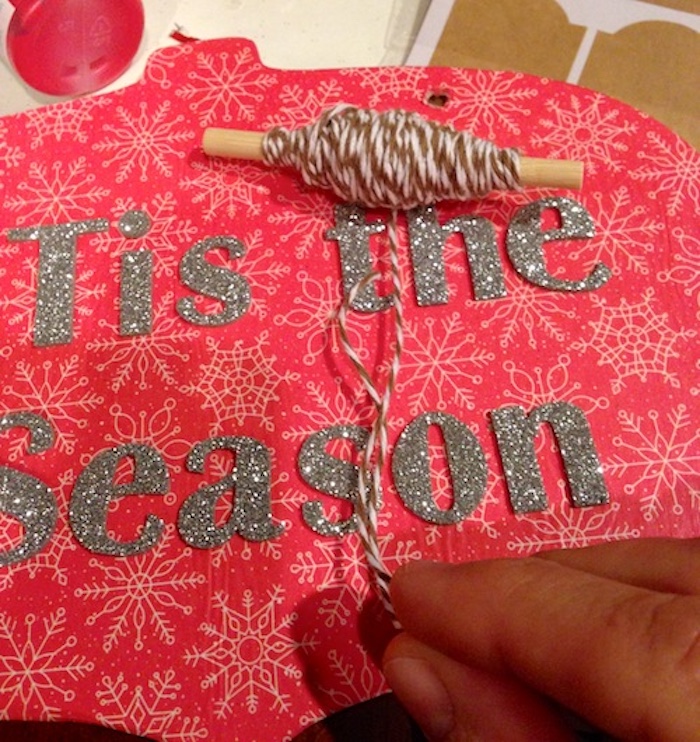
- Add your letters! I made sure that mine were adhesive so that I didn’t have to do any extra gluing (though you can glue down if necessary).

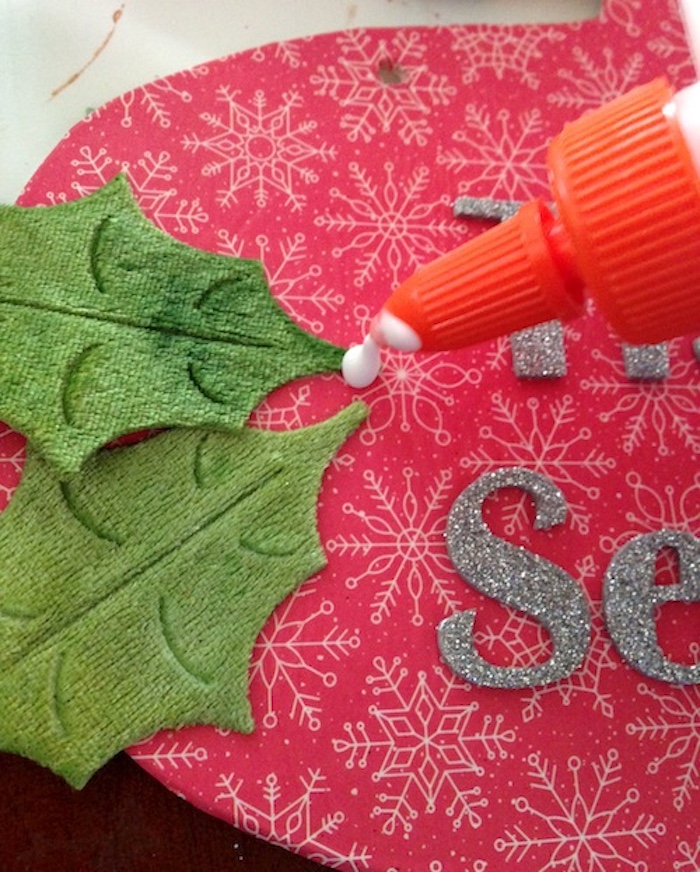
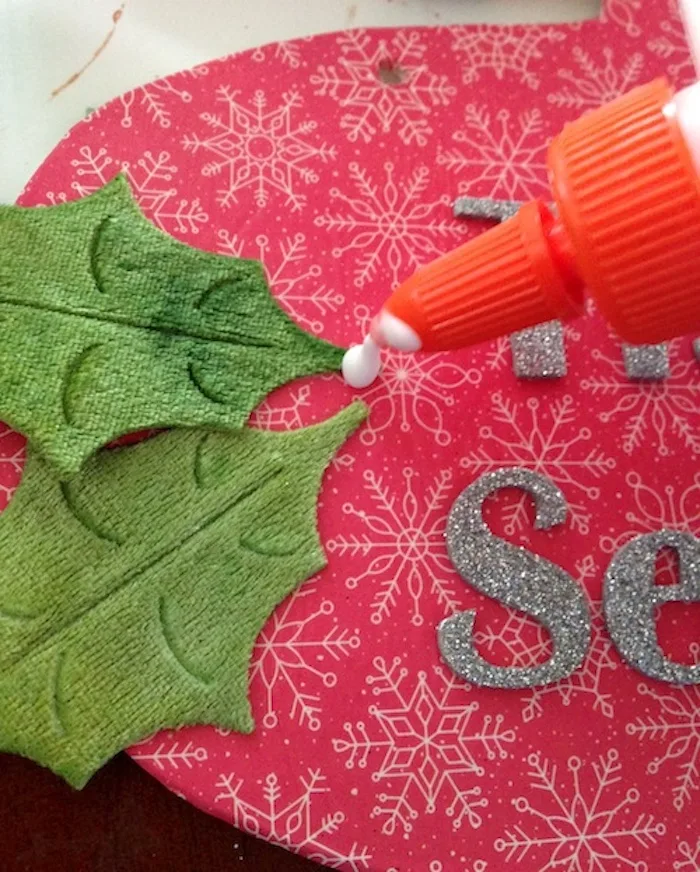
- Add your holly leaves with glue. Press down and let dry.


- Add brads, painted wood circles, or buttons on top of the holly leaves for berries.
- Poke holes through (where the holes were) and then thread baker’s twine to hang.

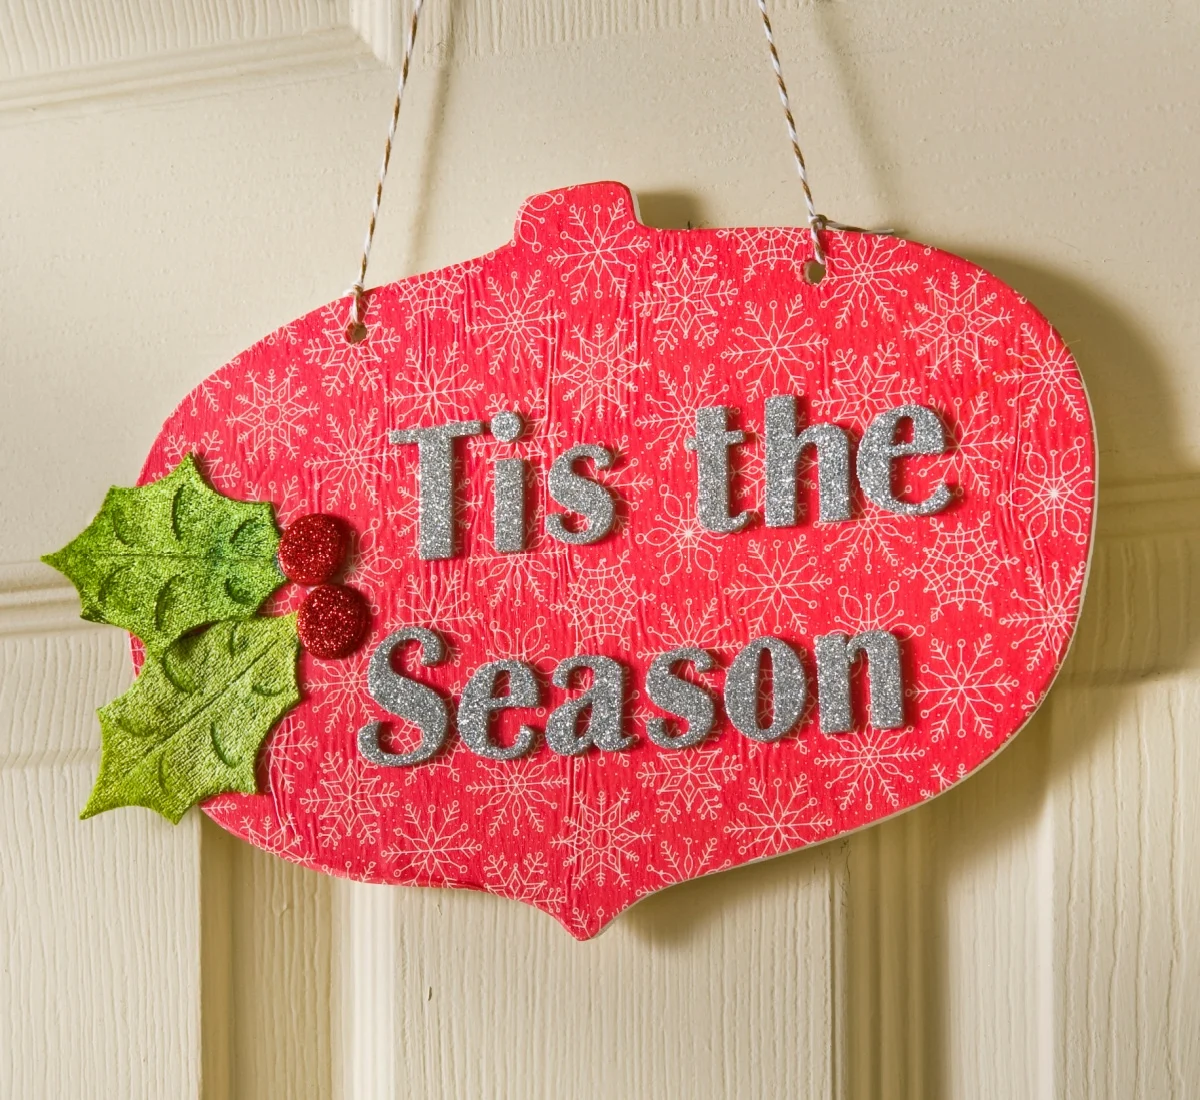
As an aside, I think the velvet leaves would make Elvis proud of this craft (Burnin’ Love Elvis, anyway). Happy Holidays! I’d also love for you to check out these other ideas.