
Use multiple colors of melting chocolate to make this spooky Halloween bark! Kids love to get involved with this candy recipe too. It’s easy, fun. and so tasty!


Does anyone feel like they fell asleep in August and woke up to what is now almost Halloween? So crazy!
After looking at the calendar and realizing the month is slipping away, I decided it was definitely time to do some Halloween treat-making before it becomes unacceptable to put eyeball sprinkles on my baked goods.
We’ve made Cookie Monster bark and Lucky Charms bark, so it’s kind of becoming a theme around here. Today I’m sharing with you a tutorial for making spooky layered Halloween candy bark! And yes, it’s perfect for a Halloween party.
This is such a great recipe to make because it is totally adaptable and easy, making it super fun to get little hands involved!


Candy Bark How-To
Two things you should know when making candy bark. First, it’s not chocolate, and a lot of people think it is. It’s actually milk solids and sugar, kind of like white chocolate (which isn’t really chocolate either).
That’s why I never make it plain! The whole point of bark is that it’s a vehicle to deliver other tasty goodness, and the melts compliment many other flavors.
The second thing you should know is that candy melts are temperamental if you heat them too quickly. They can burn easily on the stove, so heat them on low if you do that. Low low low. A lot of people use a double boiler.
Another option (that I instruct you to use below) is the microwave method. You’ll heat them in bursts in microwave safe containers. It’s easy but just takes some time because you have to do a lot of stirring.
Honestly, I have three of these candy melters (dead serious). I make enough candy bark to make them worth it. The melters are pretty awesome!
If you’re ready to get started, read on to learn how you make it.
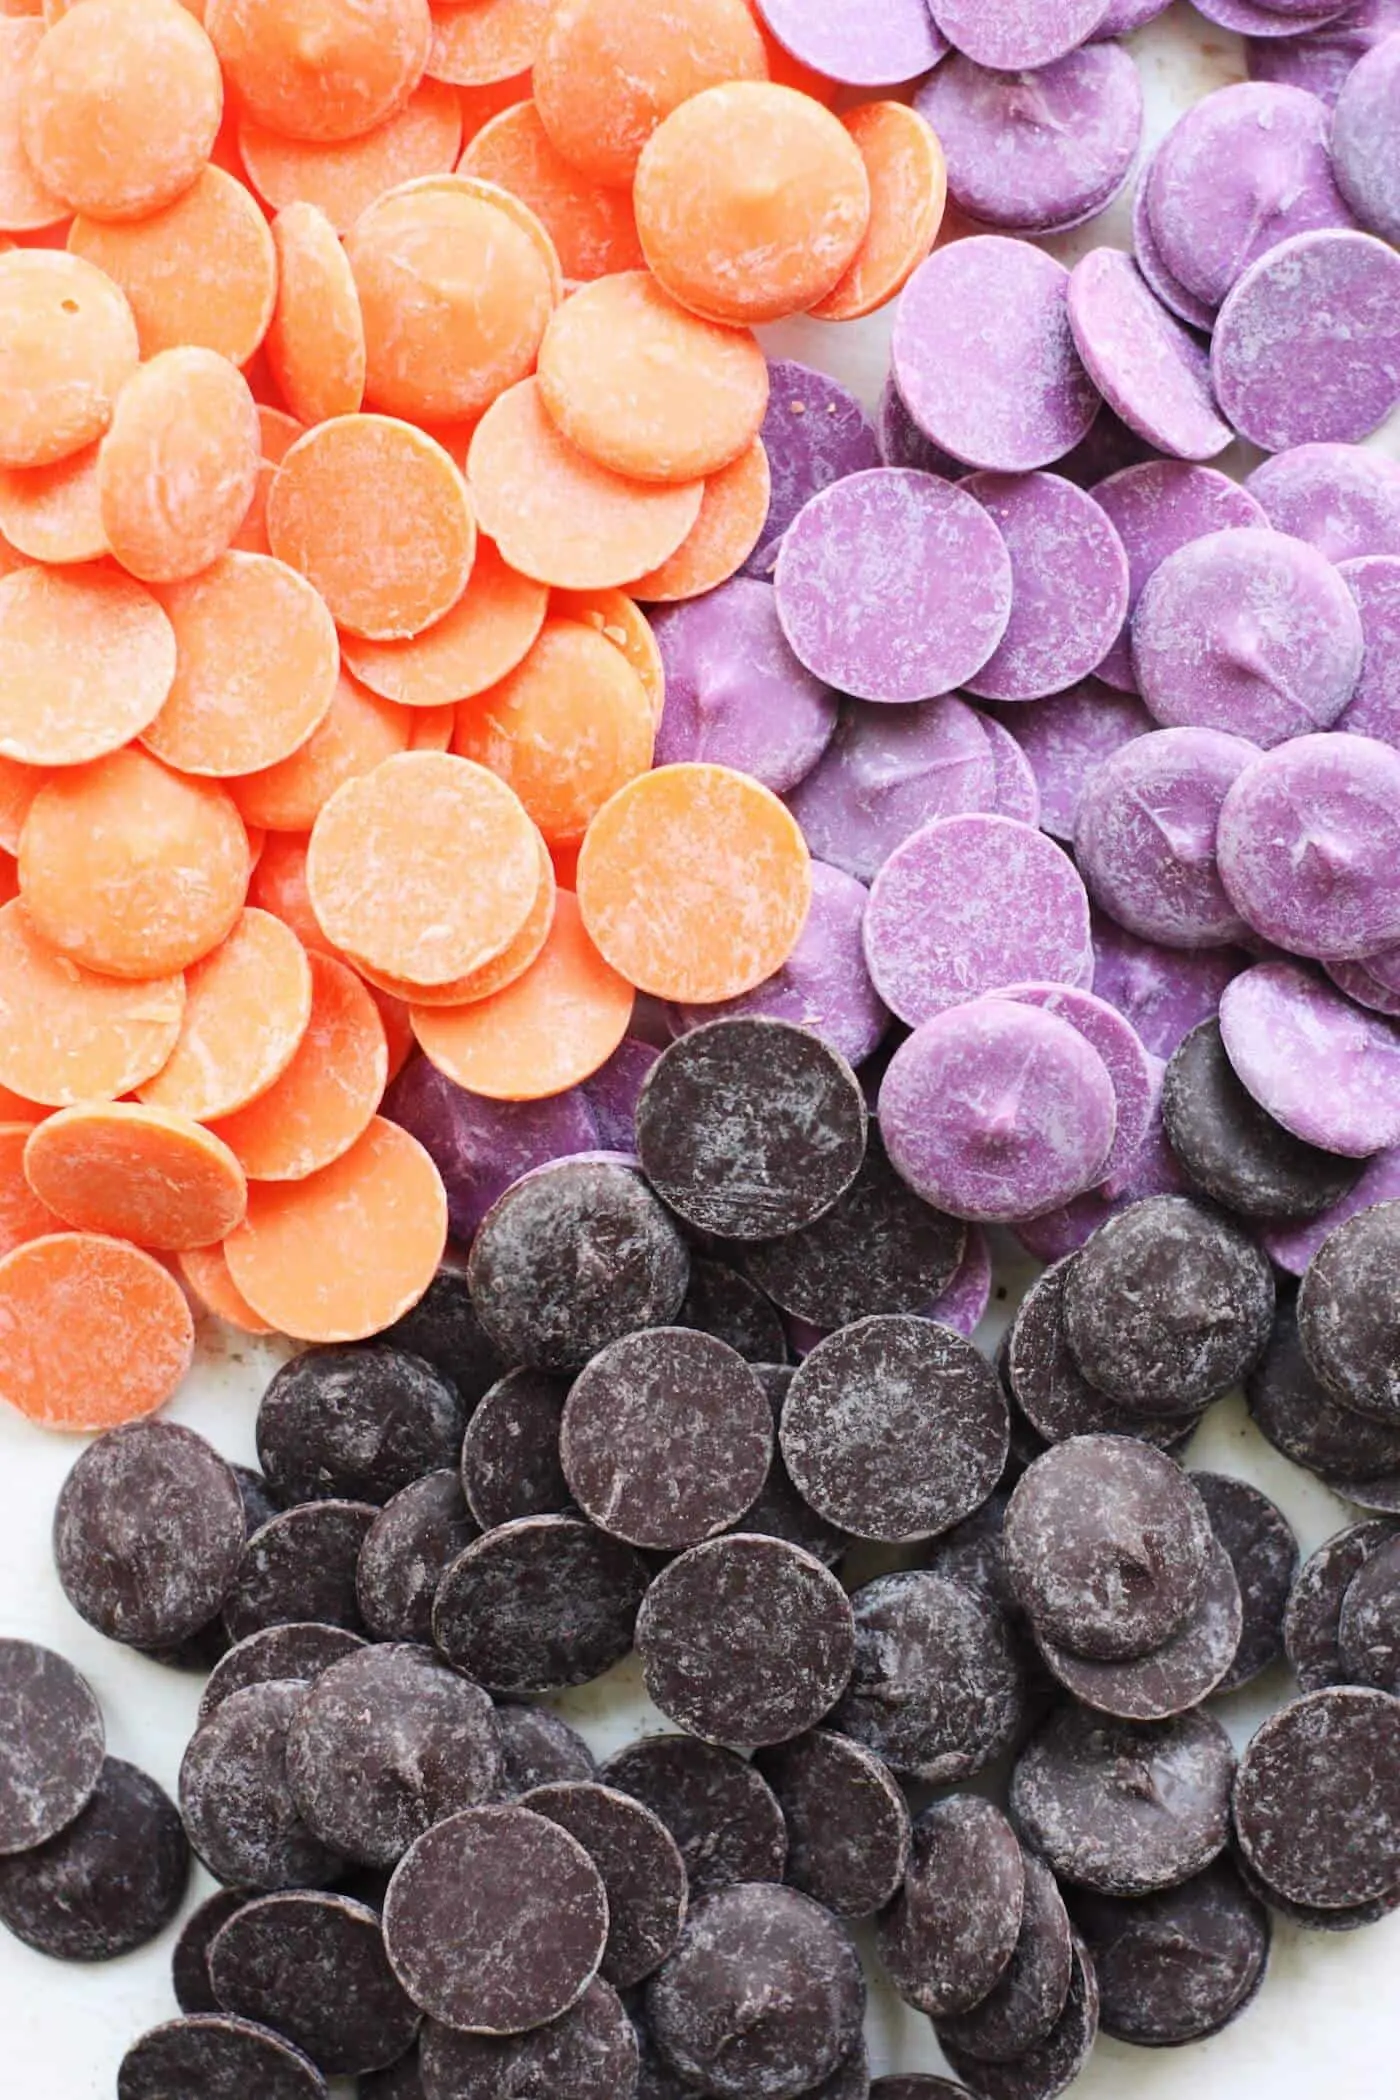
Ingredients
- 8 oz Orange Wilton Candy Melts
- 8 oz Purple Wilton Candy Melts
- 8 oz Cocoa Wilton Candy Melts
- 1 package Wilton Candy Eyes
- Sprinkles
- M&Ms or chocolate chips
- Wax paper
Tools
- Cookie sheet
- Wax paper or parchment paper
- Toothpick or BBQ skewer for swirling
You’re going to see how easy it truly is. Plus, this treat is so cute and SO tasty and there are so many different variations you can utilize to make it your own!

I love the idea of adding crunched up Oreos next time, or maybe some pretzel pieces for some salty crunch! The possibilities are endless, and the result will delight anyone you share it with.
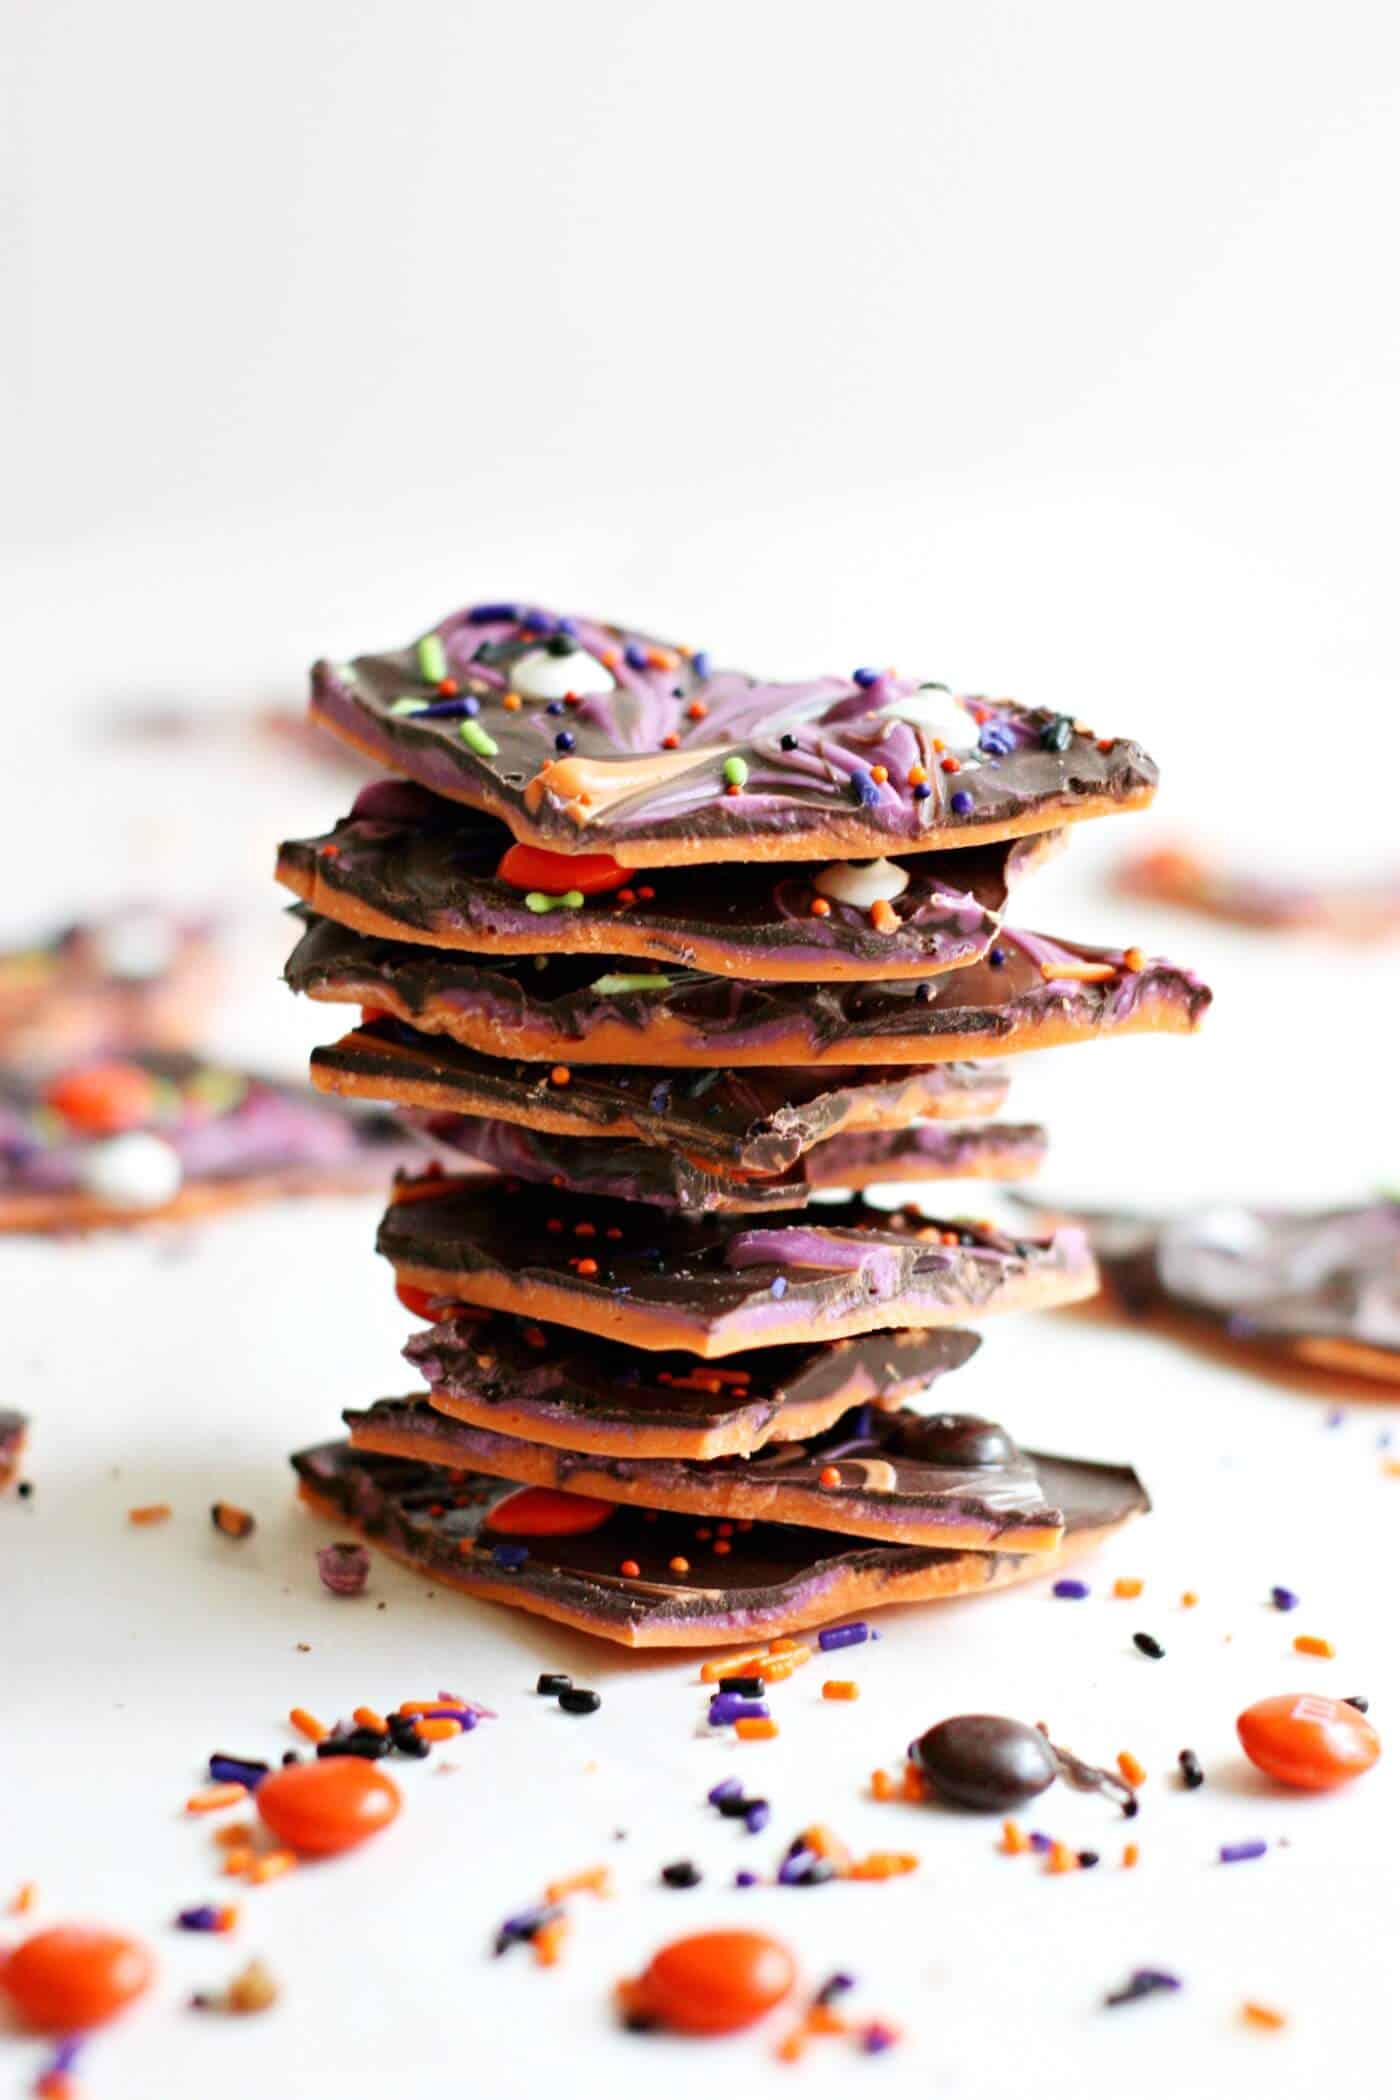
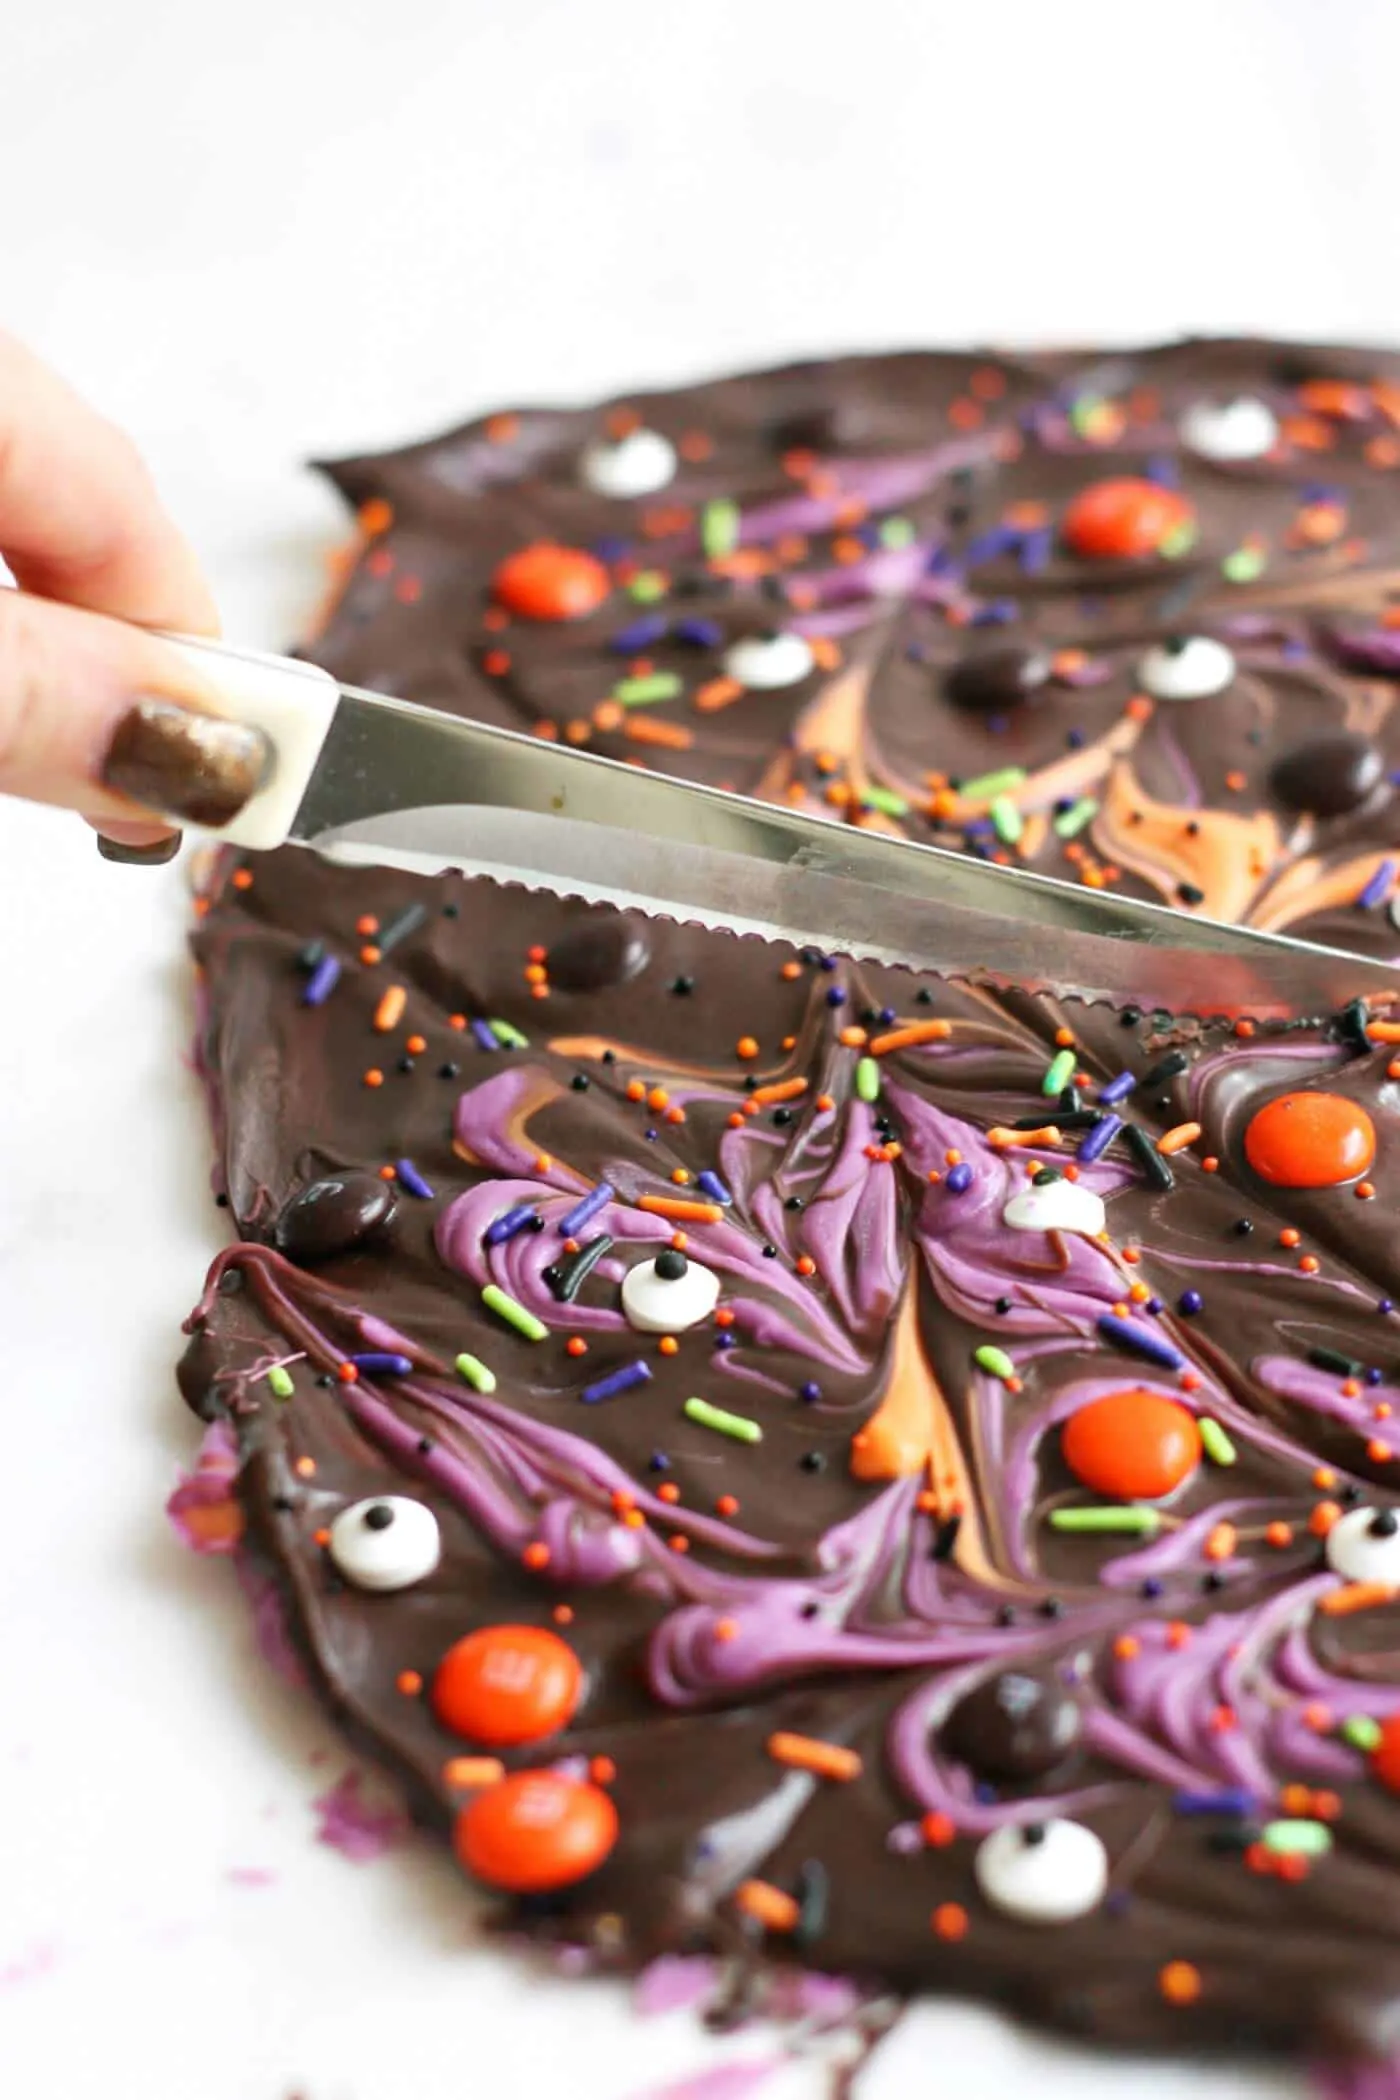
Don’t you love seeing those layers of colors after you cut into it? This recipe would be perfect to package up and give to friends as a spooky Halloween treat.

My kids loved spreading the chocolate and dumping on the sprinkles and candy eyeballs. Plus, you can throw this together with whatever you have on-hand, since pretty much anything goes. I’m thinking candy corn next time . . .
Plus, I’m already thinking of the ways I can alter the toppings to make bark for the next big holidays! Red and white, right?
Get the printable recipe for this treat below.
Halloween Bark

Use multiple colors of melting chocolate to make this spooky Halloween candy bark! Kids love to get involved with this dessert recipe too. It's easy, fun. and so tasty!
Ingredients
- 8 oz Wilton Candy Melts, Orange
- 8 oz Wilton Candy Melts, Purple
- 8 oz Wilton Candy Melts, Cocoa
- 1 package Wilton Candy Eyes
- 4 T sprinkles
- 1/2 cup M&Ms or chocolate chips
Instructions
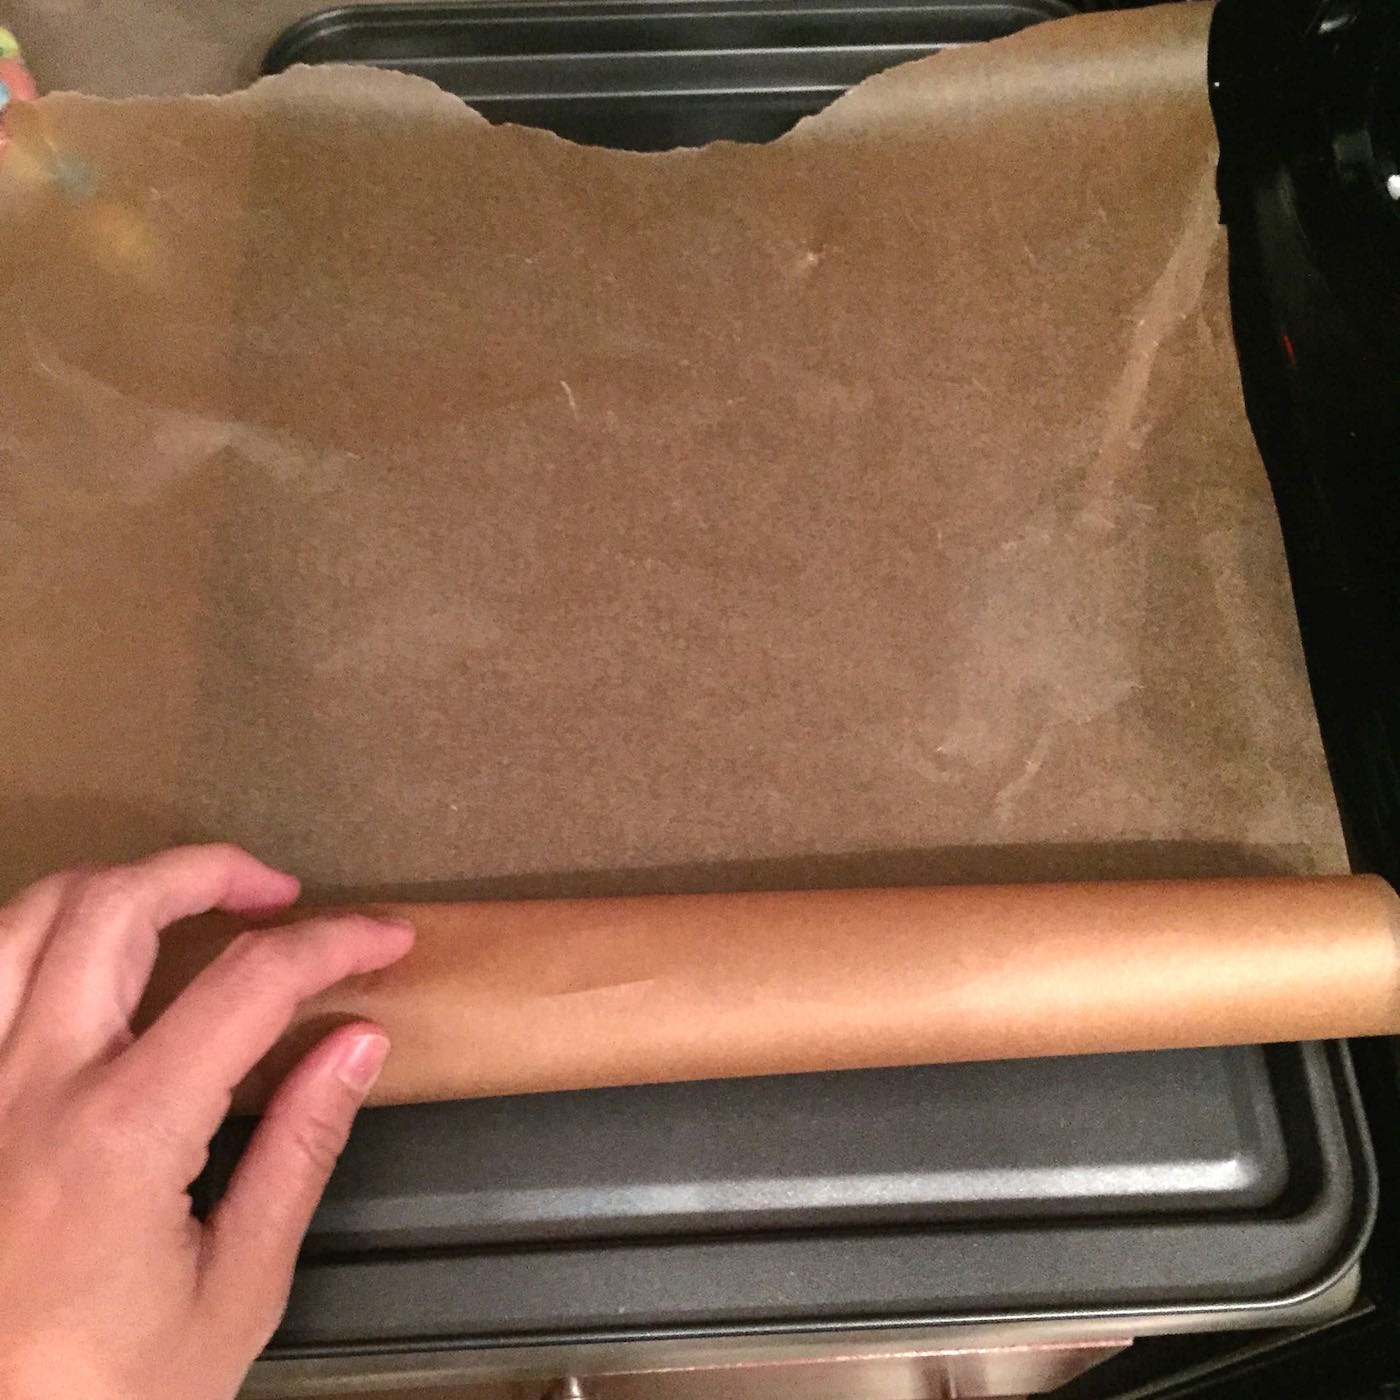
- Prepare a cookie sheet with wax paper or parchment paper.

- In separate bowls, melt each of the colors according to package directions. For instance, for me this meant melting in the microwave in 30 second increments, stirring between each increment until completely melted.

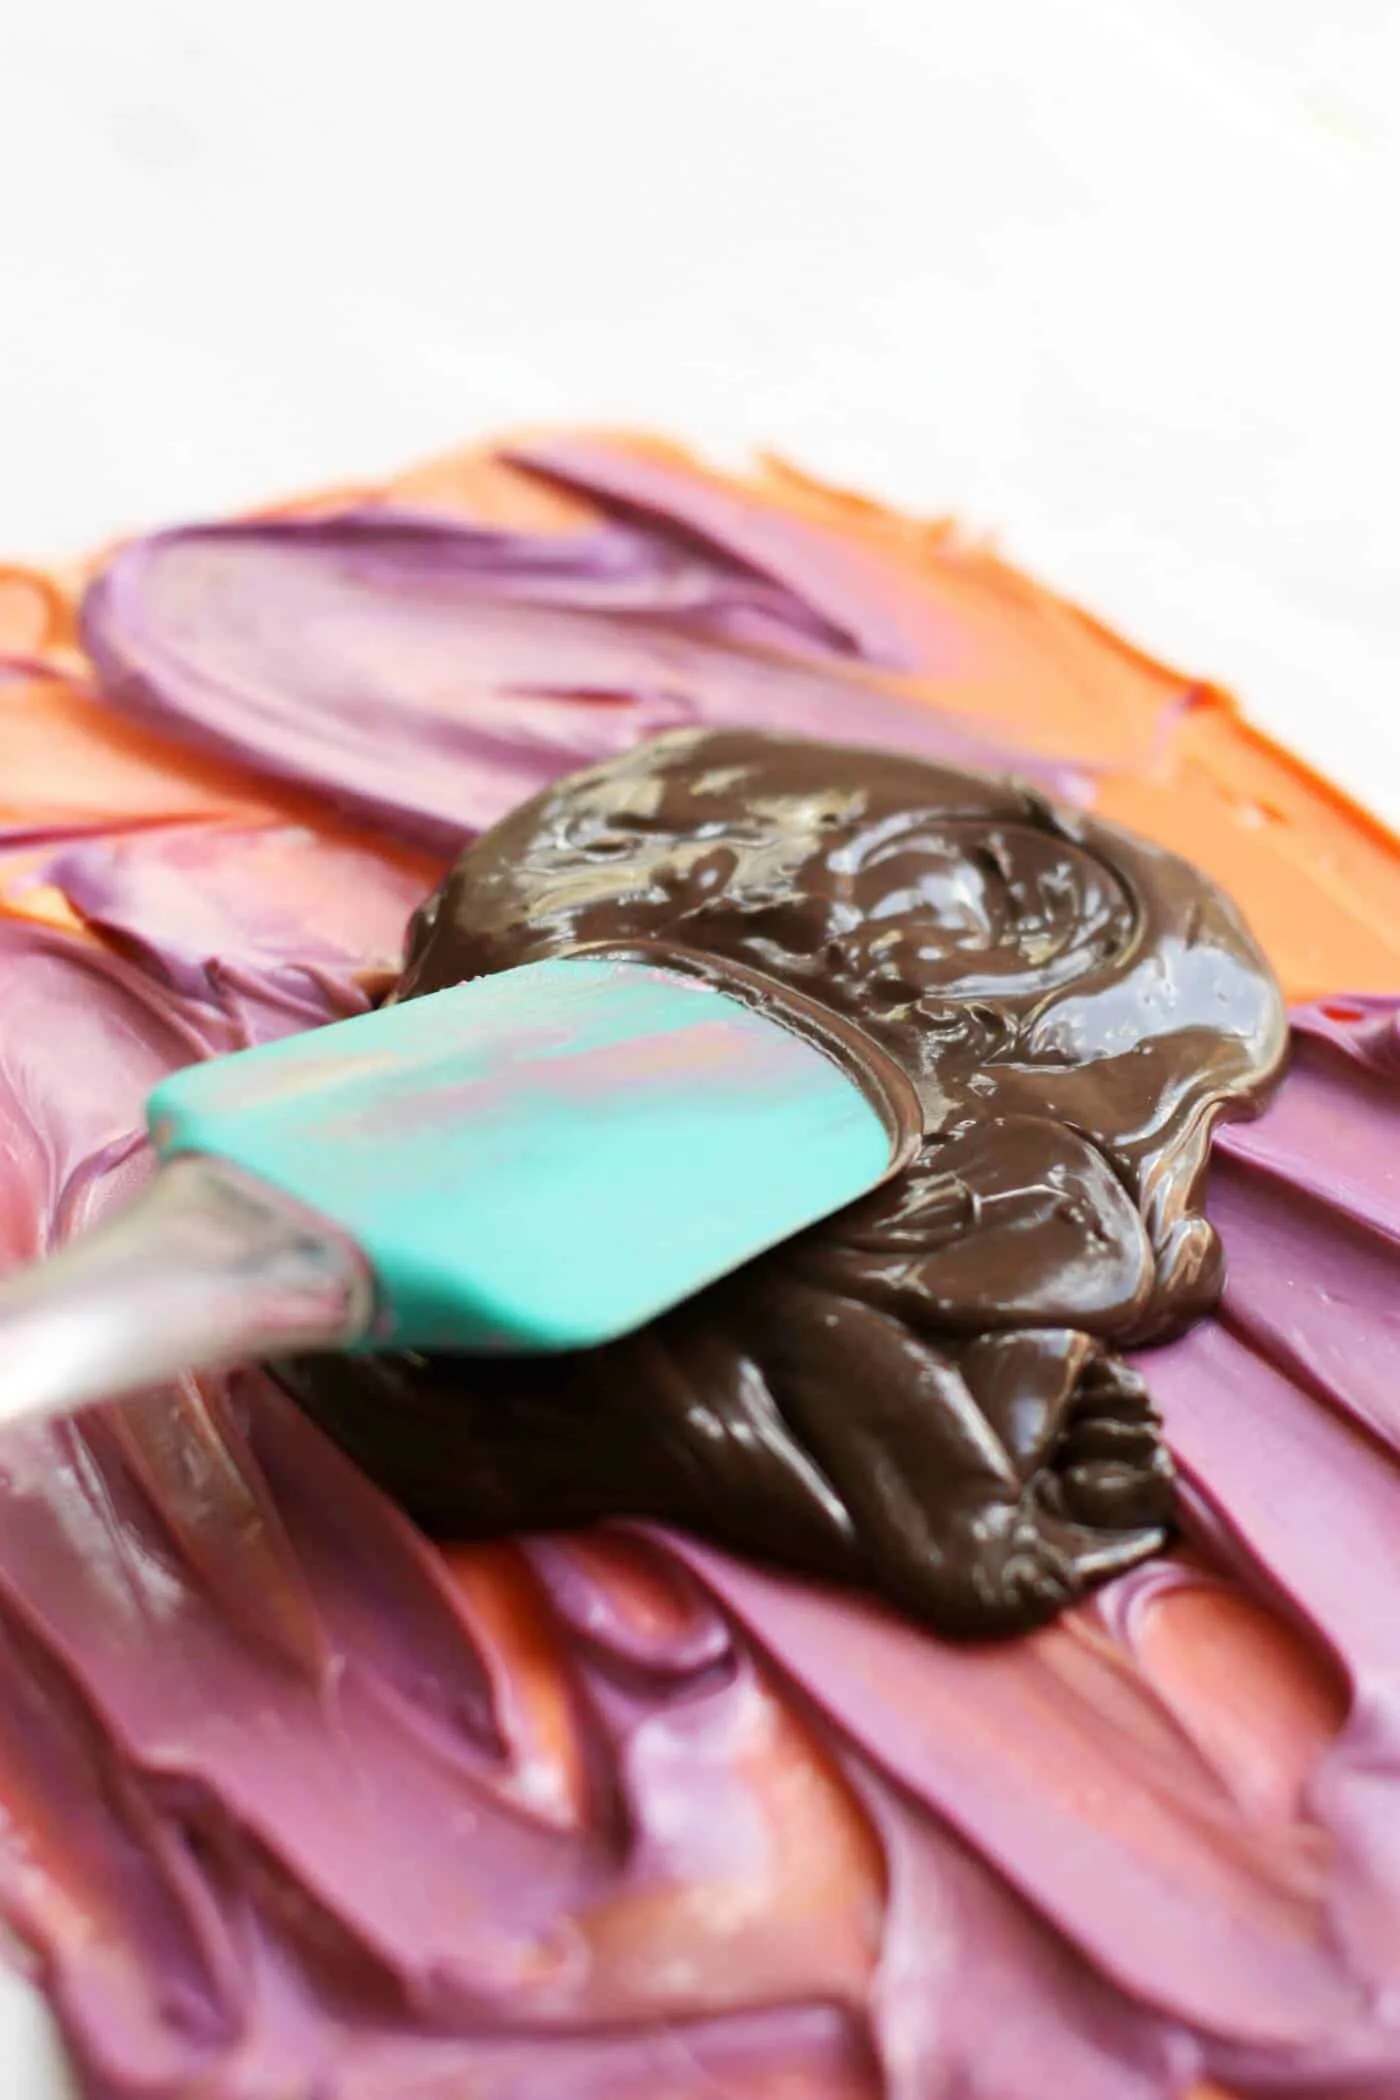
- Beginning with one color, spread all but a couple of tablespoons over the paper in a thin layer, making about a 9 x 13 inch rectangle. Repeat this process with all colors until all three layers have been spread and layered on each other.

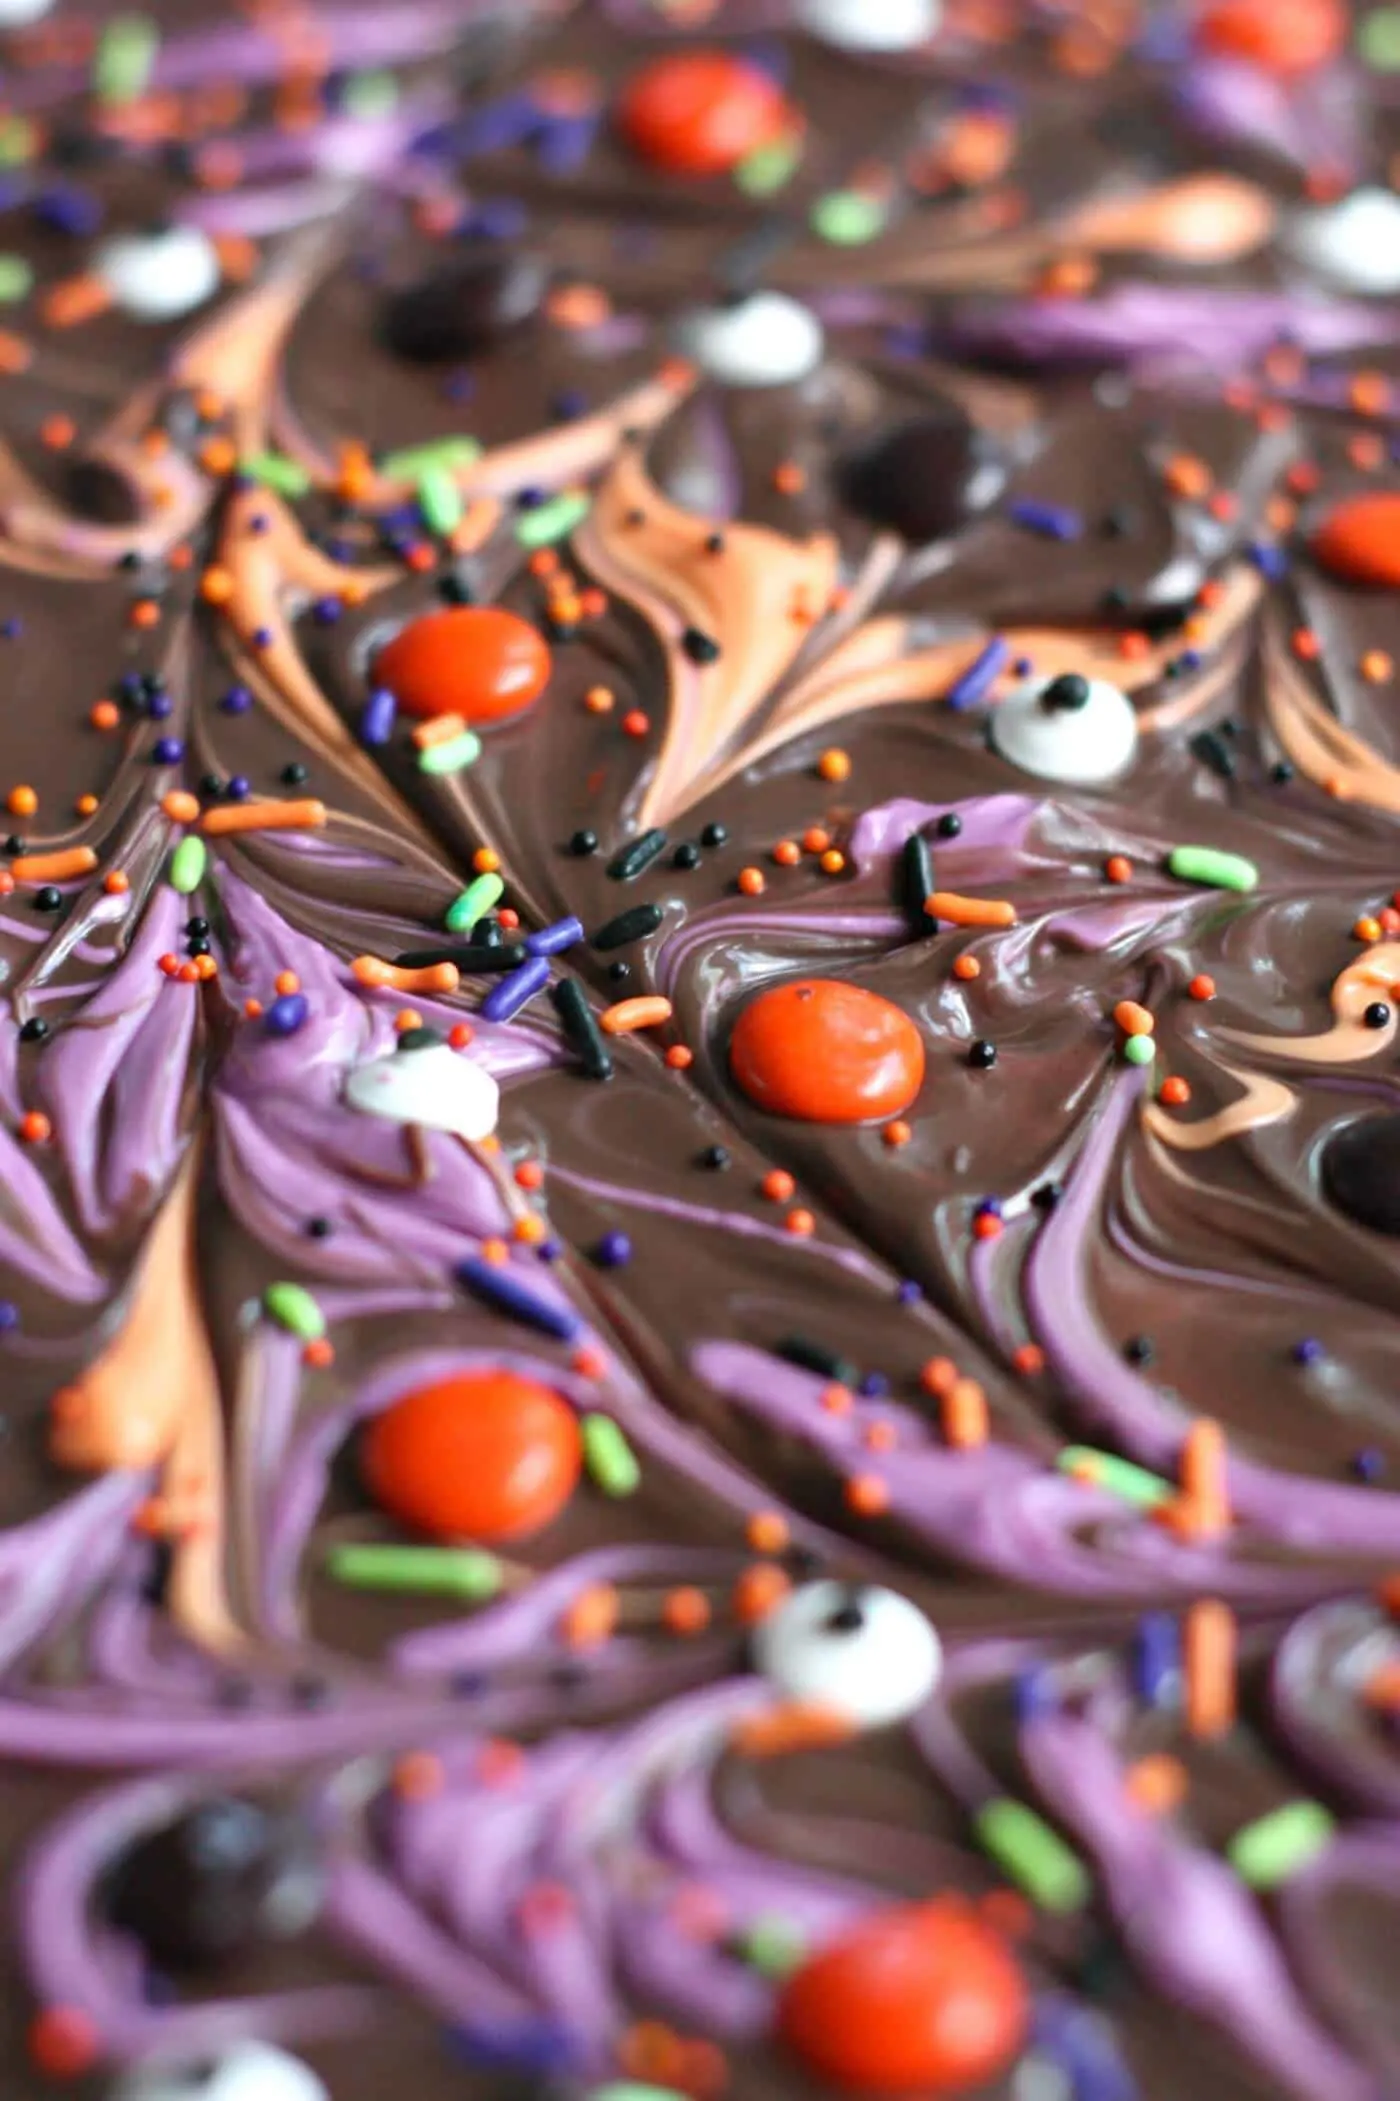
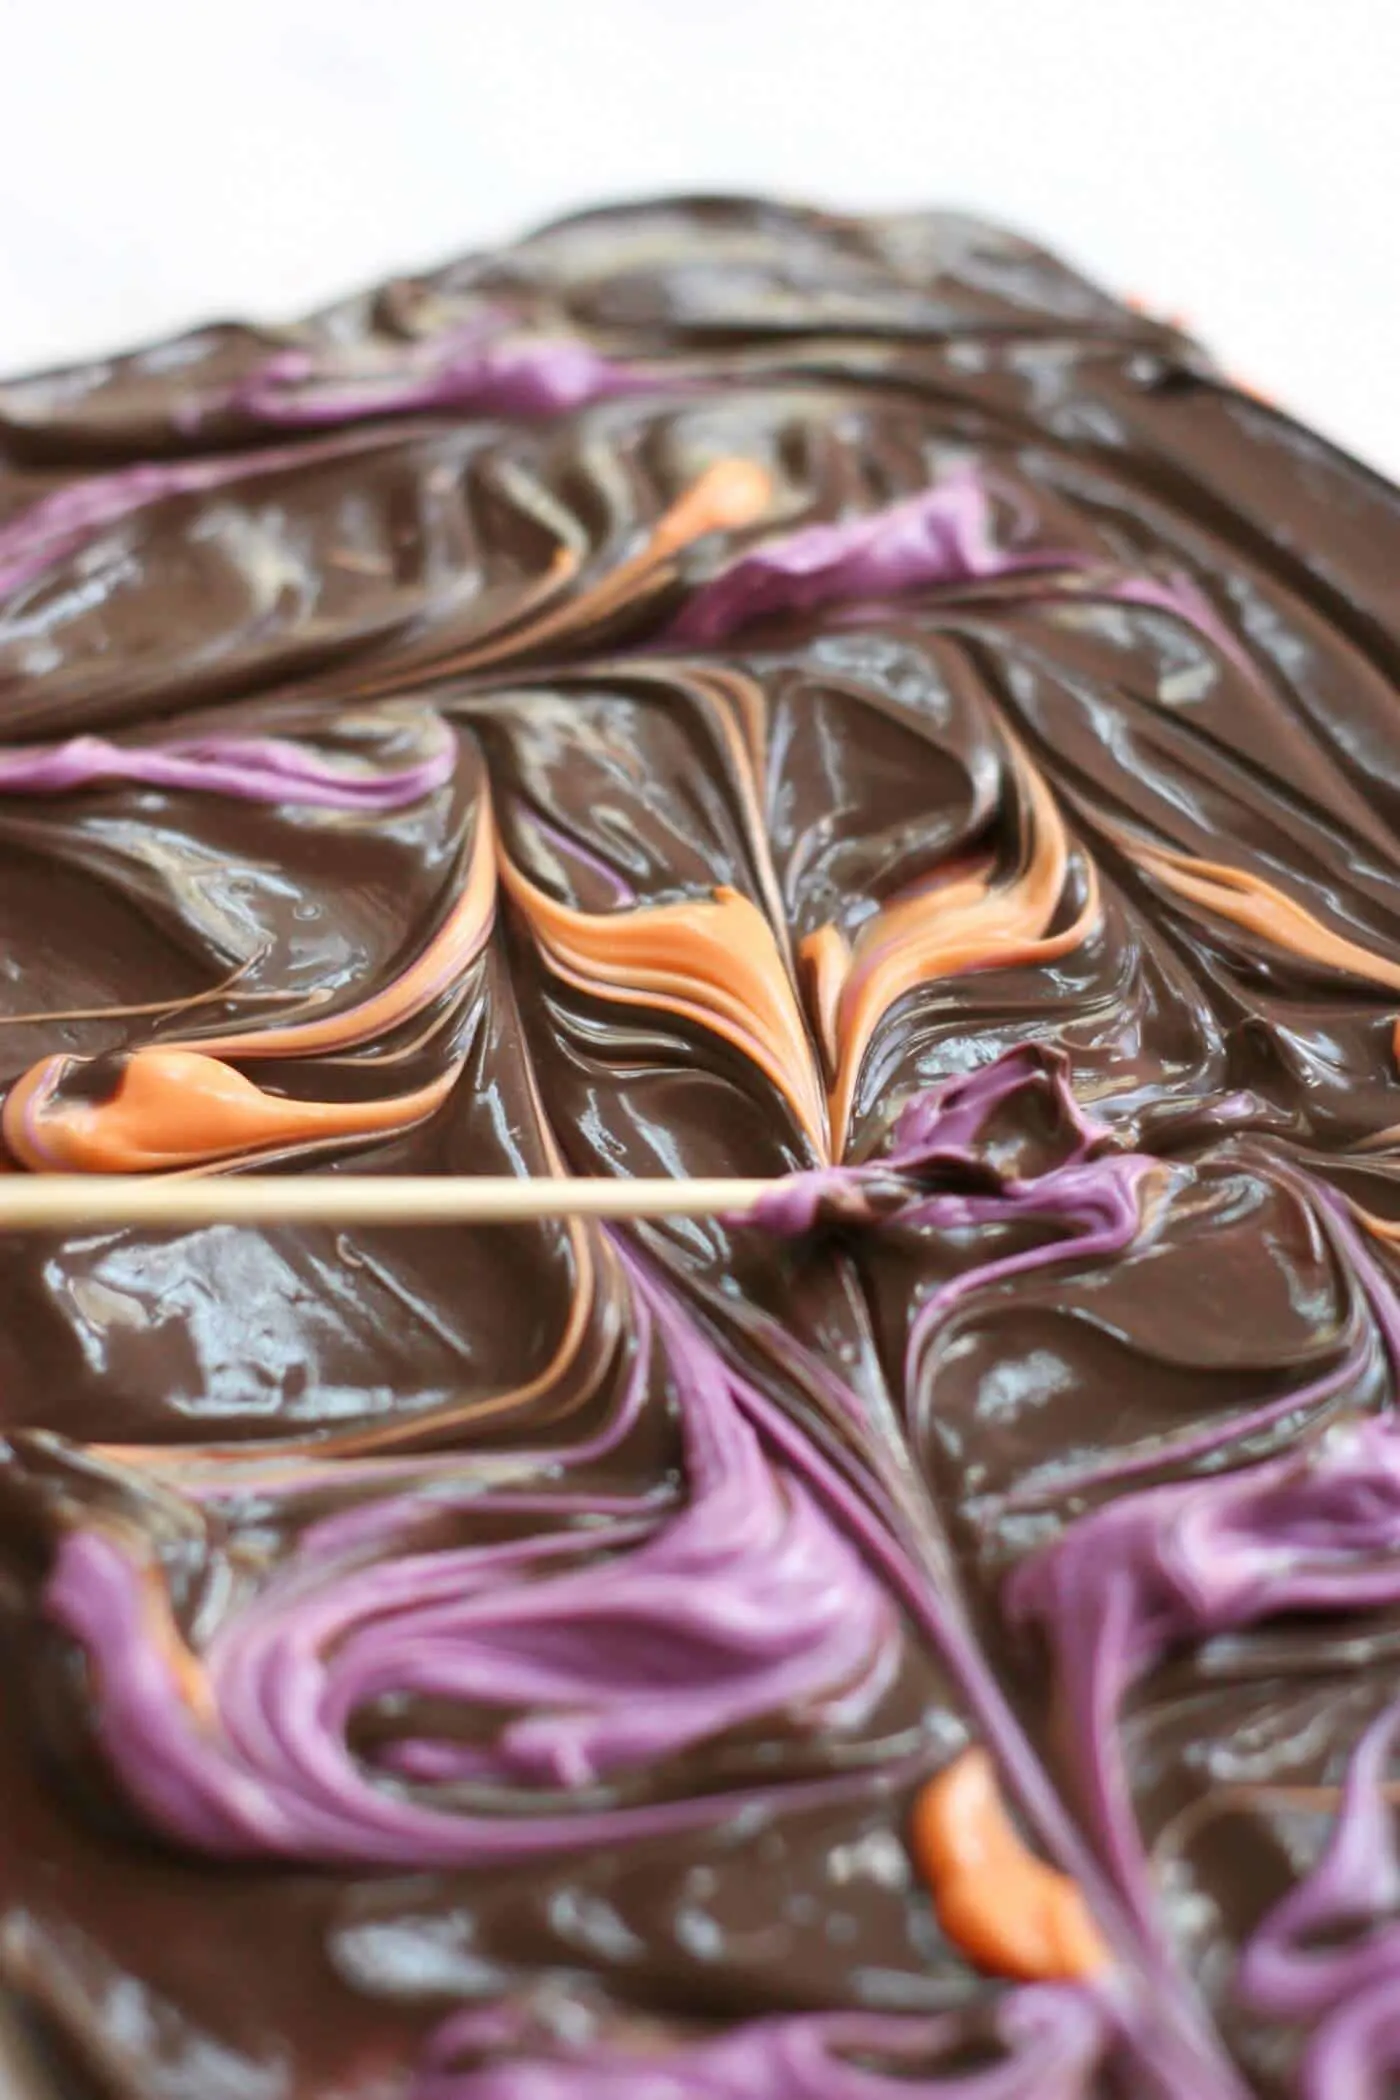
- Using the remaining tablespoons of each color, spoon lines of the melts through the bark.. Using a toothpick or skewer, drag the dollops through the top layer to make a marbled design.

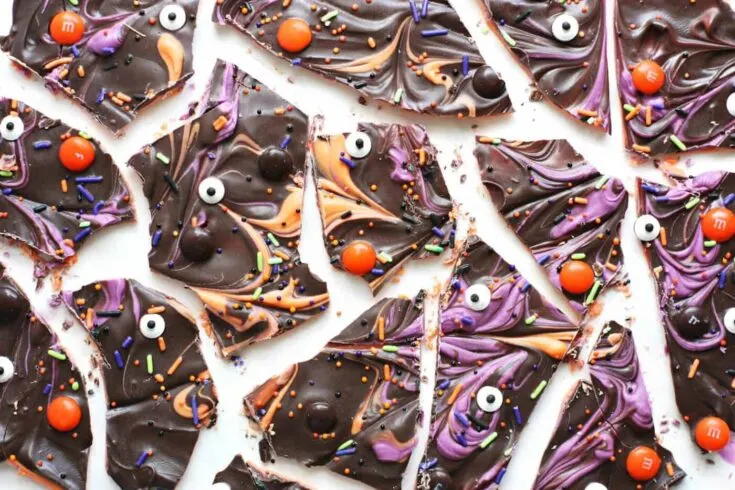
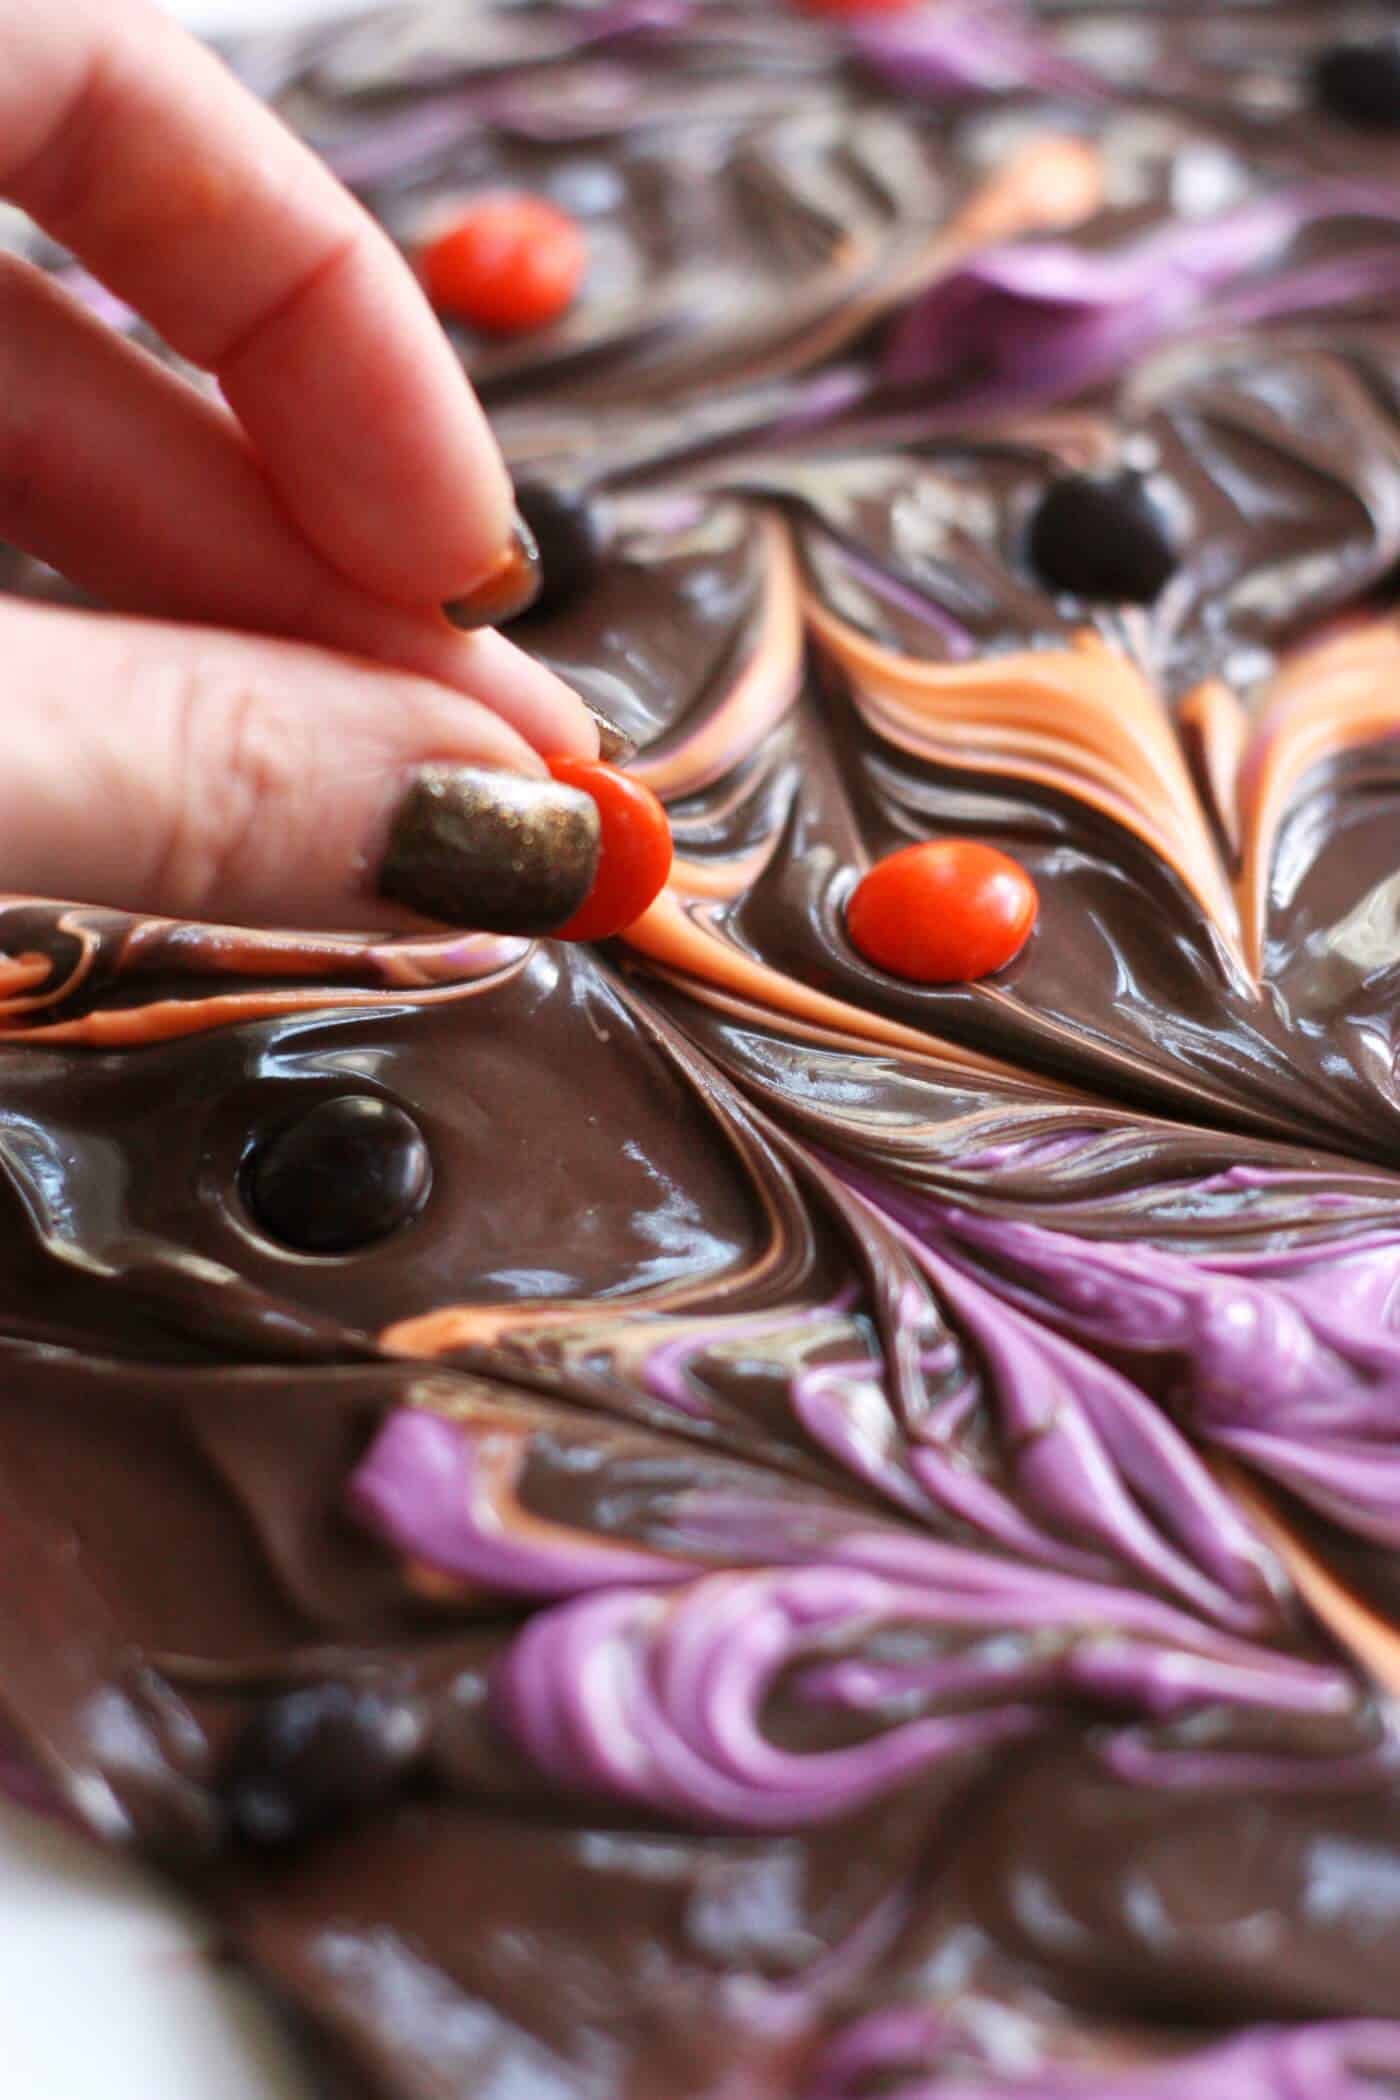
- Top the bark with sprinkles, candy eyes, and candy pieces. Push down into the bark lightly.

- Let set until completely hardened, then cut into pieces with knife.

Nutrition Information:
Yield:
16Serving Size:
1 servingAmount Per Serving: Calories: 234Total Fat: 3gSaturated Fat: 1gTrans Fat: 0gUnsaturated Fat: 1gCholesterol: 1mgSodium: 21mgCarbohydrates: 52gFiber: 1gSugar: 35gProtein: 1g
What toppings would you put on your spooky Halloween bark? I’d love to hear your ideas! And be sure to visit us as we blog about style, food, and the things we love over at the Pretty Life Girls! I’d also love for you to check out these other Halloween recipes:
Bat Cookies • Candy Corn Cake Bars • Candy Corn Cupcakes • Halloween Cookie Pizza • Halloween Cookies • Halloween Cupcakes • Halloween M&M Cookies • Halloween Monkey Bread • Halloween Pancakes • Halloween Whoopie Pies • Mummy Cookies • Mummy Truffles • Owl Cupcakes • Popcorn Balls