
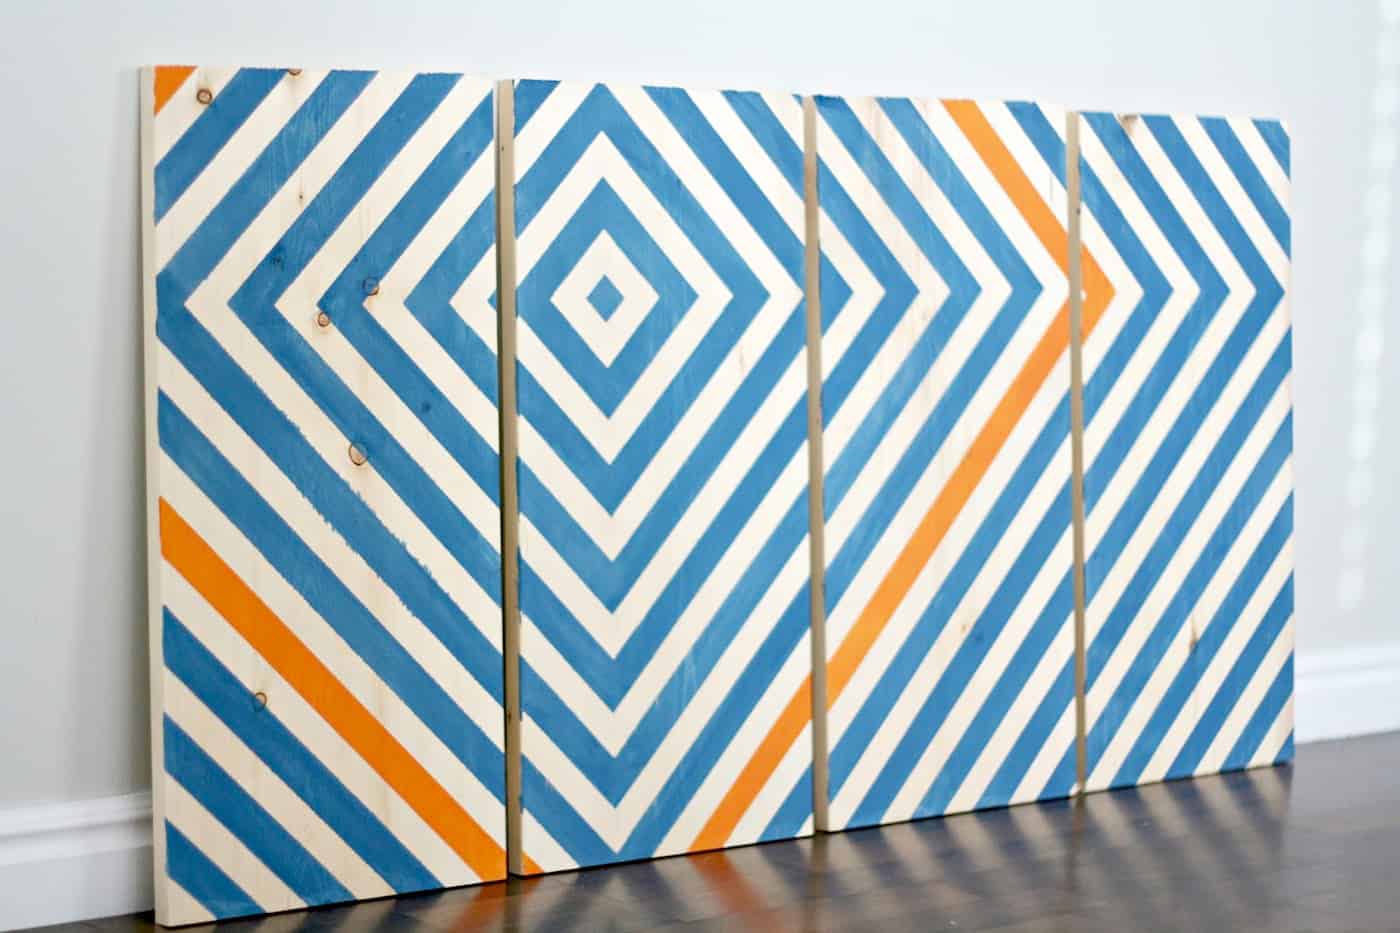
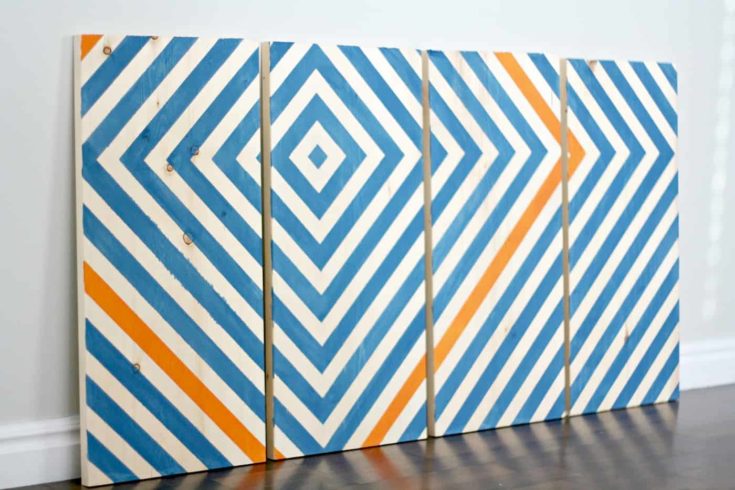
Add a pop of color to your home with this simple modern, wooden wall art. Learn how to make it with scrap wood using this tutorial.
Skills Required: Beginner. You’ll need to be able to use a ruler and painter’s tape, and the rest is history! If you can paint, you can make this.

As I mentioned in this post, our brother bought a house and needs help decorating. One of his guest rooms needed a pop of color and something visually interesting, so I got to work finding something graphic I could make for him.
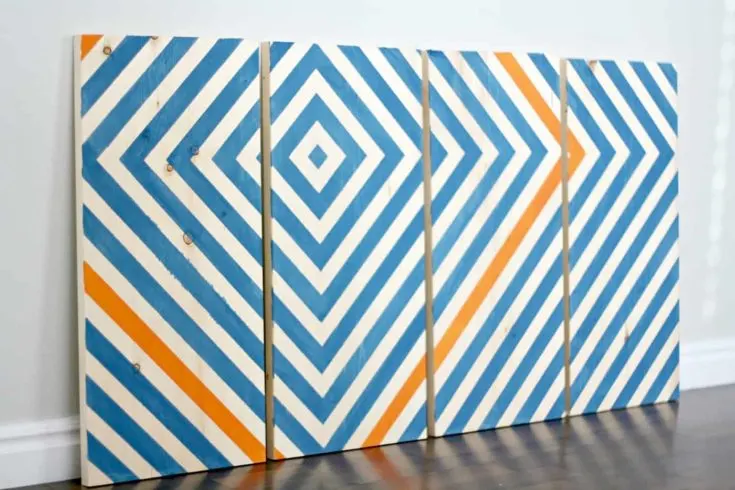
I found this tutorial for DIY wooden wall art on Pinterest and loved the bold design, pop of color, and the best part was how easy the home decor project was! Well, the next best thing to the price, which was inexpensive.
Here is what I did to make this wood wall art.
DIY Wooden Wall Art
Gather These Supplies
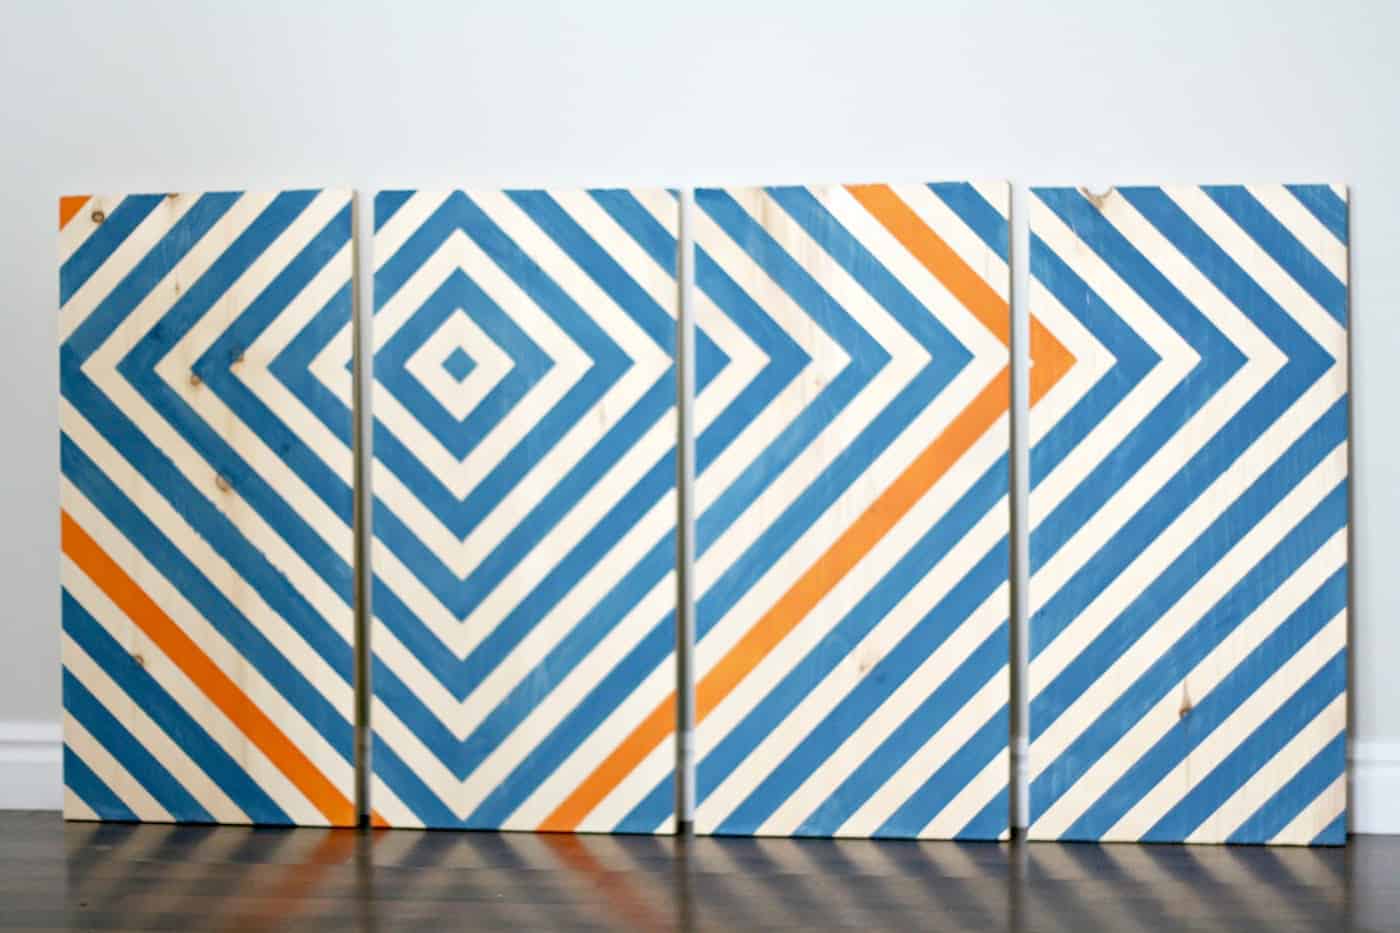
- Wooden boards – four panels cut to 12″ x 36″ each is what I used, but you can use any scrap wood of any size!
- Ruler/straight edge
- Pencil
- Painter’s tape
- X-Acto knife
- Craft paint (one primary color and one accent color)
- Used credit card or brayer
- Paintbrushes
- Table saw (optional)
- Sandpaper (optional)
Thoughts for This Project
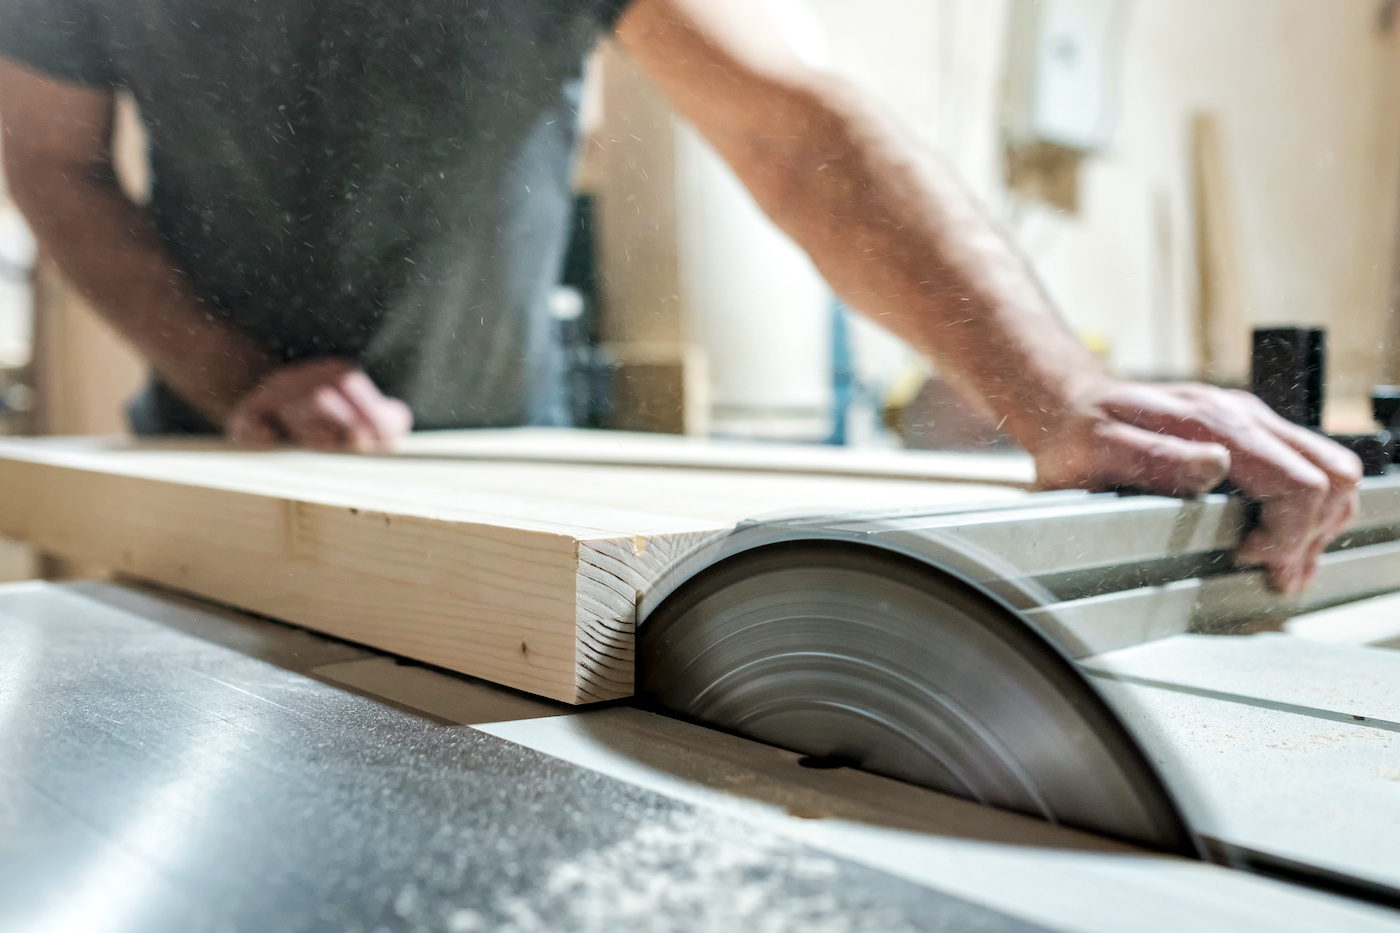
- If you have a saw, you can obviously cut your own wood. If you don’t, you can visit a place that will cut wood for you and get them to do it. Some are free and some are paid. Also some home improvement stores have pre-cut pieces that might work depending on the size you need.
- The sandpaper is optional because you may need it for the edges of your art, depending on how finished they are (or you might not mind rough edges).
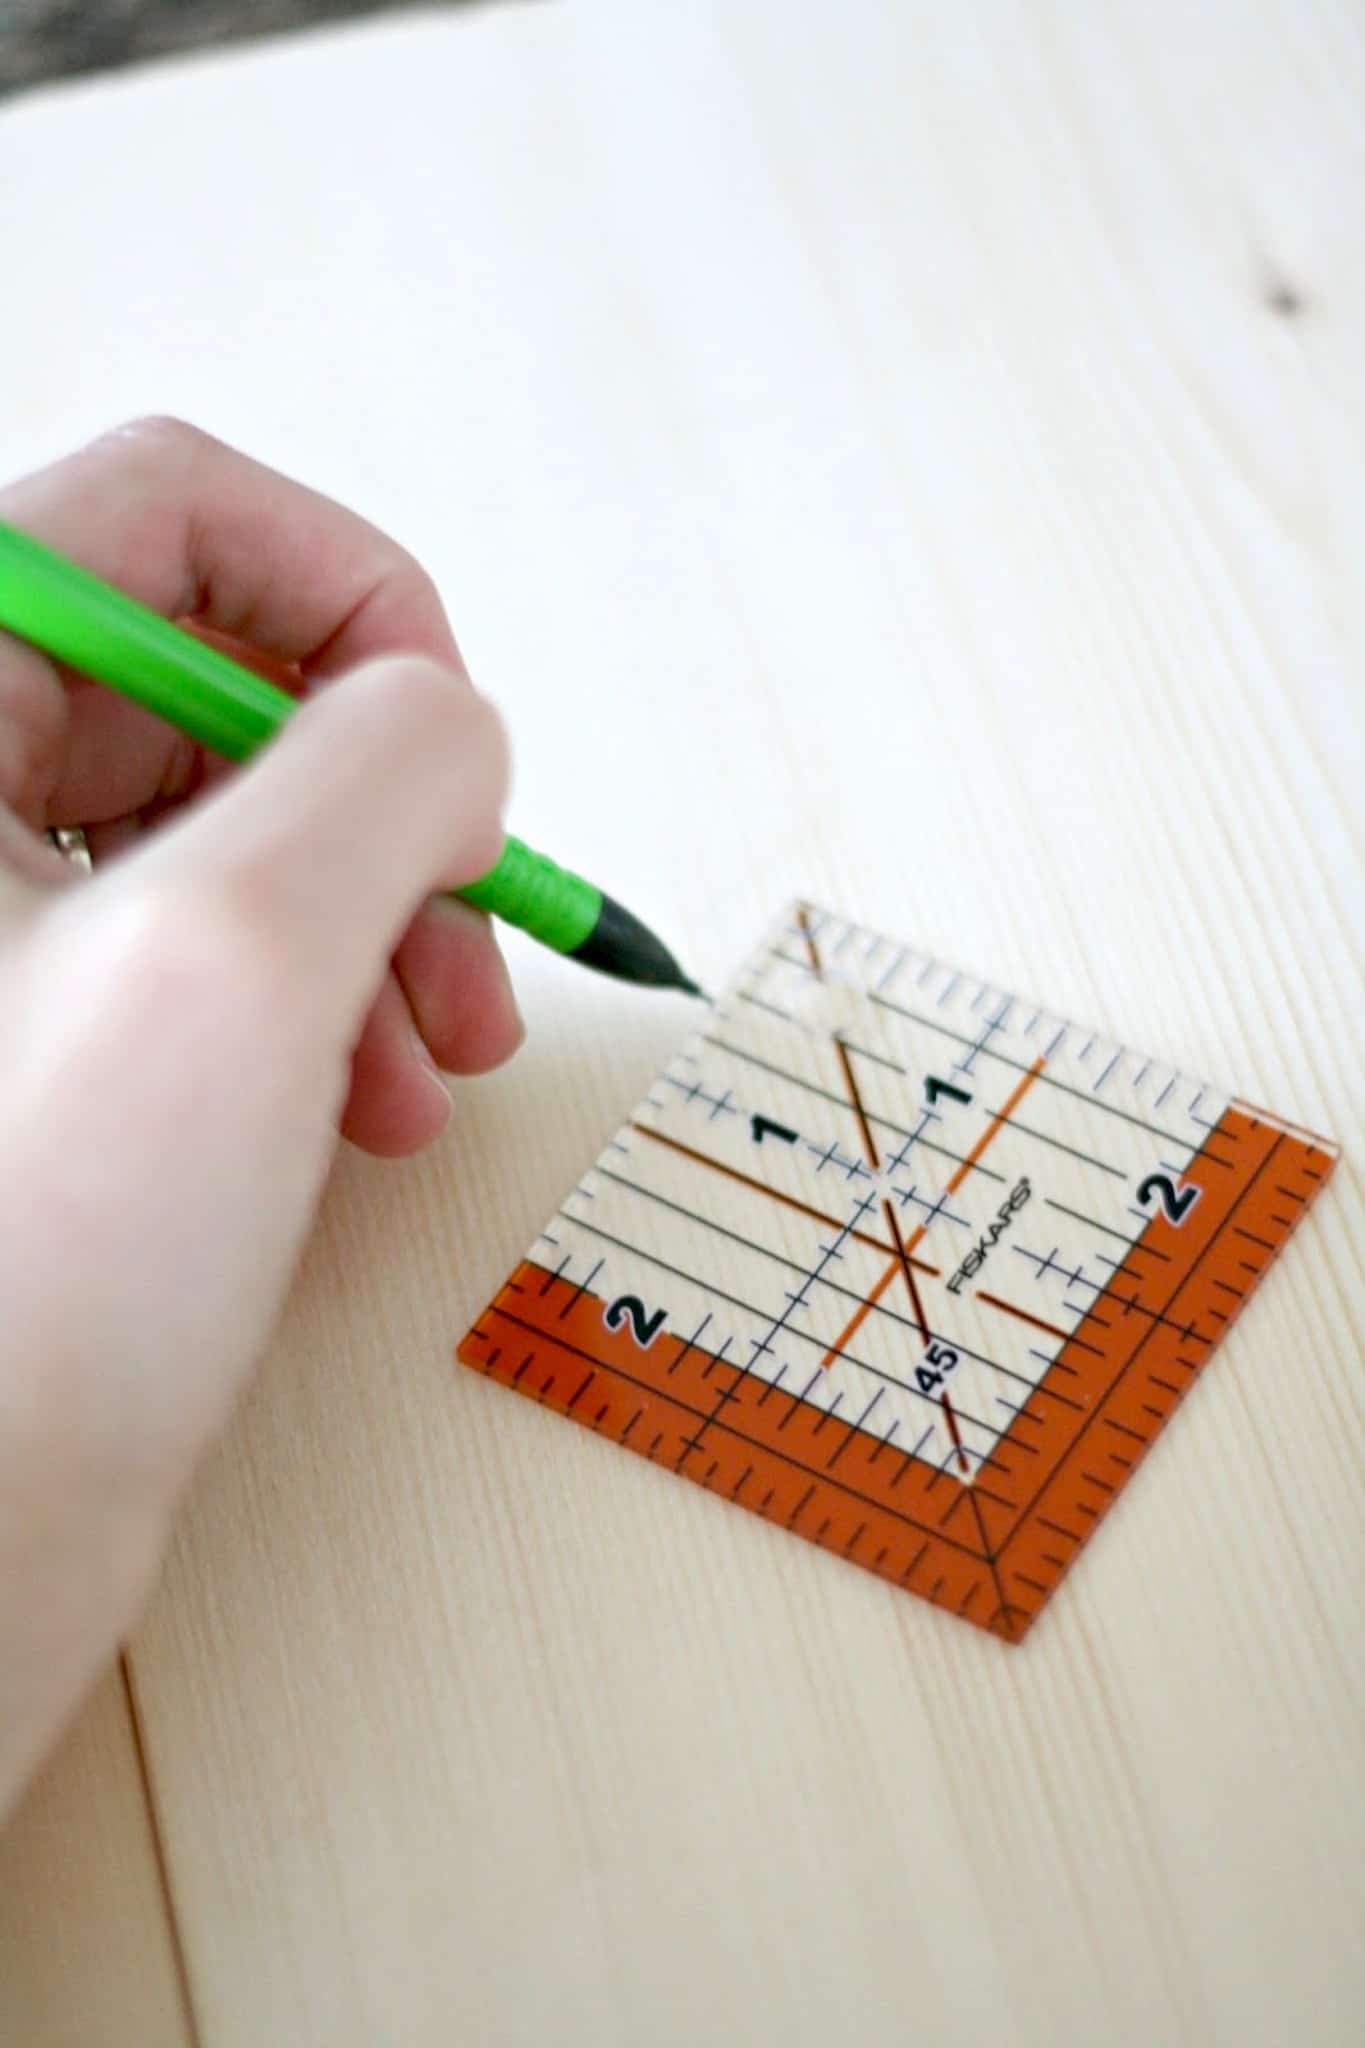
- A nice little Fiskars square I already have made it easy for me to draw the initial squares. You can use a regular ruler or print out a small square on your printer if you want to make sure to get the angles correct.
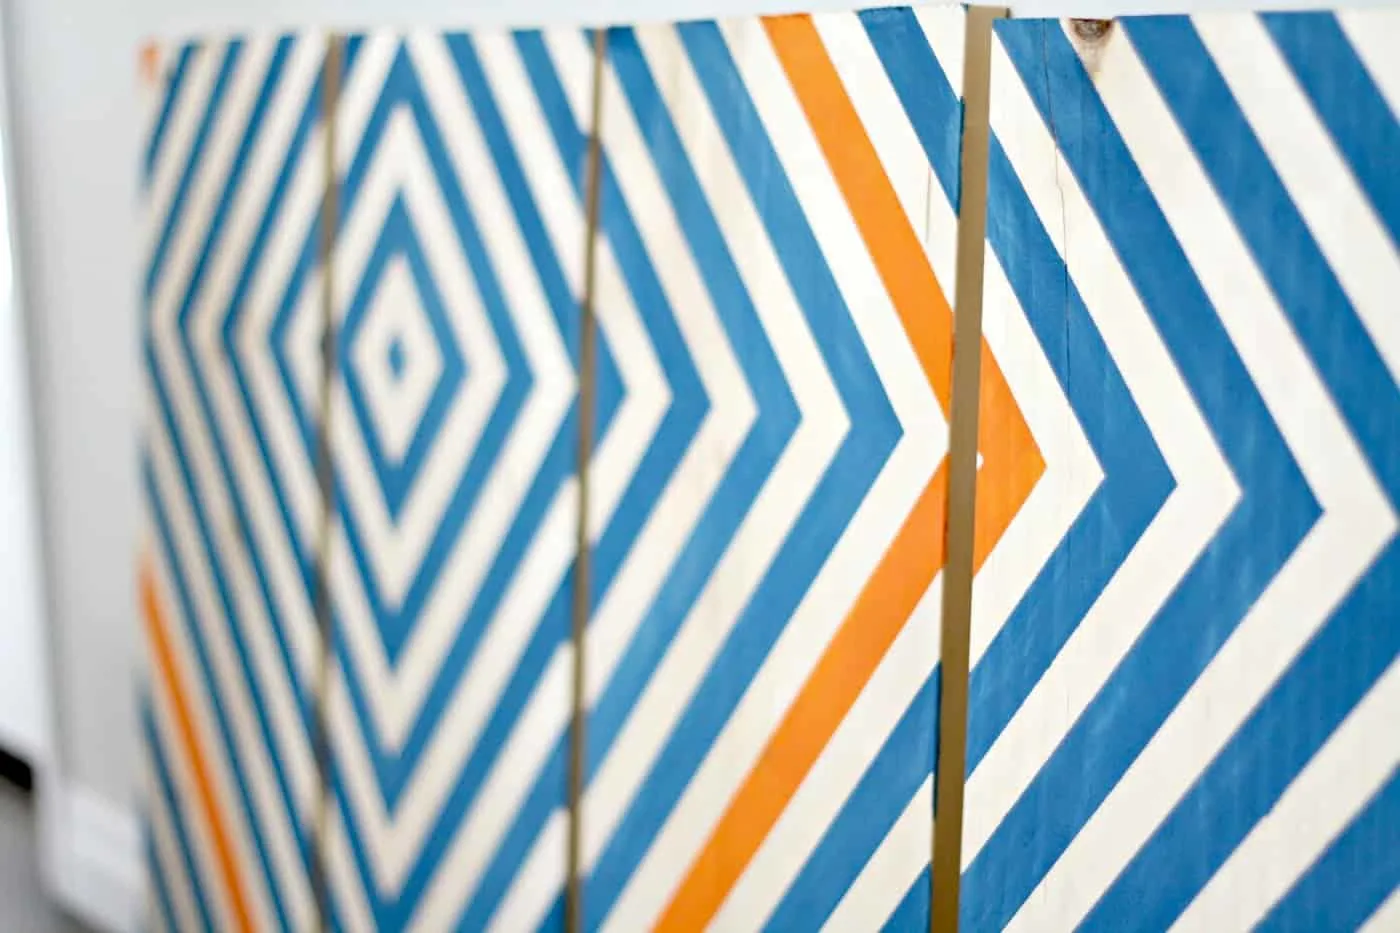
- You can practice painting lines on the back of the wood to make sure you can get a clean line with painter’s tape. You can also paint Mod Podge onto the painter’s tape to seal the tape using this method. I love very clean lines!
- To hang these bad boys, I recommend putting heavy duty D-rings on the back and hanging them with picture hooks made for the weight of the boards. You can also use french cleats as well.
You can accomplish this project in less time than it takes to watch a movie!

This DIY wood wall art was so easy, the taping was kind of therapeutic for me (is that weird?), and the final result is awesome!
Get the printable how to card for this project below!
DIY Wood Wall Art
Learn how to make unique wooden wall art the easy and inexpensive way! This DIY project is perfect for beginners.
Materials
- Wooden boards - four panels cut to 12" x 36" each
- Painter's tape
- Craft paint
- Sandpaper (optional)
Tools
- Ruler/straight edge
- Pencil
- X-Acto knife
- Paintbrushes
- Used credit card or brayer
- Table saw (optional)
Instructions
- Cut and sand the wood if necessary. Lay out the four boards next to each other, even on both the tops and sides.

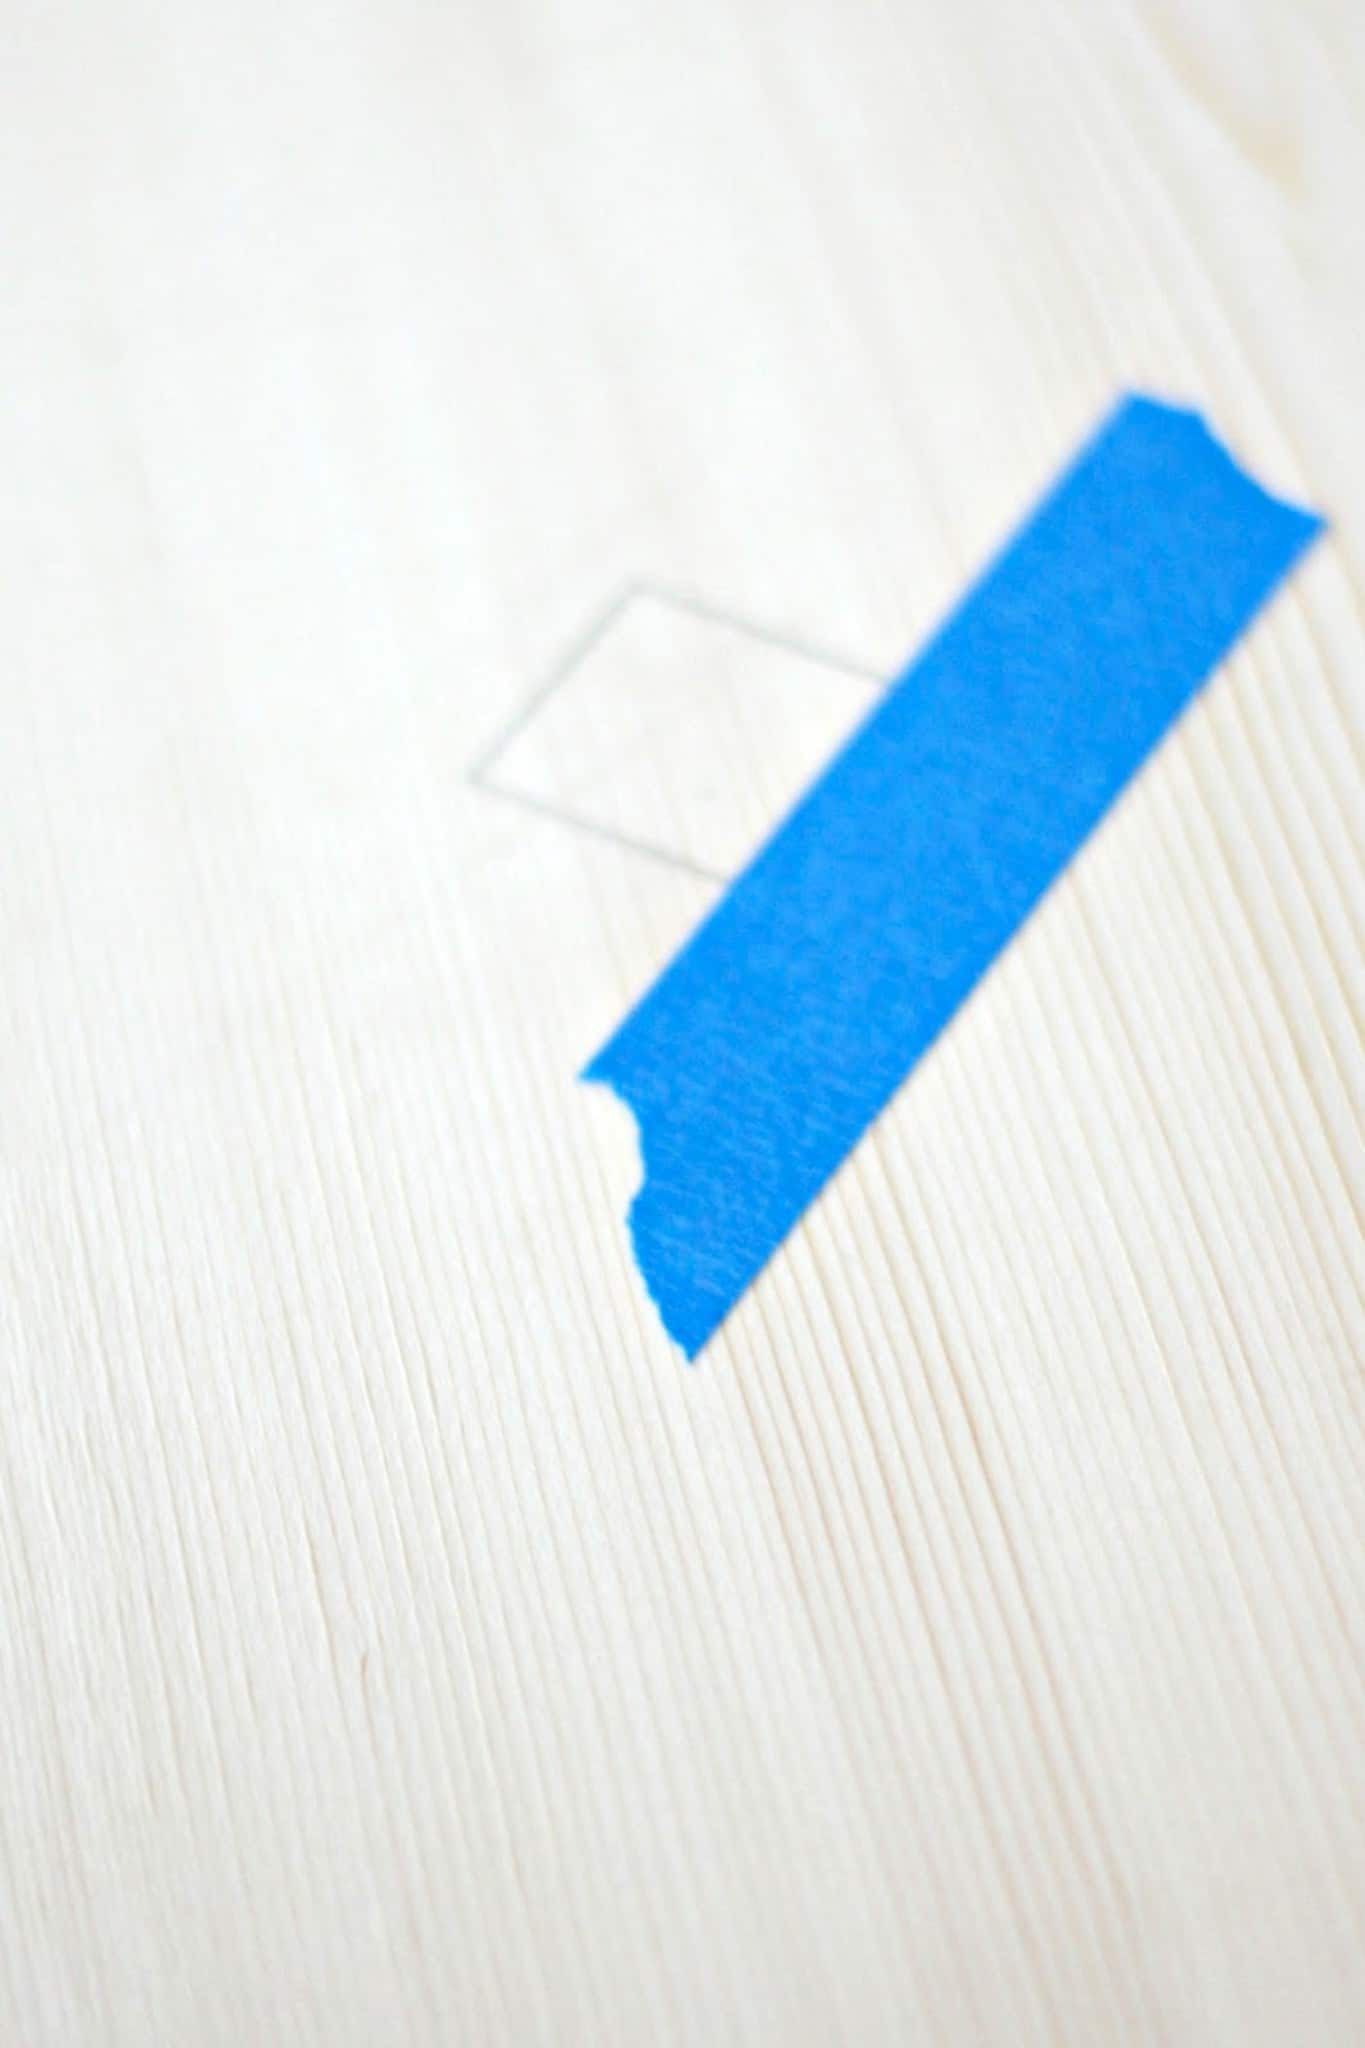
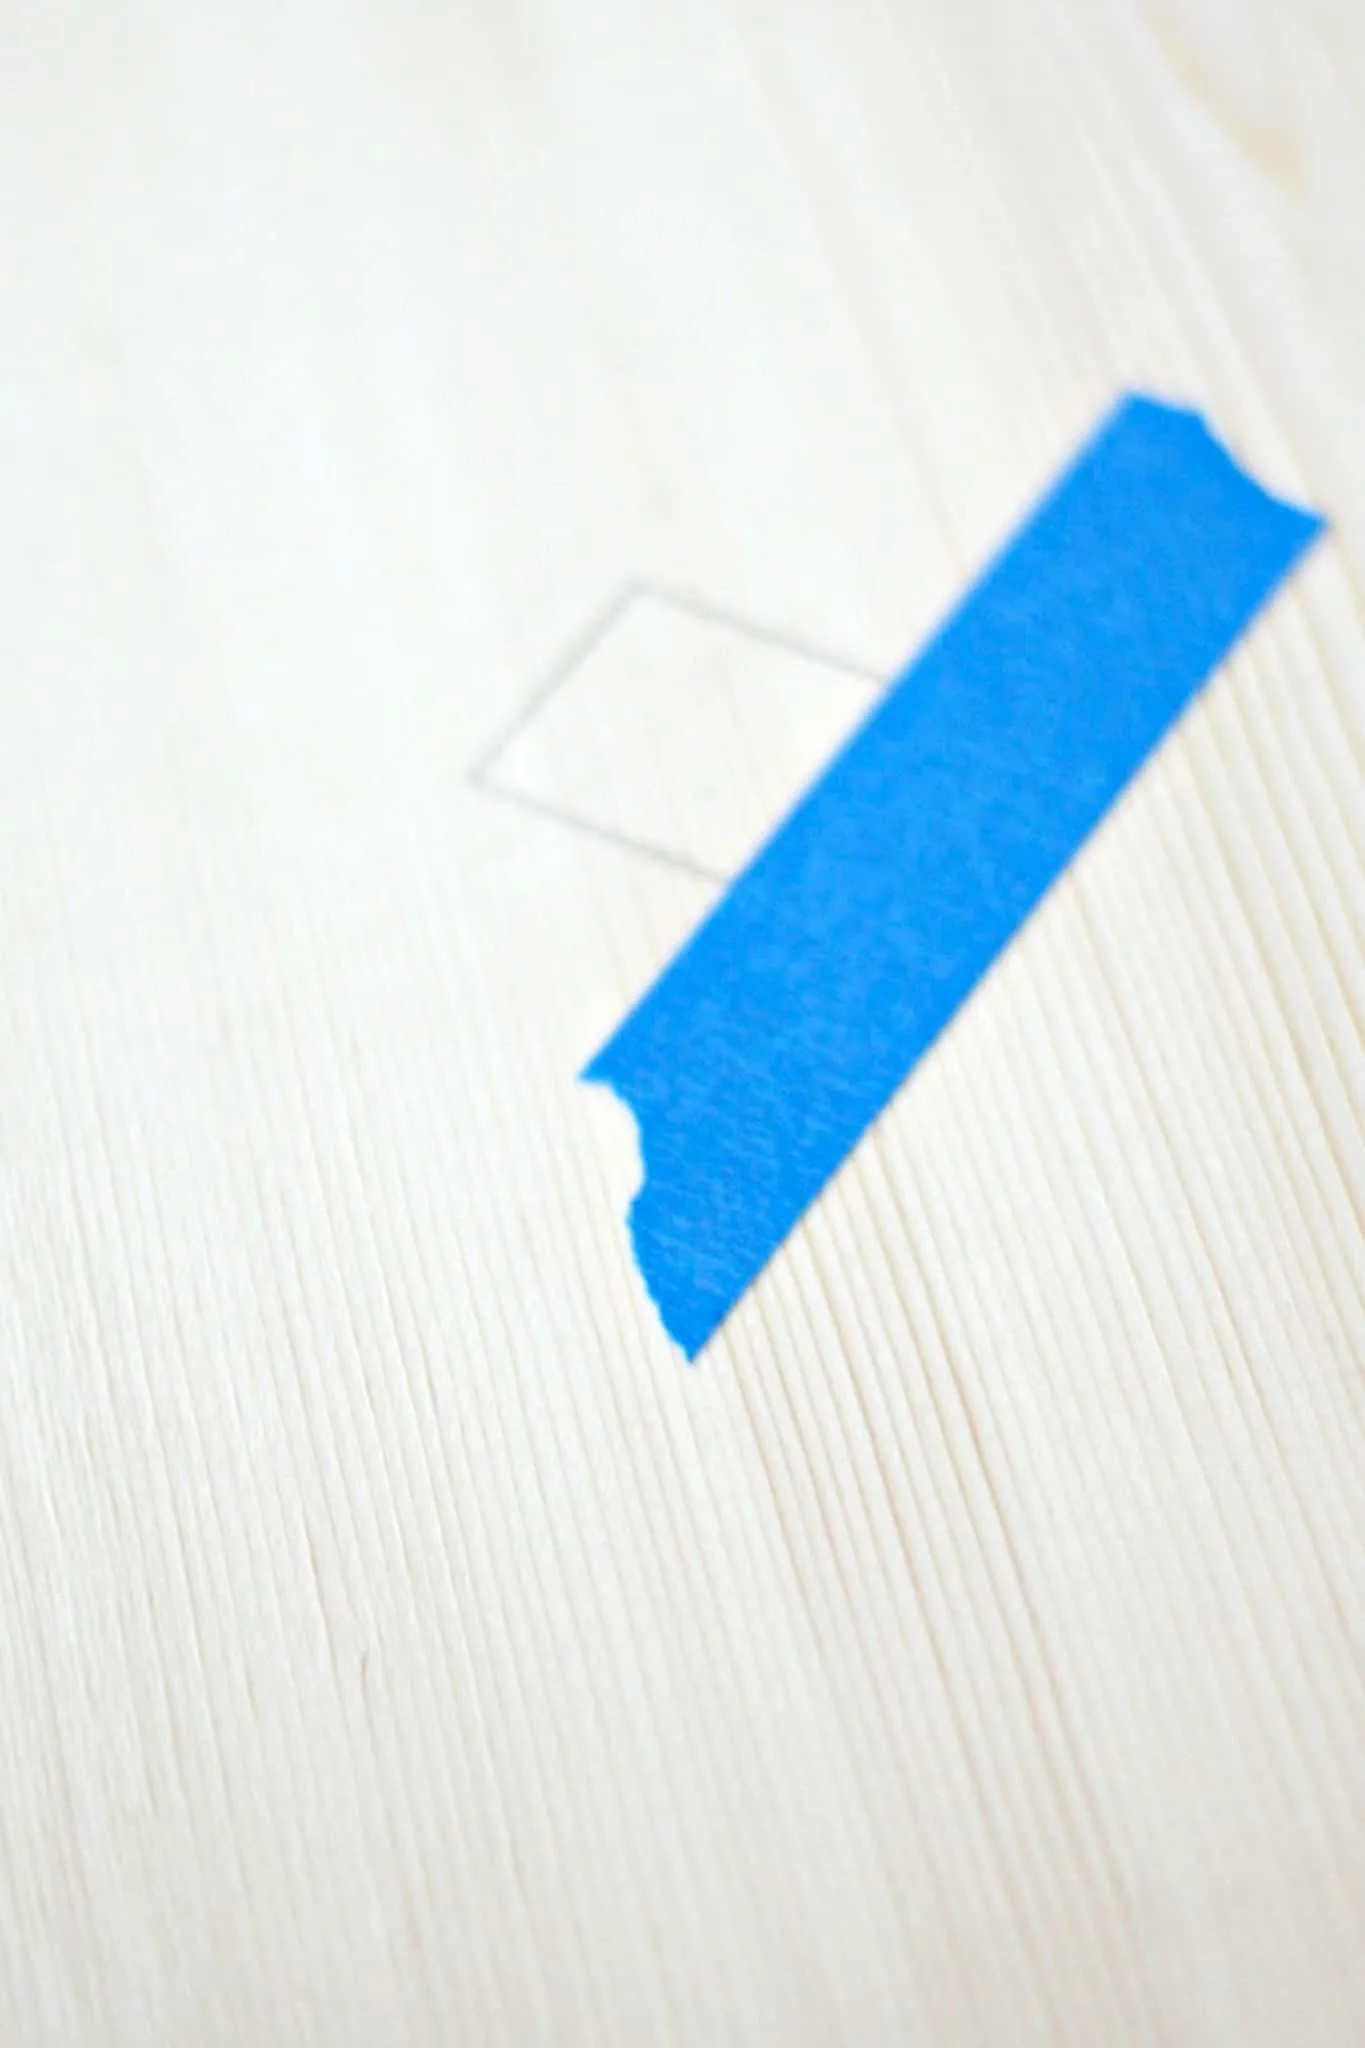
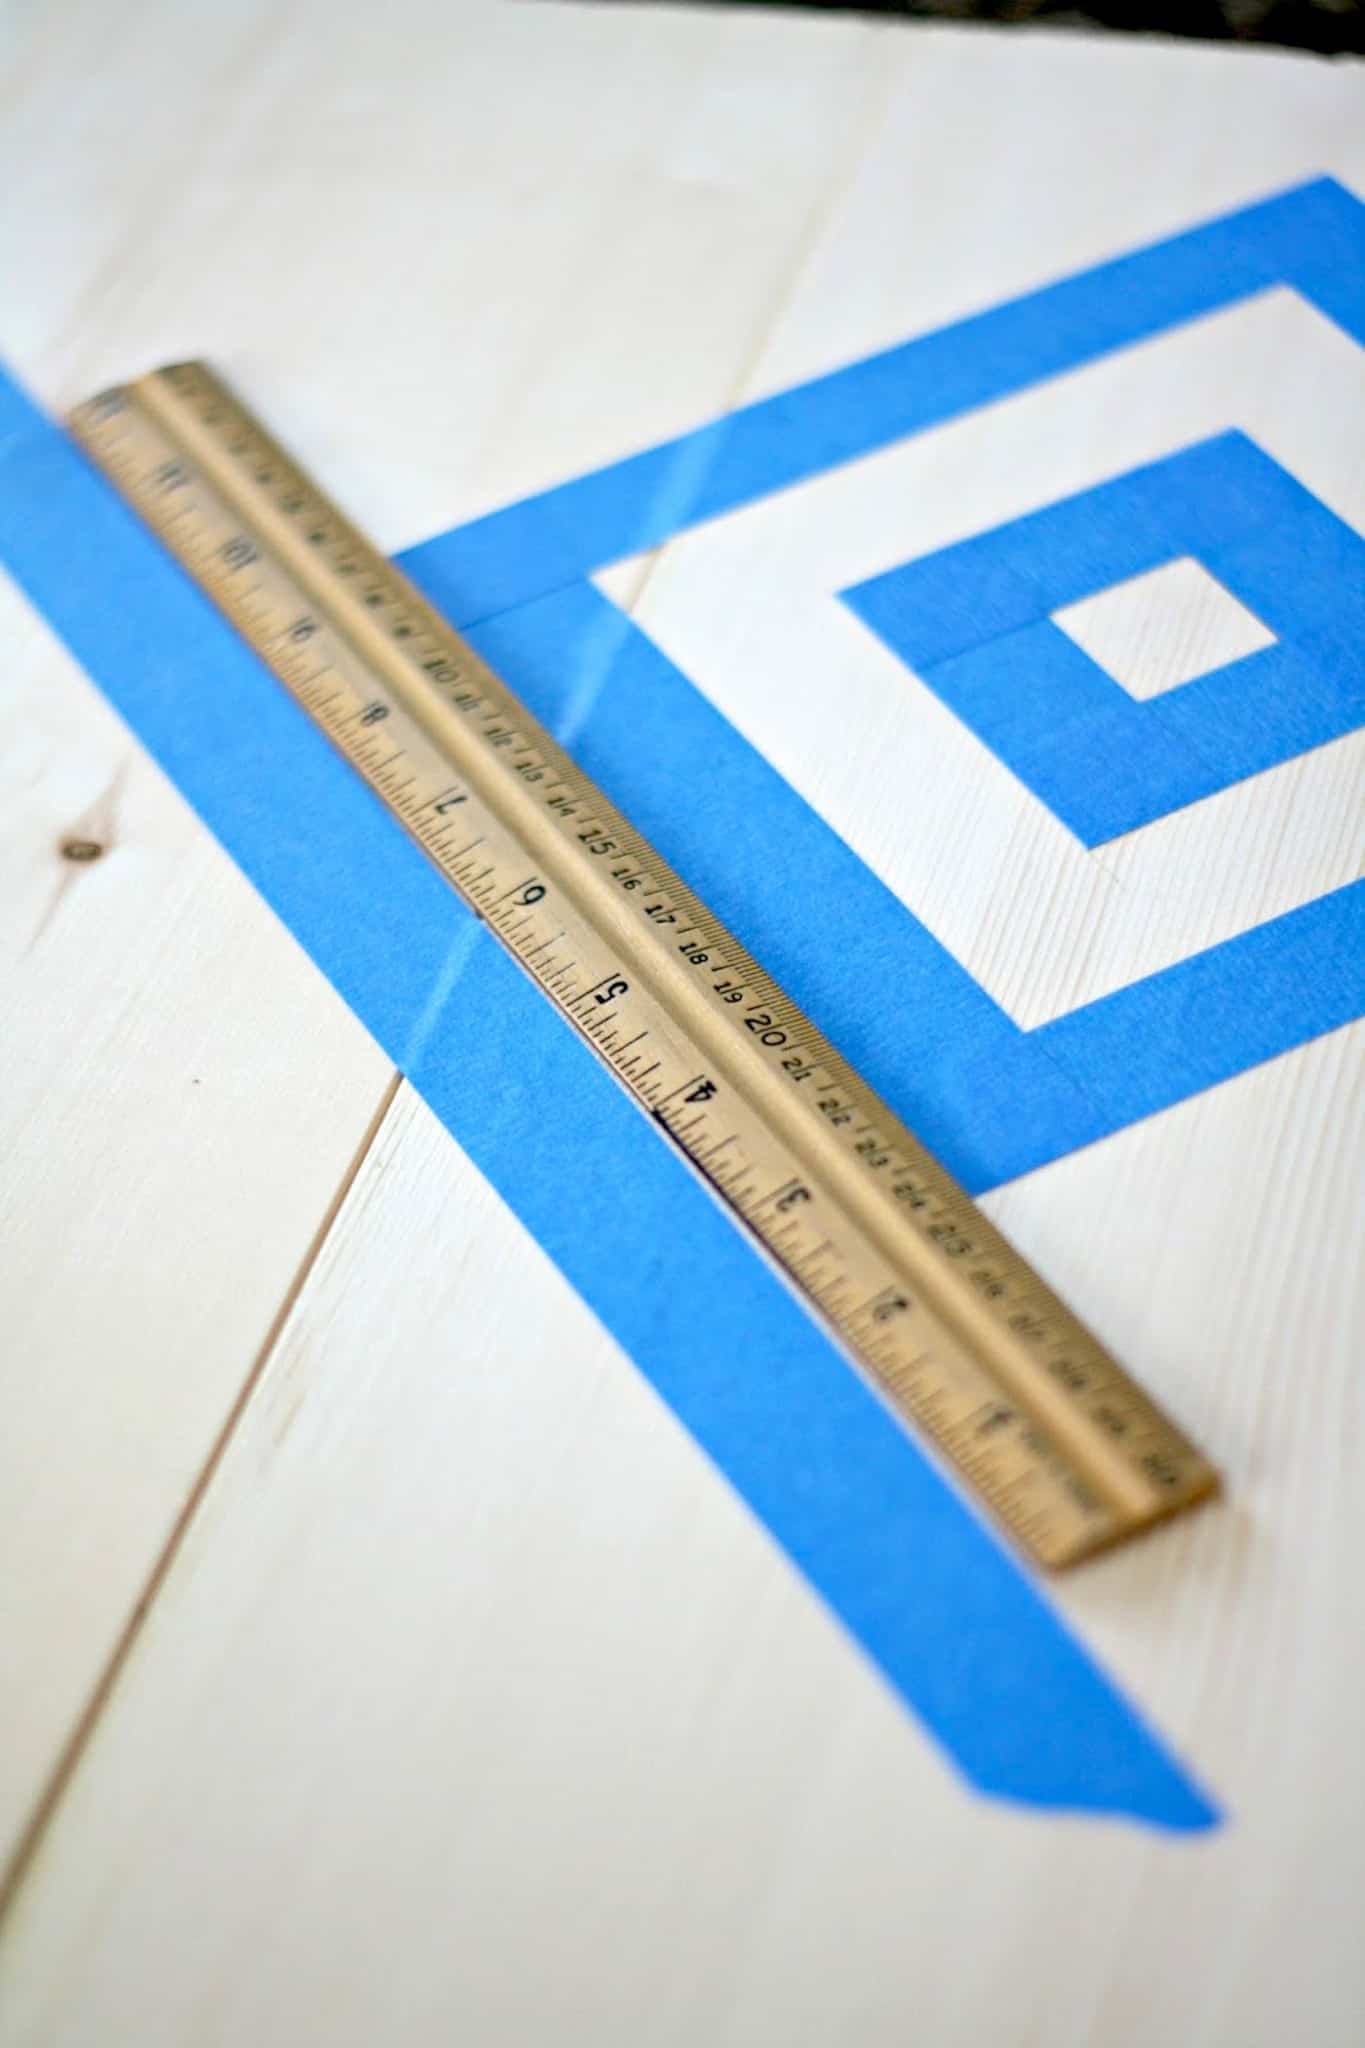
- Start by drawing a 1" square as the starting point for your design. You can draw it anywhere on one of your boards; I started towards the top.

- Tape around the square with the painter's tape.
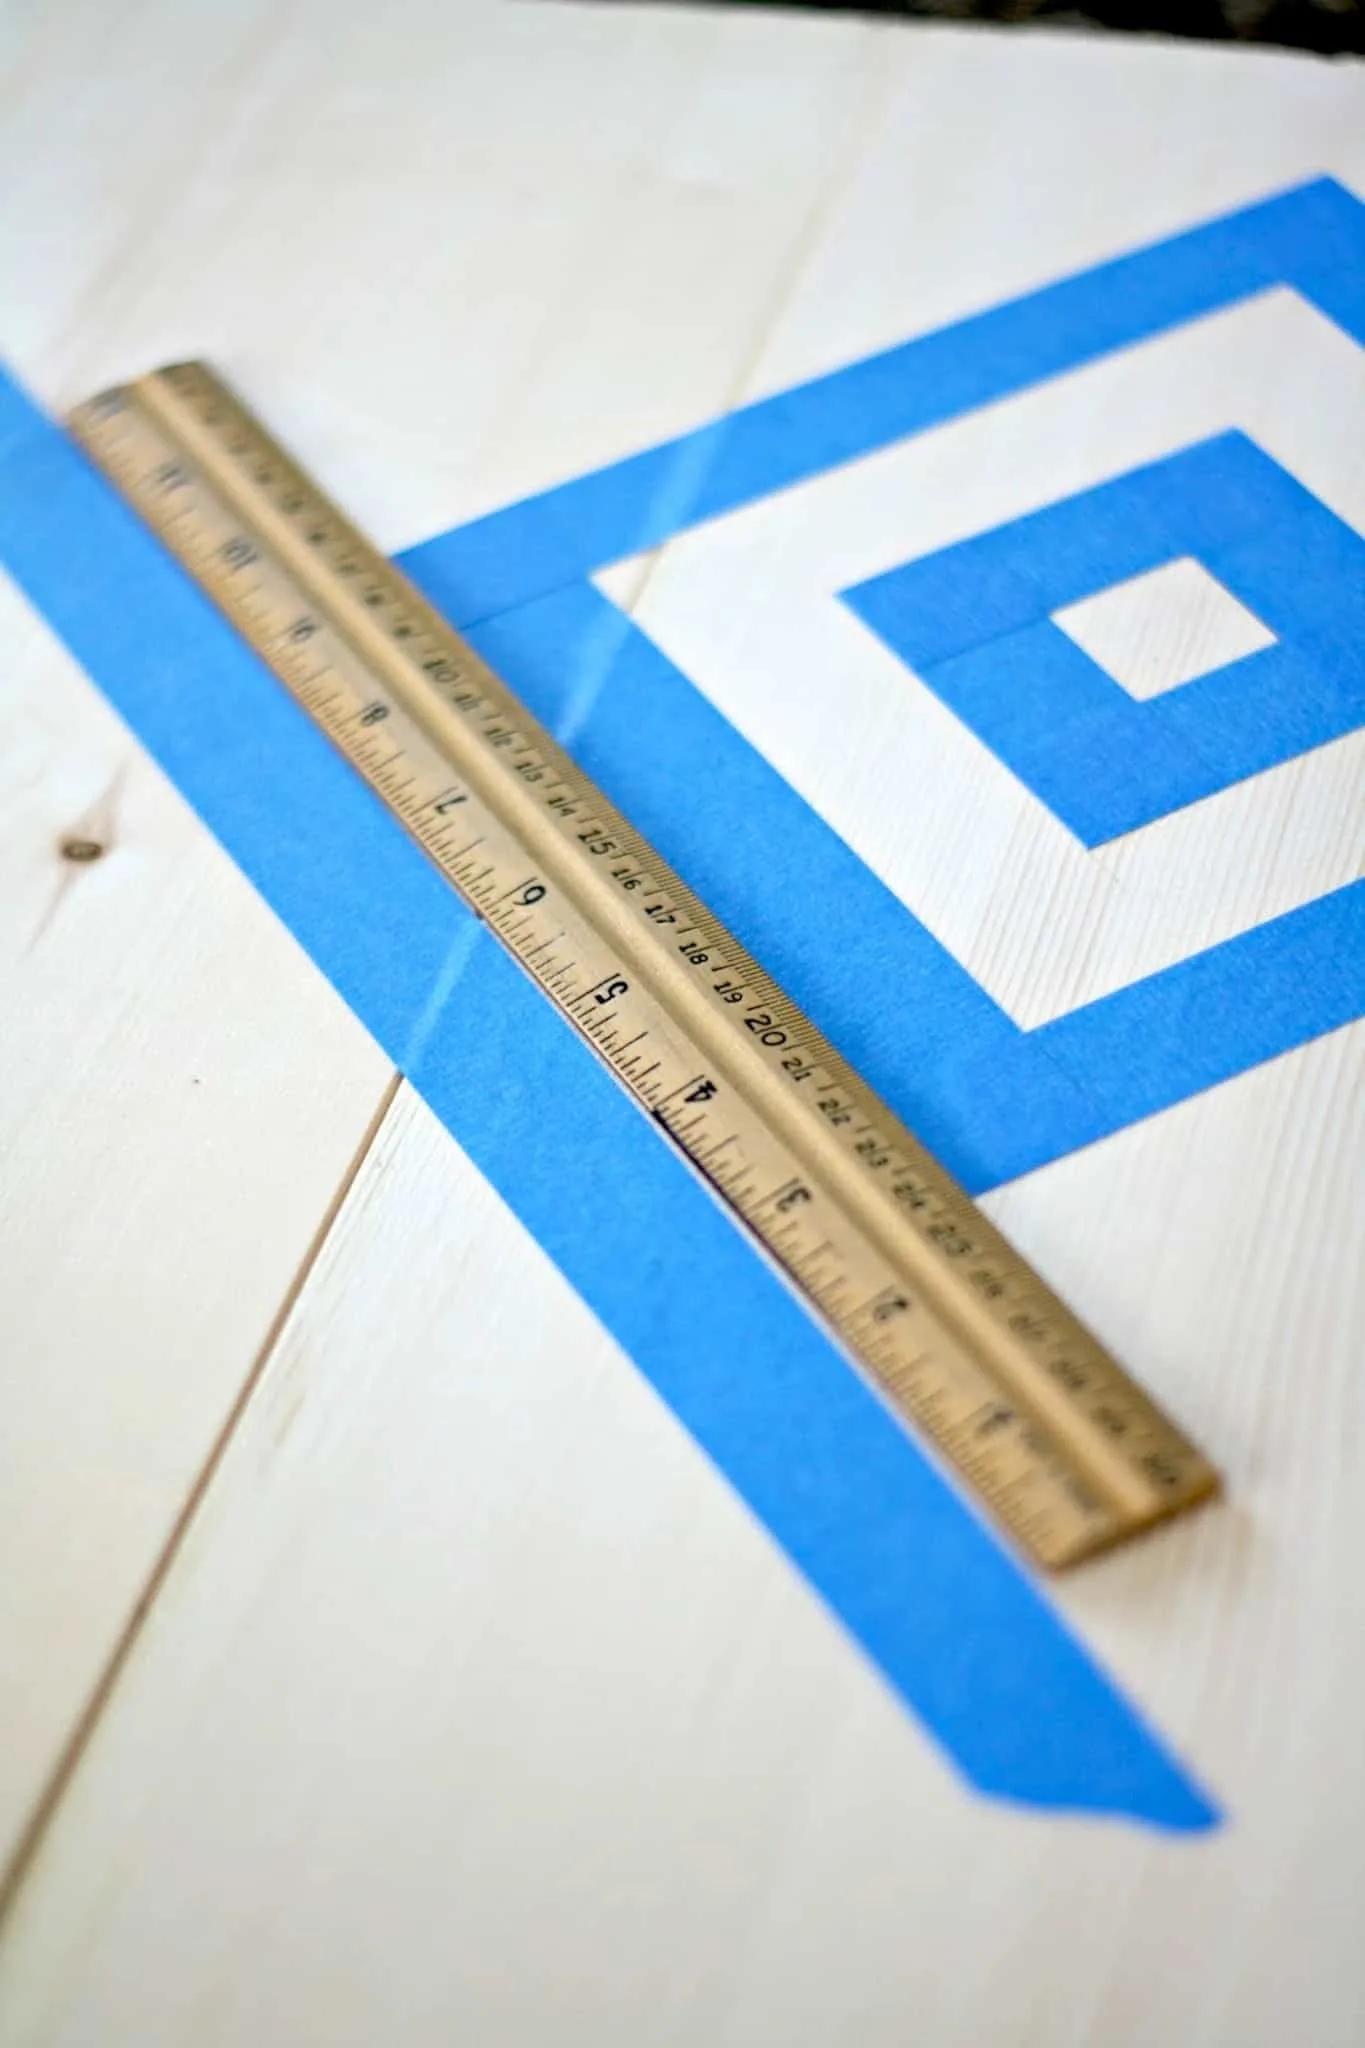
- Cut the edges of the tape to square it off using a ruler and an X-Acto knife. Just cut lightly; you don't want to press into the wood too much. You just want to cut the tape.
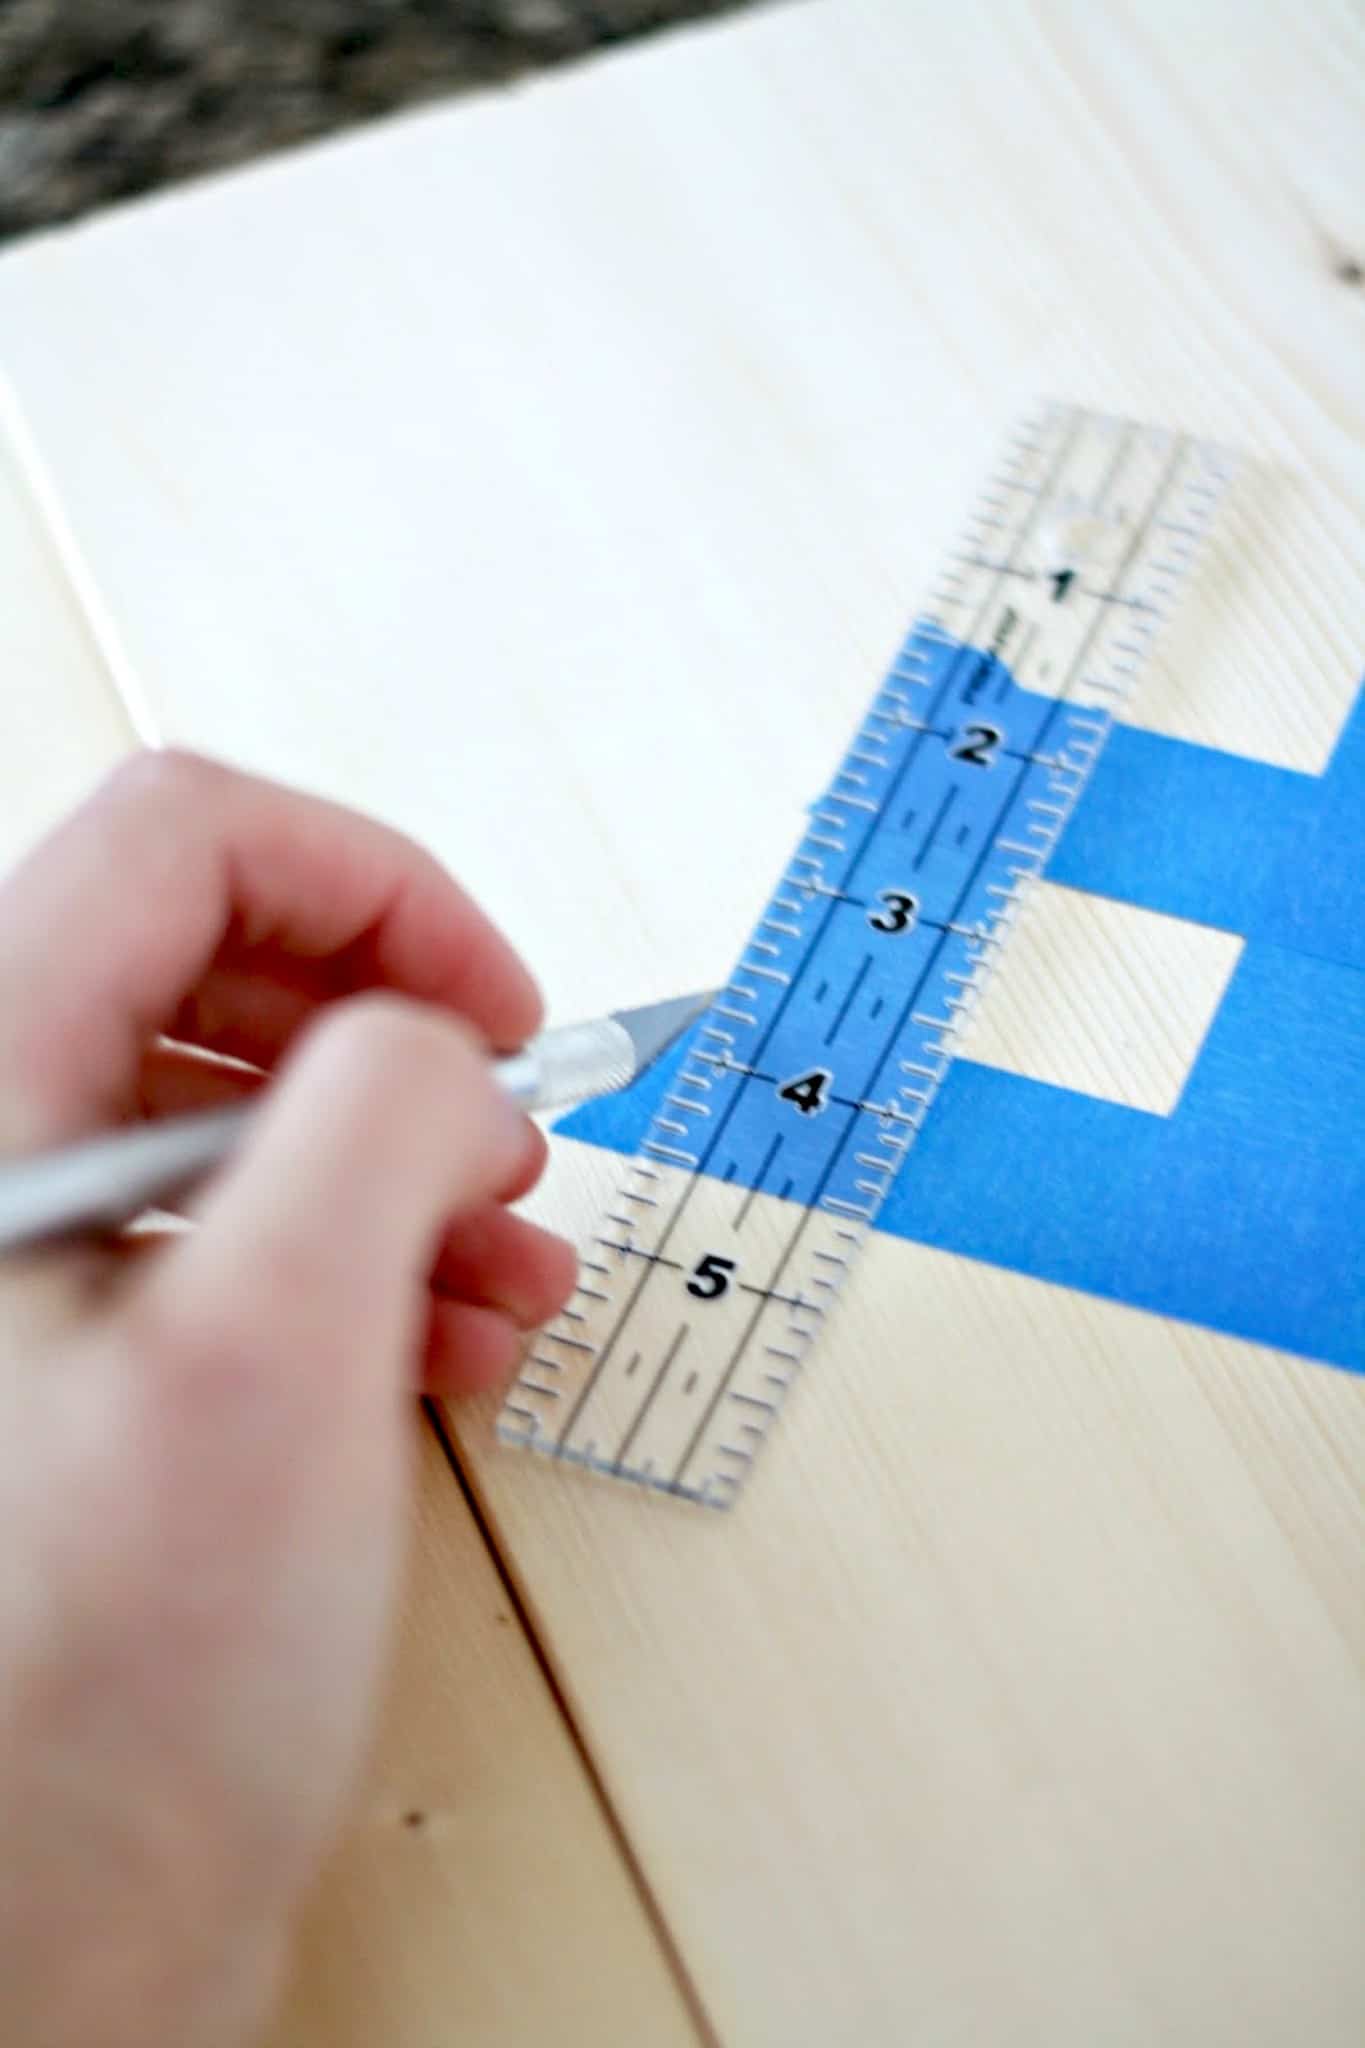
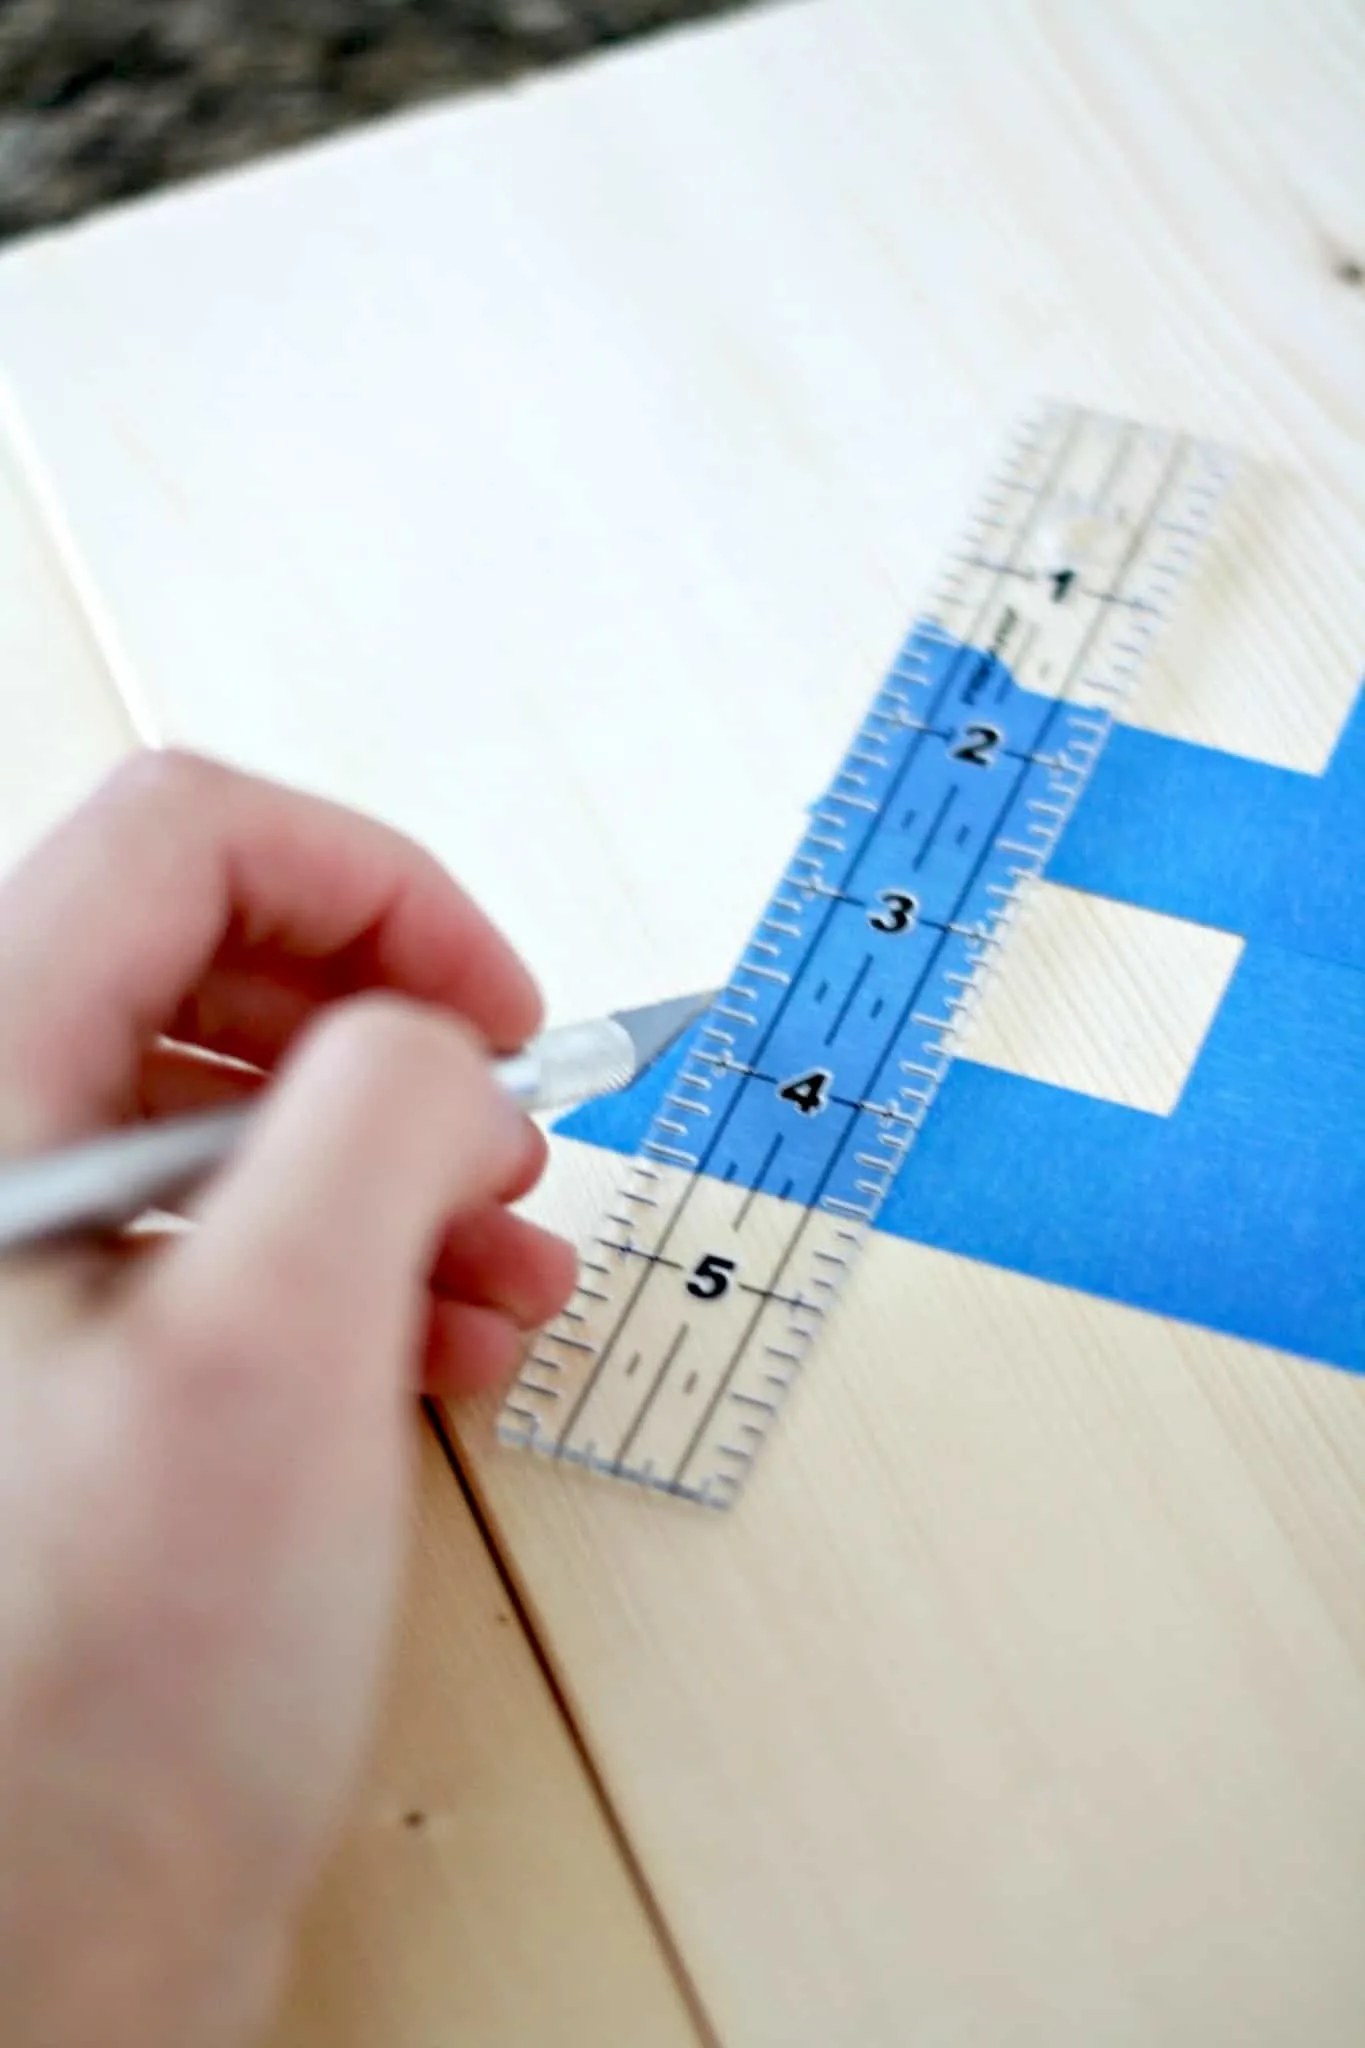
- Using the ruler to space out the tape by 1", lay the next lines of tape. Continue over the boards as required to make the design.
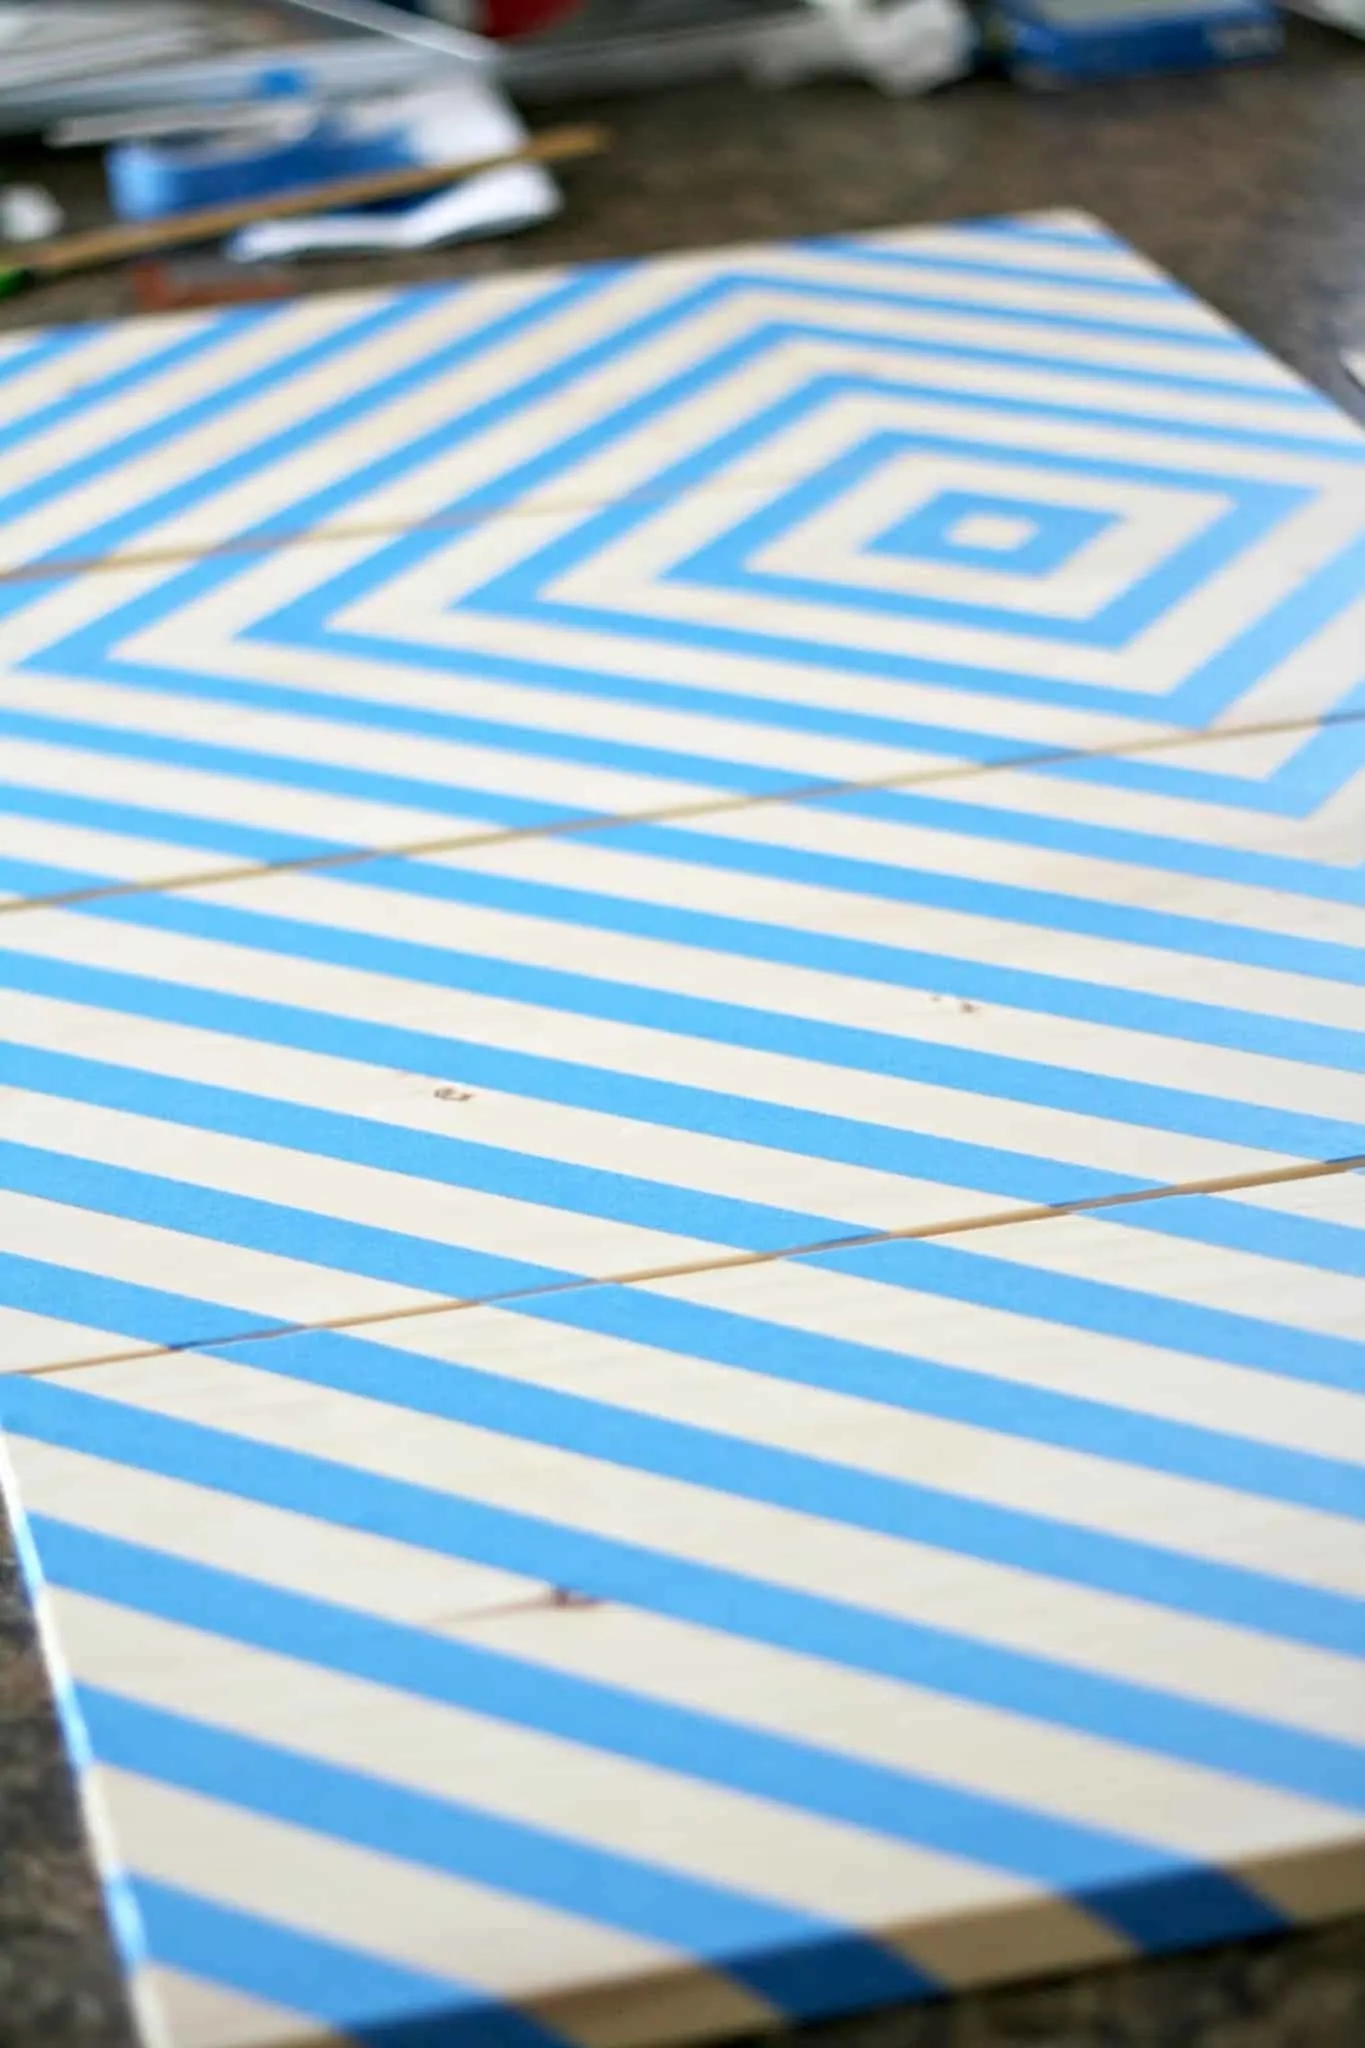
- Repeat until the boards are covered with painter's tape. Smooth out the tape with a used credit card or brayer to make sure the edges are smooth.

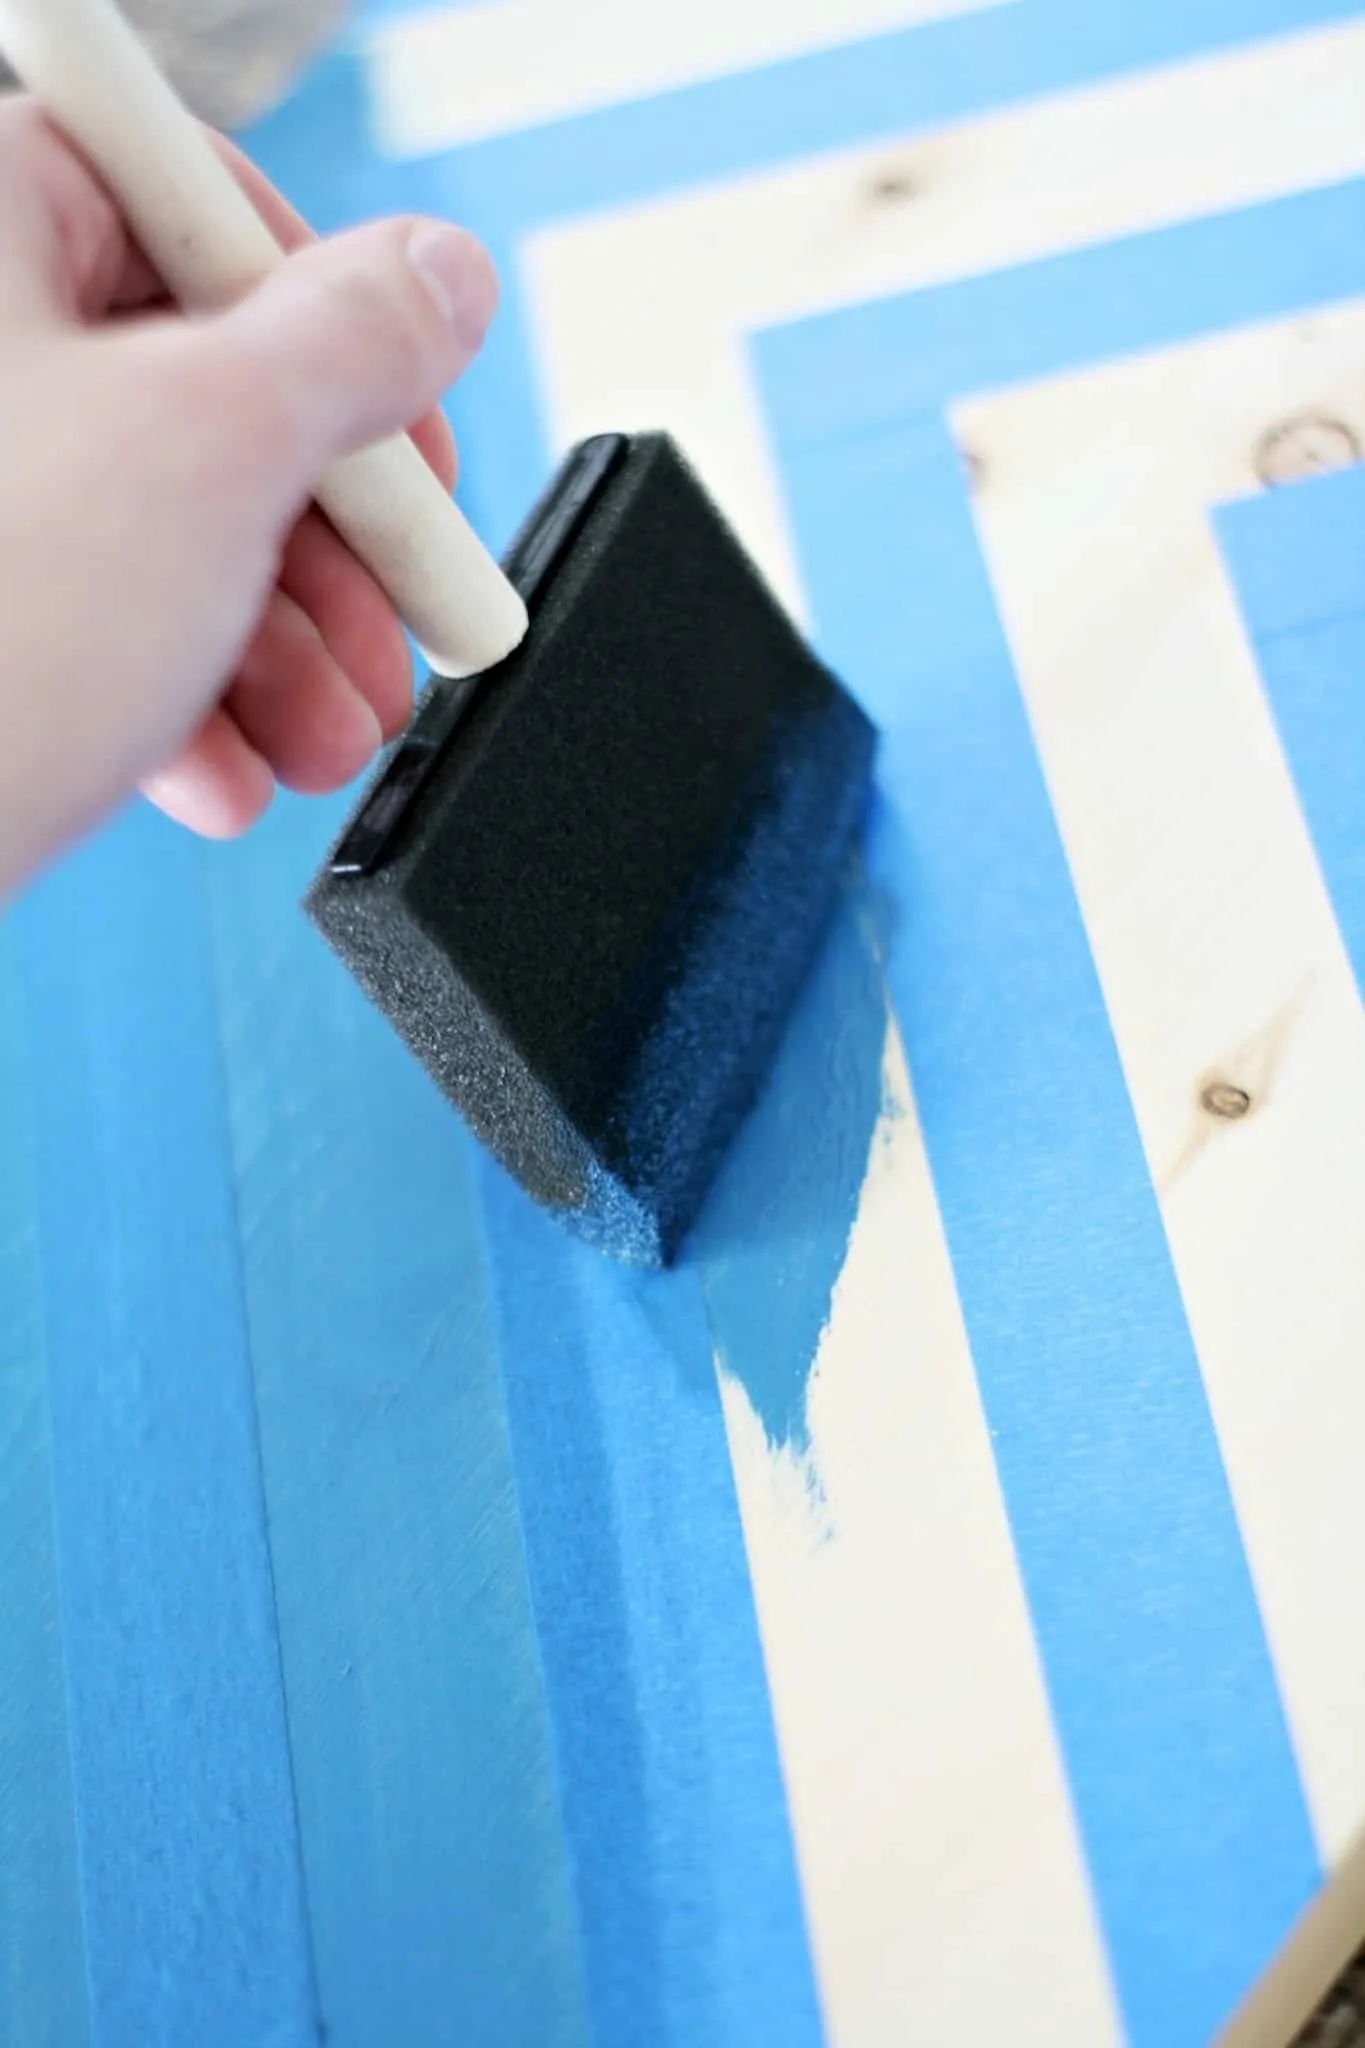
- Paint one square with an accent color. Don't remove the tape yet.


- Paint the rest of the board with the primary color of paint you chose. Once complete, remove all the painter's tape.

- Let dry before hanging. Use a french cleat or heavy duty hangers on the back to hang your panels.
Notes
Depending on the weight of your wood pieces, you can hang with Command Strips OR with double-D rings and wire.
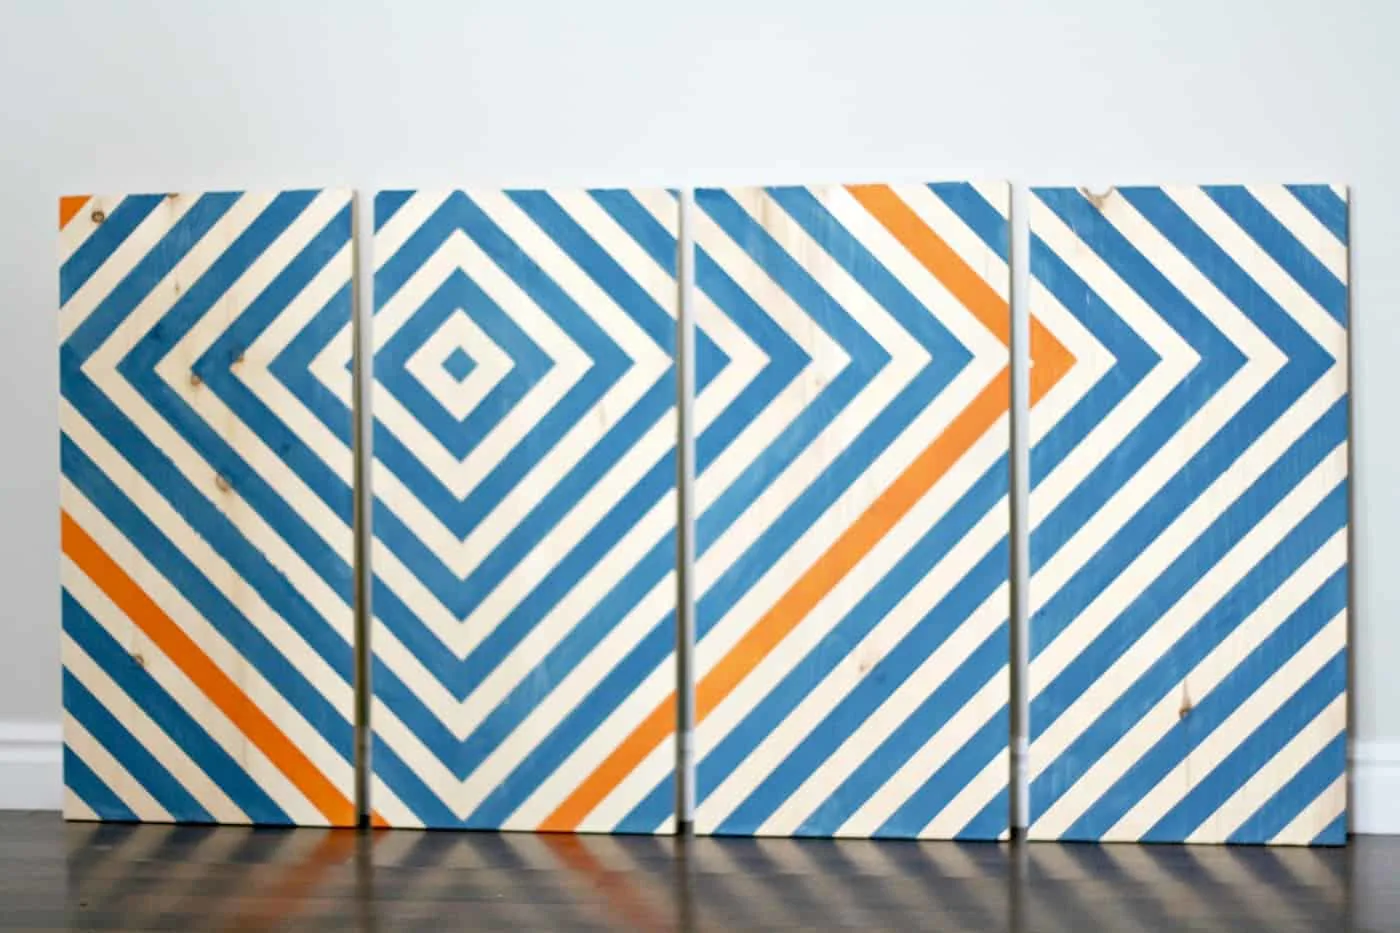
Isn’t it so fun? Now I want to make this wooden wall art for my own house! What color combos would you like to use for this project? Be sure to visit us as we blog about style, food, and the things we love over at the Pretty Life Girls. I’d also love for you to check out the following projects:
Paige
Friday 13th of November 2015
This wall art is so gorgeous! I want to recreate something like this for our home!
Paige https://www.thehappyflammily.com/