What are Diamond Dotz? Find out how to create sparkly art pieces in this fun and relaxing craft! Get the ultimate diamond painting guide plus tips and tricks for success.
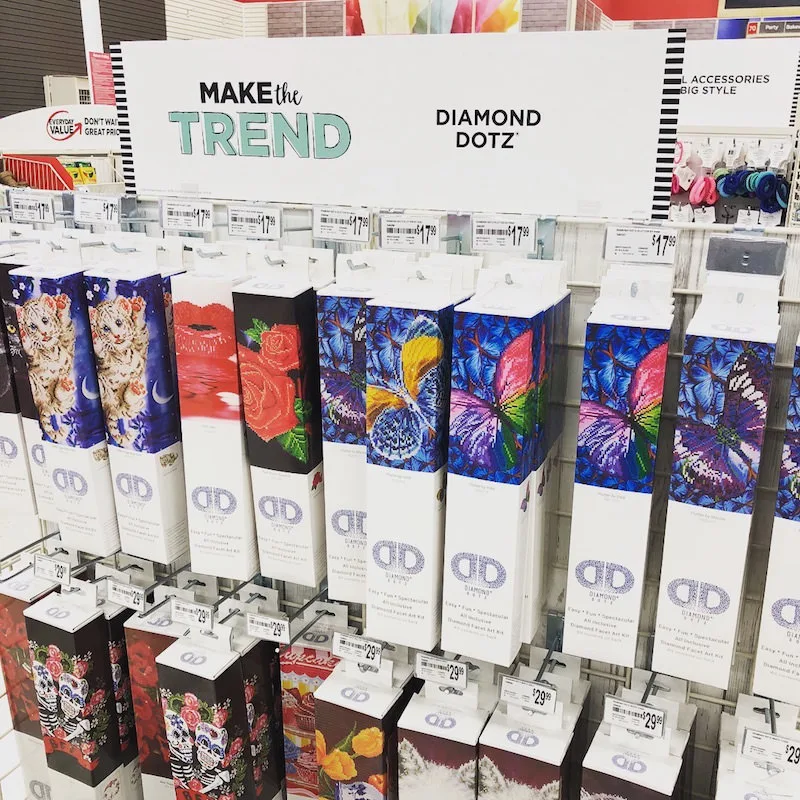
My friends, I’ve developed a new crafting obsession that I’m excited to introduce to you: Diamond Dotz!
This isn’t a sponsored post, though it’s probably going to sound like one given how thrilled I am about my new hobby. It was an interest that started when I walked into Michaels and saw the display above.
Diamond Painting
Whenever I’m in any craft store, I’m always checking out what’s new, so when a display says “Make the Trend” I’m going to check it out (do you do that?).
I’m going to be honest – I didn’t get a lot of information with the diamond dot art display but 1) I was intrigued by the box and 2) I had a 20% off coupon in my Michaels app. Plus I was totally in the mood to try something new.
What I could discern from the diamond painting box is that there would be sparkles involved – it says Diamond Art Kit on the front. The box also said easy, fun, spectacular, and all inclusive.
It was basically a paint by numbers or cross stitch but with square diamonds. Um, hello . . . I’m completely sold!
It intrigued me enough that I purchased two different designs that day (!), one of the larger ones called “Cup Cakes” and one of the smaller butterfly designs called “Flutter by Mauve.”
Partial Drill vs. Full Drill
Before we jump in, I want to tell you something I learned about diamond painting right away. There are two types of designs: partial drill and full drill.
The difference is that partial drill designs only have a portion of the canvas covered with adhesive (and therefore, your diamond design). The resin diamonds that you adhere will accent the printed canvas on a portion of the design
Full drill means that the entire design is an adhesive background, and that means the entire canvas will be covered with drill diamonds. The diamonds are the design!
As you can imagine, partial drill designs are easier and faster to complete due to having less adhesive area! Keep that in mind as you proceed.
What Are Diamond Dotz?
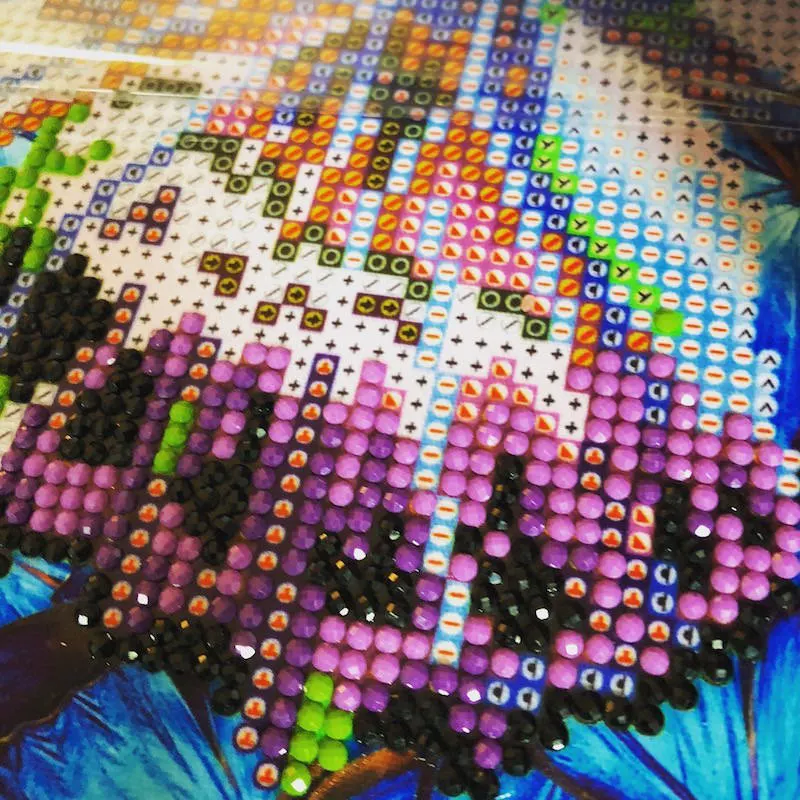
Diamond Dotz are sparkly little dots that you will place on the sticky fabric using the enclosed stylus. The individual dots are very similar to rhinestones in their look, round, and about 2.5mm in diameter.
They are shiny and faceted on top which gives the awesome “sparkle” to the entire piece as it’s assembled.
I’ve heard this craft referred to as “diamond embroidery” and also “diamond painting.”
It sounds strange at first since there’s no thread and no paint, but with the grid and the finished look, your piece will definitely look like diamond embroidery. It’s pretty fabulous.
The dots come in a kit with fabric that has an adhesive area, and you’re going to place them on their matching color fabric square using a stylus pen.
If you can hold a stylus and stick stuff down, you can do this craft. The whole process sounds simple right? It is. But it’s also awesomely fun and most importantly (at least for me!), relaxing.

What’s in the Box?
When you open your Diamond Dotz box, you’re going to get several items:
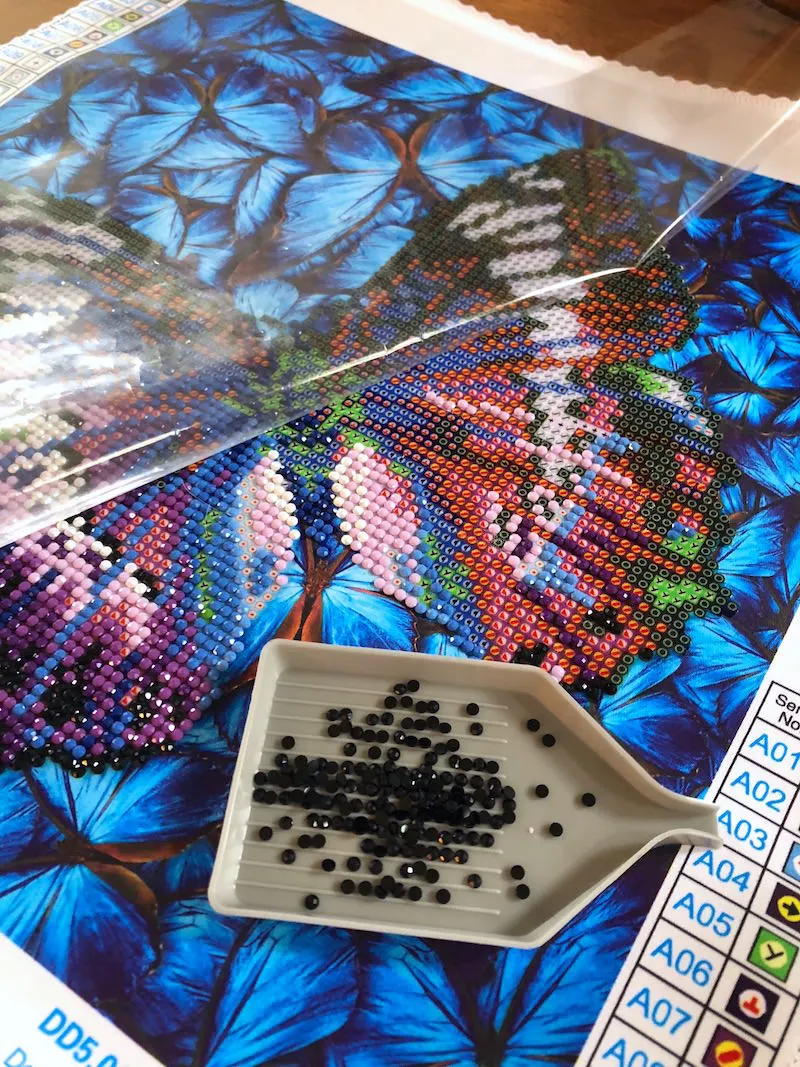
A printed, 100% polyester fabric piece with the design. The fabric has a silky, smooth feel. It’s basically an adhesive canvas on which you’ll be placing the Dotz.
This fabric has a cellophane film over the top to protect that adhesive area. There’s a color/number grid on each side that shows you which colors to place where.
A package with a stylus and a comfort grip, craft tray, and wax caddy. This package also contains small plastic bags.
Multiple packages of Dotz that are sorted by color and coded. These are your resin diamonds.
Color instructions in multiple languages.
You’re also going to need scissors, tweezers, and you may want a container to organize your Dotz (I’ll show you that later in the post).
How to Do Diamond Painting
I told you the diamond dot art process was easy, and it is – but I’m going to show you how it’s done so you can be familiar before you purchase, as well as give you some tips and tricks.
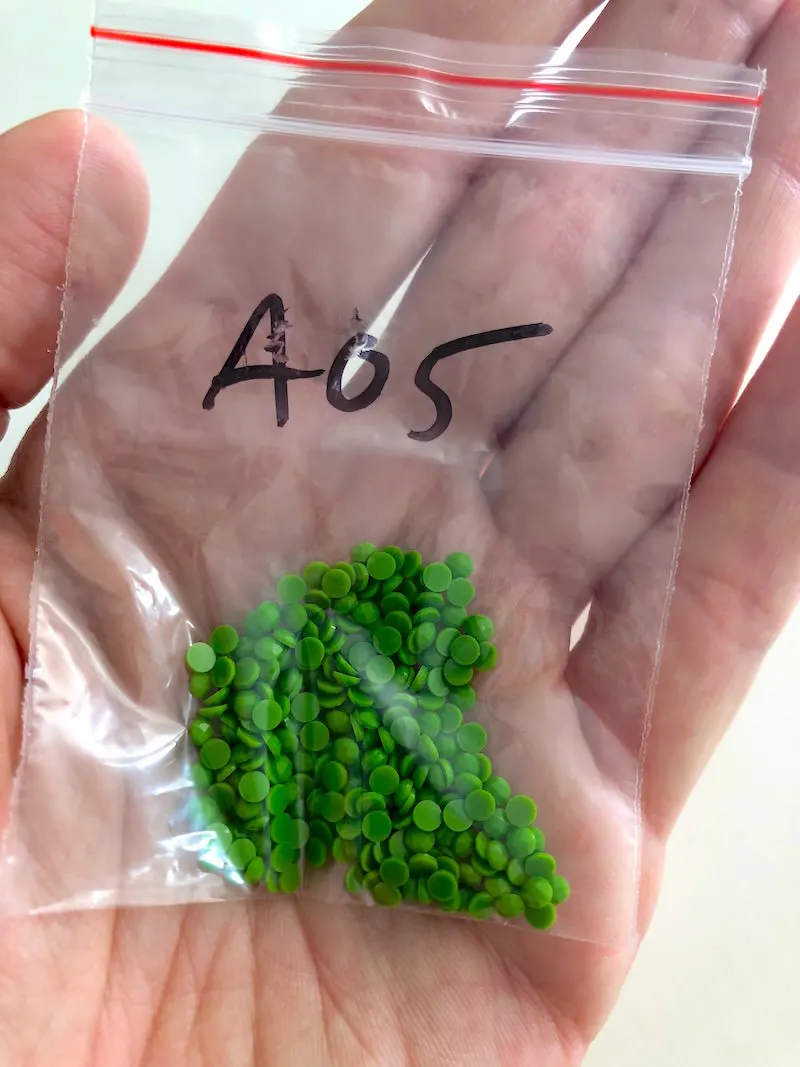
You’re going to start by opening the box and sorting your supplies. I like to start by taking all of my Dotz and putting them in small, labeled plastic bags.
A few plastic bags came in my diamond art kit, but it wasn’t enough for all the Dotz, so you might want to purchase some additional bags here (they’re inexpensive).
You can use regular sandwich bags as well if you already have them, but I personally find the small bags to be more manageable since there are typically a lot of colors in a design.
I label each of them with the code number from their package using a Sharpie:
I unroll the fabric canvas and actually roll it the other way (with the plastic cover still on) so that it lays more flat. You can tape the corners down to a surface with stencil tape if you like. Then it’s time to get started!
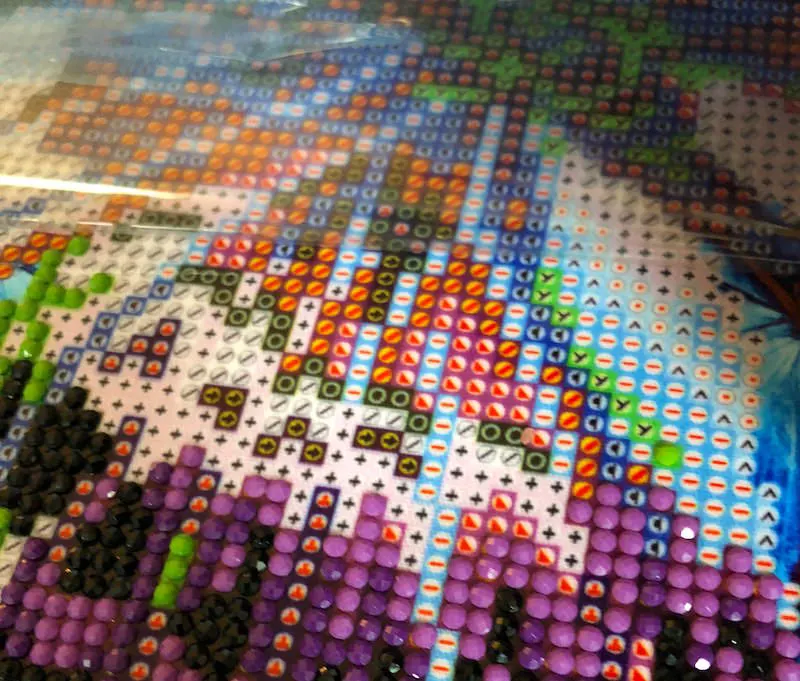
The first thing you are going to do is peel back the protective film from the first area you are going to work on.
Wash your hands before getting started so you don’t get dirt and oils on the adhesive, and only expose what you need. I promise you – especially if you have pets! They tend to get their hair in your design (I have a shedding pug!).
Any time you aren’t working on the design, make sure to add the protective film back in place so that no dirt or dust gets on your design and adhesive. It will remain sticky as long as you keep it covered.
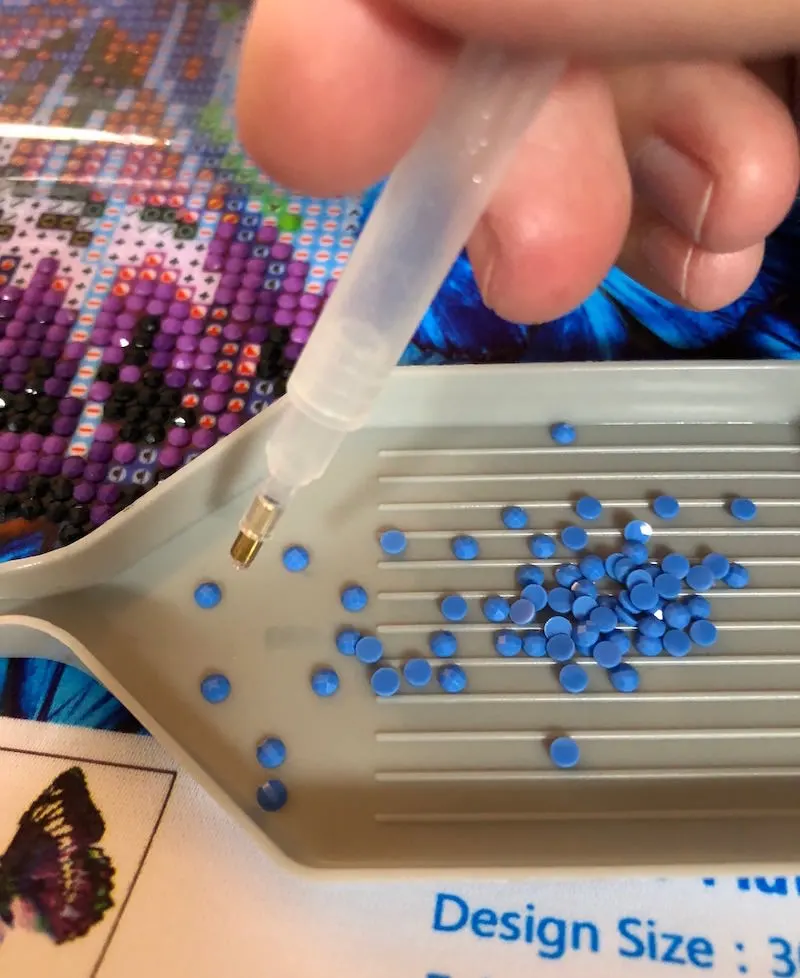
Choose a color that you want to work with and place it into the tray that comes with your kit.
I don’t pour the entire package in the tray, but maybe about 50 Dotz at a time. That way if my tray spills for any reason, I won’t have to pick up too many dots.
Use the key on the side of the fabric piece and identify the number of the dots – as well as the symbol. It will be something like “A05” and have a picture of a black T in a yellow square, for example. This tells you where to place your dots.
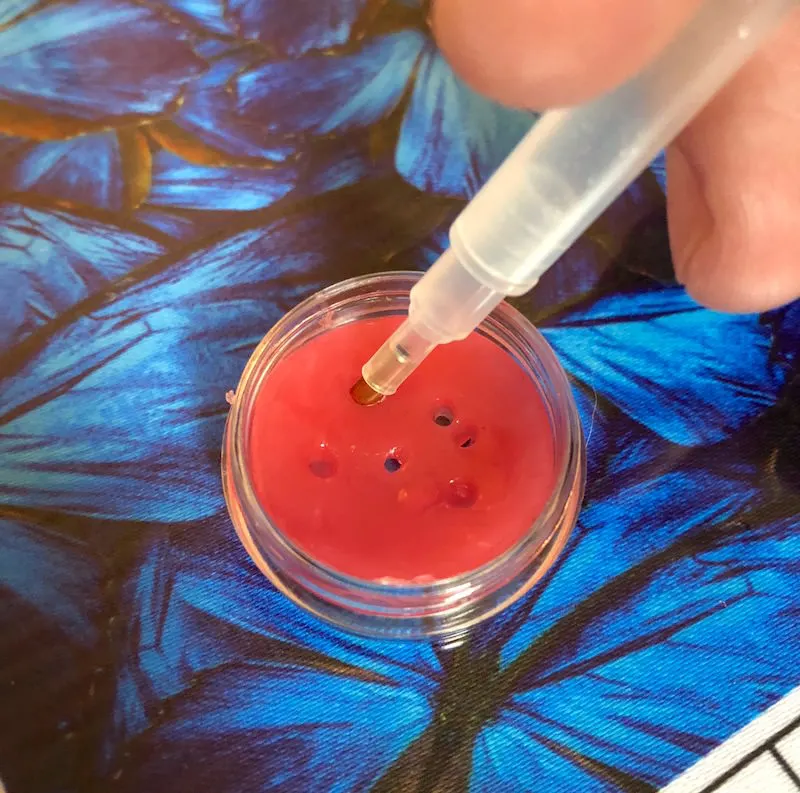
Open the wax caddy and press the head of the stylus (add the grip to the handle) several times. You can kind of move it around from side to side a bit. Once you coat the stylus tip well, you won’t need to do it again very often. Close the wax.
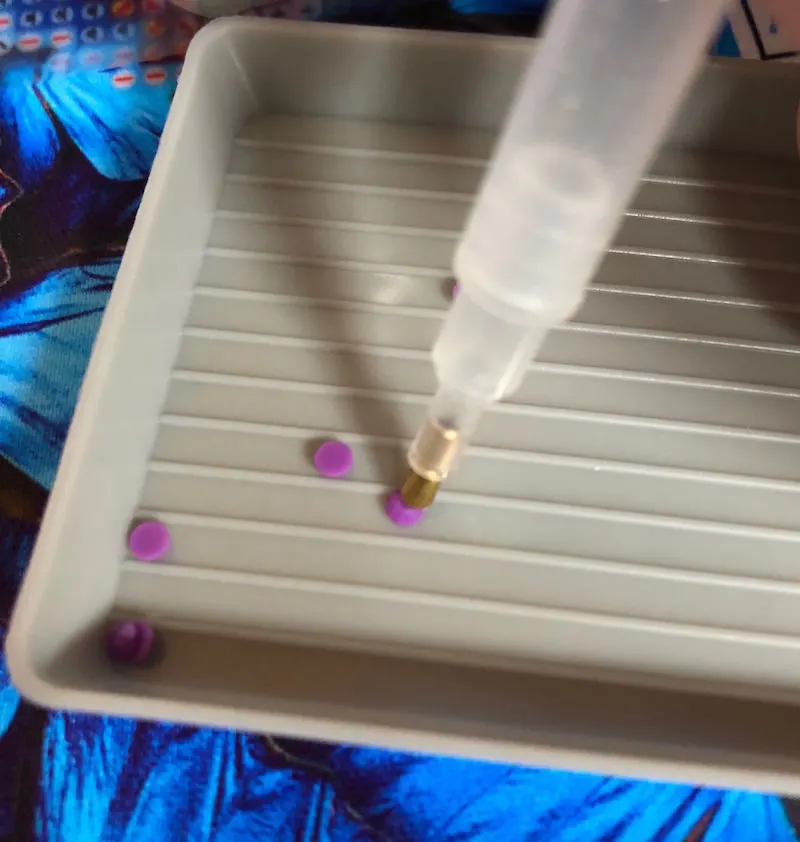
Find a dot in your tray that has the round/faceted side facing up, and place the head of the stylus on top. Pick it up – it’s going to look like this from the side:
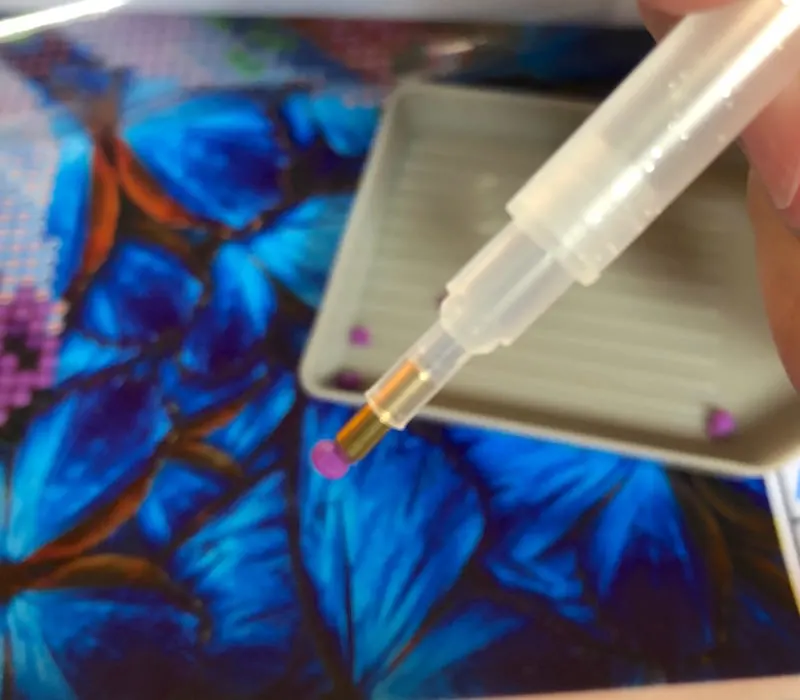
Now you’re going to start your diamond embroidery! Find the symbol we talked about before, and place the dot right down on top of that symbol. The flat side should go right into the adhesive.
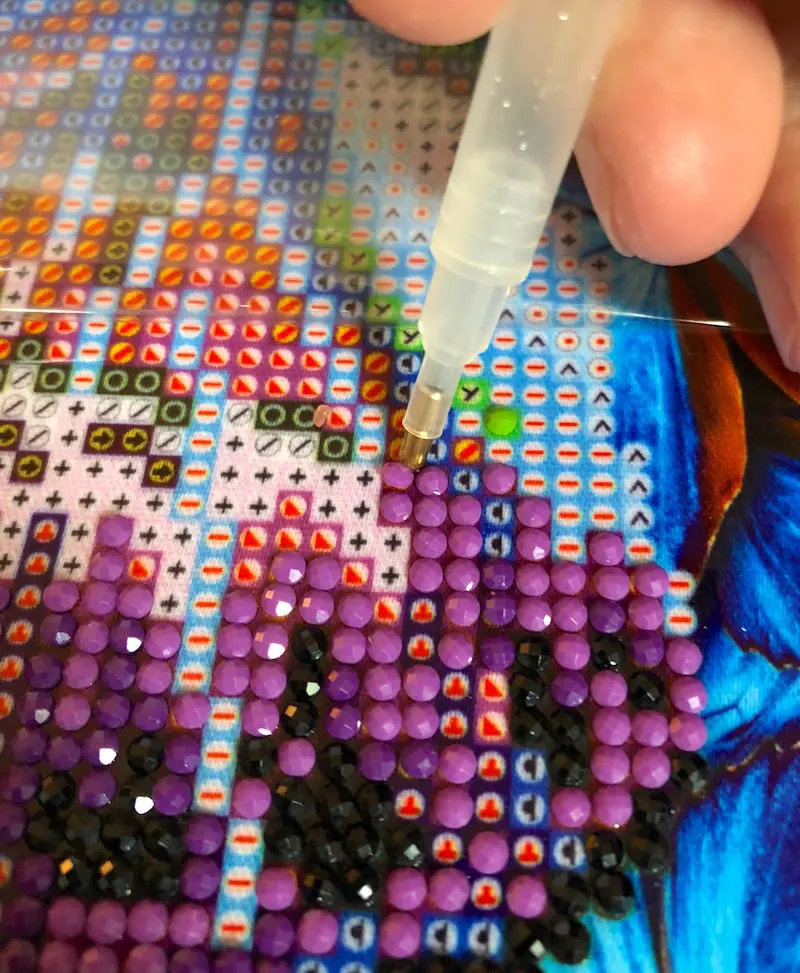
Continue the Diamond Dotz process, working one shade at a time, until your design is complete. I recommend working from the bottom up, just so that you don’t have to expose too much of your design at one time.
I work several colors at once, but that’s just how my mind works. It might be easier for you to work one color at a time!
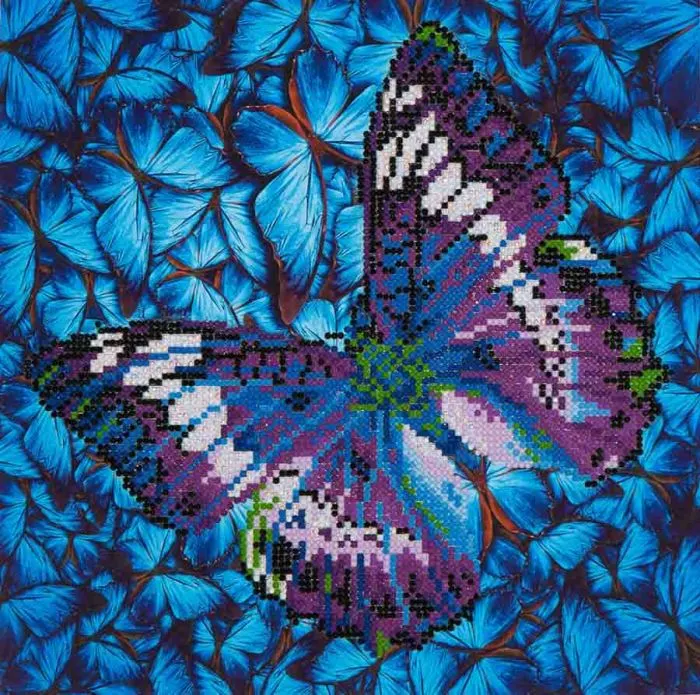
When you’re done, you’ll have a beautiful design! You can see mine below. It’s hard to convey how pretty and sparkly your Diamond Dotz will be in a picture, but I promise you – they are awesome. You can also see more designs here.
While your items aren’t in use, keep your wax closed, your protective film over your design, and the head of your stylus covered so that it doesn’t dry out (plastic wrap works well).
That’s the process in a nutshell! Now that we’ve review it, I want to share my top tips with you for success. These are the things I’ve learned over time that I find the most useful.
My Top Tips for Diamond Embroidery
- Keep your design protected at all times with the film, and keep tweezers handy to remove pet hairs or anything else that gets into your design while you’re working.
- Keep your Diamond Dotz out of reach of children or pets. There are too many small dots and you don’t want them to get their hands on it! I place mine in my craft room on the desk when not in use.
- Work from the bottom up so that you don’t have too much of your design exposed.
- If you don’t place your Diamond Dotz directly on top of the symbol (oopsie!), use the end of the stylus or tweezers to push into place. It works well.
- If you get your fabric dirty at all during the working process, gently wipe with soft damp cloth and cold water.
- After each session, place the protective film over the top of your Diamond Dotz design and roll something over the top to make sure the dots are in place. Do this at the very end as well.
And finally . . . HAVE FUN! Diamond Dotz is such a relaxing, easy activity. It’s a great way to get someone into crafts that wants instant success. There’s absolutely NO learning curve to diamond embroidery and that’s one reason I love it.
Where to Buy Diamond Dotz
The company has a distributor list on their website here. I’ve seen them at Amazon, Herrschners, Mary Maxim, Jo-Ann (online only), and Michaels (in store and buy online). I’ll continue adding retailers to the list as I see them.
Have you tried diamond embroidery – and if not, are you interested now that you’ve read my review and tips? I’d love to hear your thoughts in the comments!
Ardis Storms
Sunday 17th of March 2024
I ran out of Diamond Dotz before completing my kit of gingerbread men. Where can I find and purchase more gingerbread brown Dotz?
Thank you for your help
Deanna Erickson
Thursday 7th of March 2024
how do you keep the beads from sticking to to gather? in the containor
Beatriceb
Sunday 28th of January 2024
If anyone knows how to remove excess sticky stuff from the finished dots project, I would much appreciate hearing from you.
Amy
Friday 2nd of February 2024
I might try rubbing alcohol! Not sure what it would do to the dots glossy tops though so do a test.
SAKIN junaid
Thursday 14th of December 2023
Need from wholesale shop Like to create more n more
SAKIN junaid
Thursday 14th of December 2023
I from india Already working on it and having lots lots of fun doing Am addicted to it!!!!