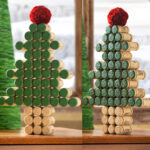
Christmas Tree with Wine Corks
Turn leftover wine corks into a festive Christmas tree with paint, glue, and a little creativity! This budget-friendly holiday craft is simple to assemble, beginner-friendly, and perfect for adding handmade cheer to your decor.
Servings 1 tree
Cost $5
Equipment
Ingredients
- 55 wine corks 46 for tree, 9 for trunk
- 1 bottle Multisurface craft paint green
- Craft glue I used tacky glue
- 1 large Pom poms optional for top
Instructions
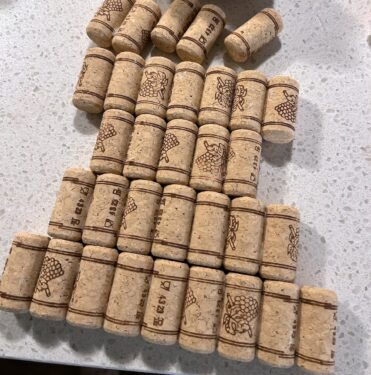
- The first thing you need to do is plan your design. Lay out the corks on your work surface and put them into the configuration that you like. The key to making a tree is to have some rows of corks that are longer than others (to act as branches). Experiment until you are happy with the layout.

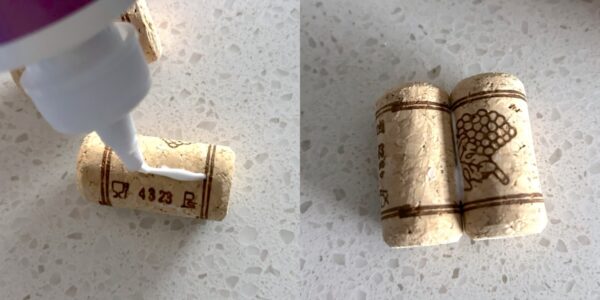
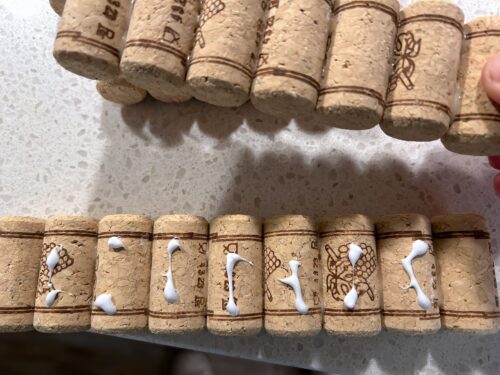
- Once you’ve decided on a layout, turn all the corks on their long sides as shown. You’ll do this because you’re going to be gluing them (on the long sides) into rows, and you want the rows to be flat so your tree doesn’t look wonky.
- Begin gluing the corks. Add a thin line of tacky glue to one cork, press to another, and hold for a few seconds. Let dry.
- Continuing gluing corks together, working in rows. As you glue a row of corks together and it is drying, press the corks down gently onto the work surface using your hand so everything is flat. Let all the rows dry.
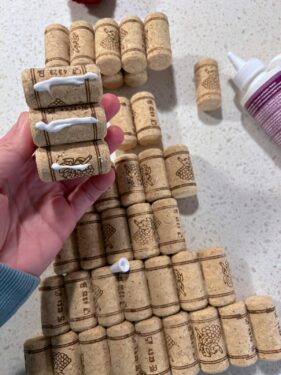
- Once all the rows are dry, it’s time to glue all the rows together. Don’t try to glue the entire tree together in one shot. You’re going to glue two rows together, let those dry, add another row . . . and on and on. Once everything is assembled, let your tree dry completely.
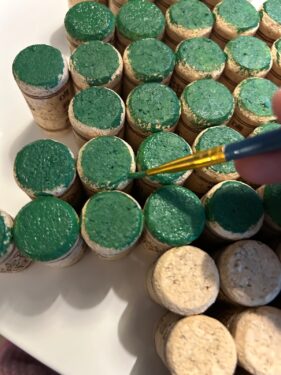
- Painting is easy! Simply paint one side of your project – the ends of the corks – with green paint. I left my “tree trunk” plain. Let dry.
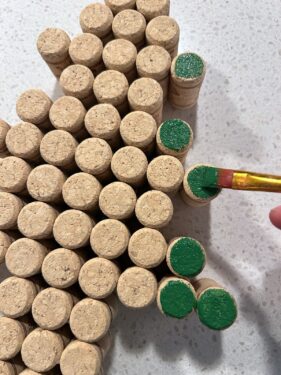
- Add a second coat of paint if necessary. You can also use a smaller brush to get the edges of the corks. Let dry. Finish by gluing a pom pom to the top!
Notes
I used Aleene's Quick Dry Tacky Glue for this project and it worked amazingly well.