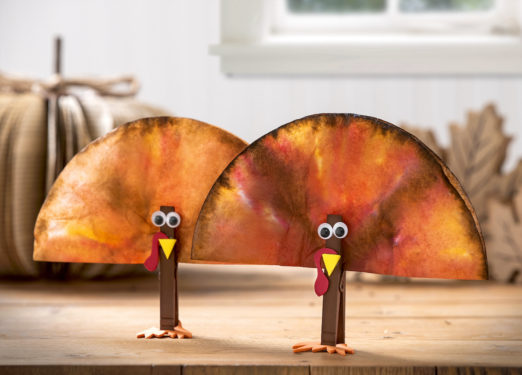
Coffee Filter Turkeys
Learn how to make a cute little turkey craft for Thanksgiving using a coffee filter and a clothespin! Kids will love this idea.
Servings 2 turkeys
Cost $1
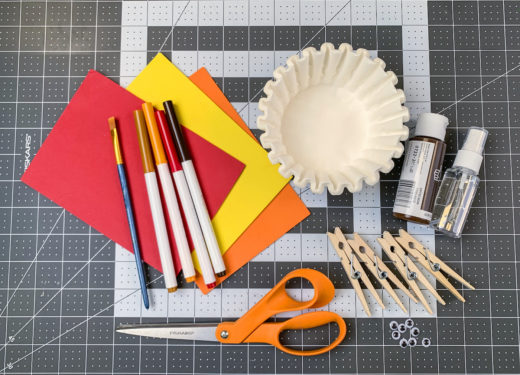
Equipment
- Hair dryer (optional)
Ingredients
- 2 Coffee filters
- 2 Clothespins
- Washable markers - fall colors
- Acrylic paint
- Craft glue
- Googly eye(s)
- Craft foam or felt
- Small spray bottle of water
- Wax paper optional
Instructions
- Gather the supplies to make the turkeys. You will need one coffee filter and one clothespin per turkey.
- Choose four colors that you would like to use for your turkey’s tail. Picking a variety of colors that are different shades (light and dark) makes for the best results.
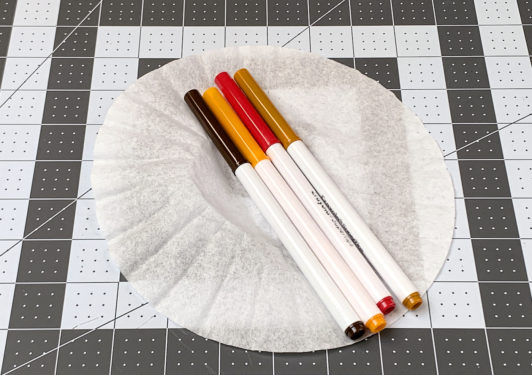
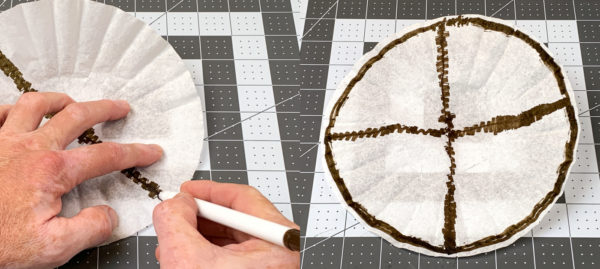
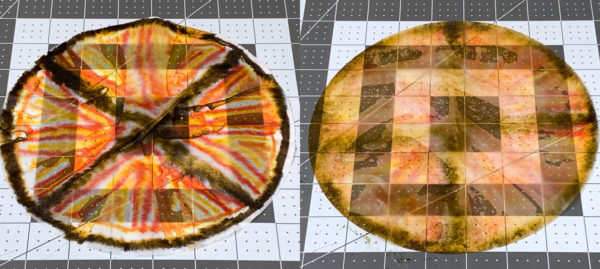
- Start with a brown or similar dark shade of marker. Draw a circle around the edge of the coffee filter and then draw lines in an "X" across the middle.
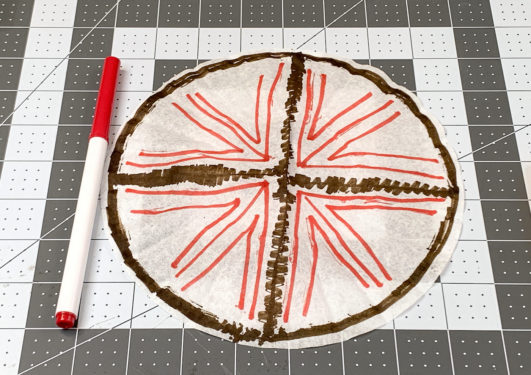
- Take a contrasting color marker and draw some lines within each quadrant on the coffee filter.
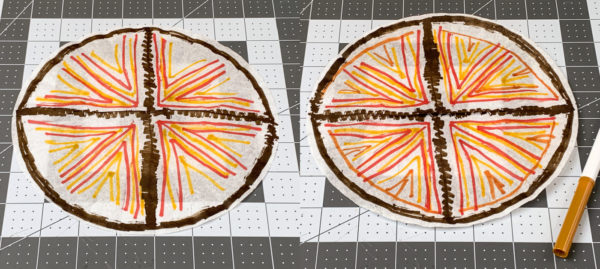
- With the remaining two markers, add additional lines at random to the inside of the other lines on the coffee filter. No need to add too many lines. They will bleed into each other.
- Place the coffee filter down on a washable work surface. You can use a craft mat, silicone mat, or wax paper. Mist the paper with 4 – 5 sprays of water and you will start to see the markers bleed. This is what you want.
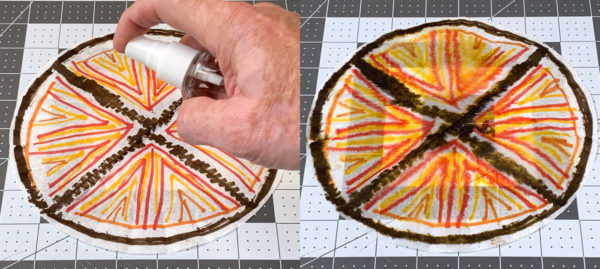
- If the markers didn’t bleed enough, add additional sprays of water. Don’t add too much water. You want to barely saturate the filter, otherwise all the water will drip off the filter and take the color with it.
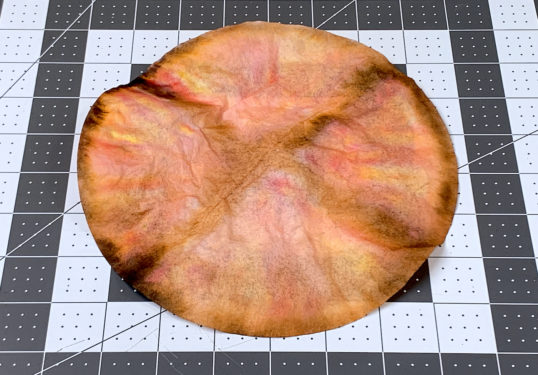
- Leave the coffee filter on your work surface to dry. Additionally, you can take a hairdryer and dry the filter, or place in the oven for a few minutes at the lowest heat (watching the entire time).
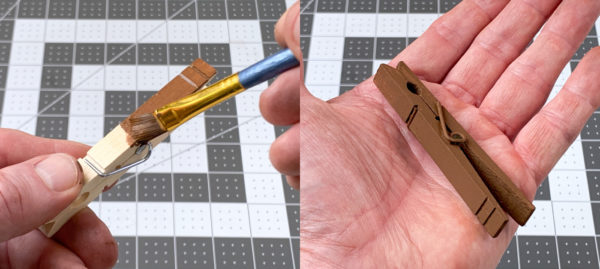
- Place the coffee filter to the side for the moment and paint a clothespin with brown acrylic paint. Paint the entire clothespin with a few coats for coverage and let dry.
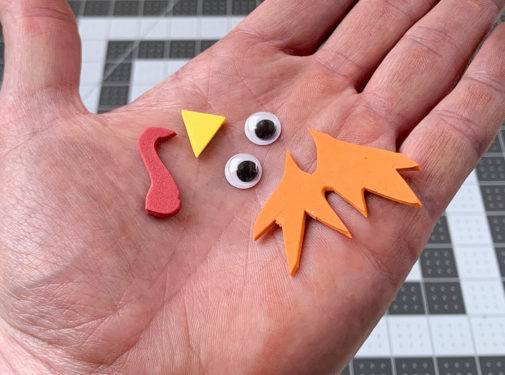
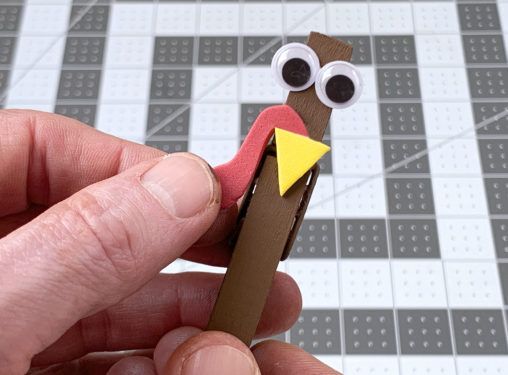
- While the clothespin is drying, cut out the pieces you’ll need from craft foam. You’ll need a yellow beak, a red waddle, and (if you want) orange feet.
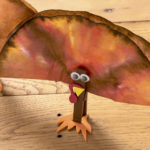
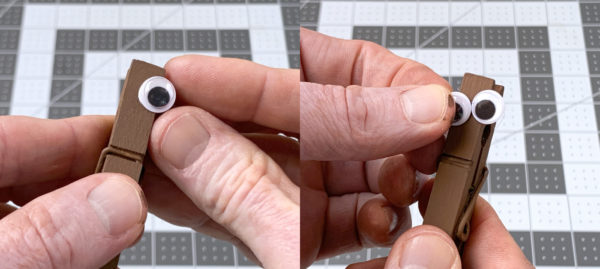
- Set the clothespin on your work surface so it stands up, with the clip part that holds paper at the top. Glue the googly eyes at the top and let dry.
- Attach the waddle, feet, and beak with craft glue and let dry.
- Clip the coffee filter into the clothespin, creating the turkey tail. Adjust as necessary and your coffee filter turkey is complete. Make another one if desired