
DIY Christmas Stocking
Learn how to make a homemade stocking for Christmas using supplies you already have on hand! This is a great holiday upcycle project.
Servings 1 stocking
Cost $1
Equipment
- 1 Sewing machine (or you can sew by hand, too)
- Pins
- Pencil(s)
- Scrap piece of wood or cardboard for wrapping the tassel
Ingredients
- Fleece or flannel pajamas pants
- Stocking to use as a pattern, optional
- Yarn
- Hair elastic or a rubber band
- Parchment paper or any large format paper to make a pattern with
Instructions
- Use a stocking you have on hand to make a pattern, or freehand draw your own. Make sure to add about an inch around for the seams. Cut that out with a pair of scissors.
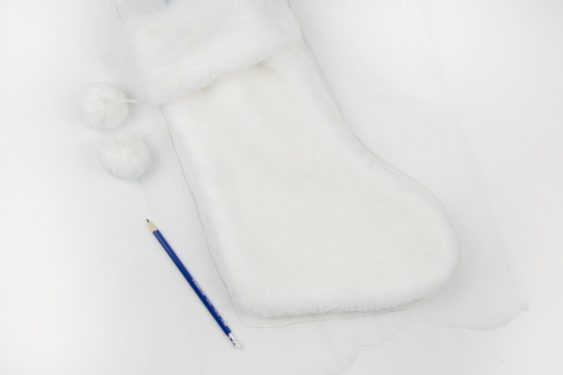
- Trace the pattern onto your fabric and cut two pieces (for the front and back of the stocking).

- Pin the pieces right sides together and sew around the stocking, leaving the top edge un-sewn.
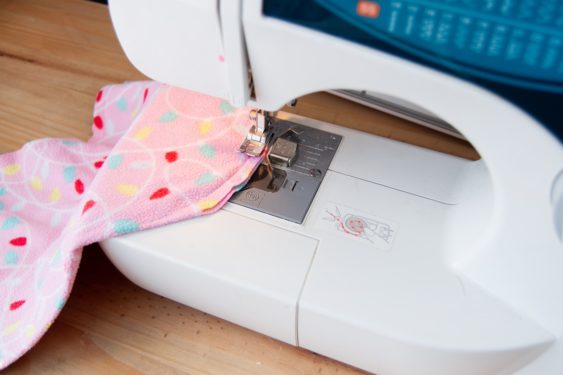
- I used the bottom of the pajama pant to create the fold over top of the stocking. Turn it inside out, and put the top part of the stocking (still inside out) inside it, and line the raw edges up. Do not sew yet.

- Cut a strip of fabric from the remaining pant scraps. Fold one edge of the strip towards the center by half the width of the fabric strip, and do the same for the other side. Fold the two sides together and iron.

- Sew both edges to finish. Alternatively, you can use ready made bias tape or even ribbon.

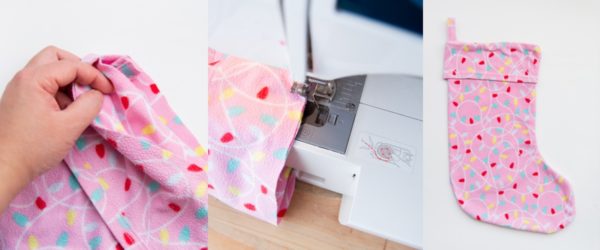
- Sandwich the hanger (folded and loop facing downwards) and sandwich between the stocking body and foldover top. Pin in place.
- Sew the stocking top with a straight stitch, making sure to go slower where the hanger is so your needle does not break. Turn it right side out and you should have a finished stocking.
- Create a tassel for your stocking by wrapping yarn around a flat object such as a piece of wood or book. The more you wrap, the fuller your tassel will be. Keep in mind that more wraps will result in a thicker tassel.
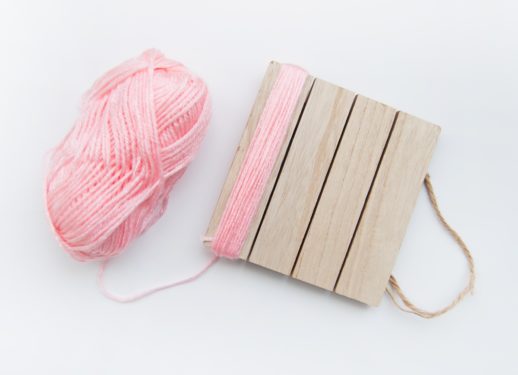
- Carefully remove the wrapped yarn, and tie a piece of yarn on the top part to secure all the loops together.
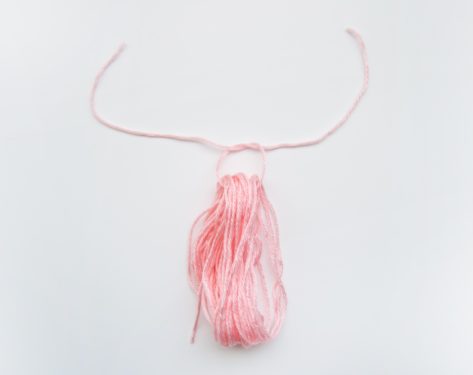
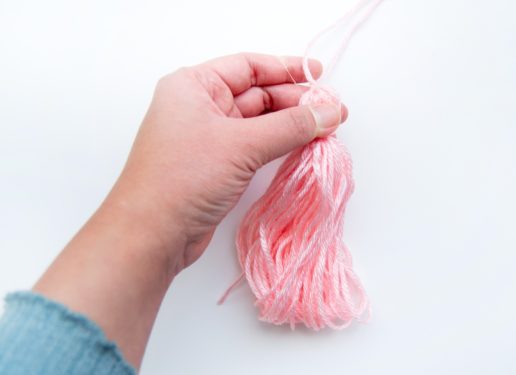
- Use elastic to secure the top and create a tassel head. Wrap a piece of yarn around it and tie it to hide the elastic.
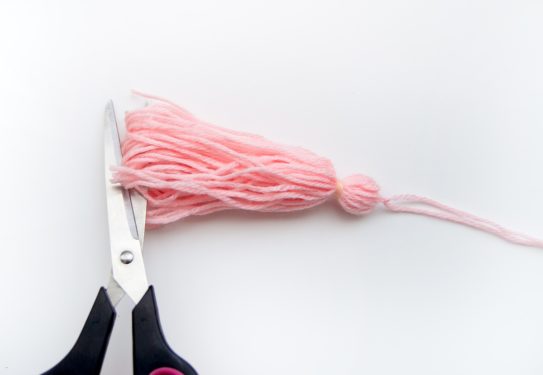
- Finally, cut the loops at the bottom of the tassel and trim the tassel ends evenly for a cleaner look.
- Attach your tassel using hot glue under the folded part of the stocking.
