sandpaper2500 - 3000 grit wet, extra step which we'll explain
Cleaning solution/rubbing alcohol
Instructions
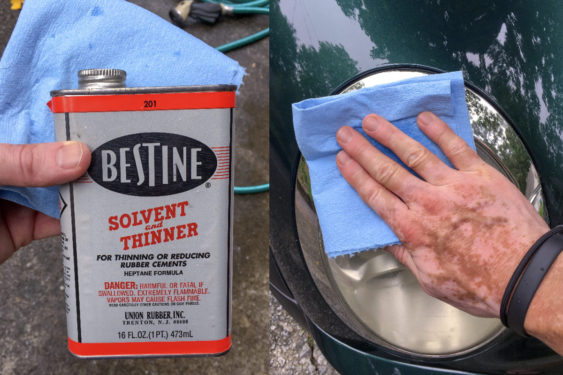
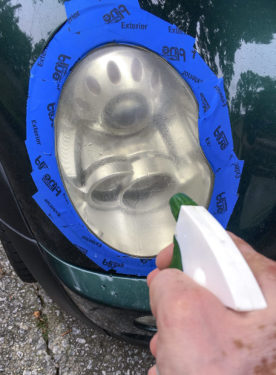
Clean the headlight. I used a solvent and thinner solution, but rubbing alcohol would work as well.
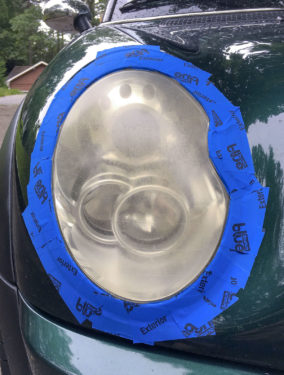
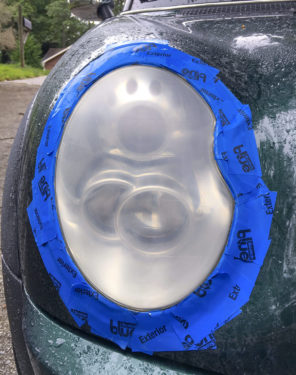
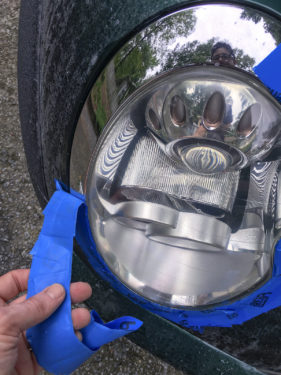
Tape off the both lights using painter's tape.
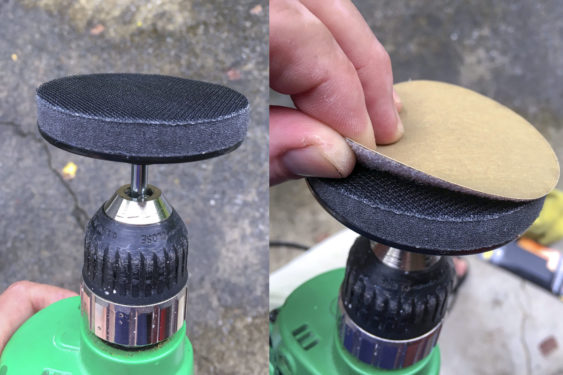
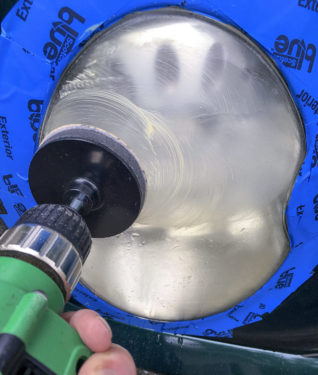
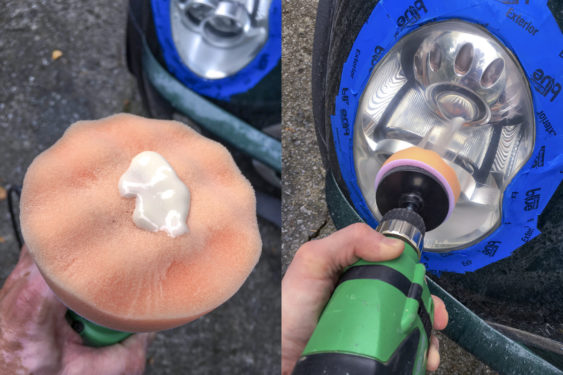
Put the foam velcro buffing pad from the kit in the drill, then place the 500-grit sanding disc on the pad.
Then spray water on the headlight and on your sanding disc. This will keep everything lubricated so it can flow and prevent scratching.
Using a slow to medium speed on your drill, apply medium pressure and keep the pad flat on the headlight. Begin sanding, moving back and forth over the surface until you see the yellow UV damage and oxidation start to come off the surface. Reapply water as needed so that you are always sanding on a wet surface.
Make three or four complete passes with your drill and sanding pad, adding water as needed.
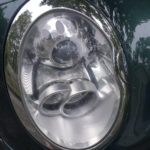
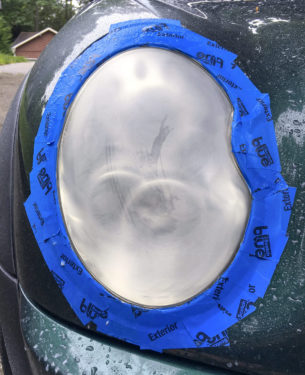
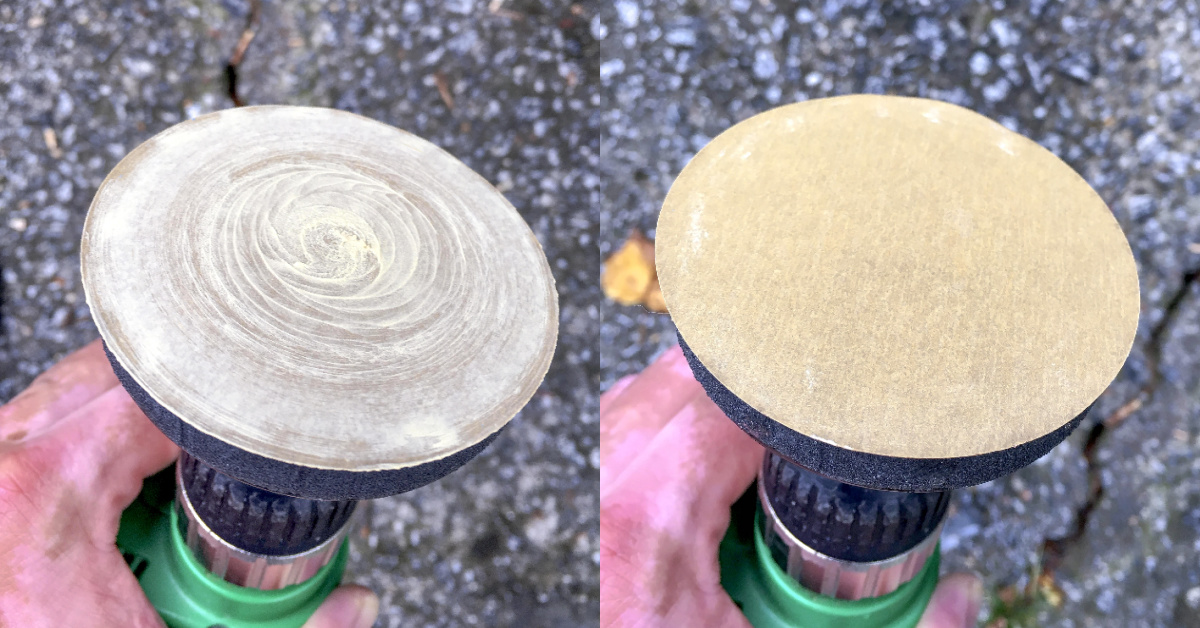
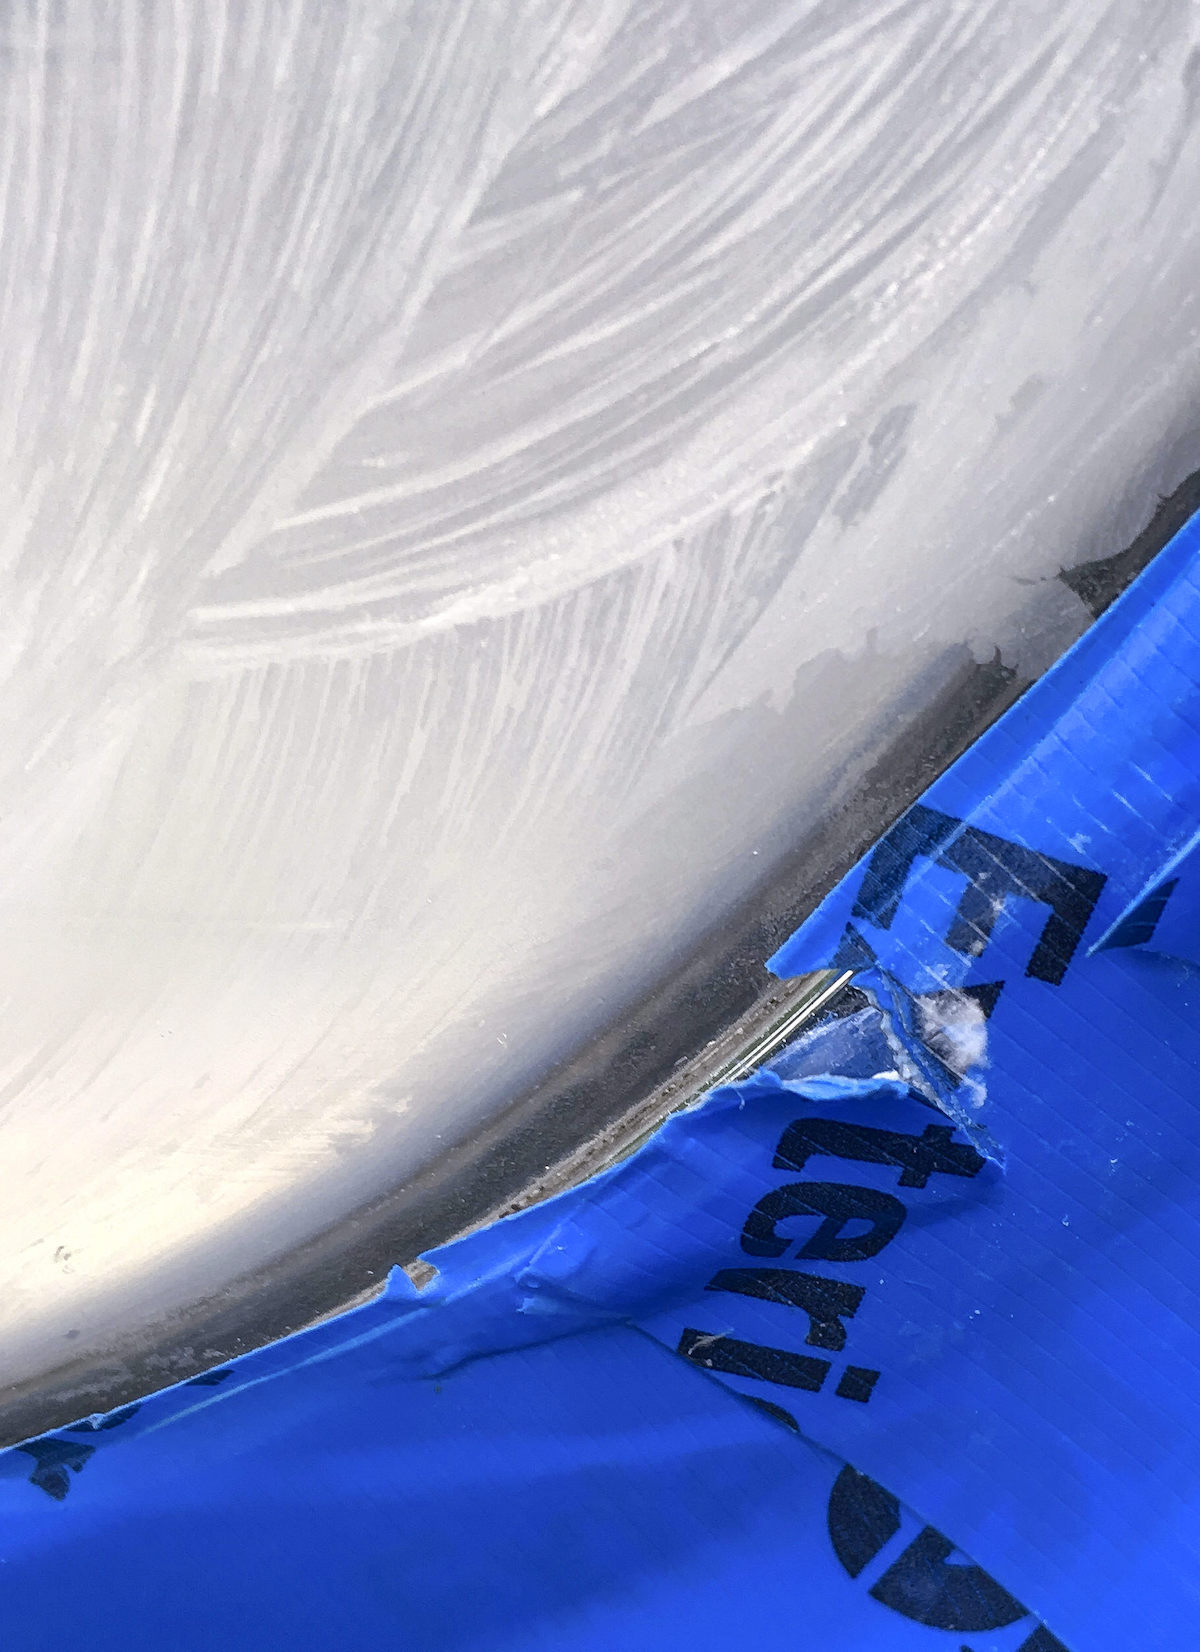
Spray water on the light and wipe off with a clean rag and this is how the headlight will appear. It will look worse before it gets better!
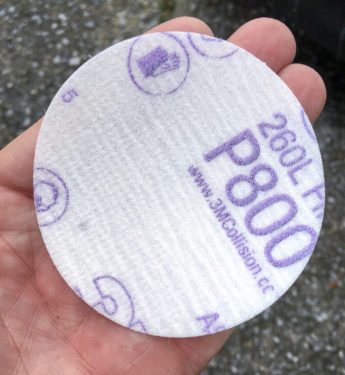
Apply the 800-grit sanding disc from the kit and repeat the steps used with the 500-grit disc. Spray and wipe off the light again.
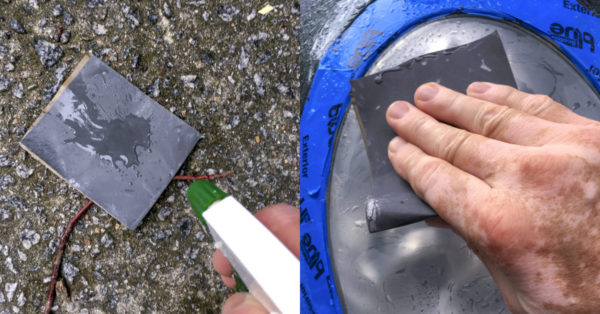
Use the 2500 grit wet sanding paper - spray water on the headlight and directly on the sandpaper, then start sanding the light by hand. Use circular motion.
When finished hand sanding, wipe the light dry and you will see that you are getting closer to the desired effect.
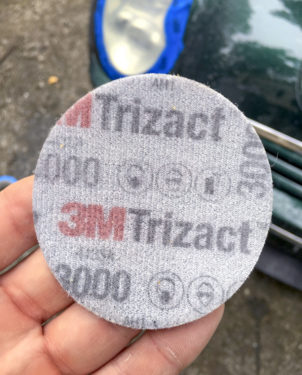
Add on the 3M 3000 grit Trizact foam sanding disc. Use this disc as you did the other discs: keep the surface wet as you make 3 to 5 passes over the headlight.
Keep applying water and passing over the headlight until you get the desired amount of clearing. Wipe off the light with a clean rag until dry.
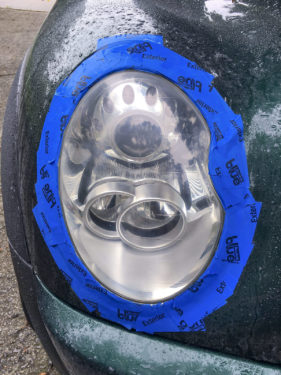
Using the foam polishing disc provided in the kit, apply a quarter sized dab of the Synthetic Wax Protectant (also provided in the kit) to the pad and smear on the light without the drill on. Begin polishing by turning the drill on. As you make more passes the light will become completely clear.
When you are happy with the result, wipe clean with a clean rag. Remove the tape to finish.
Video
Notes
Step 2: The kit comes with tape - however, we needed a wider tape due to the chrome rim around these particular headlights. So we used a wider painter's tape that we already had.Step 5: The sanding disc may occasionally load up with material; use your spray bottle to clean off the disc. It will look like you're applying paste but that is just headlight grunge!! :0Step 6: If you damage the tape while sanding, repair the tape before continuing so you don’t sand the trim around the light.Step 9: We added this step outside of the kit to increase the crystal-clearity (yes I made that up) even further.