DIY Mug Painting
Learn how to paint your own mug - and get all the tips for success!
Servings 1 mug
Cost $2
Equipment
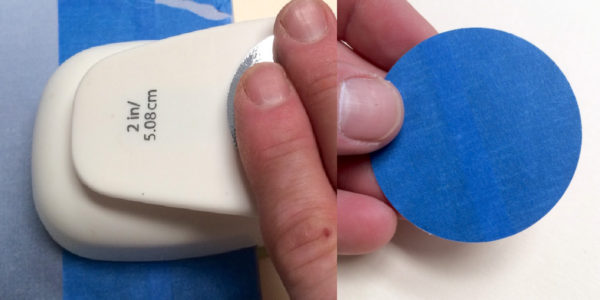
- Circle punch mine is 2-inch
- Spouncers
Ingredients
- ceramic mug ours are from IKEA
- FolkArt Enamel Paint or other enamel paint
- Stencil tape I used 3/4" and 1/4"
- Cardstock or wax paper, something you can punch through with the tape on
Instructions
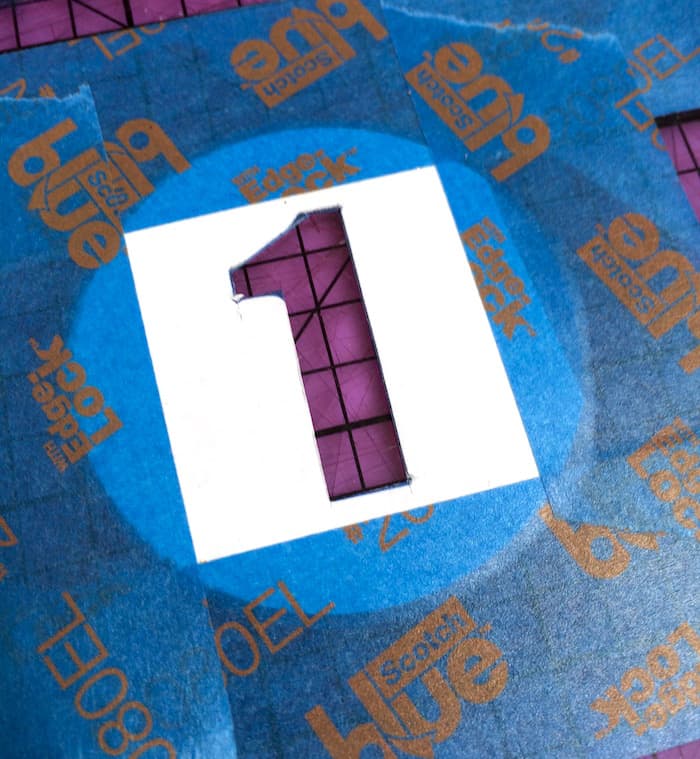
- Place some painter's tape (overlapping) down on cardstock. Wax paper could work too; you just need something that is stiff enough to punch through.
- Use the 2 inch punch to punch a circle out of the cardstock, through the painter's tape.
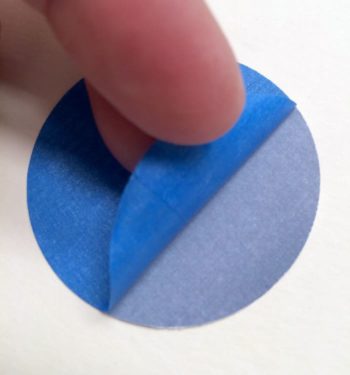
- Peel the painter's tape circle off of the cardstock. I might seem like it's not going to come off of the cardstock, but I promise you that it will.
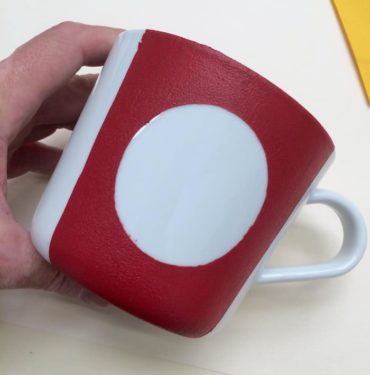
- Place the tape circle down in the center of the mug. Then place painter's tape stripes down either side of the circle.Use a spouncer to apply the paint to the mug in the open spaces as shown. Use an up and down motion. Do one layer, let dry, and repeat.
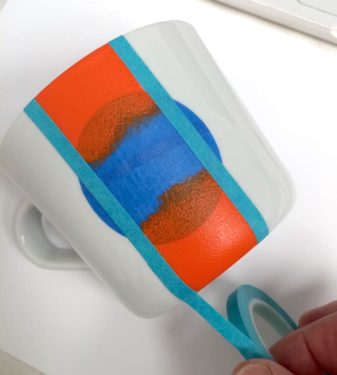
- Remove the painter's tape stripes . . . and add the 1/4" inch tape down the side of the first color (orange). Be careful not to tape on top of the paint . . . you'll peel it off as you peel up the tape.
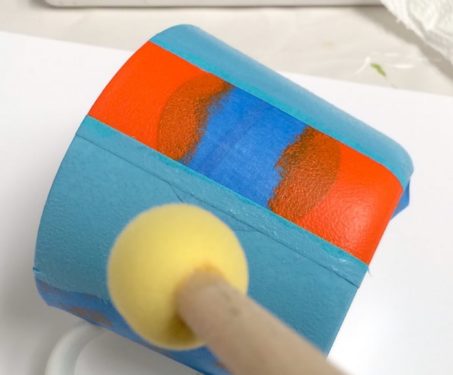
- Put painter's tape on the outside to make your second stripe. Use your spouncer to apply the second color. You're going to see texture in your paint from the spouncer. That's okay.
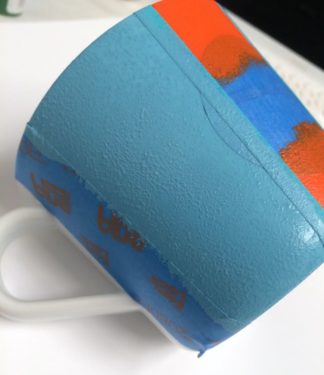
- Carefully peel up the tape. If you need to, run a craft knife down the side of the painter's tape to split the paint and tape from each other.
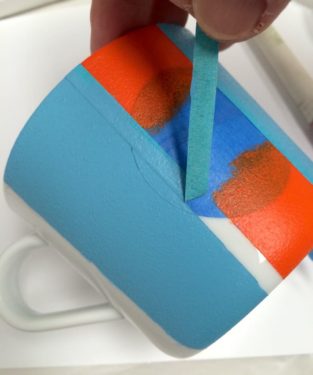
- Remove the smaller stripe and the circle. Cure according to bottle instructions.
Notes