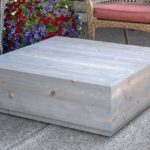
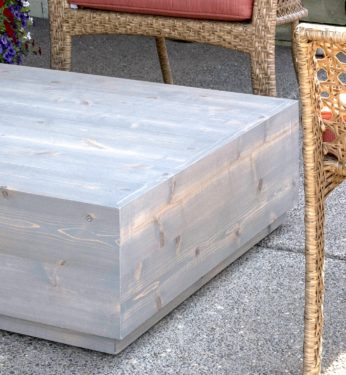
DIY Outdoor Table
Learn how to make a DIY outdoor coffee table that is perfect for all sorts of decor styles! Make it out of beautiful cedar for long lasting patio furniture.
Servings 1 table
Cost $60
Equipment
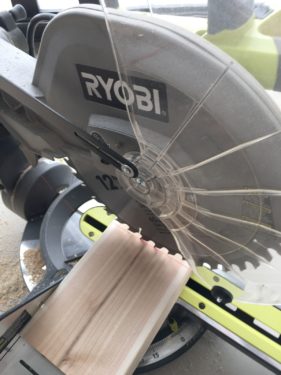
- 1 Miter saw
- 1 Ryobi router with 1/2" rabbeting router bit
- 1 Drill with drill bits including a 7/64" drill bit and a 3/8" countersink drill bit
- 1 Kreg Jig
- Bar clamps
Ingredients
- Wood screws 1 1/4" and 2" - we used over 100 of the shorter and 50 of the longer
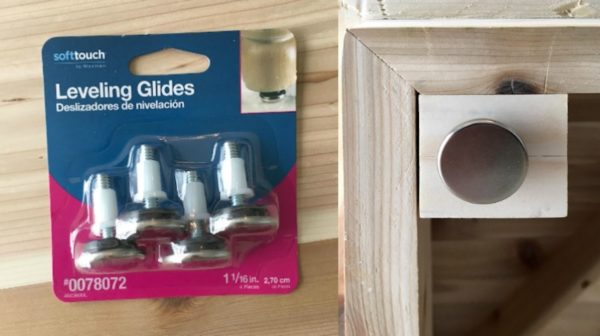
- Leveling glides
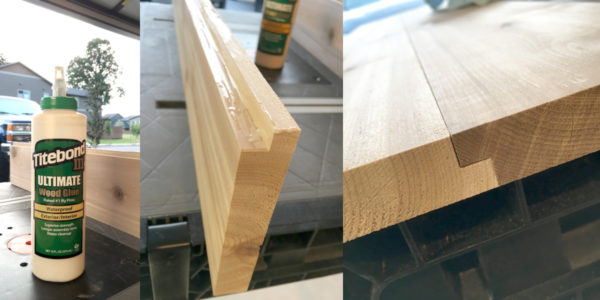
- Exterior wood glue like Titebond III Ultimate
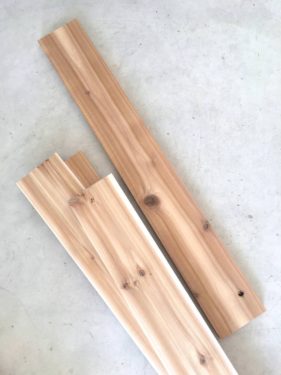
Cedar Decking Planks
- 8 1”x 6”x 8’
- 3 1”x 4”x 8’
Instructions
Building the Sides
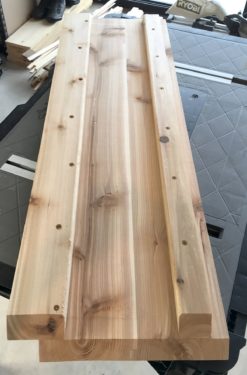
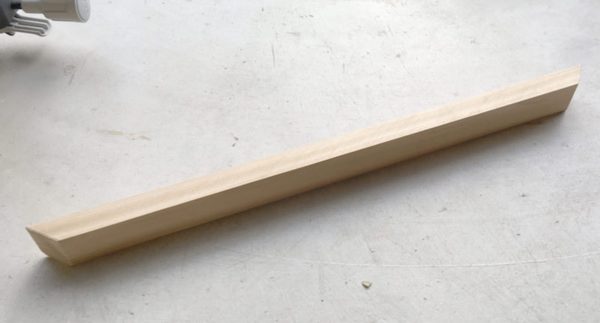
- Start with four (4) 1” x 6” x 8’ cedar decking planks. Use a miter saw to cut them into eight pieces 1” x 4” x 36”.
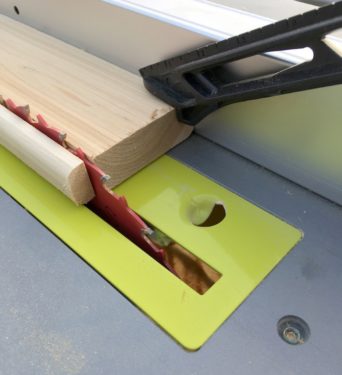
- Use a table saw to rip 1/4″ off of both edges on those eight pieces. This removes the rounded edges, and leaves you with a nice square edge on each piece. They will also be 5″ wide.
- Use a router and a 1/2” rabbeting router bit to remove half of the thickness on one long edge of each plank.
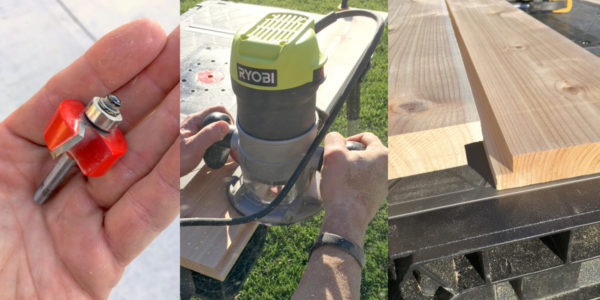
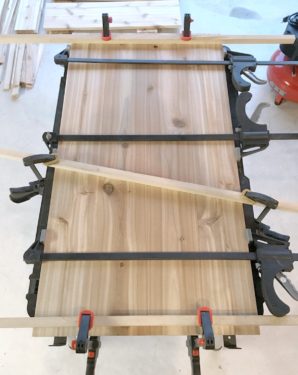
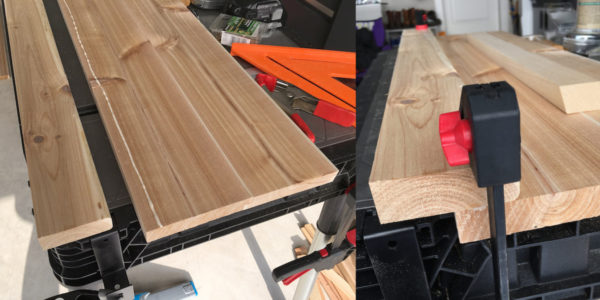
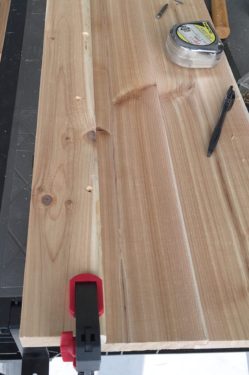
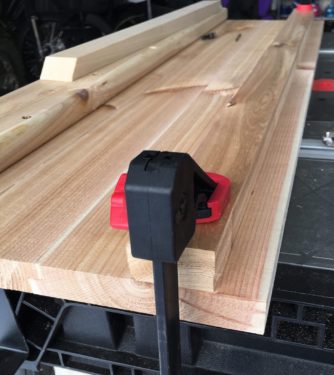
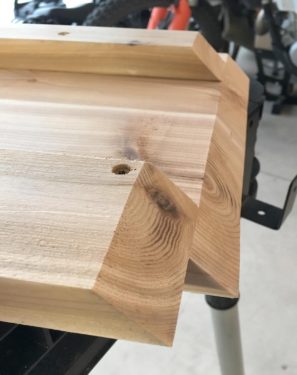
- Use an exterior wood glue to glue two of the planks together – creating a rabbet joint. You’ll do this four times, gluing two boards each time. These will be your side planks.
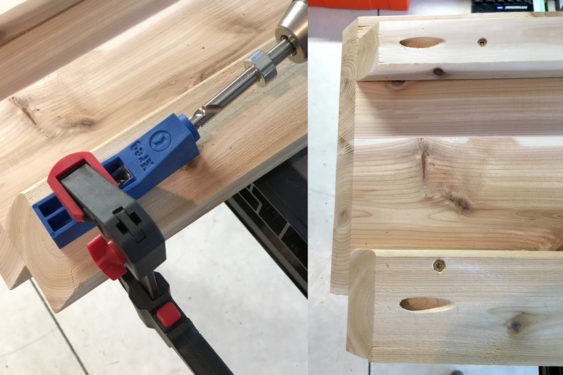
- After you glue each side, use the bar clamps to keep them together. Let them dry overnight.
- You’ll now be working with the three 1” x 4” x 8’ cedar decking planks. Use a miter saw to cut six (6) 1” x 4” x 36” planks (you’ll have wood leftover).
- Use a table saw to cut two of those six pieces in half lengthwise. Set those aside.
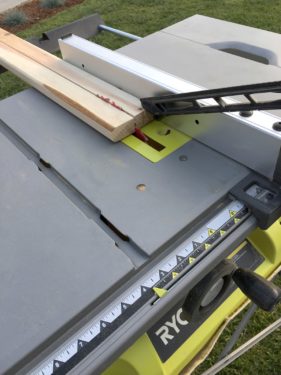
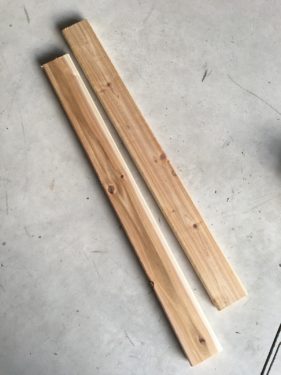
- On the remaining four (4) 1” x 4” x 36” planks, use a table saw to take 1/2” off of one edge. At this point they will be around 1″ x 3″ x 36″, with the removal of 1/2″ of material as well as shrinkage.
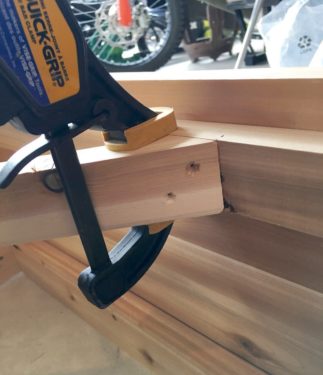
- Grab the four side planks from the first part of the project. Place one side plank face down. Next, place a bead of glue a 1/2” up from what will be the bottom edge of the side plank. Place one of the 1” x 3” x 36” planks onto the bead of glue squared edge down. Place it 1 1/2” lower than the bottom edge of the side plank and clamp.
- Drill pilot holes. You’ll use a drill and a 7/64” drill bit along with a 3/8″ countersink drill bit to countersink each pilot hole. Place the pilot holes every 6”. Alternate the pilot holes 3/8” and 7/8” from the top edge of the foot plank. Using 1 1/2” long wood screws, screw down. Repeat steps 9 and 10 with the other three side pieces.
- Grab your four 1″ x 2″ x 36″ planks for this step. Add a thin bead of wood glue 1 7/8” from the top edge of the side plank. Place one of your 1”x 2”x 36” planks on the bead of wood glue with the squared edge 7/8” from the upper edge of the side plank. Clamp into place.
- Do as you did before and drill pilot holes every 6” down the center of the plank (countersink if you choose to). Use 1 ½” wood screws to attach the plank. This will be your upper support plank. Repeat with the other three side pieces.
- Use a table saw or a miter saw with a pivoting head to cut 45 degree edges on both ends of each of the four side pieces.
Creating the Frame
- Use a Kreg Jig to drill joining screw holes on both ends of two of the four side pieces: one hole on leg plank and one hole on the upper support plank.
- Start attaching the corners. Place a bead of glue on the end of the side pieces on the 45 degree angle edge. Place the edges together.

- Use the proper length wood screws (specified by your Kreg Jig guide) and screw them into the Kreg Jig pocket holes to finish joining the side piece corners.
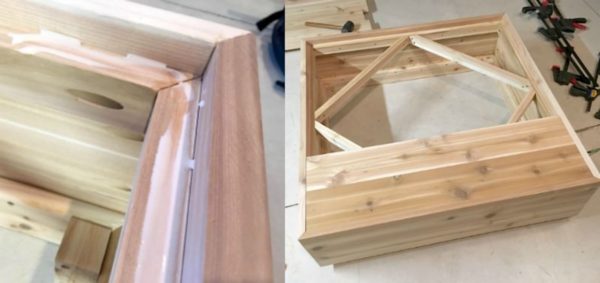
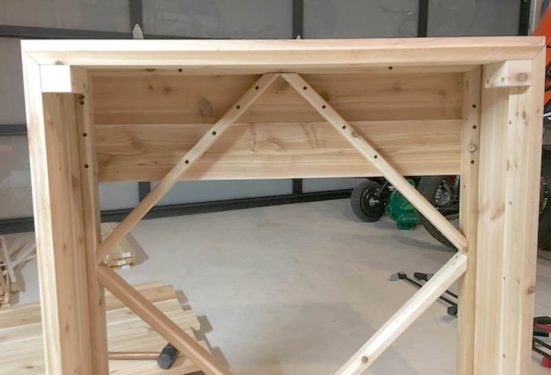
- Using pieces of wood left over, cut four (4) pieces of wood the same width as the top support side pieces. Cut them to a 22 3/4” length. Then, using a miter saw, cut 45 degree angles on both ends of each of the four pieces of wood.
- Clamp these pieces into each corner of the table frame using bar clamps. You want each end of the support piece to be equidistant from the corner.
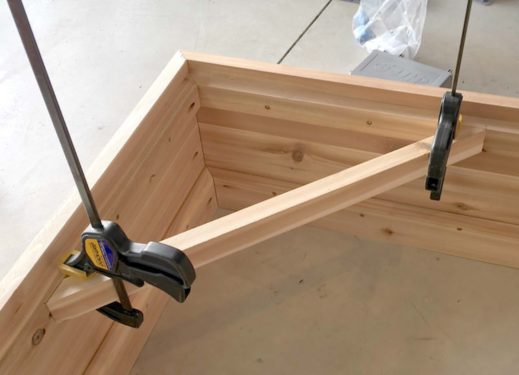
- Drill two pilot holes on each end of these corner pieces. Countersink them if you like.
- Join the corner pieces using 1 1/4” wood screws. These are going to reinforce each of the corner joints, as well as become the attachment points for the table top planks.

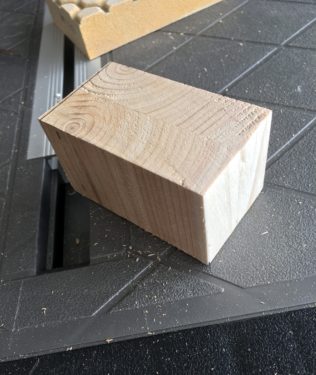
- Make the table feet. I took two (2) pieces of leftover 1”x 6” and glued them together.
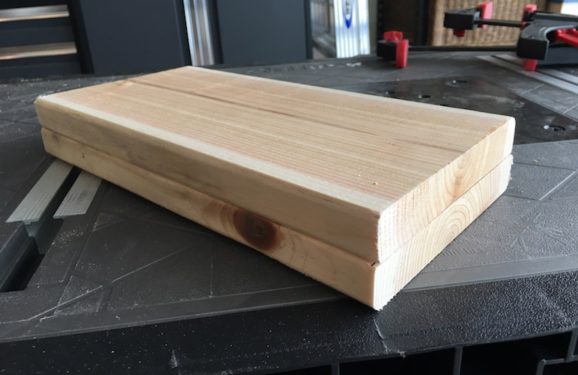
- Using a miter saw, cut four pieces 1 3/4” in width. Then cut all pieces to a 3” length. Your four DIY patio table feet are 1 3/4” x 1 3/4” x 3”.
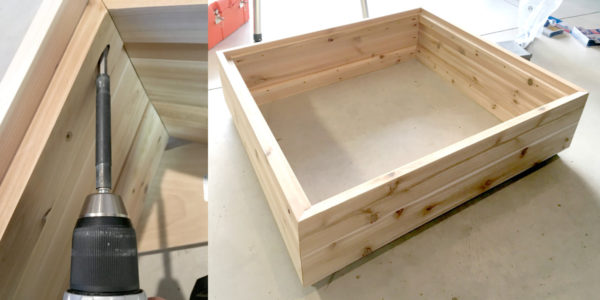
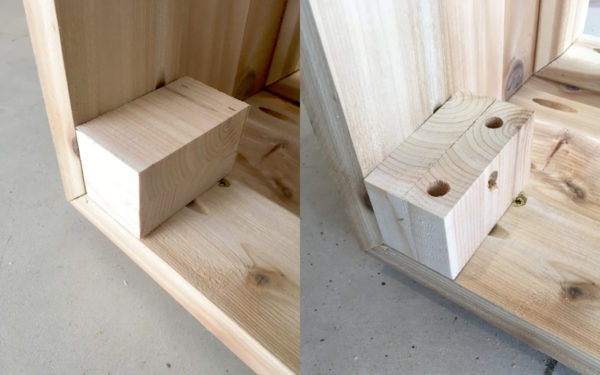
- Glue the wood blocks in the lower corners of the table and secure them further with 2” wood screws.
Making the Table Top
- Take four (4) 1”x 6” x 8’ planks and, using a miter saw, cut (7) 34 1/4” planks. Using a table saw, rip some width off of each side of the planks to ensure a square edges. You can vary the width of these planks, or you can rip them to the same width. However you choose, you have to cover a 34 1/4” span. Test fit the planks before attaching them.
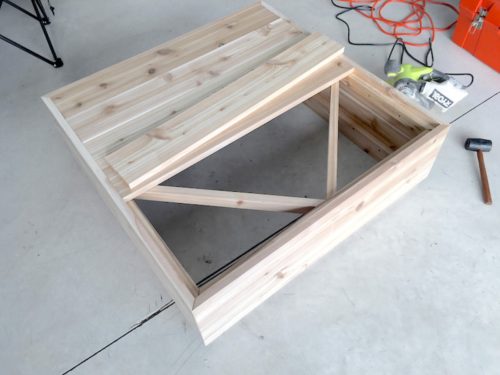
- Now start securing the planks in place. This is done by placing wood glue on the top of the upper support pieces and corner braces. Then you’ll bar clamp the planks in place.
- Flip the table on its side and secure the planks into place using 2” wood screws. Attach one plank at a time. Remember to drill pilot holes when screwing in the planks from the bottom.
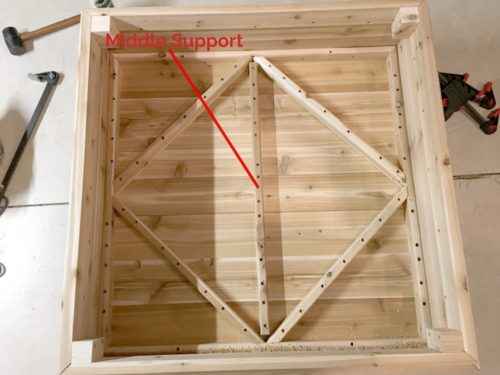
- After all the tabletop planks are placed, take a piece of leftover and wood cut a piece identical to the upper corner support pieces – except to a 31” length. Glue this piece into place on the underside of the tabletop in the center. Screw into place. This piece will help further stabilize the table top and keep the planks in place.
- Add leveling glides to the table feet to finish. Flip the patio table back over, and adjust the feet to fit the surface.
- Stain in whatever color you like to match your outdoor decor. Let dry completely before using.
Notes
You can skip the above steps and jump right to STEP SIX of the first section if you use cedar planks with at least a 10″ width – or whatever width you would like the side panels of your table to be.
The reason we used the method in this post is because we couldn’t find anything wider at our local Home Depot and we wanted to keep costs down.
You don't have to countersink each hole since the screws are going to be on the inside but Steve likes his work clean.
Gluing and screwing the top planks into place reduces the possibility of the tabletop planks warping and distorting over time as the table is exposed to the elements.