
DIY Poster Hanger
Learn to make a magnetic wooden poster hanger with scalloped trim! This DIY poster holder can be customized to any size you like.
Servings 1 poster hanger
Cost $10
Equipment
- Craft knife, box cutter, or small saw
- Rags or paintbrush
- Hot glue gun and glue sticks optional
- 1 Pencil(s)
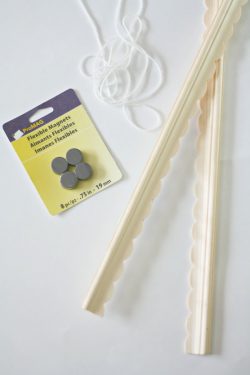
Ingredients
- Scalloped wood trim
- 8 Magnets 3/4"
- Wood stain or paint
- Twine
- Craft glue
- Sandpaper
Instructions
- Measure the width of your poster and gather your supplies. You'll need a length of trim that is approximately four times the width of your poster, plus extra.
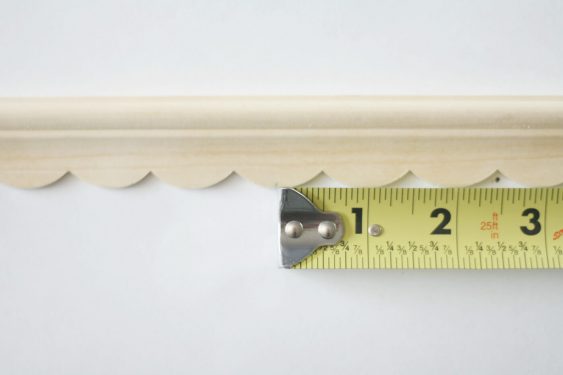
- Measure the length of trim you will be cutting with a measuring tape. Mark with a pencil at approximately 1" wider than your poster, so that you will have 1/2" excess trim on all ends.
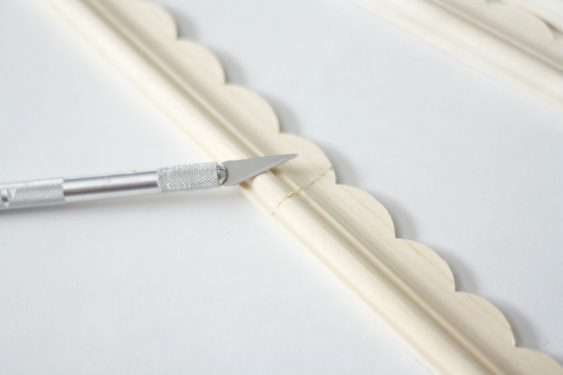
- Cut four pieces of trim to size with a craft knife (or box cutter, or small saw). They should all be the same length. You're going to score the trim on both sides and then snap it if you use a craft knife. Sand all ends of your trim.
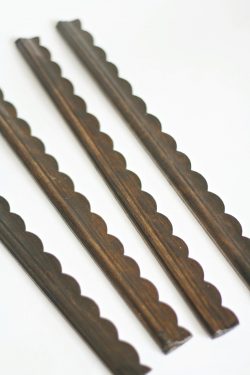
- Stain the trim using the acrylic stain and a rag, or paint with craft paint and a paintbrush. Let dry.
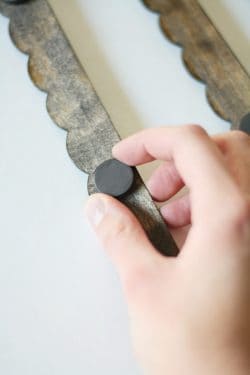
- Glue two magnets to the back of each piece of trim. Make sure the magnets are in the same place on each piece so they will line up when sandwiched together. Let the magnets dry.
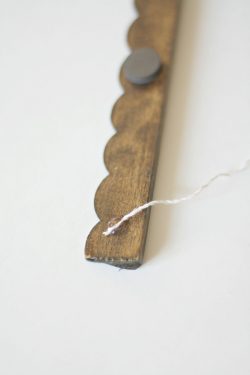
- Glue the twine to the back of one of the sticks for hanging. Let dry.
- Add a print to the poster holder and hang on the wall.