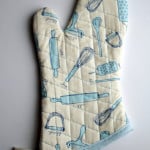
DIY Pot Holder
Learn how to make a pot holder, and quilt it, using your fave fabric and this easy tutorial!
Servings 1 potholder
Cost $5
Equipment
- Sewing scissors
Ingredients
- Old pot holder
- 1/4 yard quilt batting
- 1/4 yard printed fabric for the top
- 1/4 yard terrycloth for the inside
- 1 yard bias tape binding you can make your own or buy it pre-made
- Matching thread
Instructions
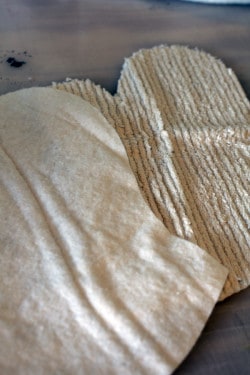
- Use a pot holder you already have, and trace around it on a sheet of paper for a template.
- Using a ruler, add 1/2″ for seam allowance around the outside to the template. Then cut 2 of each of your fabrics.
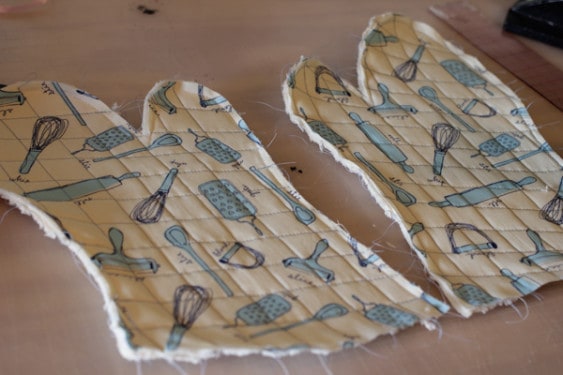
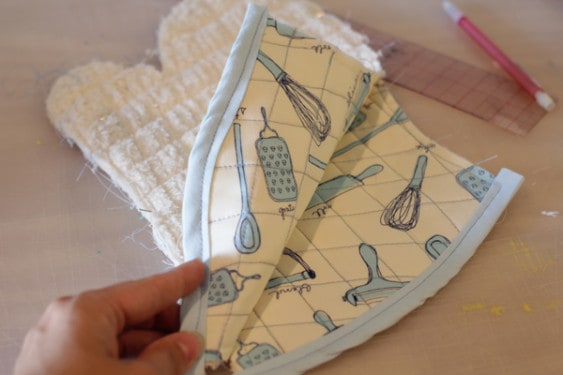
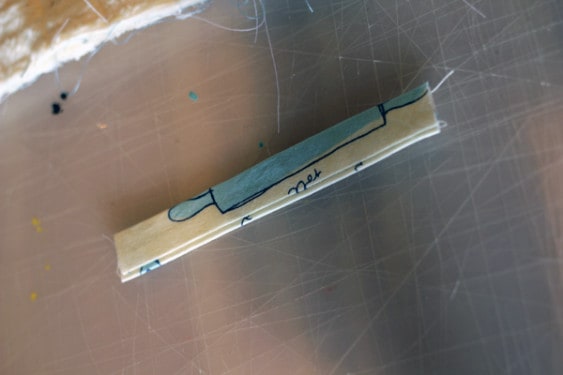
- Pin the three layers together two times, one for the top and one for the back. So what I did was taking a ruler and a pencil I lightly drew the quilting lines 1″ apart and then sewed on top of the pencil line. It totally worked for me!
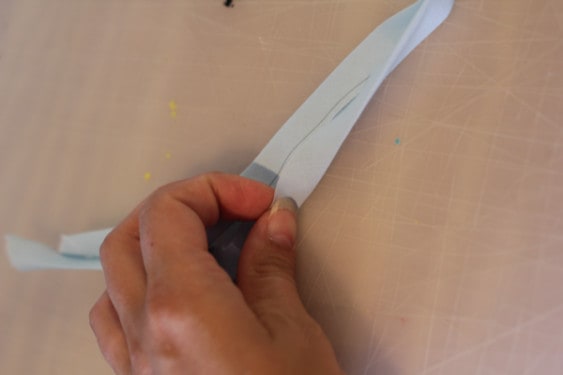
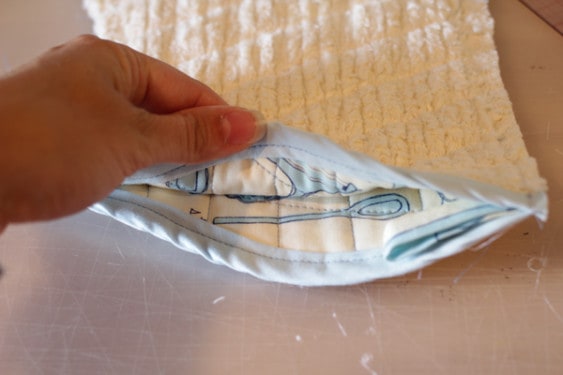
- Make the bias tape, unless you purchased it. Cut a 2″ strip of fabric that is diagonal across the width of the fabric. Fold it in half and then fold the two ends into the center so you have a nice finished edge to put the bottom of the pot holder into.
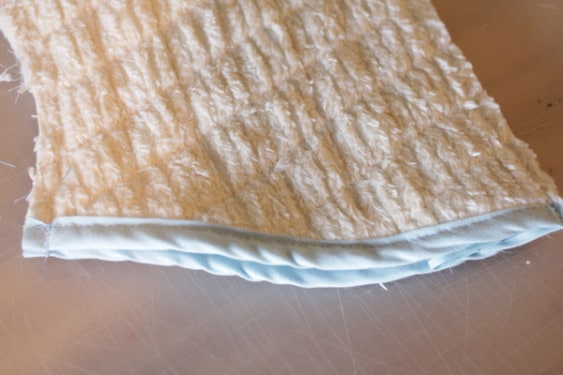
- Sew the bias tape onto the bottom of the two pieces.
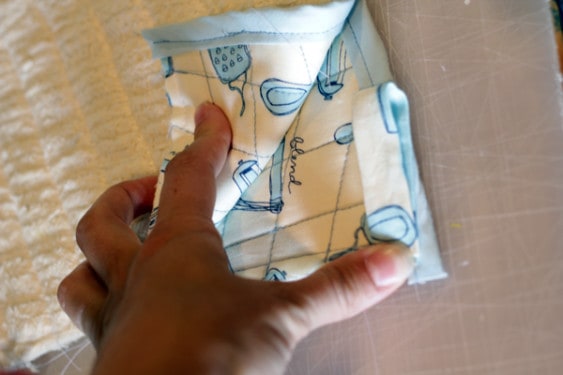
- Sew a loop of fabric into the side seam. Cut a 4″ x 2.5″ piece of fabric, fold it over lengthwise with right sides together, and sew up at 1/4″ seam allowance. After sewing, flip it right side out and then iron it flat.
- Fold over so it makes a loop, and then pin it between the layers of the pot holder so it will be sewn nicely into the side seam.
- Pin both quilted layers together, and sew all the way around the pot holder.
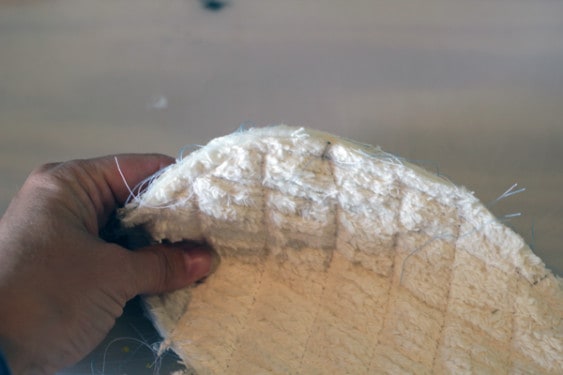
- Trim around the finger indention, between the thumb spot and the rest of the hand spot. Cut into it almost to the stitching. This will ease up some of the fabric tension at that point when you turn it right side out.
- Flip the pot holder right side out, making sure to push all the finger spots out from the inside. Run an iron over it to finish.
Video
Notes
Step 3: I'm not going to lie - I am not a "quilter," so I'm sure there is a tool to help you quilt with your standard machine (but I don't know about it!).