
DIY Wood Sign
Learn how to make this easy wooden sign in just a few steps! This DIY home decor project is simple even if you've never made anything else before.
Servings 1 sign
Cost $10
Equipment
- Table Saw (optional, if you are cutting your own wood)
Ingredients
- Wood board
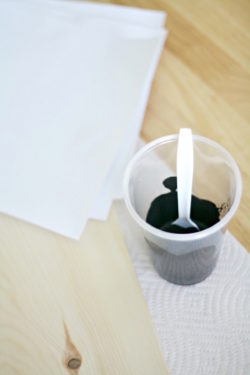
- Wood stain or paint
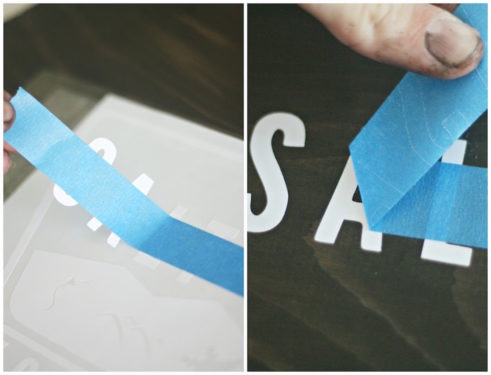
- Cutting machine and vinyl
- Painter's tape
- Towels for stain
- Sandpaper
- Vinyl transfer tape optional
Instructions
- Cut the wood to be the size that you would like (you can also have it cut at the home improvement store).
- Stain or paint the color of your choice and let dry.
- It can be one that you've created with a cutting machine, hand cut, or purchased from Etsy.

- Use either painter's tape or vinyl transfer tape to help you keep the letters in the correct place.
- The sign can be sealed using a clear acrylic product like Minwax Polycrylic. This step is optional but highly recommended for longevity.