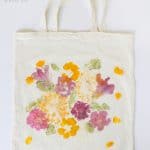
Flower Pounding Tote Bag
Learn how to make a DIY flower tote with real flowers! This is a fun craft for kids, and makes a great gift.
Servings 1 tote
Cost $2
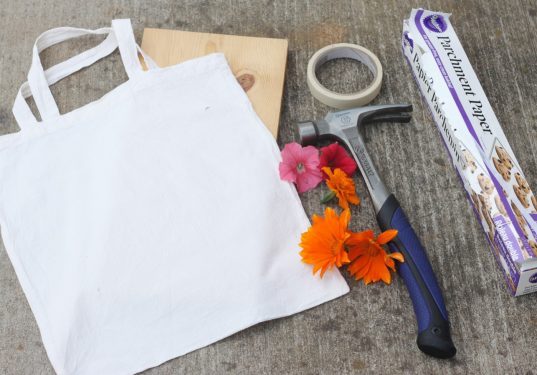
Equipment
- Rubber gloves
- Board
- Hammer
Ingredients
- Cotton tote
- Alum powder
- Parchment paper
- Masking tape
- Flowers
Instructions
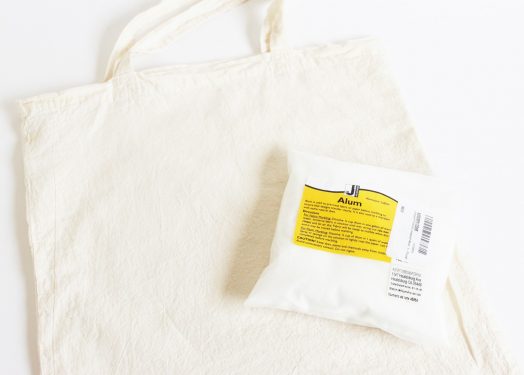
- To help the natural dyes take to the fabric, you need to prepare the bag first. Wash the bag to get rid of any residue.
- Dissolve 1/4 cup of alum in two cups of hot water. Soak the bag in the mixture, wring it out, and let it air dry. Iron to get out the wrinkles.
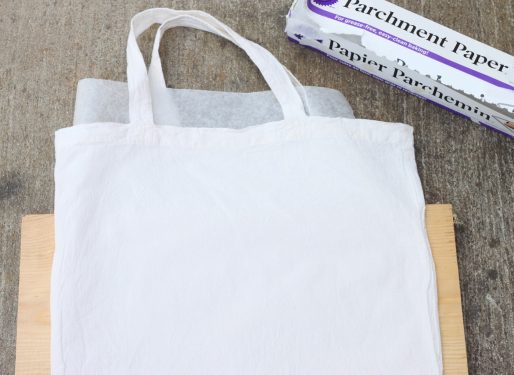
- Slip a piece of parchment paper inside to keep the dye from leaking through.
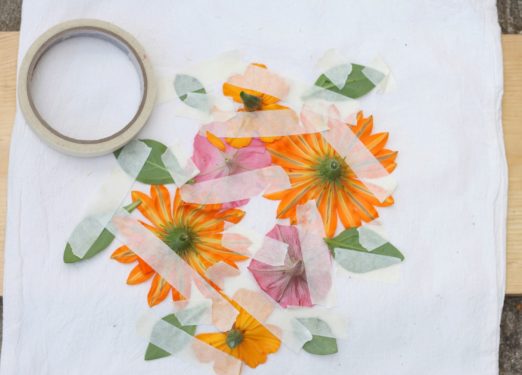
- Gather flowers and leaves. If the flower is really full, with lots of layers of petals, you'll want to pluck a bunch off first, so the prints come out nicer. Lay your flowers out on the bag, and secure them with lots of masking tape.
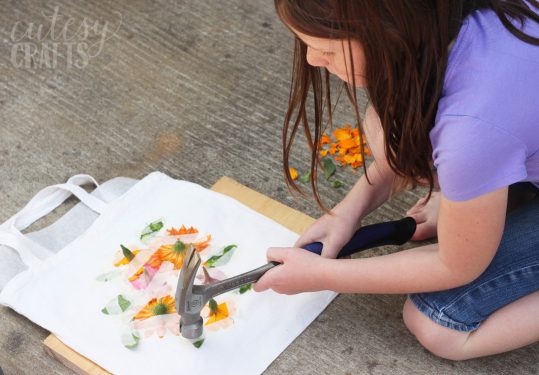
- Put the bag on top of your board and hammer away. Make sure you hit every part of the flowers.
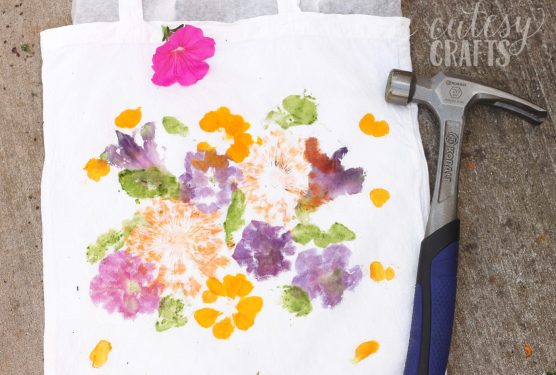
- Peel the flowers and tape off to reveal your print. Add some additional flowers in random areas and hammer as needed.
- When you are done, let everything dry, then put another piece of parchment paper on top of the bag and iron over your design with a hot, dry iron on the highest setting. This will help the colors set in and keep them from fading.
Video
Notes
Step 4: The smaller ones that we used are marigolds and petunias, but I'm not sure what the other ones are. The marigolds definitely worked the best. I love the bright orange!
I left the green stems on the flowers, but told the kids not to hammer them. You can try to take them off, but I didn't want the flowers to fall apart.
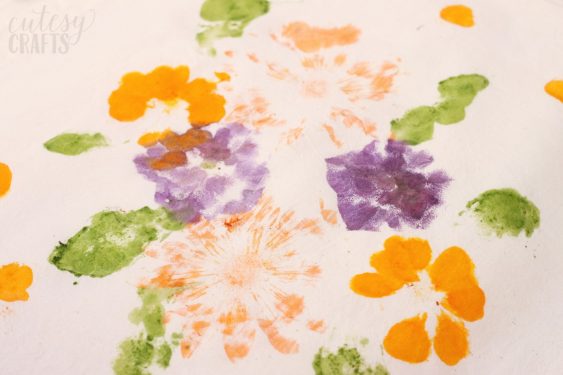
Step 5: At first we had some flower prints that turned out just looking like a bunch of dots/hammer marks. It's a good idea to try it out on some scrap fabric or paper first.
Washing Instructions: You should be able to wash your tote just fine; obviously don't use any bleach, and cold water is preferred.