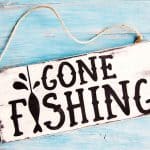
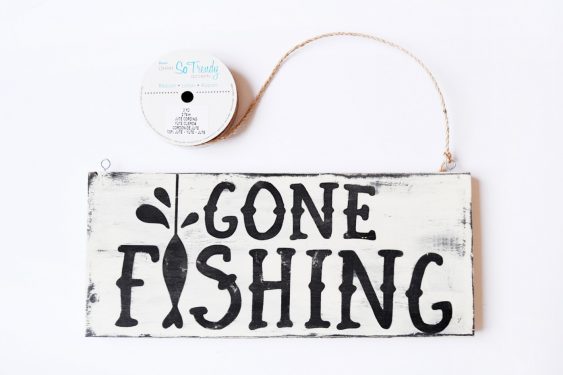
Gone Fishing Sign
Learn how to make this wooden fishing sign - perfect for Father's Day! This is such an easy home decor project.
Servings 1 sign
Cost $5
Equipment
- Electric sander or sandpaper
- 1 Silhouette Cameo other die cutter (optional) or Craft knife
- Foam brush
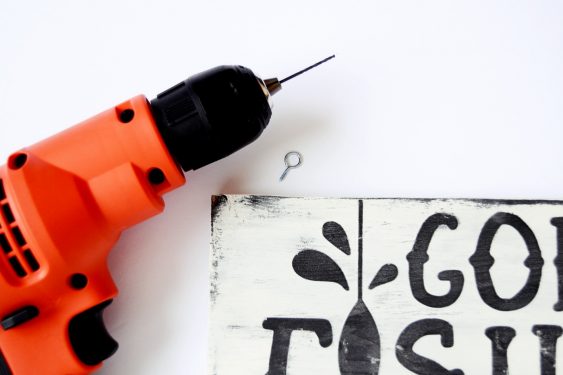
- Drill with drill bits including a 1/16" drill bit
Ingredients
- 1 1" x 5" x 8" Rough Pine Board cut to 12" lengths
- Vinyl & Transfer Tape
- Acrylic Paint
- Polycrylic
- 2 Eye Hooks with Screw Pegs
- Twine
- Printable Template for person use only - download here
Instructions
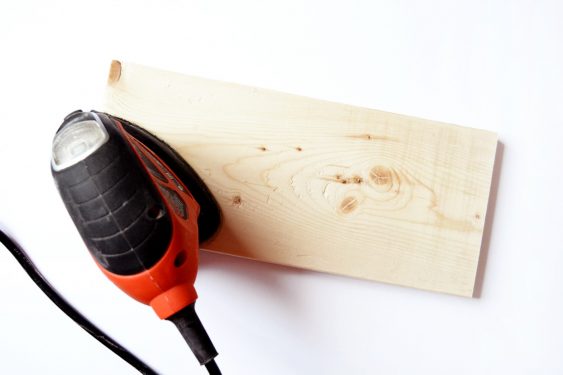
- Cut and sand the wood to the desired size. Have your local hardware store cut it for you, or cut with a saw. Sand using a sander or sandpaper; wipe down with a clean damp cloth afterwards.
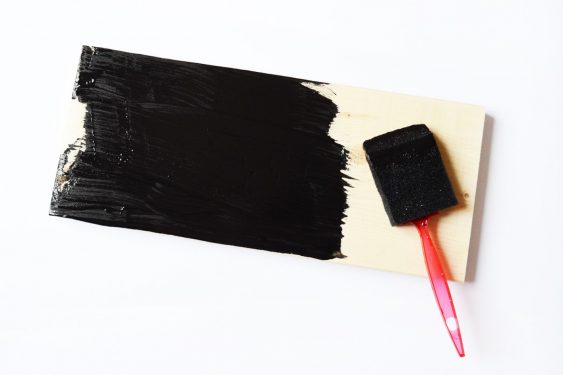
- Paint the wood the color you would like the letters to be. Use a foam brush; give the wood two coats. Let dry completely before transferring vinyl.
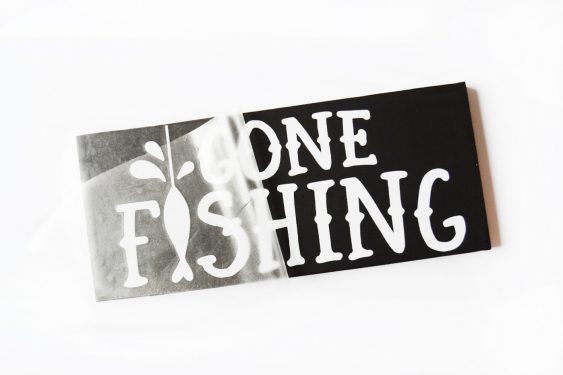
- Cut the letters out of vinyl and apply to the wood (transfer tape comes in handy for this). Use a scraper to make sure your vinyl is adhered properly. Remove the transfer tape.
- Roughly go over the letters with the base paint - do this to seal the edges and prevent bleeding from the top paint coat (underneath the vinyl).
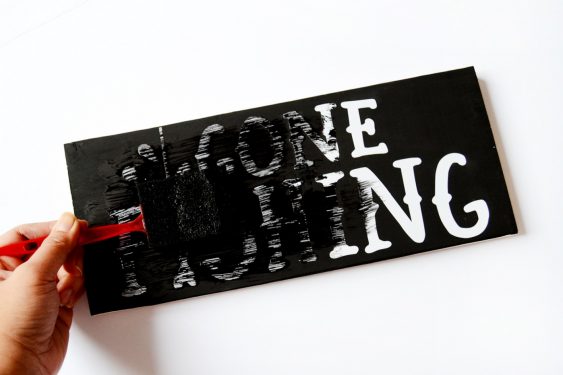
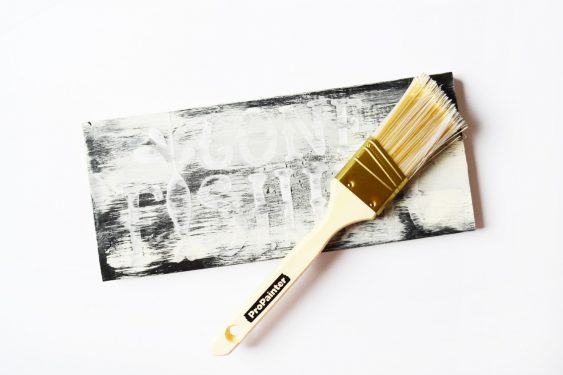
- Paint the top coat with warm white. Use a dry brush for the top paint to give a streaky, rustic feel. Paint the sides and the backside as well.
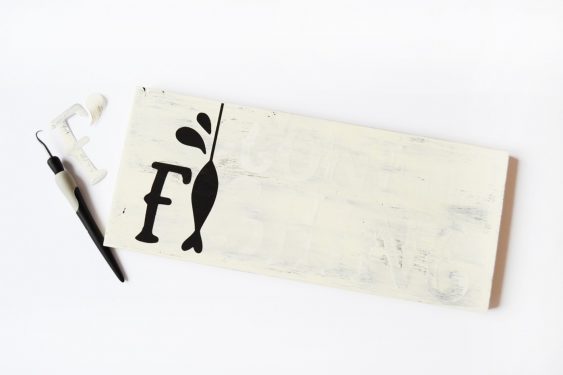
- Remove the sticker stencils from sign once the paint is dry.
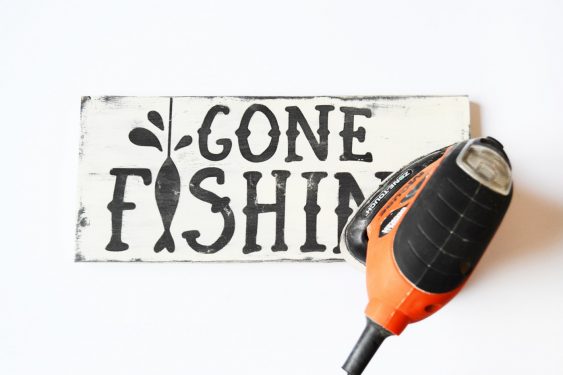
- Sand to distress - again, I used my trusty palm sander for this - it just makes everything so easy. You can also use sandpaper though it may take a bit longer to give you the results you are looking for. You can also opt not to distress again.
- Coat the sign with polycrylic (once dry) to protect and seal it, especially if you are hanging it outside.
- Drill the sign with a 1/16" drill bit on the top at each end. Attach the hooks.
- Finish by tying jute cord on the eye hooks in the length desired. Hang.
Video
Notes
Step 5: I also used petroleum jelly on the edges and some of the surface before painting to give my sign a more distressed look (it acts as a resist).