
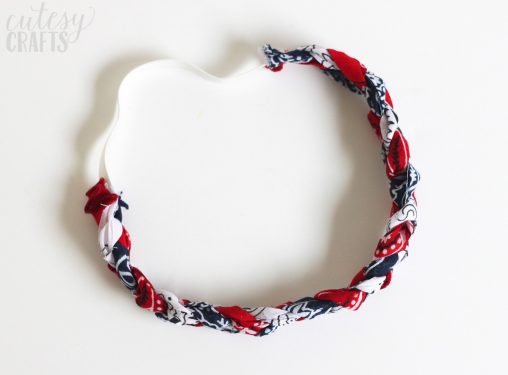
Make a Bandana Headband
Learn how to make a bandana headband the easy way! Options for both sew and no-sew.
Servings 1 headband
Cost $3
Equipment
- Large sewing ruler
Ingredients
- 3 Bandana(s) red, white, and blue, 1 of each
- Elastic trim 1/2 inch wide
- Thread
Instructions
- Cut a 3-inch wide strip from each bandana using scissors and a ruler. This part is really easy to do with a rotary cutter, if you happen to have one.
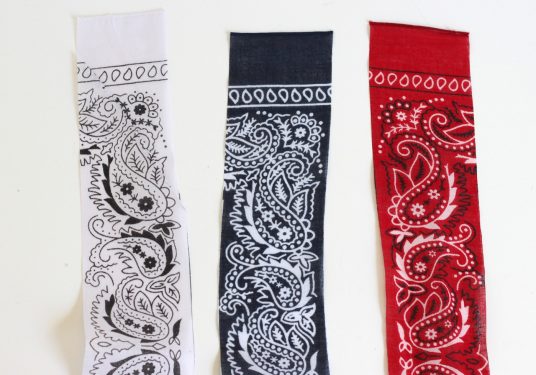
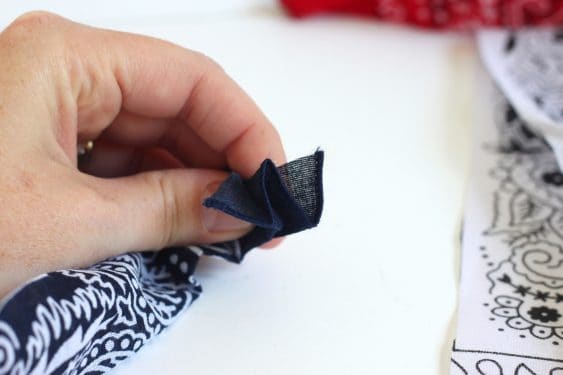
- You'll end up with three strips for each headband. Fold one end of each strip to make a "W" shape.
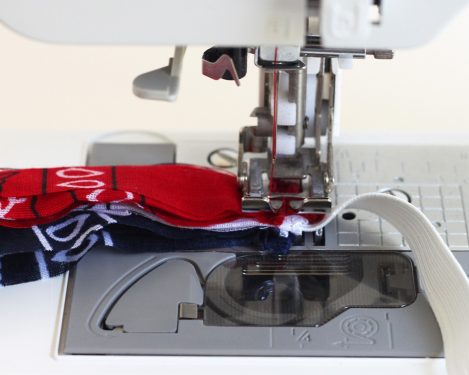
- Stack all of the strips together and place one end of the elastic in the middle; sew through the end.
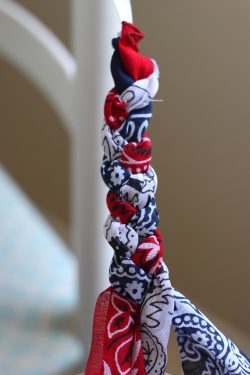
- Braid the fabric together until the headband is long enough to fit around the head. Trim the elastic with scissors.
- Sew (or glue) the trimmed end of elastic to the other end of the headband as you did before.
Notes
Step 3: It doesn't necessarily matter the order of your strip colors, as they are all going to be braided together. I wouldn't worry about it.
It was really easy for me to just hold the pieces; pinning would've taken too long! Or maybe I'm just impatient. Either way, use pins if you need to.
And here's the best part if you're looking for a no-sew option. Simply glue it all together with a hot glue gun and glue sticks, one layer at a time.
Step 4: Make the braid looser if you want a bigger/thicker headband, and tighter if you want a smaller/skinnier headband. I loosely tied the elastic around the back of a chair to keep everything steady while I braided.