
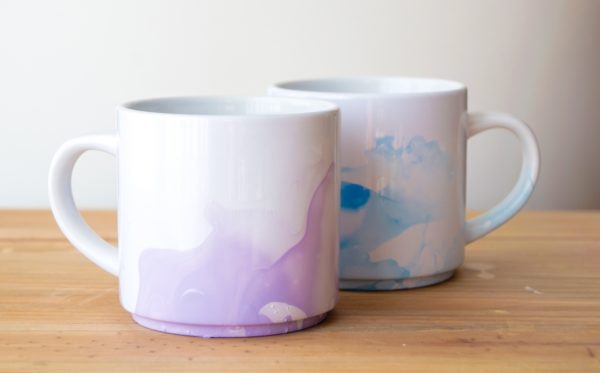
Marble Nail Polish Mugs
Learn how to make the coolest nail polish mugs ever - on a budget! Learn the dos and don'ts for making the mugs, and get tips for washing.
Servings 2 mugs
Cost $3
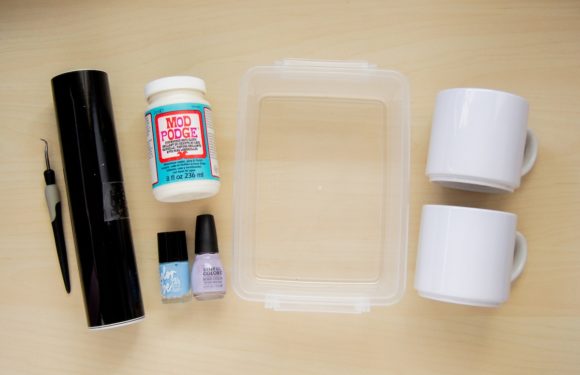
Equipment
- Disposable water basin
- Acetone and cotton swabs
Ingredients
- 2 Mugs
- Nail polish - not quick dry
- Toothpick(s)
- Dishwasher Safe Mod Podge
Instructions
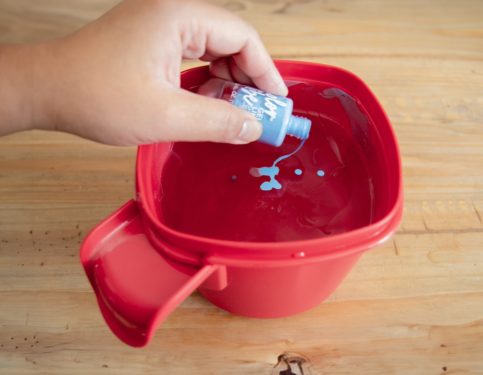
- Pour hot (but not boiling) water into the container. Once the nail polish touches the water it is going to want to set and the heat will slow the process.
- Carefully add drops of nail polish into the water, keeping the bottle close to the water to prevent the nail polish from sinking into the bottom. I added a few drops of nail polish and also moved the bottle around as I poured to help create a swirl effect.
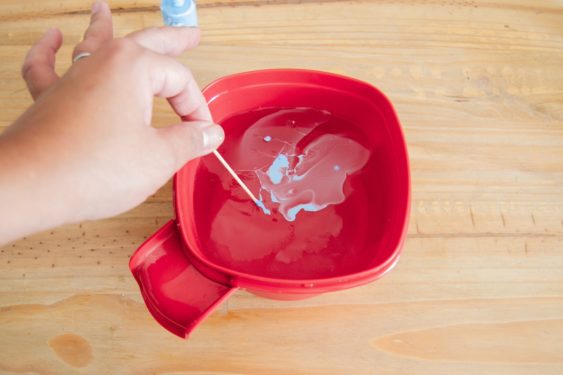
- Quickly use your toothpick to swirl the polish around.
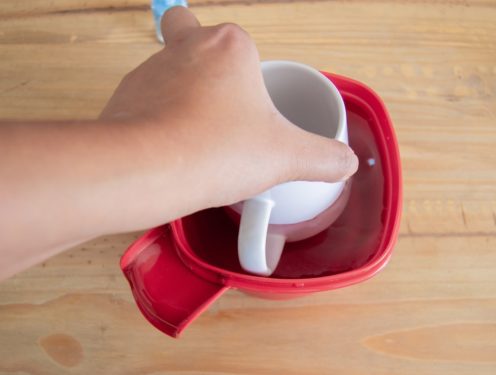
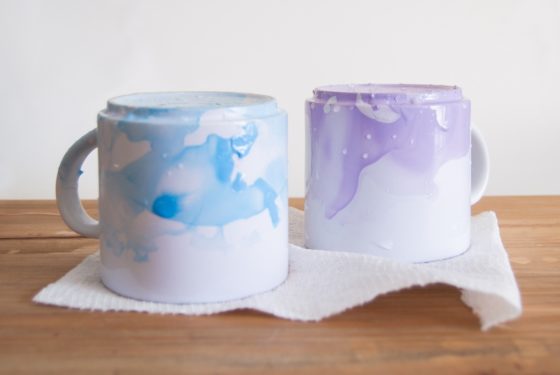
- Once you are happy with the swirl effect, quickly dip the mug in, making sure to submerge at least half of the mug’s body. The setting process is quick once the polish touches the water, so you'll want to move quickly. Depending on the lightness of your mug and how big your container is, you may have to repeat this process another time to fully cover the mug’s sides.
- Place the mug on a paper towel to dry, top down.
- Use nail polish remover to take the excess polish off the bottom of the mug. Let set overnight. Use Dishwasher Safe Mod Podge to seal if desired.
Video
Notes
Not happy with the design you got? No worries - just use some acetone to clean it up and start over.