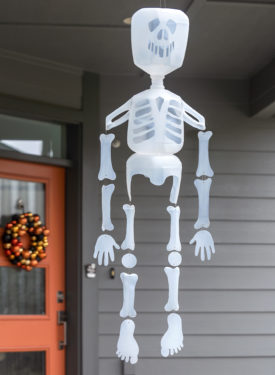
Milk Jug Skeleton
Learn how to make a skeleton for your Halloween decor out of old milk jugs! This is a budget friendly holiday activity.
Servings 1 skeleton
Cost $1
Equipment
- Hole punch
Ingredients
- 6-8 Milk jugs
- Skeleton pattern
- Sharpie(s)
- Clear twine
- Rubbing alcohol
- Paper towels
Instructions
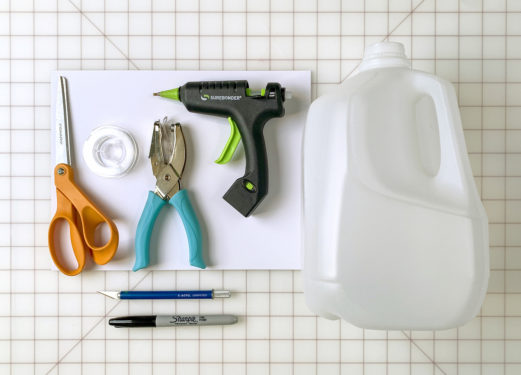
- Gather the supplies for your skeleton. You’re going to need about 6 plastic milk jugs, scissors, a Sharpie, craft knife, hole punch, clear thread/floss, painter’s tape, and a hot glue gun.
- Print out the pattern on 8.5 x 11 sheets of paper.

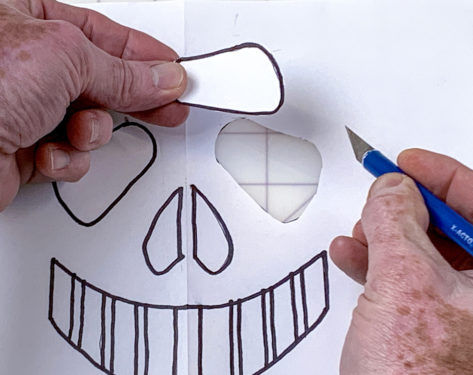
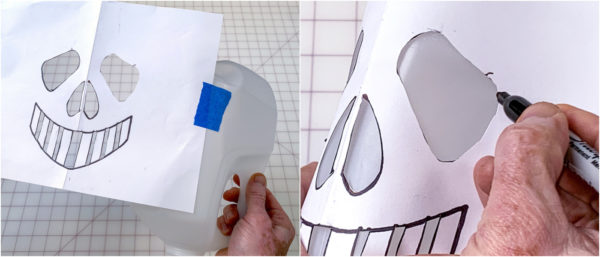
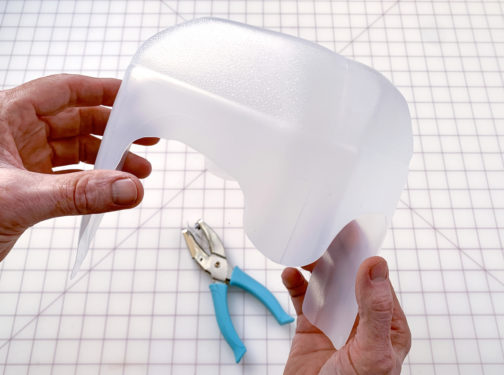
- Starting with the face, cut out the portions of the pattern you are going to trace with a craft knife. Cut out the eyes, nose holes, and teeth slots.
- Pick up a milk jug, turn it upside down and to the back. The opening that is normally at the top should be facing down towards the neck. Tape the pattern to the center back of the jug with the painter’s tape. Trace with a Sharpie.
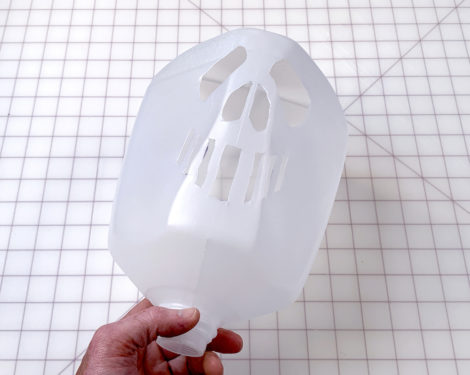
- Remove the paper, leaving the pattern behind. Begin cutting out those areas of the plastic jug with a craft knife.
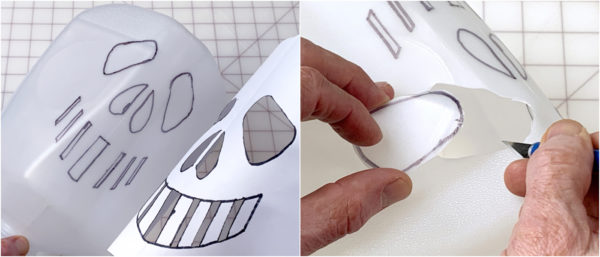
- Use rubbing alcohol or nail polish remover and a paper towel to remove the Sharpie marker lines.
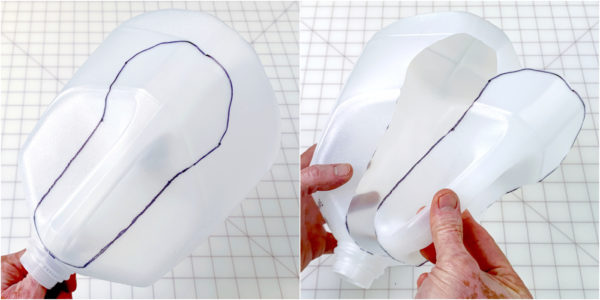
- Repeat the same process above with the rib pattern and another milk jug. Then grab a third milk jug for the hips and turn it upside down. Tape the pattern to the jug as shown.
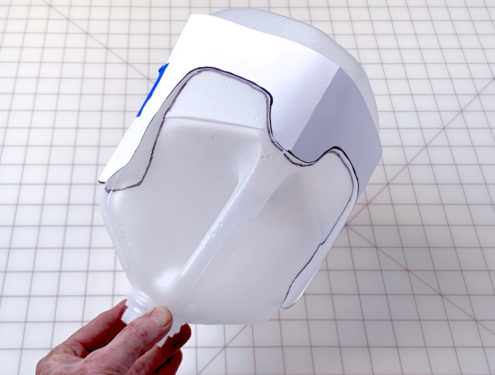
- Trace the pattern onto the jug with a Sharpie.

- Cut the hip piece out from the jug using the craft knife and scissors. Remove the marker with rubbing alcohol.
- This is the only portion of the project without a pattern. Take two milk jugs and trace shoulders around the handles with the Sharpie. It doesn’t need to be exact.
- Cut out the shoulder pieces and remove the marker lines. Save the jugs for the remaining body parts. You can cut those out at this time. You will need two hands, eight bones, two round knees, and two feet. Set the pieces aside.
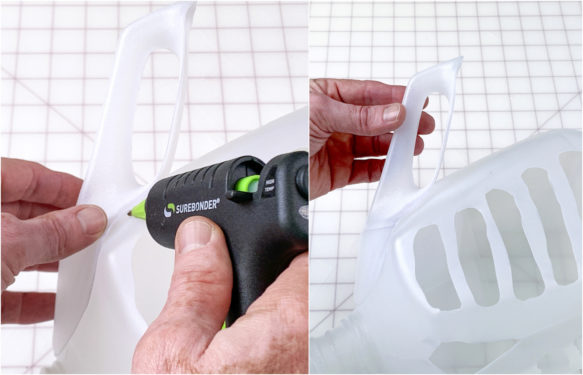
- Warm up the hot glue gun. Begin by hot gluing the head to the neck. Apply a line of hot glue around the top of the rib carton and attach it to the neck of the head. Hold until the glue solidifies.
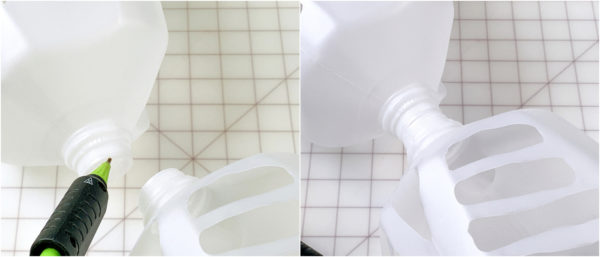
- Next attach the hips to the base of the ribs. You will apply glue all over the top of the hips, keeping the long bone pieces on the side.
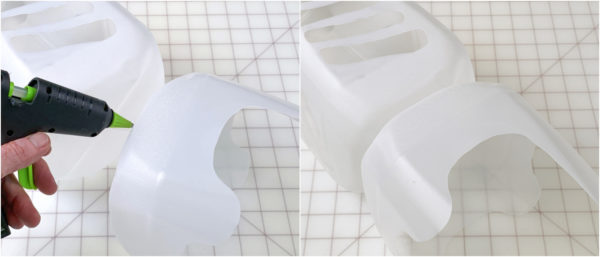
- Attach the two shoulders you cut out with hot glue as shown. They should fit snugly against the top of the rib carton on either side. Hold in place until they cool.
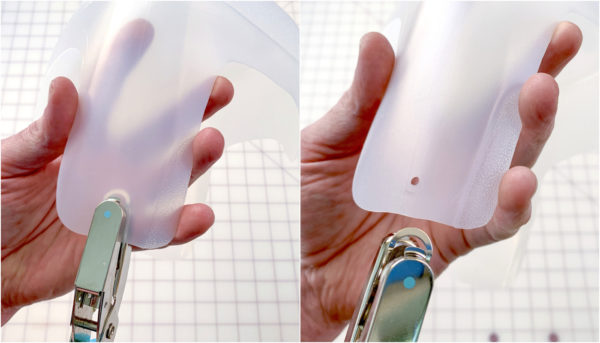
- Punch holes in the shoulders at the bottom, and in the base of the long bones on the sides of the hips.
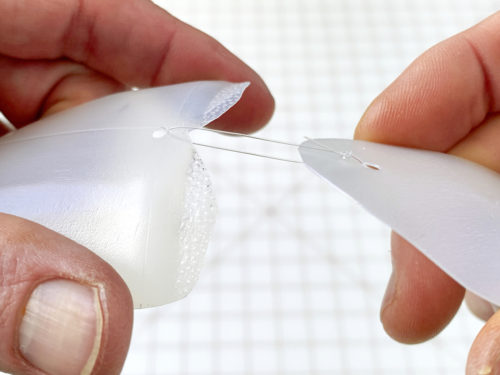
- The last step is to tie everything together using the clear floss or twine. You’ll use single loops for the shoulders and top of the hips, and then use double (two) loops of twine to make everything else hang flat.
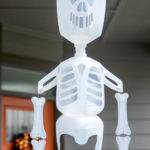
- Hang your skeleton inside or outside underneath a covered area.