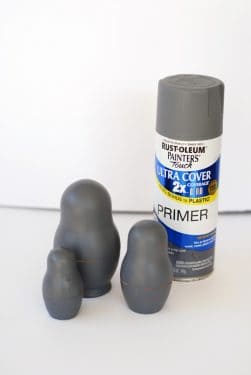
Sand the unfinished wood or painted surface if necessary. Remove sanding dust. Add a coat of primer. Let dry.
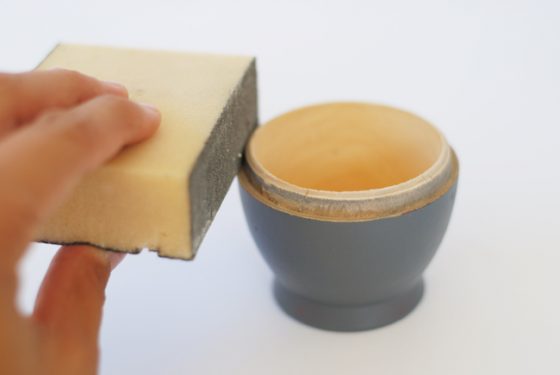
I got some spray paint on the part of the wood where the top and bottom parts meet so I sanded it off. Any paint in this area will make it excessively difficult to open and close your nesting dolls, so you want to remove it.
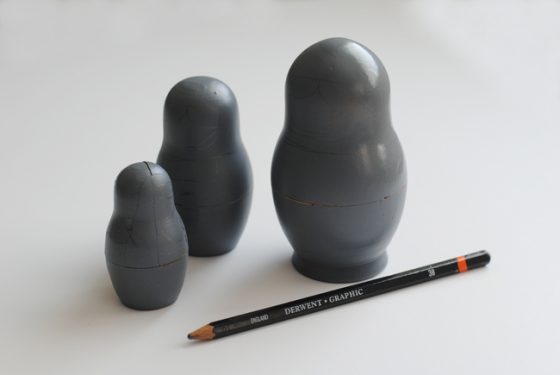
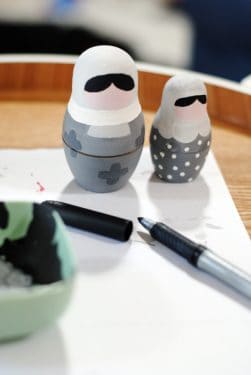
Pencil in the design directly on top of the spray painted areas.
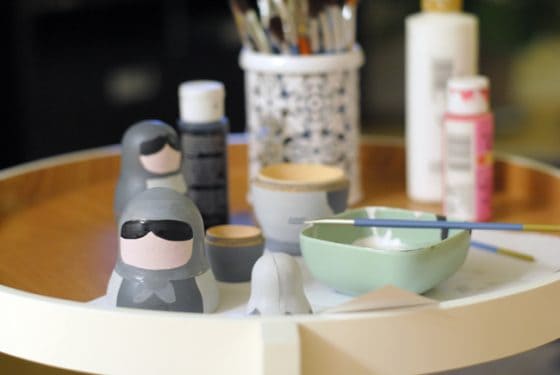
Paint the design with acrylic paint and let dry. Think about layering the paints for the neatest finish possible. This means you'll want to start with the paints that cover the largest area then work your way in.
Draw in additional details and faces with the Sharpie to allow for more precision. You can also use paint pens.
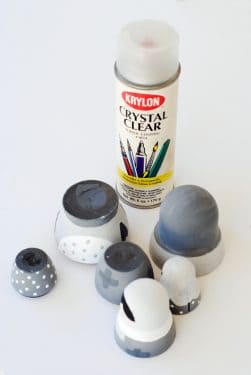
Seal all of the wood with clear acrylic sealer. Let dry for a while before using or stacking.
Video
Notes
Step 1: It felt wrong spray painting over a beautiful design, but I assured myself that in the end this would actually lead to these objects being better enjoyed.Step 2: Because the wood is thin, you'll want to be gentle when opening and closing your dolls.Step 4: I had so much fun painting my dolls, I lost all track of time!Here's a back view of the dolls just so you can see: I wish I would have included some hearts from the front view. They up the sweet factor just a bit more!

 I wish I would have included some hearts from the front view. They up the sweet factor just a bit more!