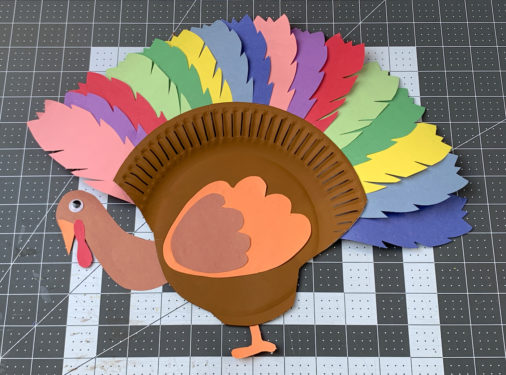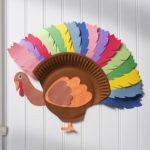
Paper Plate Turkey
Learn how to make the cutest turkey plate craft! Kids love this idea for Thanksgiving, and you probably have everything you need already.
Servings 1 turkey
Cost $1
Equipment
- Pen or pencil
Ingredients
- Paper plate(s)
- Acrylic paint brown
- Construction paper variety of colors
- Craft glue
- Googly eye(s)
- Sharpie(s)
Instructions
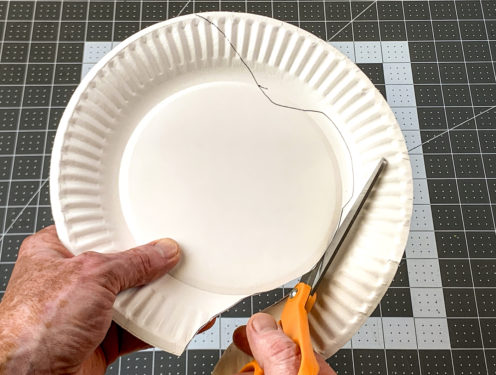
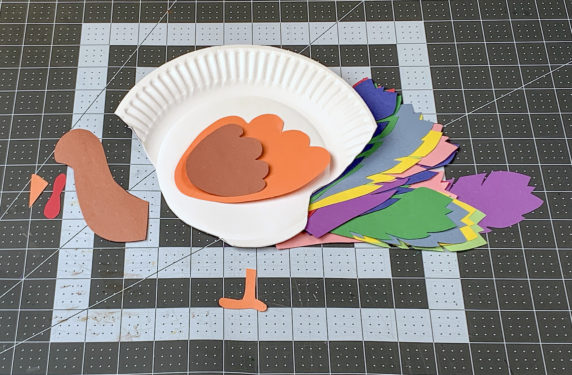
- Take one paper plate (or glue two together) and draw a body shape on with a pen or pencil. Cut out with scissors.
- Print out the template for the body parts if desired. Trace or draw the parts including the head, gobble, feathers (16), feet, and wings with a pencil or pen.
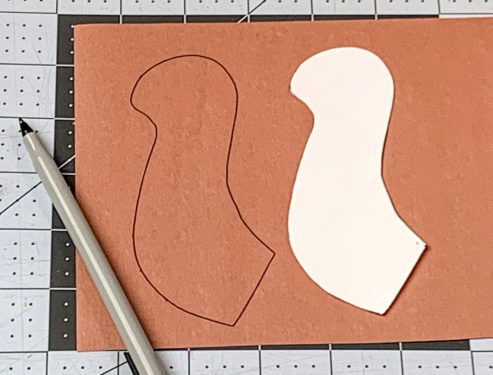
- Cut all the body parts and set aside on your work surface.
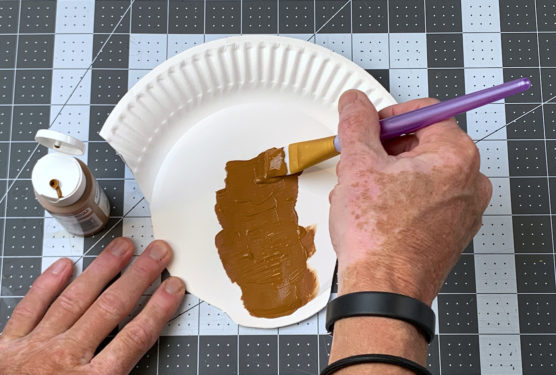
- Using the brown craft paint of your choice, paint the paper plate body of the turkey. Let dry completely.
- This is a fun and optional touch. Add black lines to the edge of the paper plate with Sharpie or a black marker, for a little bit of interest.

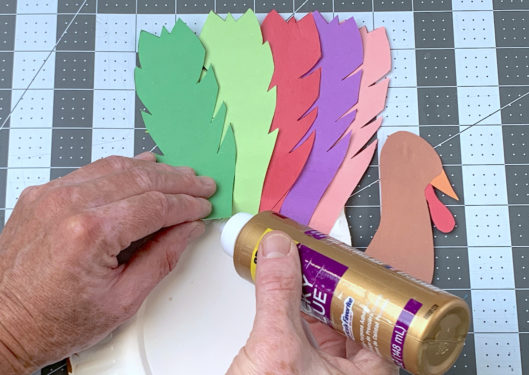
- Using craft glue, add all the feathers to the back of the turkey so they fan out across the top of the paper plate. Glue the rest of the body parts to the front of the paper plate. Don’t forget the googly eye!
- Let your paper plate turkey dry completely before displaying.