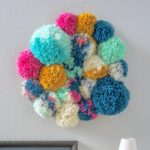
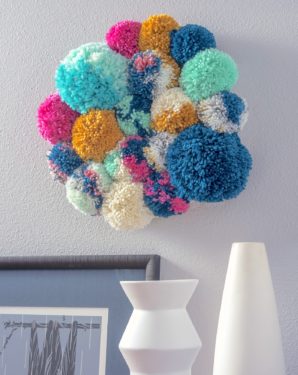
Pom Pom Wall Hanging
Learn how to make a pom pom hanging using bright colors of yarn - easy enough for a beginning crafter.
Servings 1 wall hanging
Cost $10
Equipment
- Pom pom maker(s) one size or various sizes!
Ingredients
- Wood plaque
- Yarn skeins of multiple colors
Instructions
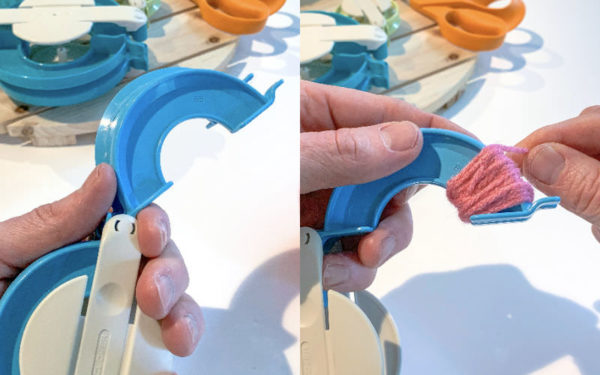
- Begin by open the two U-shaped arches of your pom pom tool together. Start by wrapping around the arches. You can leave one end of the yard loose (and trim later). You'll want the yarn to not only be wrapped around the arch, but to fill the "U" portion of the arch fully. This will give you a thick arch.
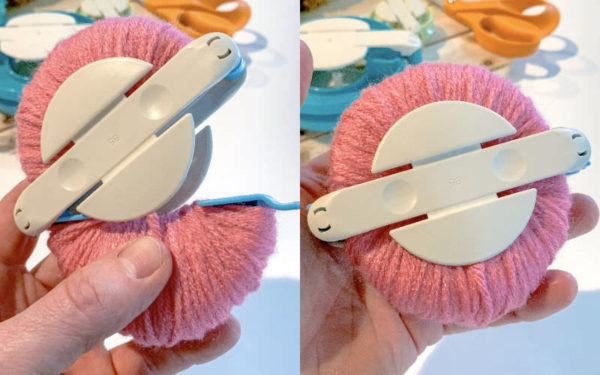
- When you are finished wrapping one side, close it and feed the yarn over to the other side .Follow the same steps with the other side of the tool. Close both arches as shown.
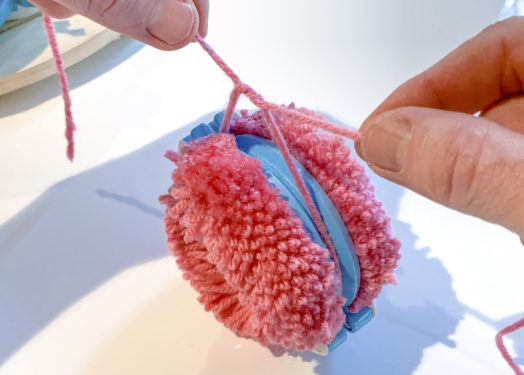
- Use the scissors to cut the yarn on each side of the pom pom maker, while still keeping it closed.
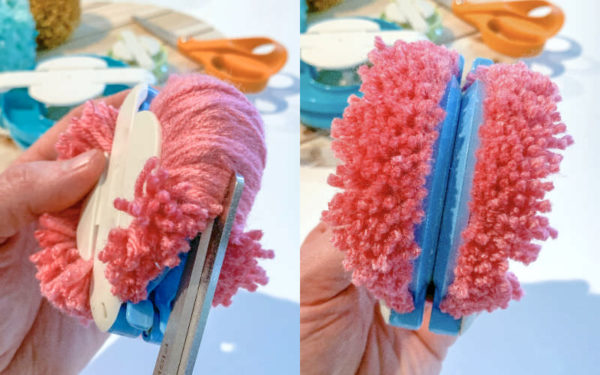
- Take a length of yarn, slide it through that same crack in which you cut the yarn, tie a knot, and pull it as tight as you can. Tie once, then pull again and tie a knot. Your pom pom is now secure and, if you tied tight enough, you won't have any threads fall out.
- Open both ends of the tool and pull apart to remove the pom pom.
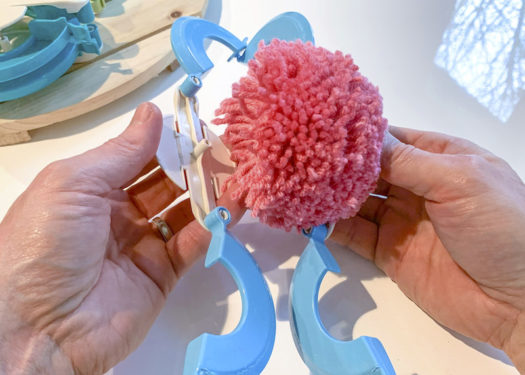
- The pompom will come out very shaggy, so you'll want to trim it up with the scissors, plus the excess yarn from tying. Repeat steps 1 - 5 to make as many pom poms as you desire.

- Spread the yarn out on one pom pom with your fingers and place some glue down on the yarn.
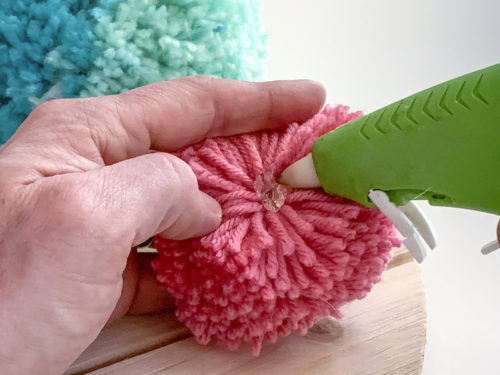
- Press the pom, glue side down, onto the plaque. Let cool and it will be secure.

- Continue adhering pom poms until your wall hanging is complete. Then you can hang it on the wall as shown.
Video
Notes
Cost of this project varies greatly. I already owned the pom pom makers and the yarn, so all I needed to purchase was the wood plaque.