
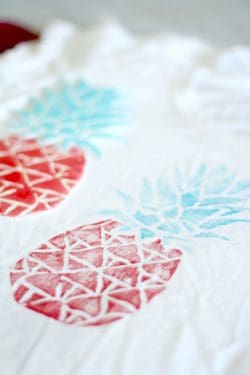
Stamp a Shirt at Home
Learn how to stamp a shirt using an unlikely supply - a take out container! Use an existing shirt and this becomes a free fashion update.
Servings 1 stamp
Cost $0
Equipment
- Pencil(s)
Ingredients
- T-shirt
- Takeout box
- Fabric paint
Instructions
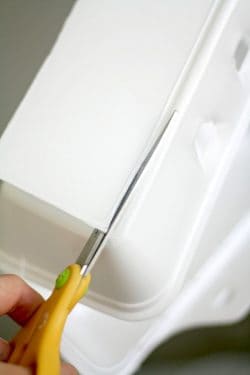
- Cut out flat foam squares from your takeout box(es) using the scissors.
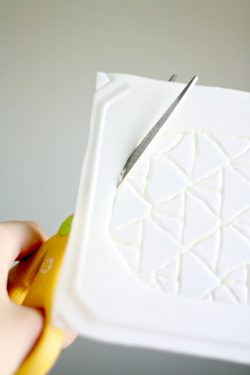
- Draw or trace your design on the foam using a pencil.

- Cut the outside edges of your stamp design. You'll want to go right up to the edge, because anywhere you place ink is going to be on your surface.
- Apply paint to the foam. I found it's easiest to brush the paint on with a foam brush, or roll it on with a roller.
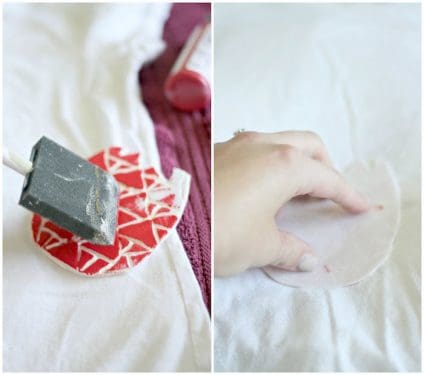
- Press stamp on shirt (making sure to press on all areas), and remove.
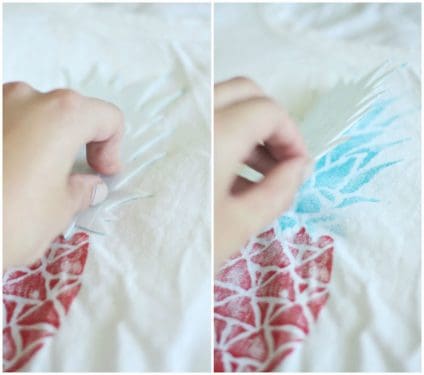
- Let dry. Follow any additional instructions for your fabric paint to set.
Notes
Step 6: Instructions for my paint were . . . heat set the painted surface using a dry, hot iron and a pressing cloth. Lay pressing cloth over the stamped fabric and iron the stamped design for 30 seconds, lift the iron and move it to another section of the stamped design. Your iron should be set at the highest setting allowed for the decorated fabric, no steam.