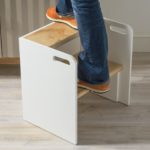
Wooden Step Stool Chair
Learn how to build a step stool with a modern look - that doubles as a chair! This DIY step stool can be painted any colors you like.
Servings 1 stool
Cost $30
Equipment
- 1” wood boring drill bit
- Jigsaw
- 1 paint roller
- 1 Round lid
Ingredients
Instructions
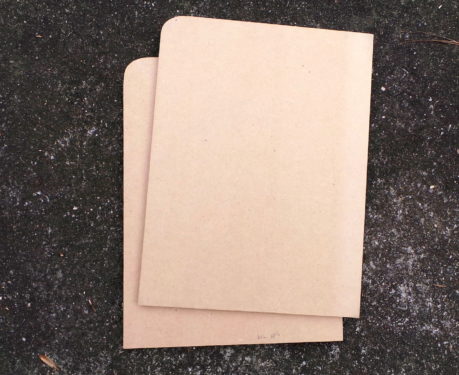
- Using a table saw, cut three (3) pieces of 1/2” thick MDF – one (1) 17”x 18” and two (2) 13 1/2” x 18”.
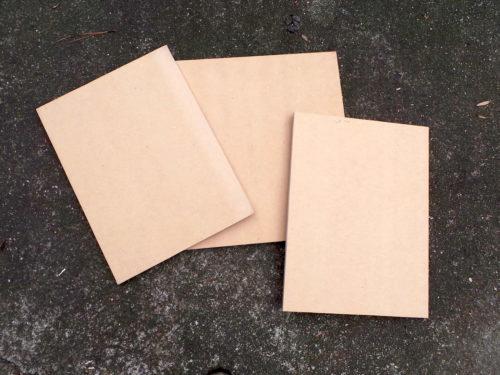
- Using a table saw, cut six (6) pieces of 1/2” thick MDF – two (2) 5 1/2” x 8”, two (2) 8” x 10 1/2”, and two (2) 8” x 16”.

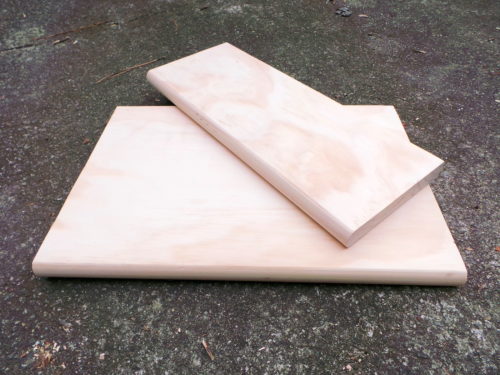
- Using a table saw, cut two (2) pieces from your interior stair tread. Cut one (1) piece 11 1/2” x 17” and one (1) 6 1/2” x 17”.
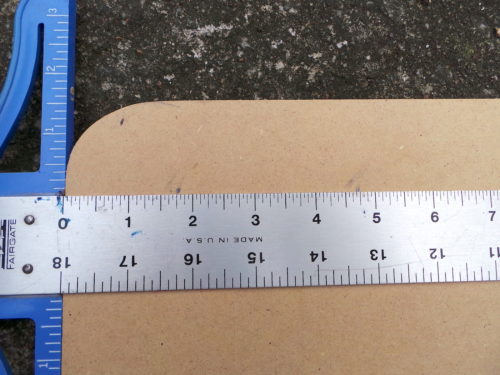
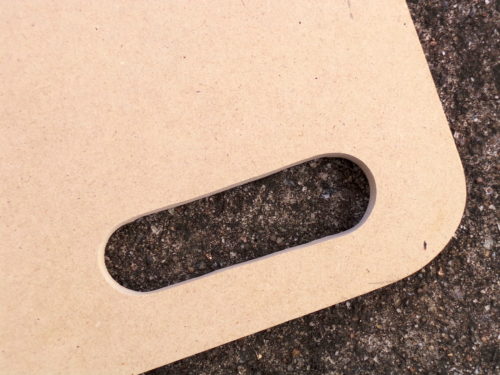
- Use a round object to draw a round pencil mark the top front corners of your (2) 13 1/2” x 18” MDF pieces. These will be the side pieces of your stool.
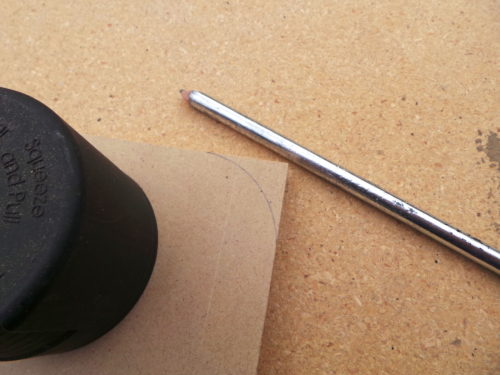
- Use a jigsaw to round off the corners. Use the sanding block to smooth the edges.
- At the rounded corners, use a pencil to put two dots 1 1/2” from the top edge. One is at 1 3/4” from the front edge and the second is 4 3/4” in from the front edge.
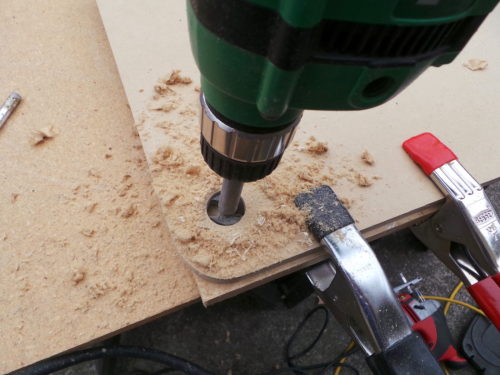
- Using a 1” drill bit (and using the dot as center guides), drill two holes. Repeat with the other piece of the same size.
- Draw straight lines connecting the two round holes using your pencil and ruler. Use a jigsaw to cut on those lines and form the handle.
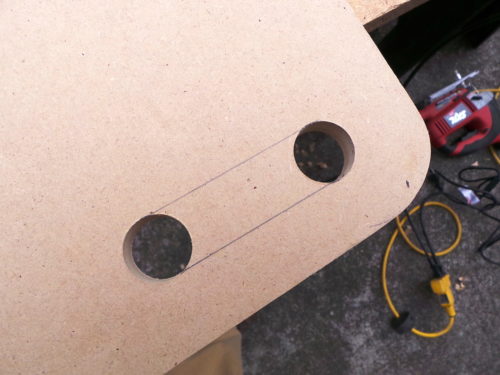
- Sand with 120-grit sandpaper to make the edges smooth.
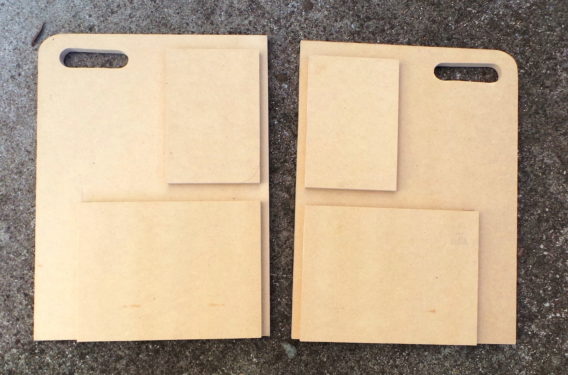
- Take the 17”x 18” piece of MDF and glue the two pieces of 8”x 16” MDF to it. Glue one of the pieces flush with a 17″ side, leaving a 1/2” gap on both sides. Then give a 1” gap above that and glue the next board, leaving a 1/2” gap on each side and a 1” gap at the top.
- On each side, glue one piece of the 8″ x 10 1/2″ MDF flush with the bottom and 1/2″ from the non-handle side (the back of the stool). Then glue one piece of the 5 1/2″ x 8″ MDF 1 inch above the bottom piece you just glued down . . . leaving 1/2″ gap from the non-handle side (the back of the stool). Each side needs to be the reverse of the other.
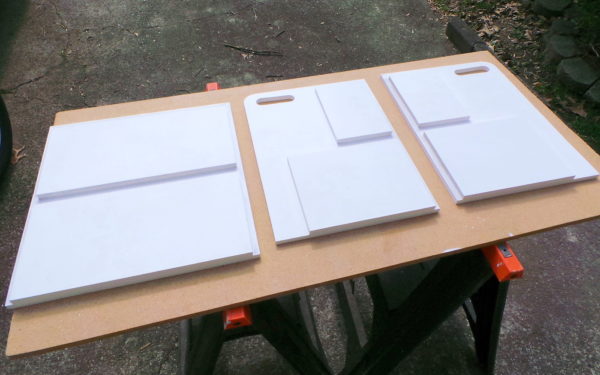
- Prime and paint both side pieces as well as the back piece. I used paint and primer in one, with a roller.
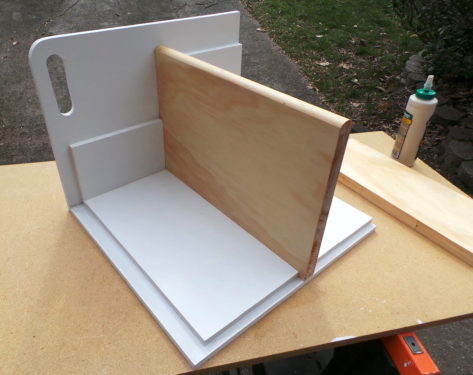
- Glue the larger stair tread into the bottom 1” gap on your back piece. The stair tread should go edge to edge on the back piece.
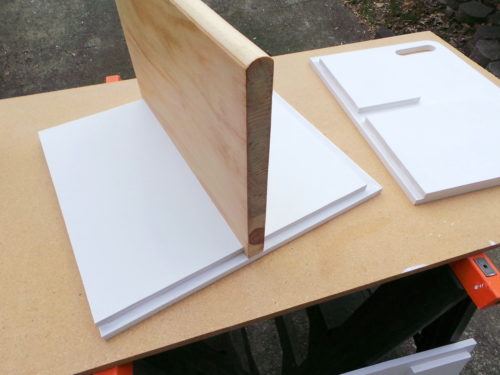
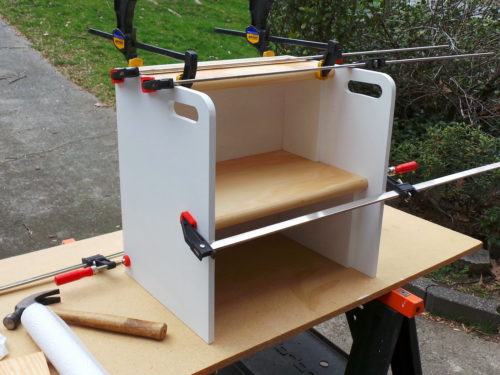
- Glue your sides on and glue the top stair tread in place.
- Clamp, letting the glue set and dry for at least 24 hours before using.
Notes
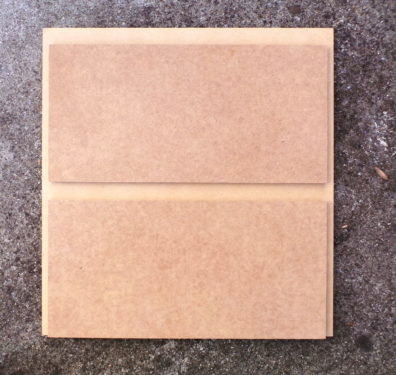
CUT LIST
Out of your 1/2″ thick MDF (you can organize the cuts as shown above on the two pieces):
- Three (3) pieces – (1) 17”x 18” and (2) 13 1/2” x 18”
- Six (6) pieces – (2) 5 1/2” x 8”, (2) 8” x 10 1/2”, and (2) 8” x 16”
- Interior stair tread, cut two pieces: one (1) 11 1/2” x 17” and one (1) 6 1/2” x 17”