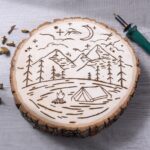
Beginner Wood Burning Project
Create an easy wood-burned outdoor scene using a printable pattern and an unfinished basswood round.
Servings 1 project
Cost $15
Equipment
- Wood burning tool with tips
- Pencil(s)
Ingredients
Instructions
- Download and print my free outdoor scene pattern (or the artwork of your choice). For my size round wood, I had to print the pattern on two sheets and tape together.
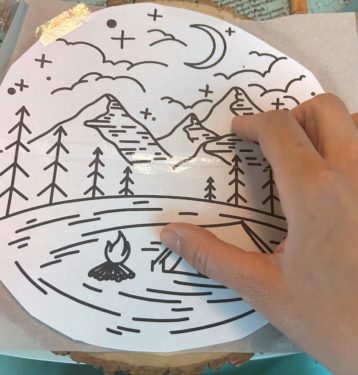
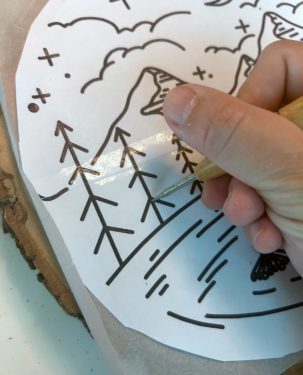
- Place transfer paper on your basswood round, then your printed design on top. Tape in place. Use a pencil or tool to trace over the lines.
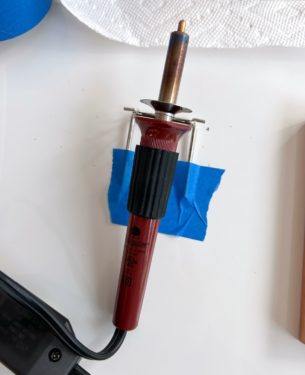
- Plug in your wood burning tool and let it heat up fully. I started with the largest tip I needed, which was the flow tip for the circles. Start with medium-high heat. You can always turn it up if you need to.
- Carefully trace over the transferred lines with your tool. Go slowly and evenly. Don't press too hard, as the wood will start burning away underneath the tip naturally.
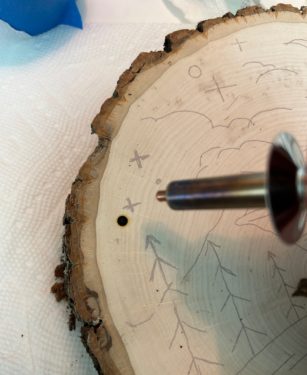
- To change tips, you'll need to turn the tool off completely and let it cool. Then unplug to switch tips. Never touch the tips while the tool is plugged in.To do the medium details, I used the cone tip.
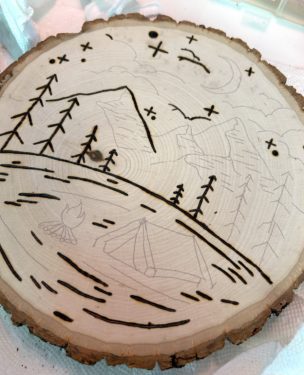
- Once the main lines are burned, add the detail lines. To do this, I switched to the tapered tip for the smallest areas.When you're done, let the wood cool before handling or hanging.
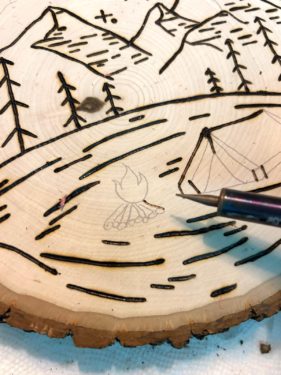
Tape the base down to the table. Otherwise tripping on the cord can zing your tool off the table. Ask me how I know . . .
If you want to know the truth - I worked about 20 minutes at a time, stepping away and then coming back to it.
Notes
Keep a scrap piece of the same wood nearby for testing the heat after each tip change.
Your lines may darken as the tip remains hot, so adjust your speed rather than pressing harder.
Display the finished plaque on a shelf or attach hanging hardware to the back.