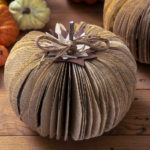
Book Page Pumpkin
Learn how to make a pumpkin using a book, the easy way! This craft project will look perfect with your home decor.
Servings 1 pumpkin
Cost $2
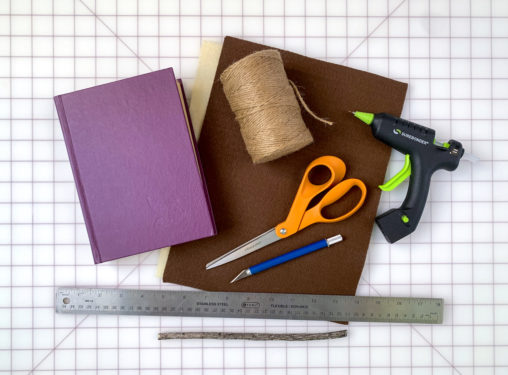
Equipment
- Pen or pencil
Ingredients
- Book one per pumpkin
- 1 sheet paper for a template
- Felt sheet(s) a few fall colors
- Twigs
- Twine
Instructions
- You'll need a book with strong binding for this project. It should be easy to bend around a twig (which will act as a stem).
- Remove the book cover from the book by holding all the pages together and ripping the cover off. You can use scissors or a craft knife to help you on the edges.
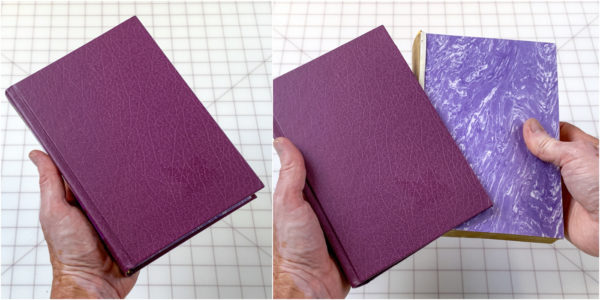
- If there are any thicker liner pages in your book, remove those.
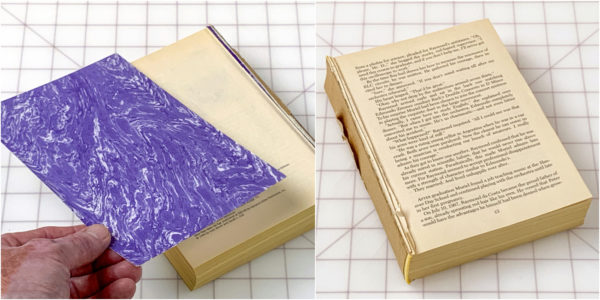
- Fold the piece of paper in half. Draw a half pumpkin shape to the best of your ability, using the fold as the center. Cut out with scissors. Unfold and make sure it looks somewhat like a pumpkin, and then fold back in half.
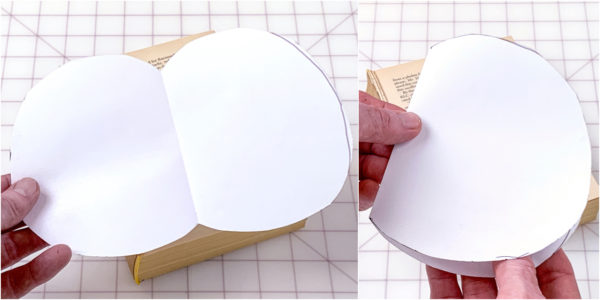
- Place the book pages down on your work surface, and put the template down with the fold on the binding. Trace with the pen.
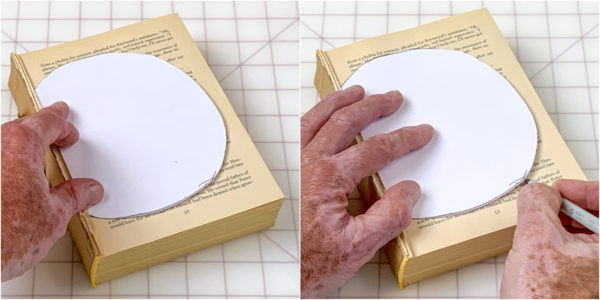
- Remove the template and grab 5 - 10 pages at a time. Cut around them with the scissors and remove the scraps.
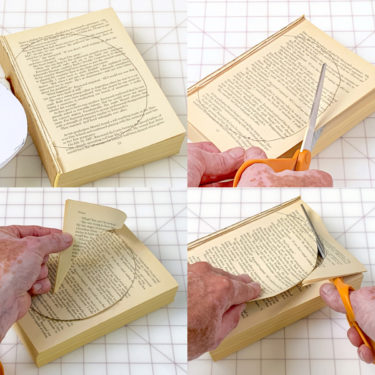
- Using the pages you just cut as a template, draw another line on the page below. Grab 5 - 10 more pages and cut again. Repeat this step until all pages are cut (this is the most time consuming part).
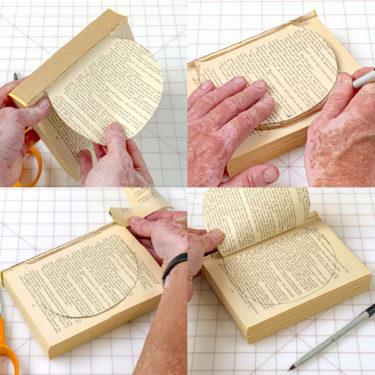
- Use a ruler to measure a twig that is about 4 to 5 inches taller than your pumpkin. Place the cut book open with the binding facing you on the work surface. Add a line of hot glue and place the twig down, flush to the bottom.
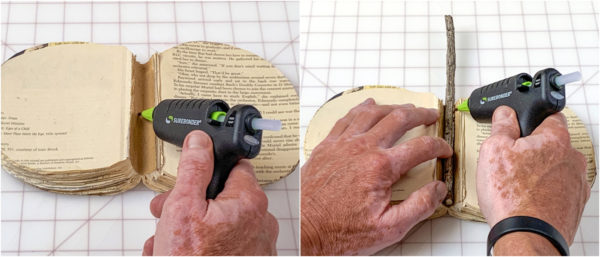
- Add hot glue to the binding and the twig, and bring the book pages forward, wrapping the binding around the twig to secure.
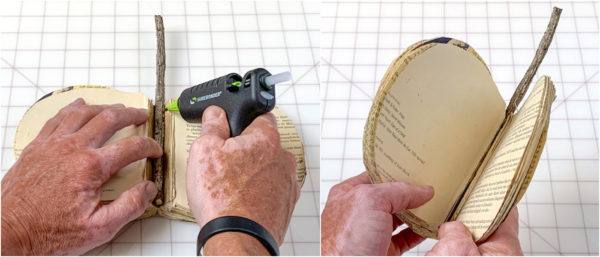
- Bring the end pages around and hot glue them together.
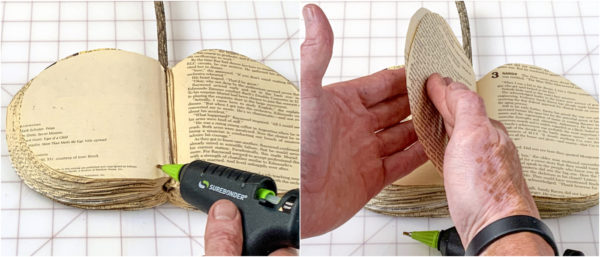
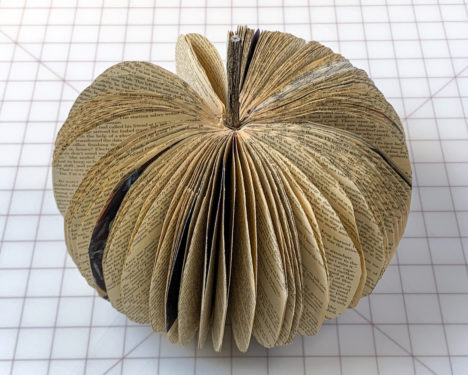
- Stand your pumpkin up and start fluffing. Hot glue any additional pages together depending on how they naturally separate. You might not need to do any gluing.
- Make a template with your scrap paper. Use it to cut out a few stem or leaf pieces from the felt. I did two, one slightly larger than the other.
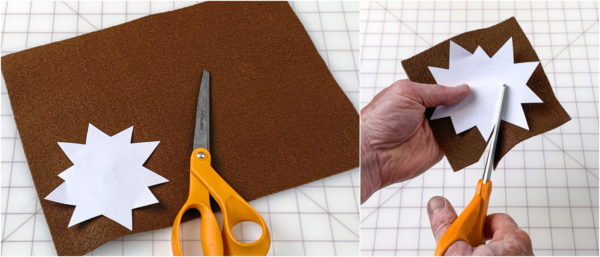
- Make a slit in the middle of the felt pieces with scissors.

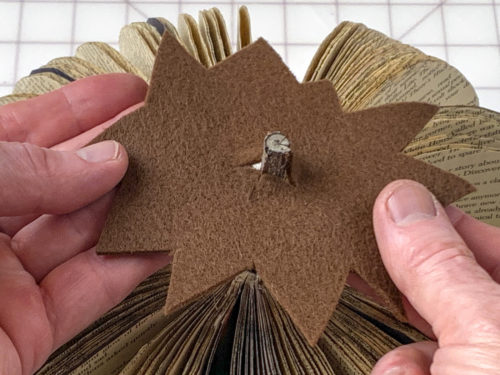
- Slide the felt pieces down onto the stem to secure.
- Tie the twine around the pumpkin stem to finish. Trim with scissors.
