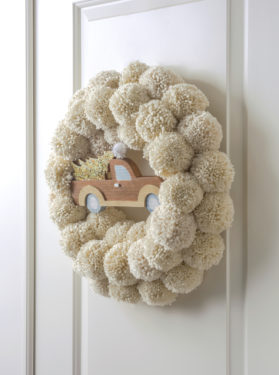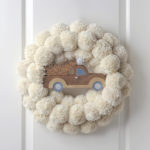
Christmas Pom Pom Wreath
Learn how to make pom pom wreath for Christmas! This is really pretty and perfect for beginning crafters who want to decorate for the holidays.
Servings 1 wreath
Cost $20
Ingredients
- 1 Foam wreath form 12"
- 4 skeins Yarn
- Wood shape holiday themed
- Acrylic paint variety of metallic colors
Instructions
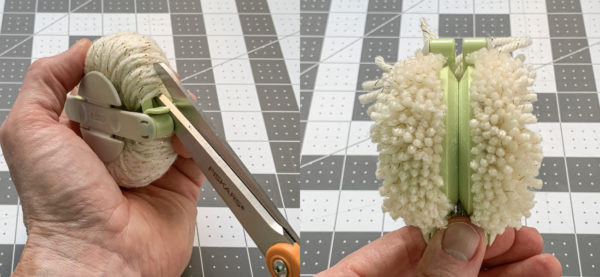
- Pick up the pom pom maker. Open one side of it (both pieces) and begin wrapping the yarn as shown (while holding one end of the yarn). You're going to keep wrapping the yarn until you have completely filled one side of the tool, including filling the "U" shape with yarn.
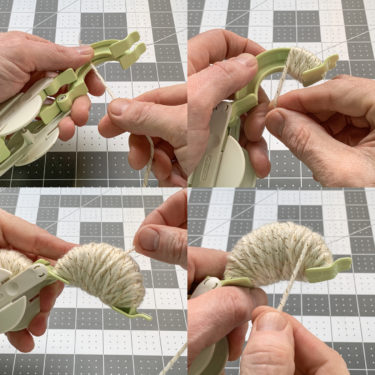
- When you are finished wrapping one side, close it and feed the yarn over to the other side as shown below. You're going to undo the other side of the pom pom maker, and wrap the yarn just as you did. Then you will close the tool.
- Use the scissors to cut the yarn on each side of the pom pom maker, while still keeping it closed.
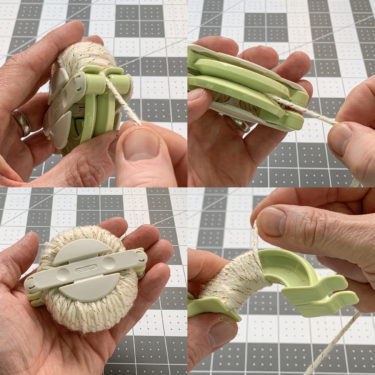
- Cut a scrap piece of yarn, and tie it around the center of the tool tightly. You're going to make a knot by double tying. You want to make sure it's tight enough so that when you remove the pom pom, it doesn't come apart. You don't need to pull so tight that you break the yarn, but you do need to make it snug.
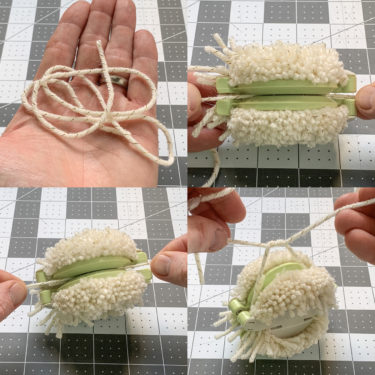
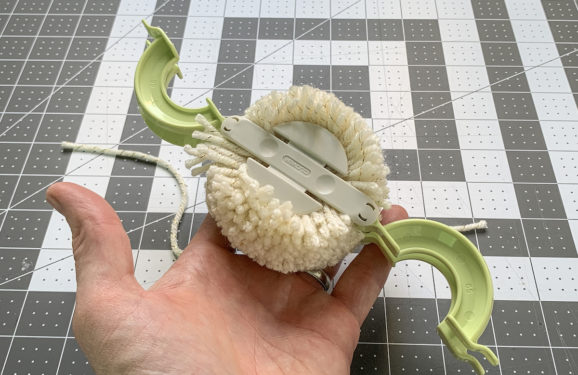
- Open both ends of the tool and pull apart to remove the pom pom.
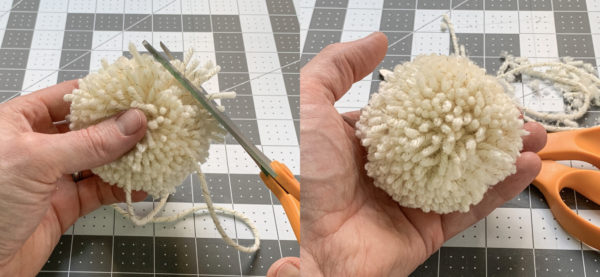
- The pompom will come out very shaggy, so you'll want to trim it up with the scissors, plus the excess yarn from tying.
- Spread the yarn out on one pom pom with your fingers and place some glue down on the yarn.
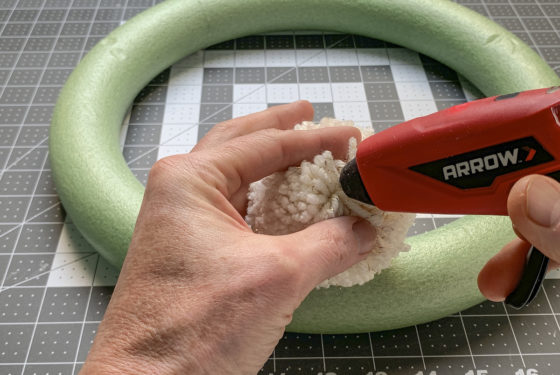
- Press the hot glue portion down onto the wreath form and hold in place until it sets (a few seconds).
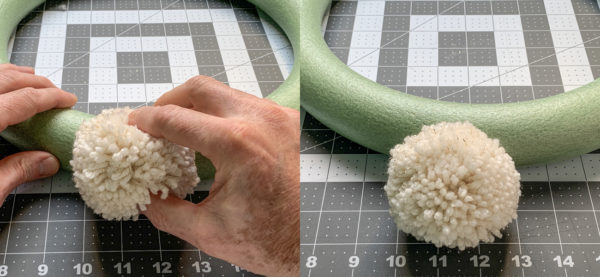
- Continue gluing the pompoms around the ring as shown. You're going to glue all the way around the form.
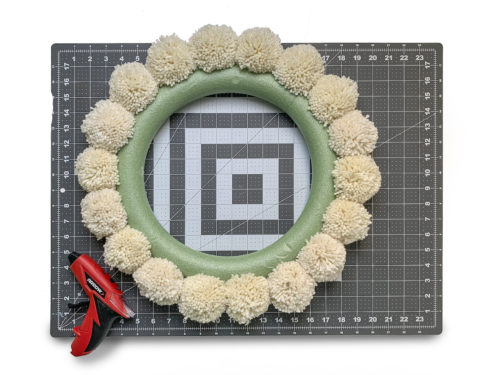
- Repeat hot gluing, this time on the inside of the ring. You don't have to shove the pom poms down very far - just keep them toward the inside.
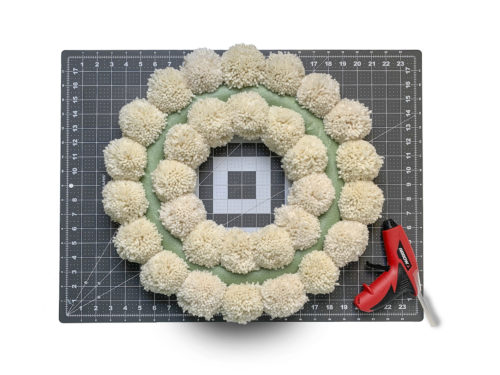
- Finish your wreath by adding a ring of poms around the front facing portion of the form, again with hot glue.

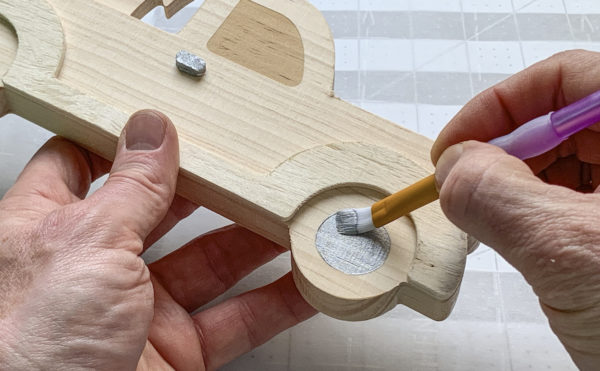
- The inside hubcaps of the truck were painted silver, along with the handle - and the wheels were painted metallic black.
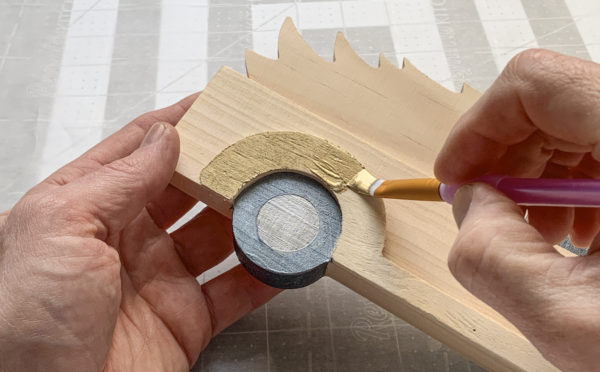
- The fender flares were painted gold and the truck itself, bronze. The tree was basecoated bronze as well.
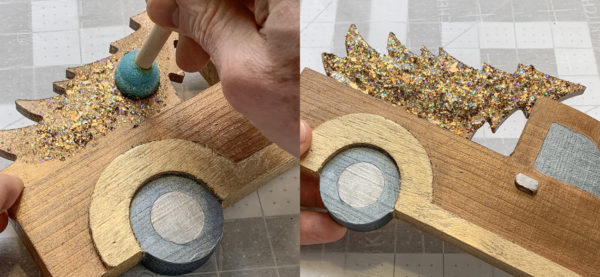
- Add a layer of Glitterific to the top of the tree with a spouncer. Let dry and touch up areas that need more. Let dry completely.
- Attach the wood shape to the wreath with hot glue, and attach a hanger on the back with yarn and glue.