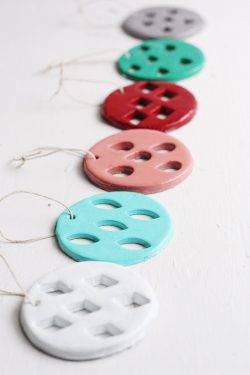
Clay Christmas Ornaments
Learn how to make Christmas ornaments using polymer clay! Cut any shapes that you like and paint any colors to match your holiday decor.
Servings 6 ornaments
Cost $3
Equipment
- Mini metal cutters
- Rolling Pin
- Skewer or toothpick
Ingredients
- Polymer clay
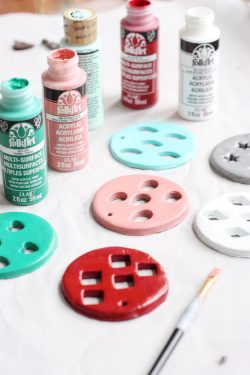
- Acrylic paint
- String
- Gloss spray or Mod Podge optional
Instructions
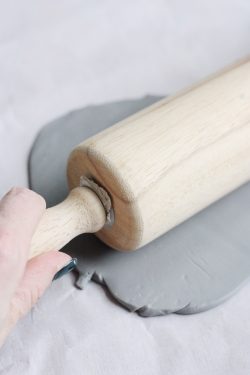
- Lay down a sheet of wax paper and roll out the clay with rolling pin until it is about 1/4" thick. You should have a smooth surface on top.
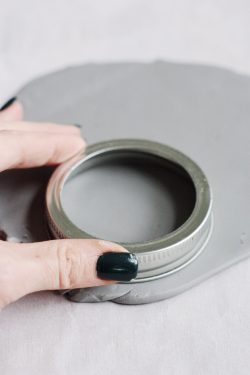
- Cut out circles from the flat clay. Use a round cookie cutter, the ring from a mason jar or cup.
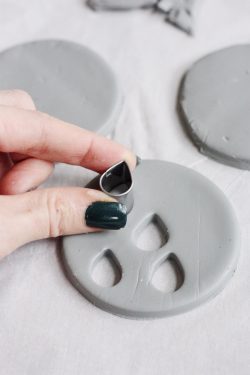
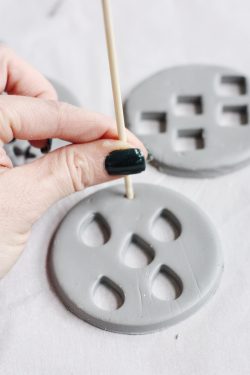
- Using mini metal cutters, cut out shapes from the clay circles.
- Use a skewer or toothpick to make a hole in the top for the string.
- Place clay on baking sheet and bake according to package directions. I baked for 15 min at 275F.
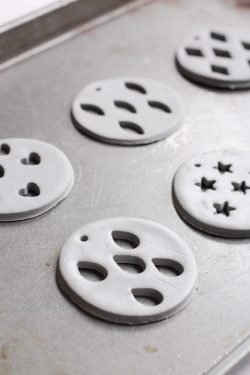
- Remove the clay ornaments from the oven and let cool completely.
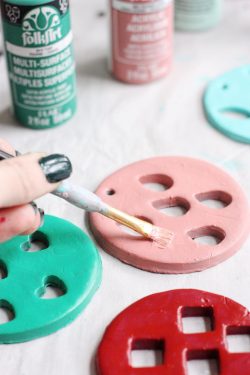
- Once cooled, paint each ornament. Let dry completely..
- If a more enamel looking desired, spray with a glossy sealant. You can also seal with Mod Podge.
- Cut string to about 6 - 8 inch pieces and tie to the ornaments to finish.