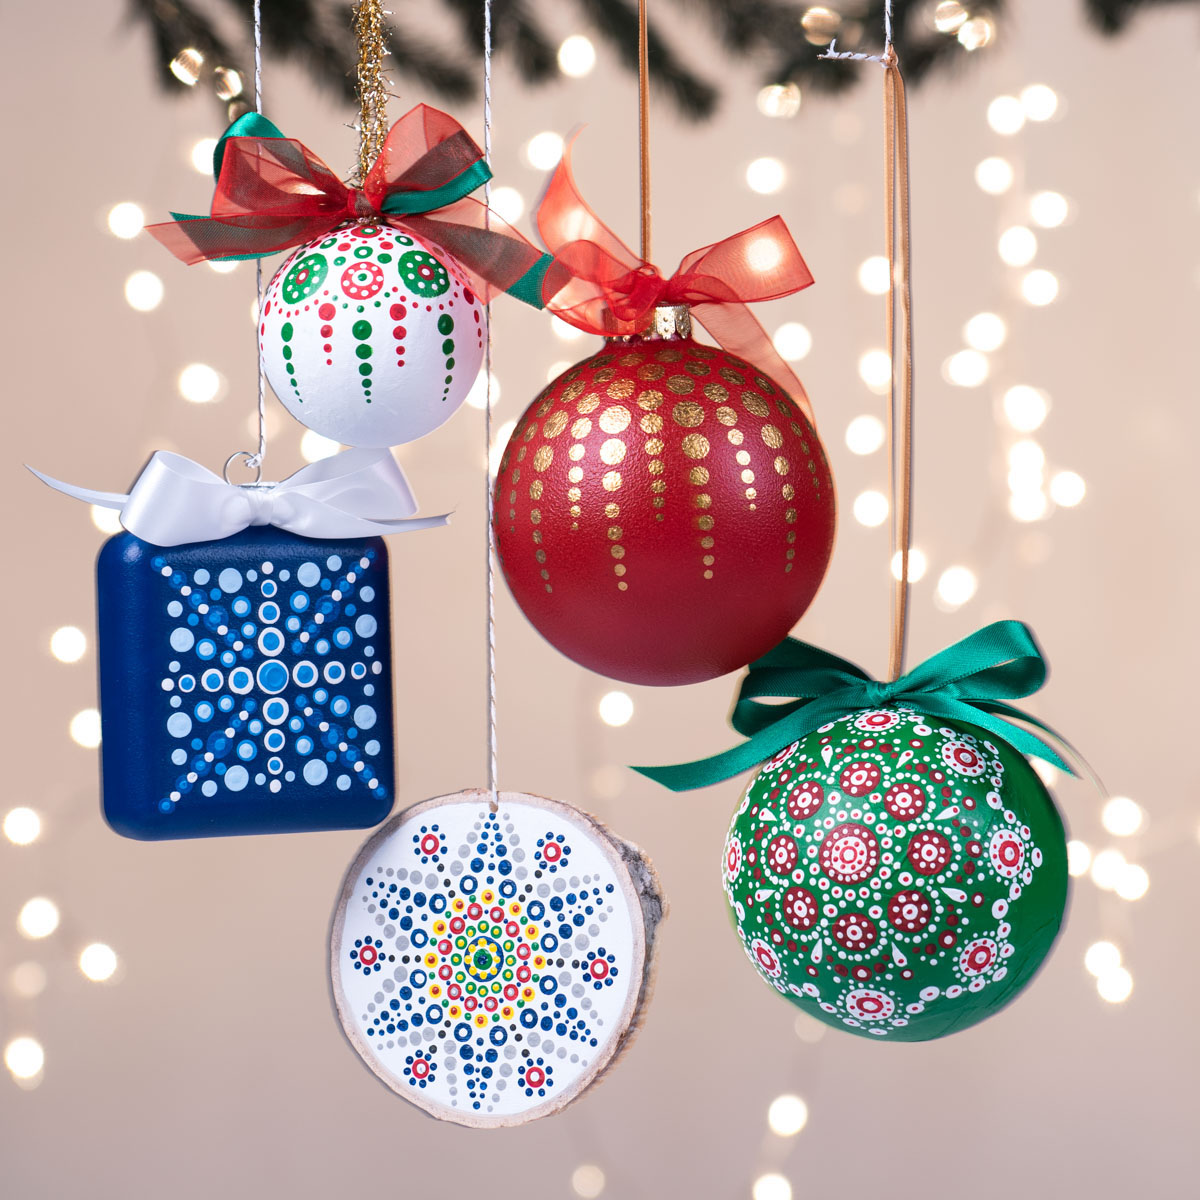
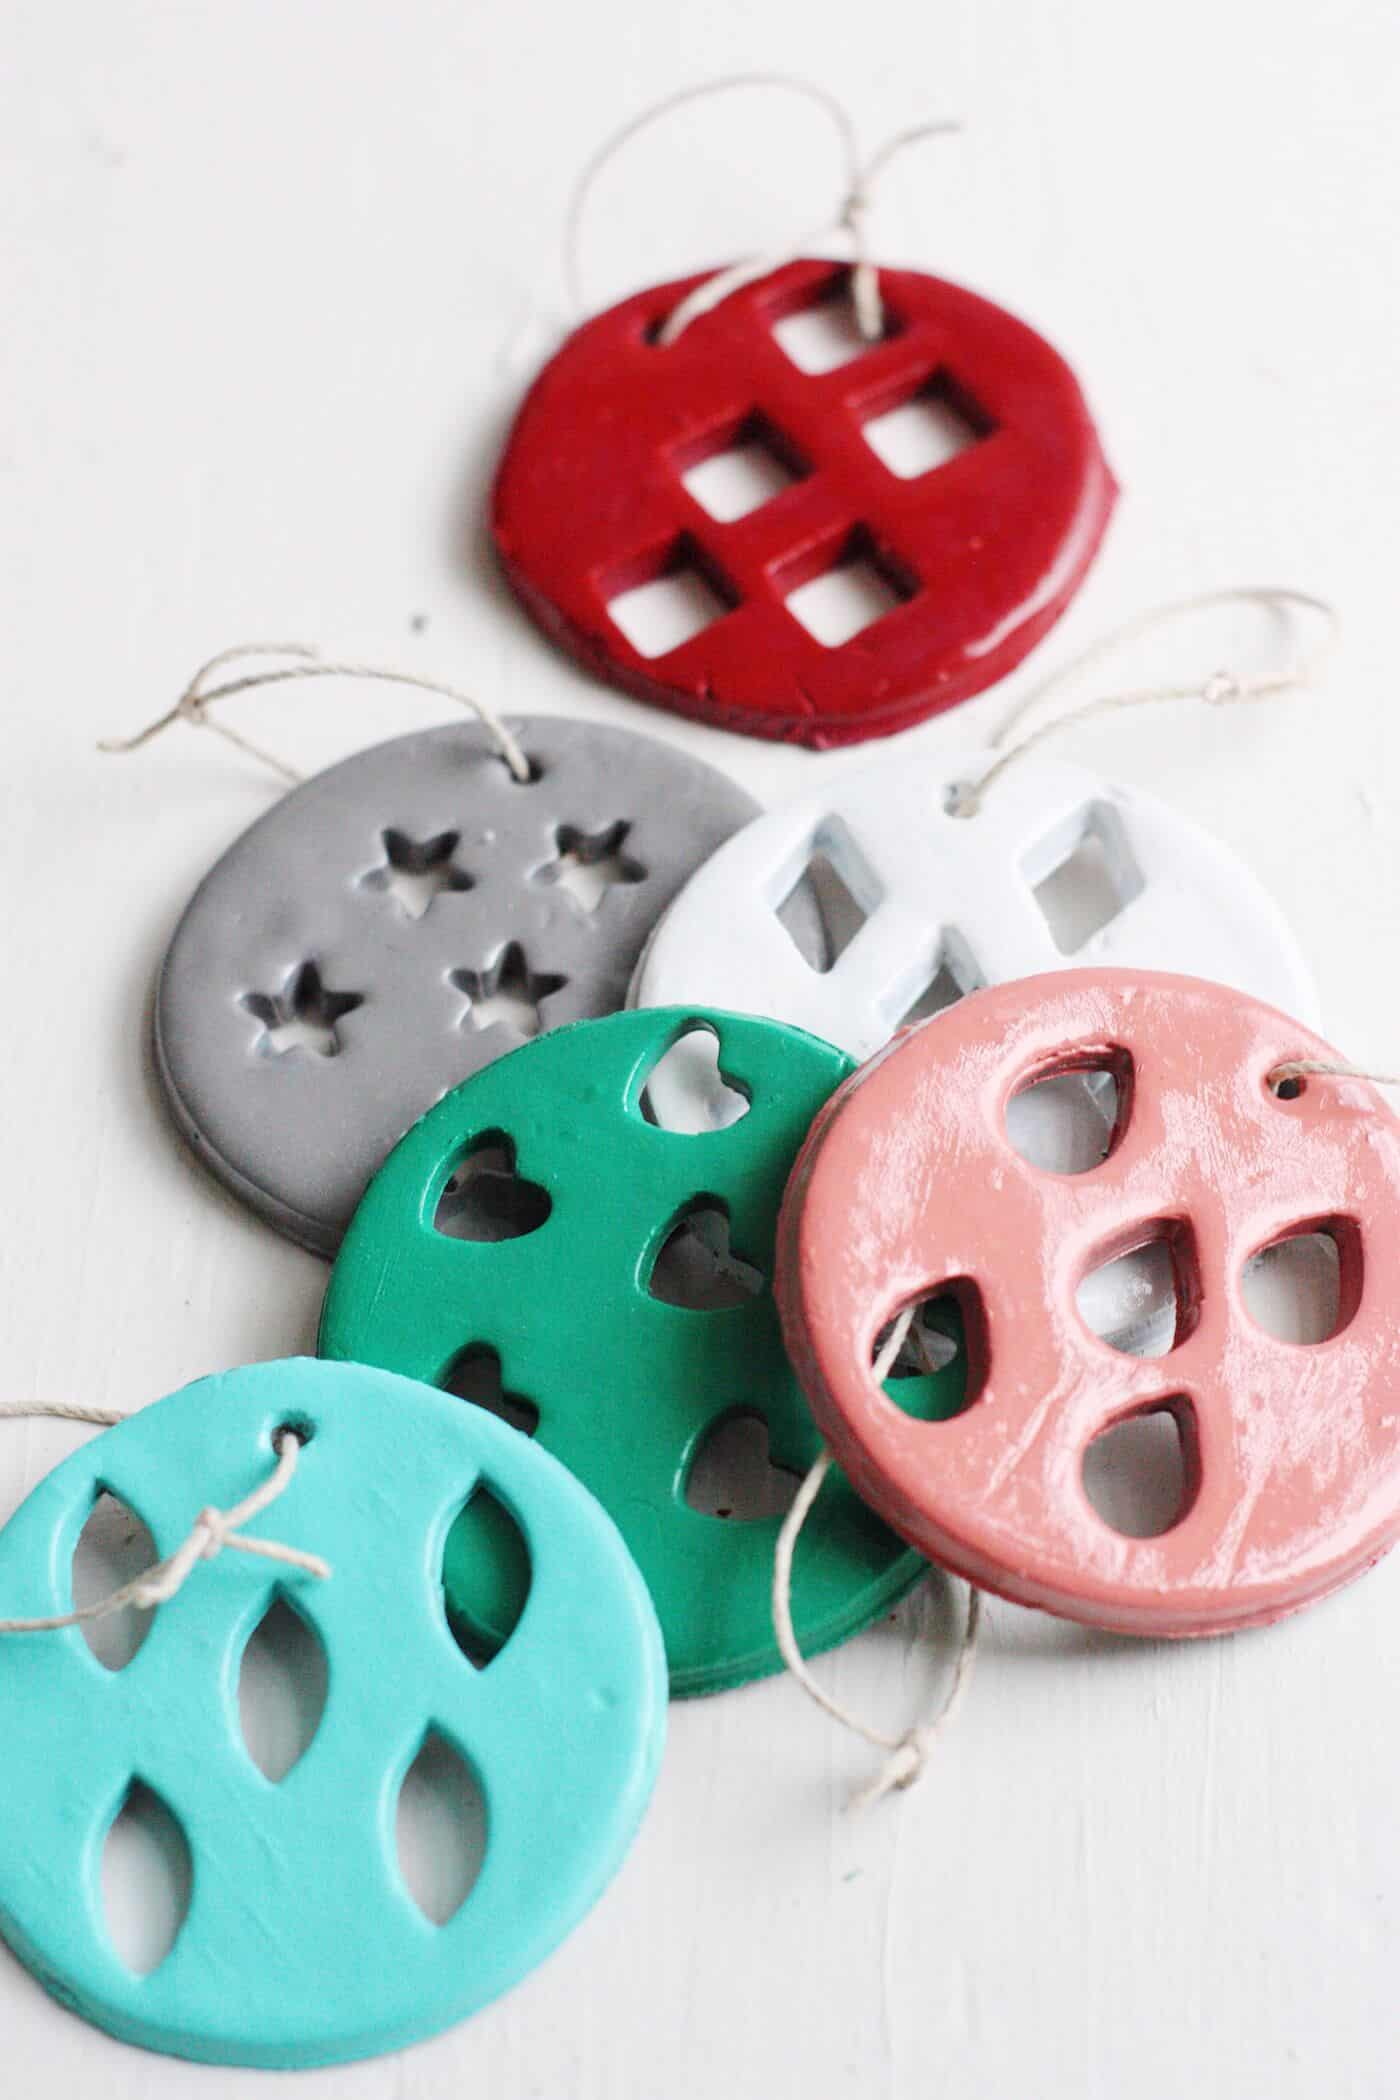
Clay Christmas Ornaments Look Great on a Tree
These DIY clay Christmas ornaments are kid friendly but still look great on your tree! They are so easy to make using your favorite paint colors. One of these clay ornaments also makes a great Christmas gift.
Skills Required: None. Even if you’ve never crafted before, you can make these ornaments. You’ll be cutting out clay, painting, and stringing. It’s simple for kids or adults.
This year I bought my kids a little Christmas tree that they could decorate and play with themselves. On the outside, this looks like I am being a nice, fun mom, but really I just want them to keep their hands off my fancy tree.
After we set up the tree we decided that it needed some fun and colorful Christmas decorations, so I decided to go through one of my craft cupboards to see what kind of Christmas craft for kids I could come up with.
When I stumbled upon a bag of oven-bake clay and some mini cutters from a project I did months ago, my wheels started turning! That’s how I came up with these clay Christmas ornaments.
I love using oven-bake clay for projects because it is so easy to use, and it enables you to come up with projects that are truly unique since you create them from just a lump of clay!
After rolling out the clay this idea for stamped clay ornaments was born . . . and I’m in love with them. More so than I thought I would be! This would make a great clay craft for kids or adults. Everyone can join in the fun.
(get more DIY Christmas ornaments to make here!)
These ornaments are so fun and quick to make, and they turned out so cute I stole some right off the kids’ tree to put on my fancy tree. Don’t tell.
What clay should I use?
We used polymer clay for these ornaments, but you can also use air dry clay. Just keep in mind that air dry clay isn’t baked, it dries by being left out for several hours (or longer). It can be up to a few days, which is how long it takes in my climate.
Otherwise, you’re ready to roll. Get the tutorial below!
Gather These Supplies
- Oven bake polymer clay
- Mini metal cutters (I found mine here)
- Round cookie cutter – or mason jar lid, or cup (to create the rounds)
- Rolling pin
- Acrylic paint
- Paintbrushes
- Skewer or toothpick
- String
- Scissors
- Wax paper
Thoughts About This Project
- You don’t need to make round shapes for your bases. You can use Christmas themed cookie cutters, cut freeform shapes, or anything else you like.
- If you don’t want to paint clay, you can purchase clay in the colors you want to use. The reason I didn’t is because it was less expensive to buy a huge block of white clay and then just paint it.
- You don’t have to seal the ornaments, but I did (with Mod Podge). This will help keep the clay from breaking if the ornaments are dropped or when they are stored.
- There are a variety of things you can use to hang these – string, baker’s twine, twine, ribbon, yarn, and more.
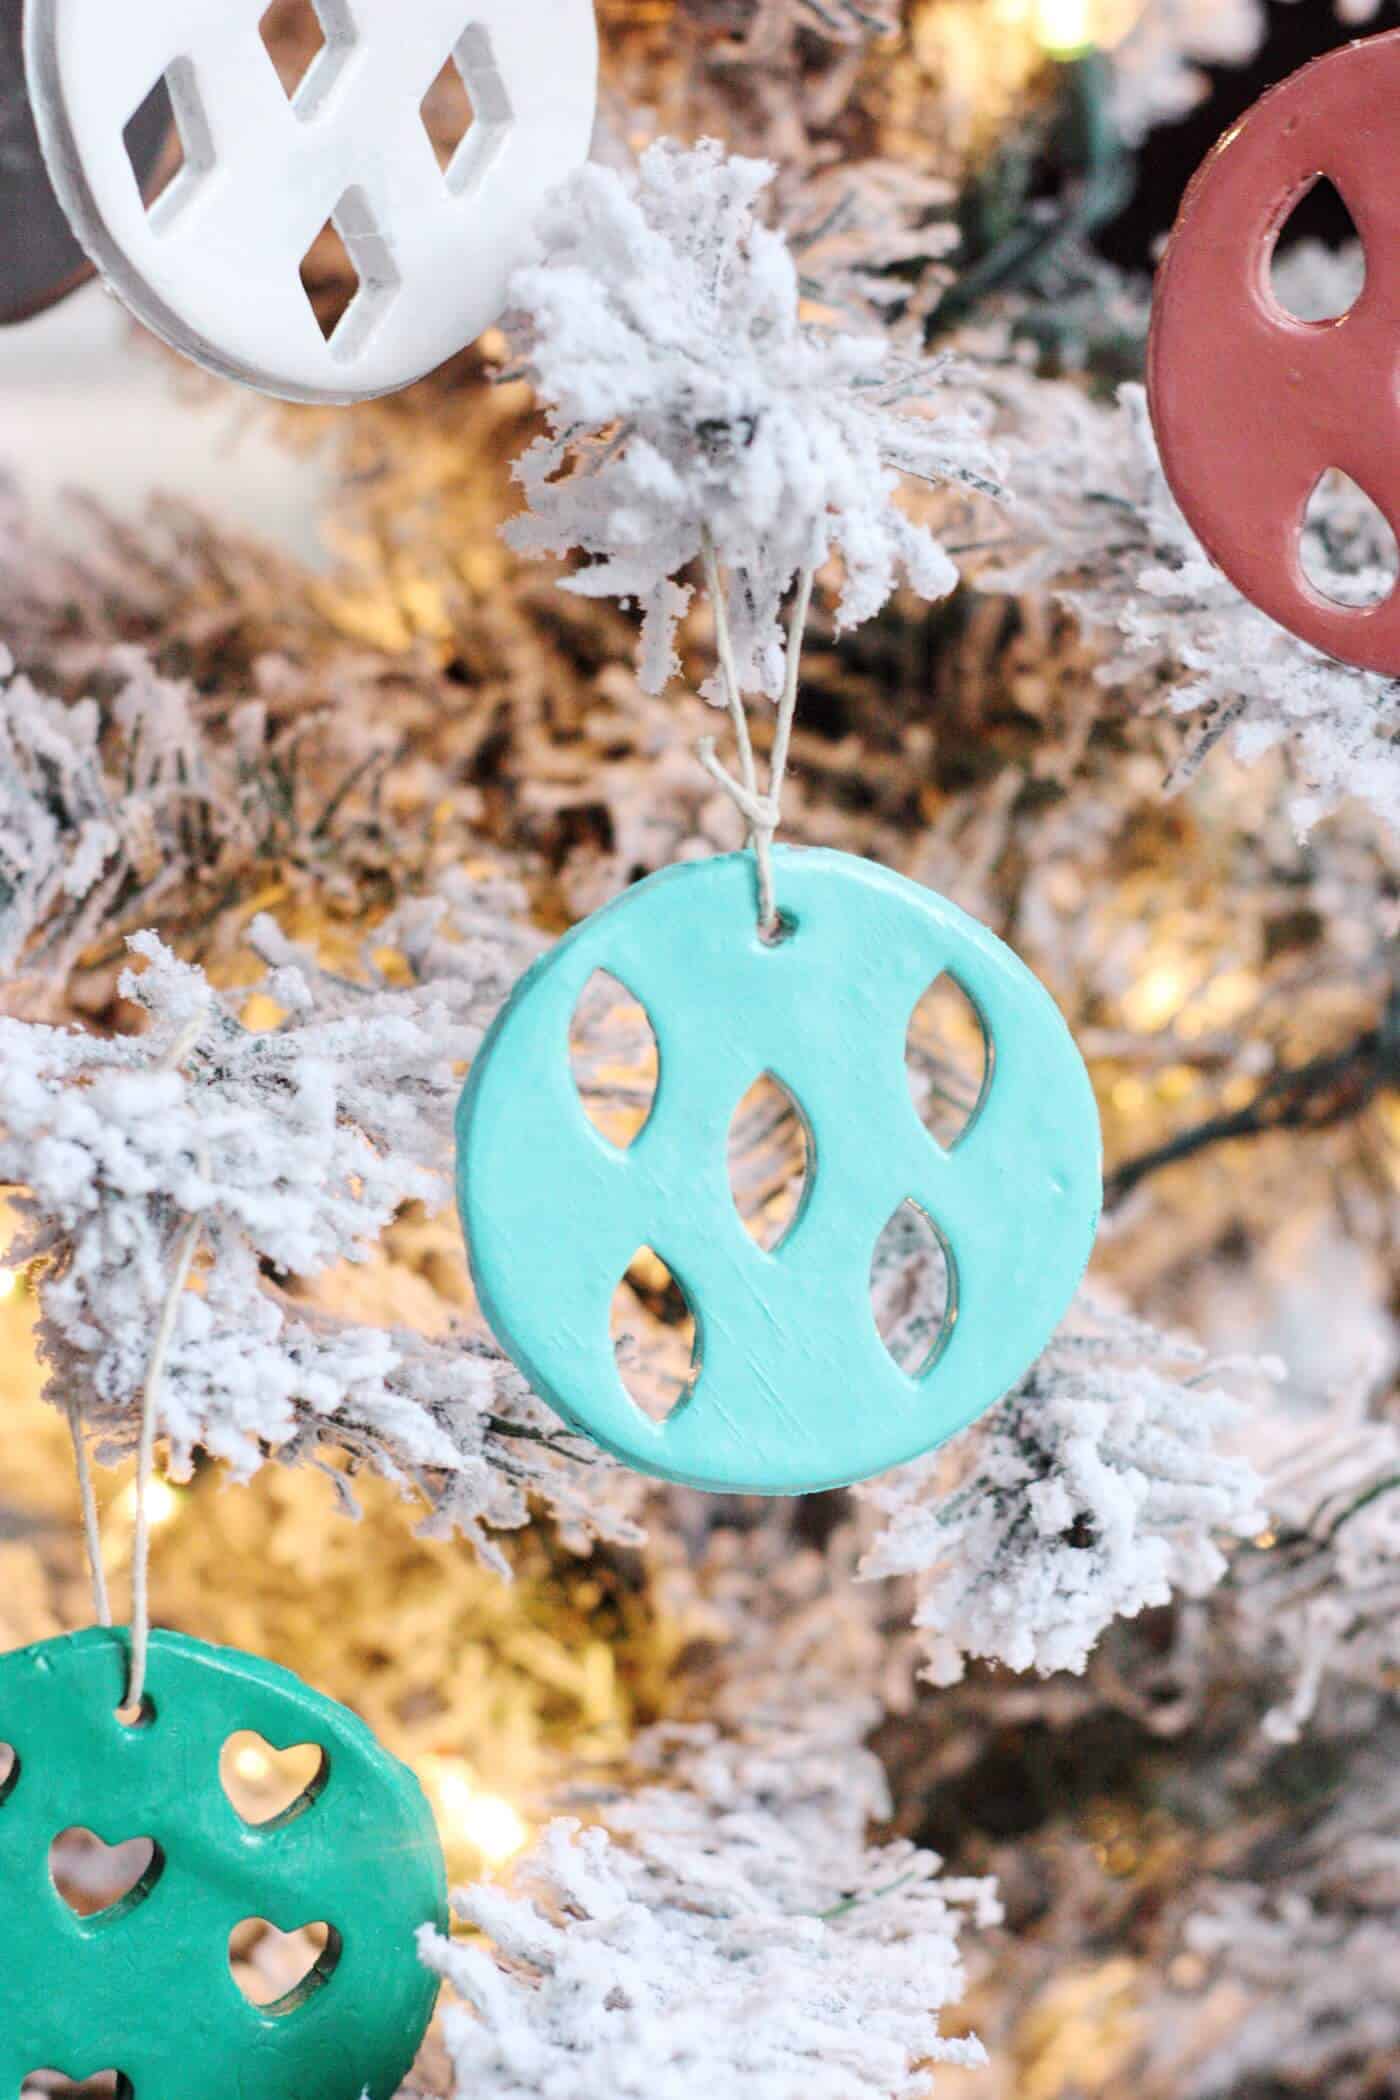
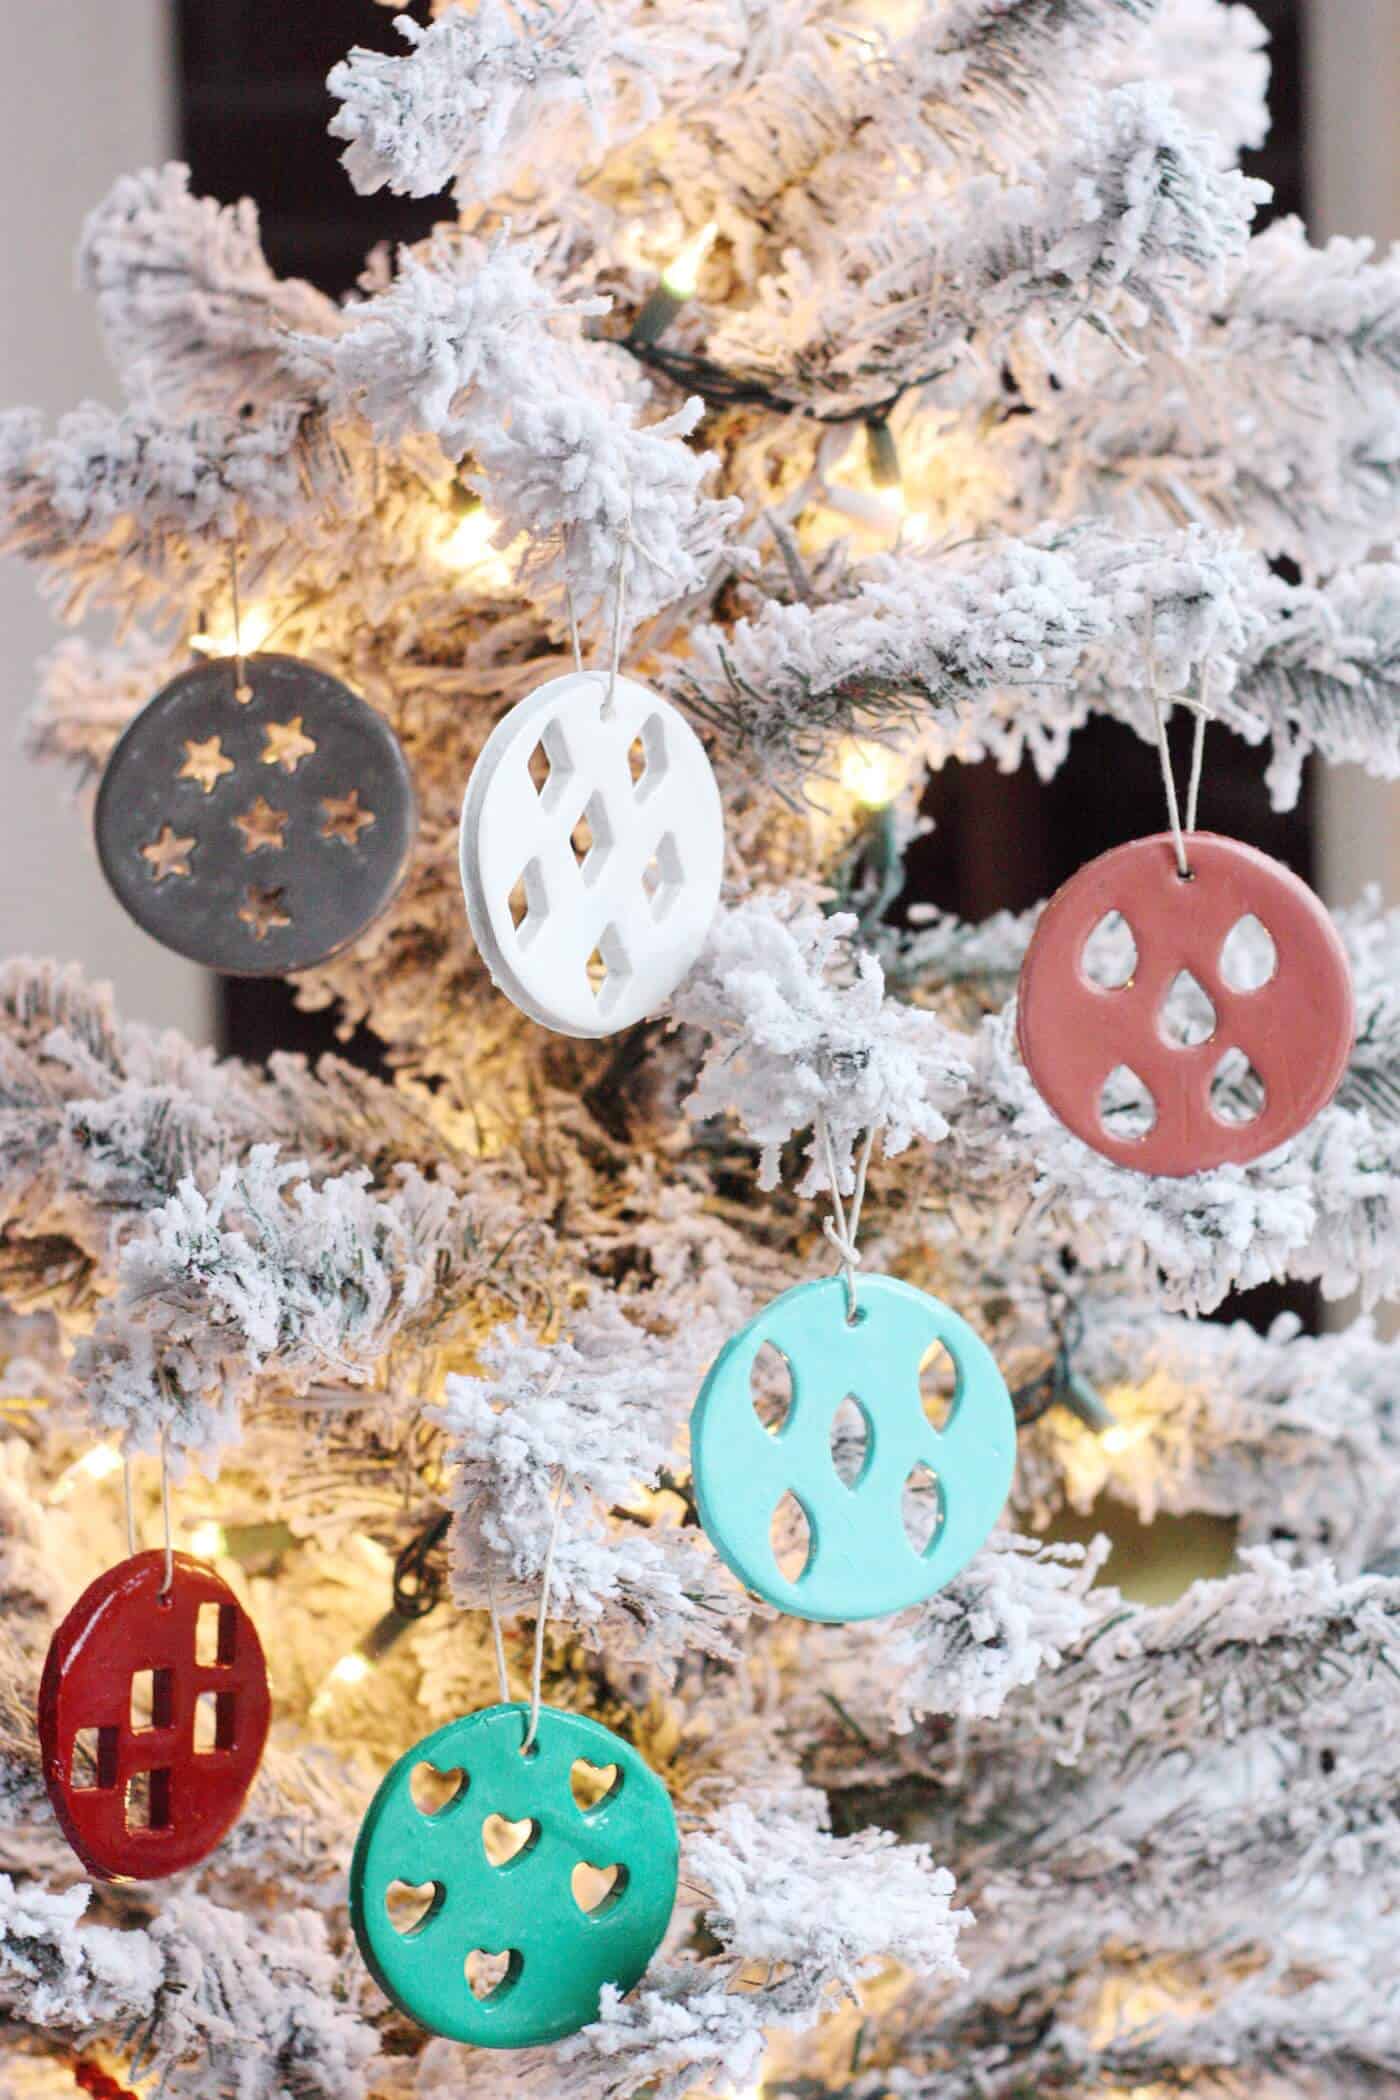
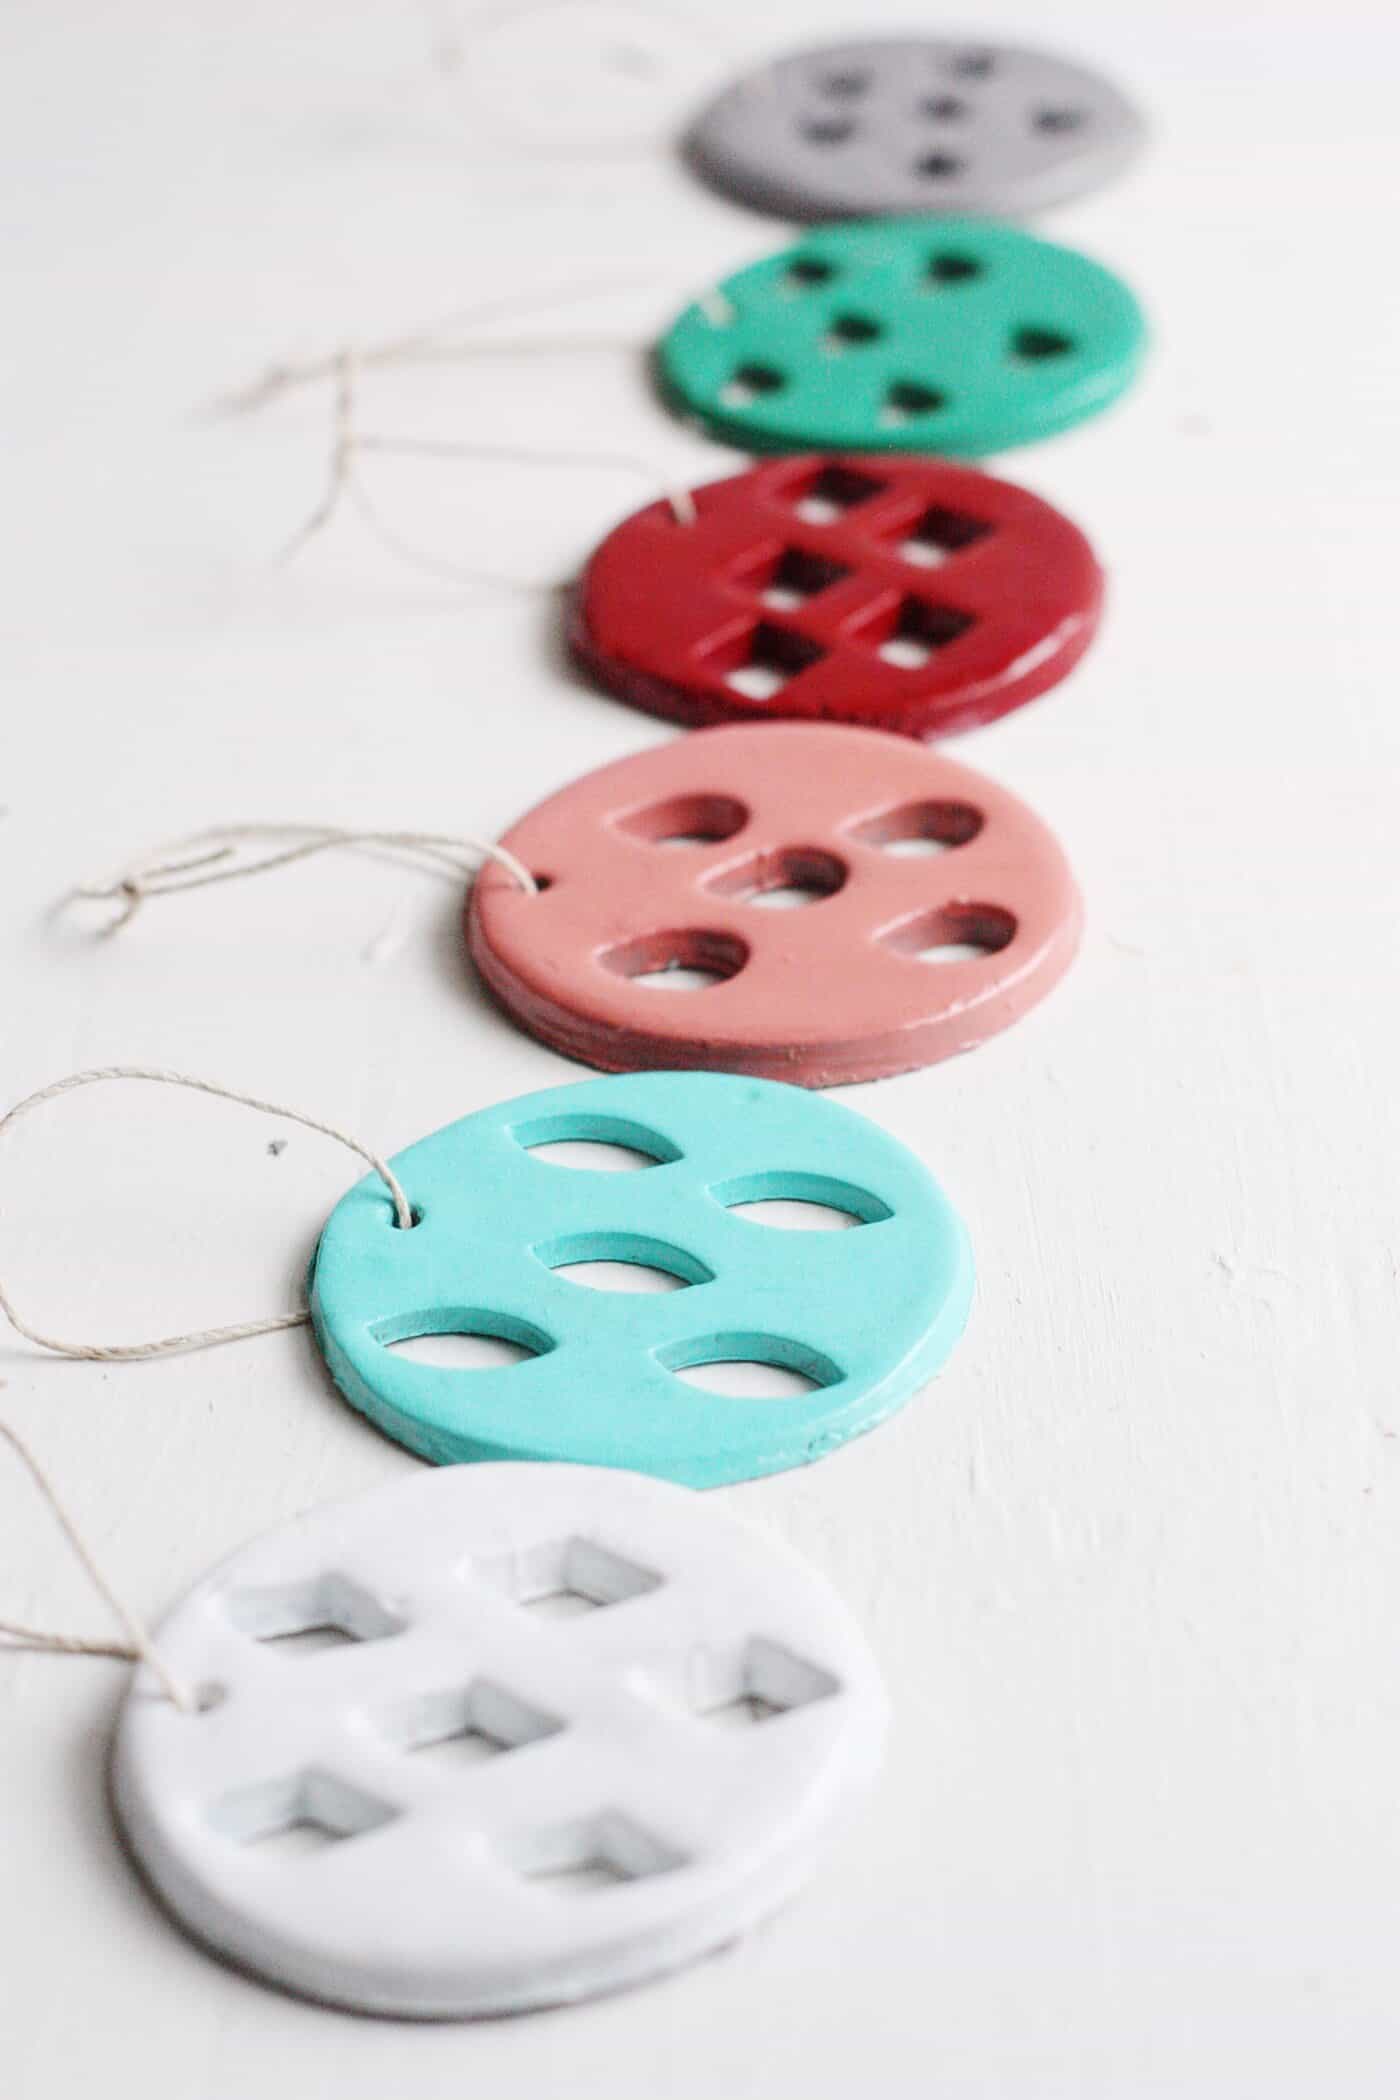
Now you can tie these babies to your tree and sit back and enjoy some Christmas magic. Aren’t they the cutest? I love how the light shines through the cut out shapes!
What DIY Christmas ornaments are you making this holiday season? I’d love to hear your ideas! And, be sure to visit us as we blog about style, food, and the things we love over at the Pretty Life Girls!

Clay Christmas Ornaments
Equipment
- Mini metal cutters
- Rolling Pin
- Skewer or toothpick
Materials
- Polymer clay
- Acrylic paint
- String
- Gloss spray or Mod Podge optional
Video
Instructions
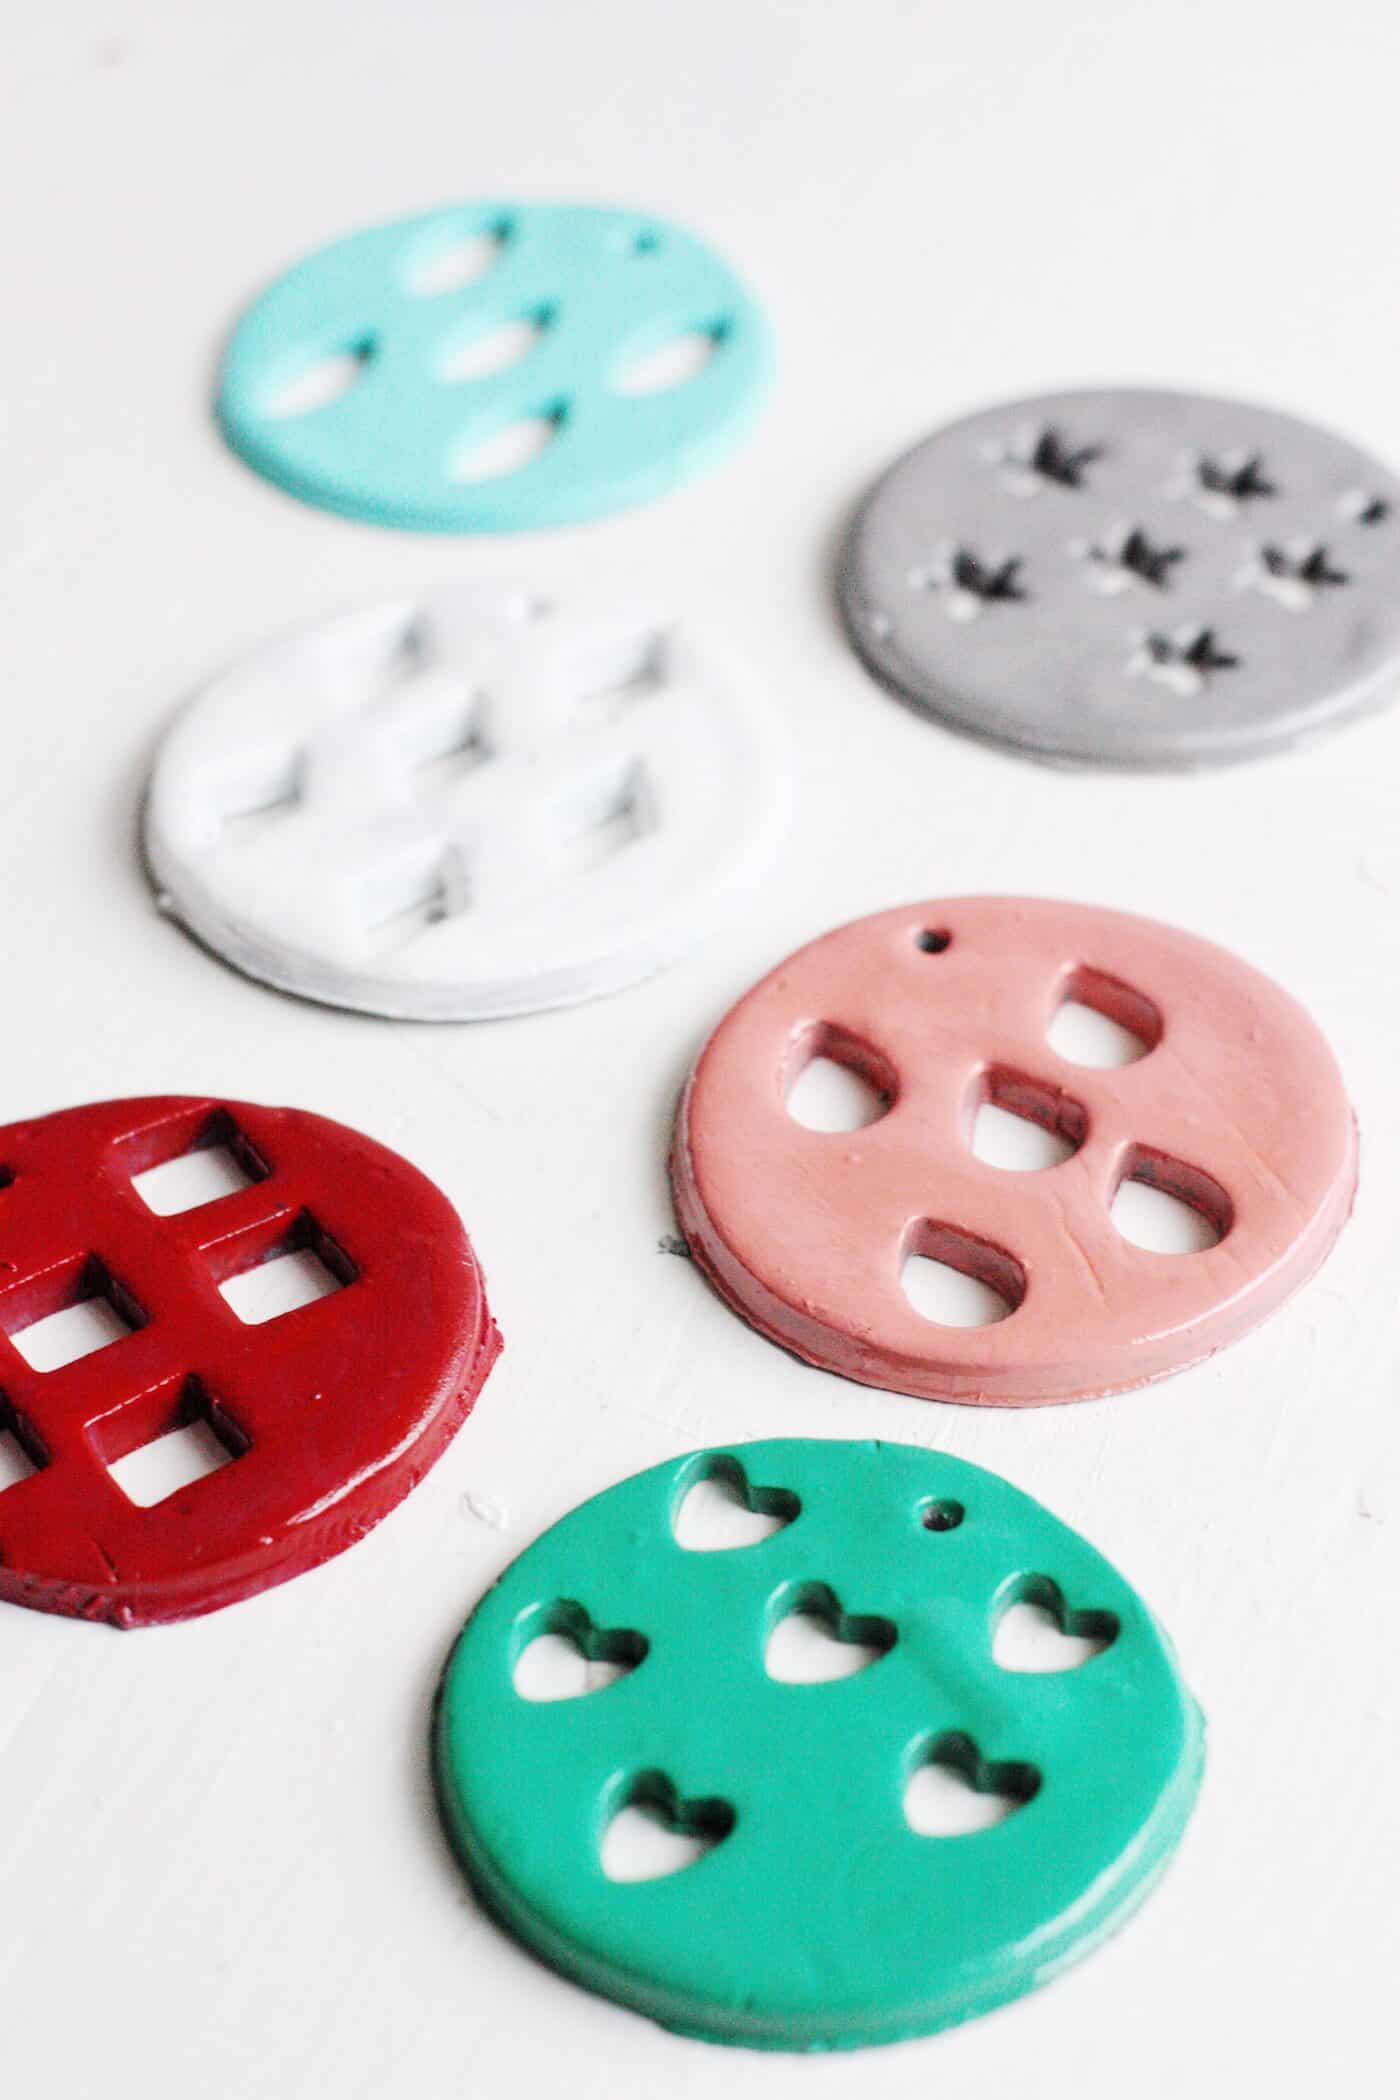
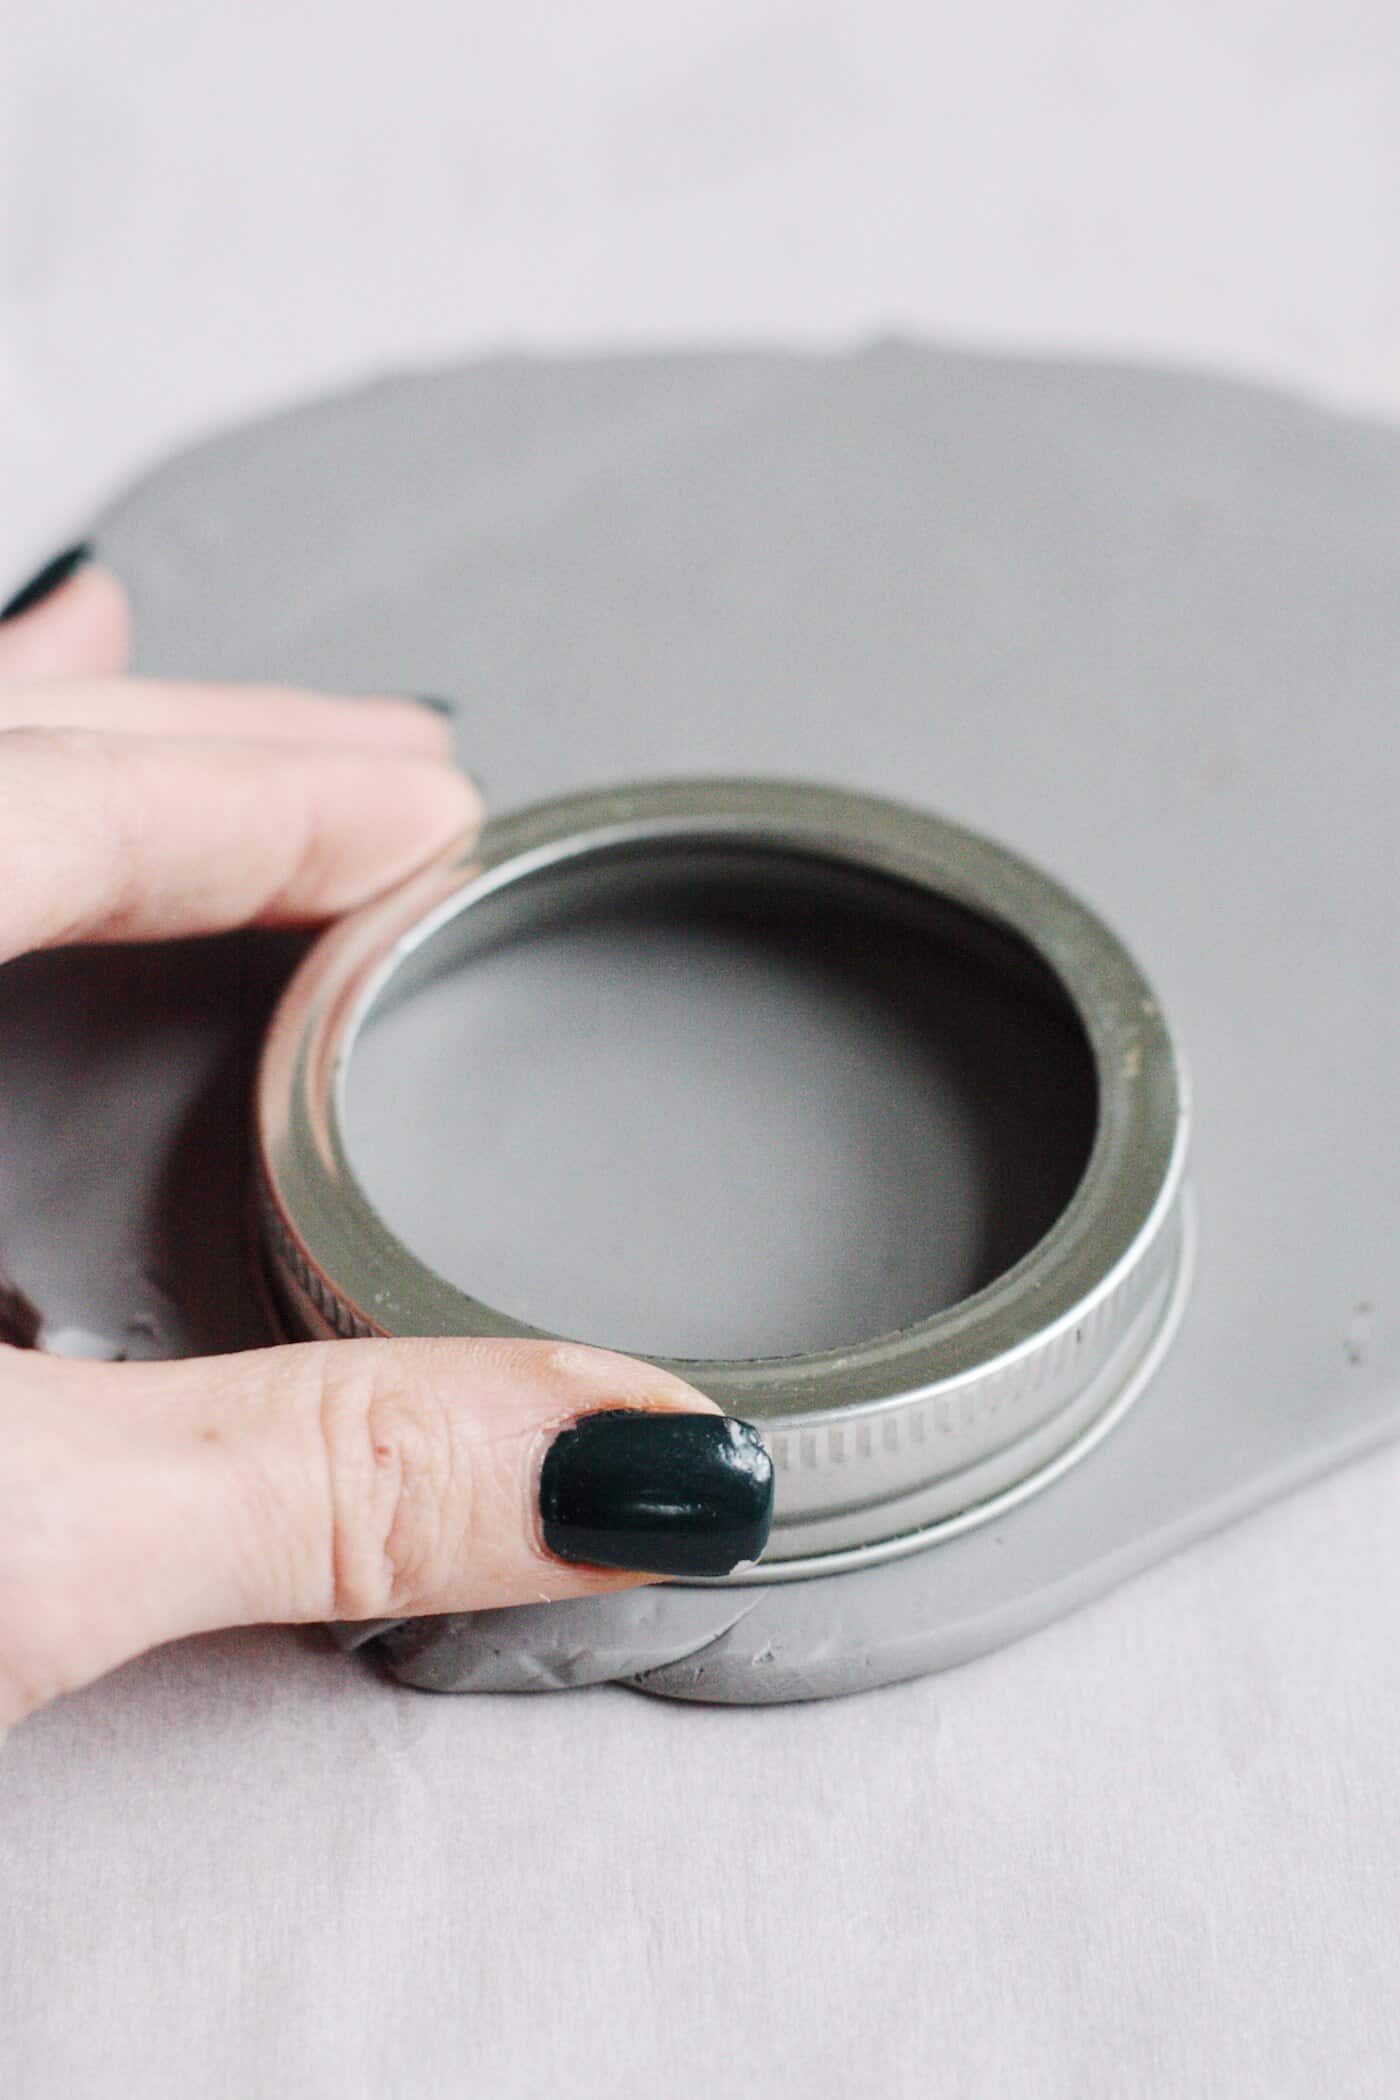
- Lay down a sheet of wax paper and roll out the clay with rolling pin until it is about 1/4" thick. You should have a smooth surface on top.

- Cut out circles from the flat clay. Use a round cookie cutter, the ring from a mason jar or cup.
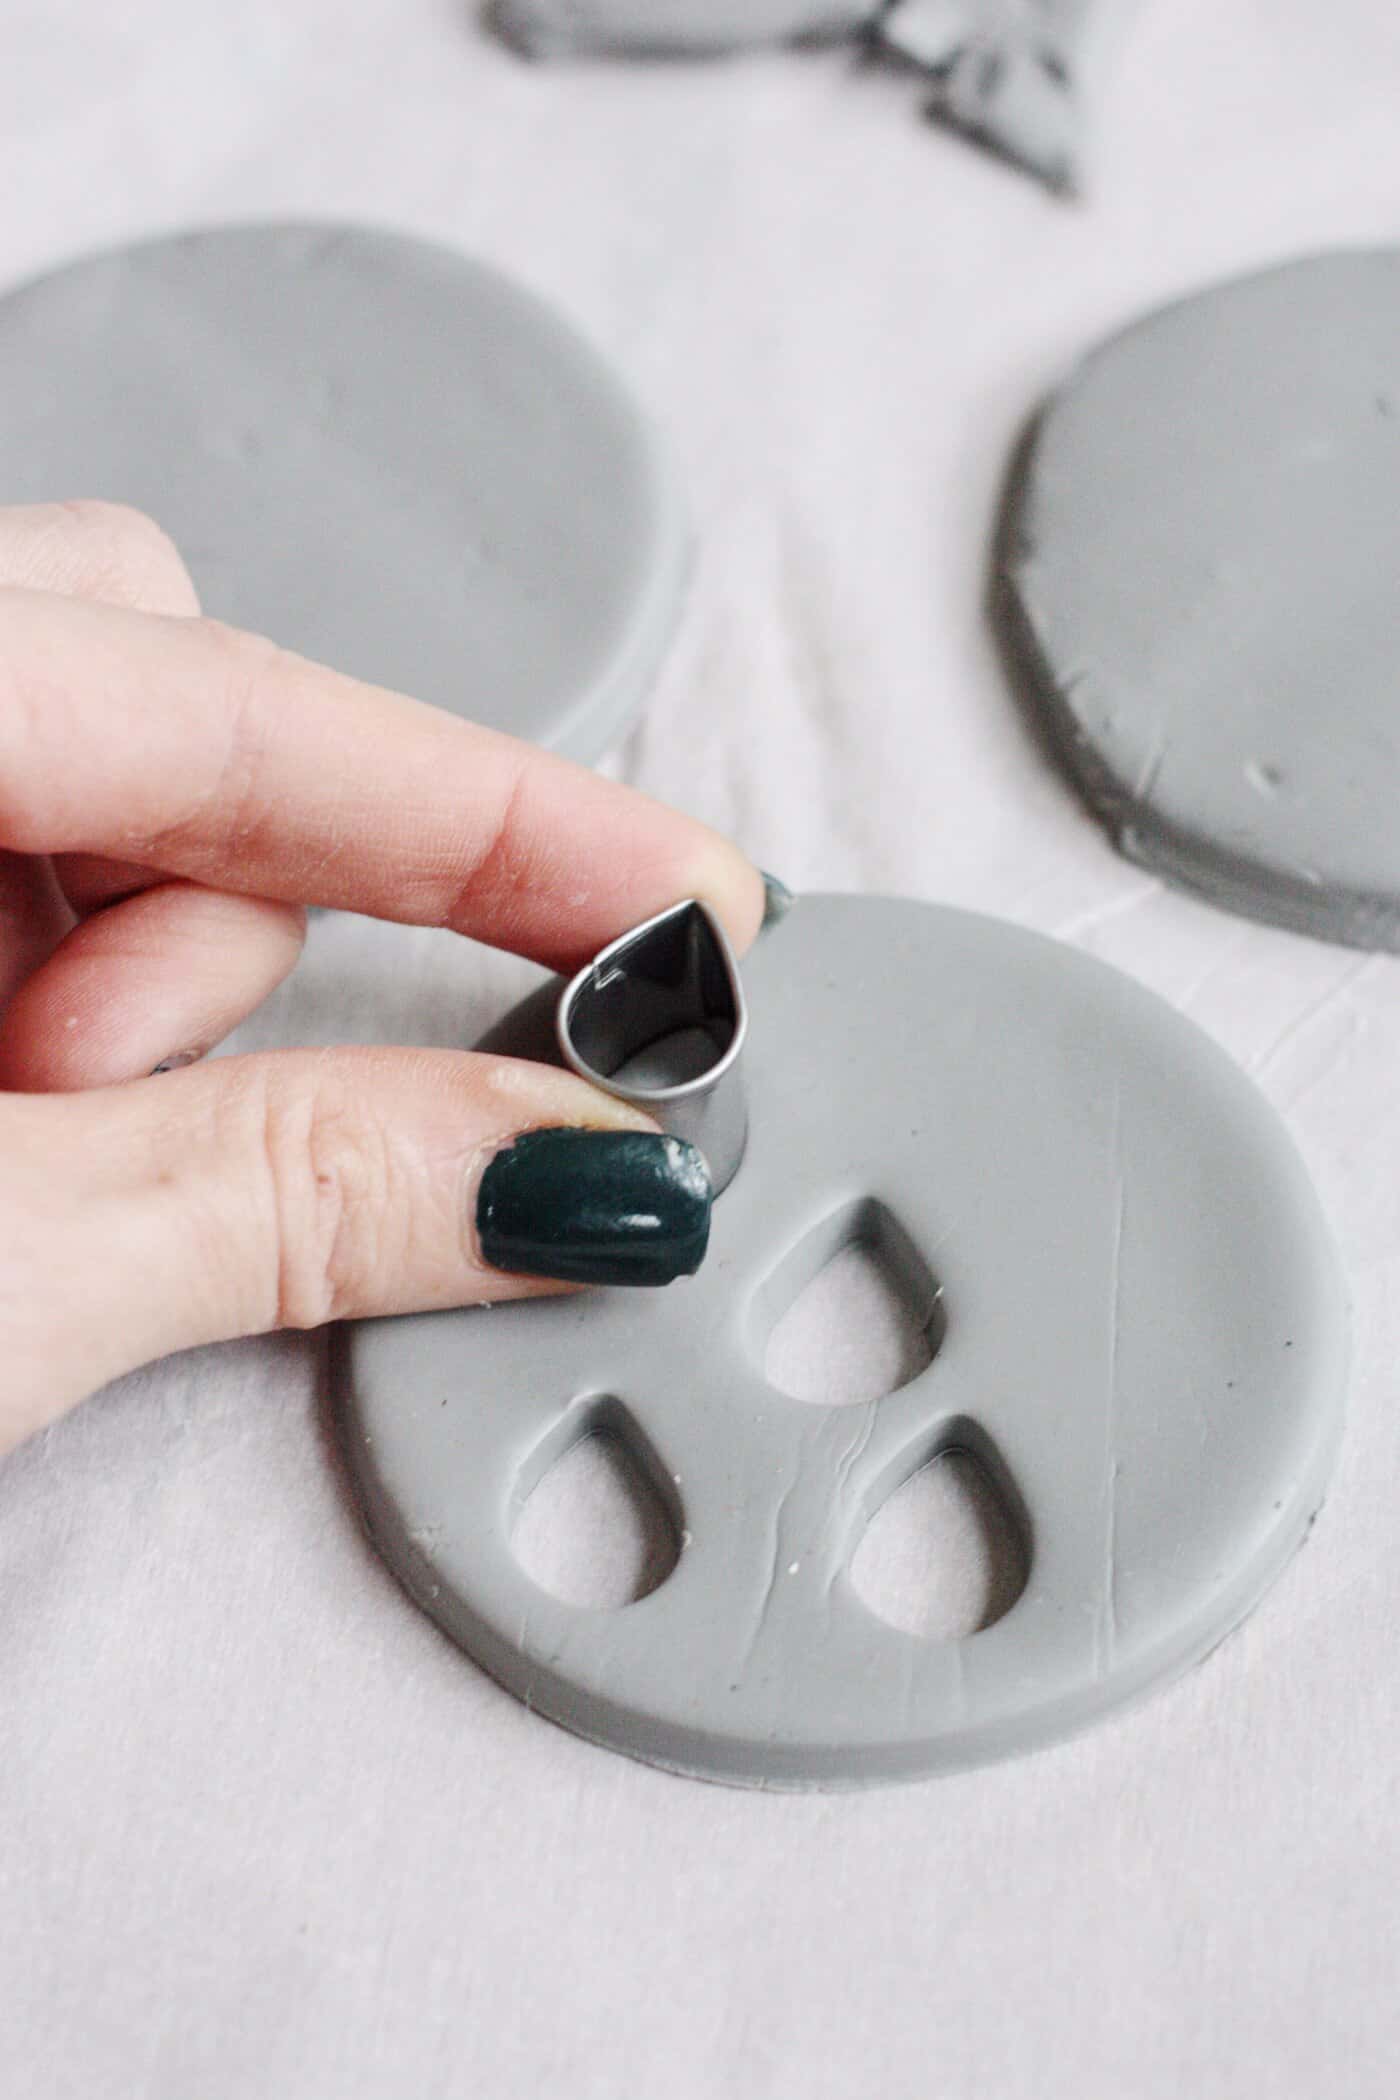
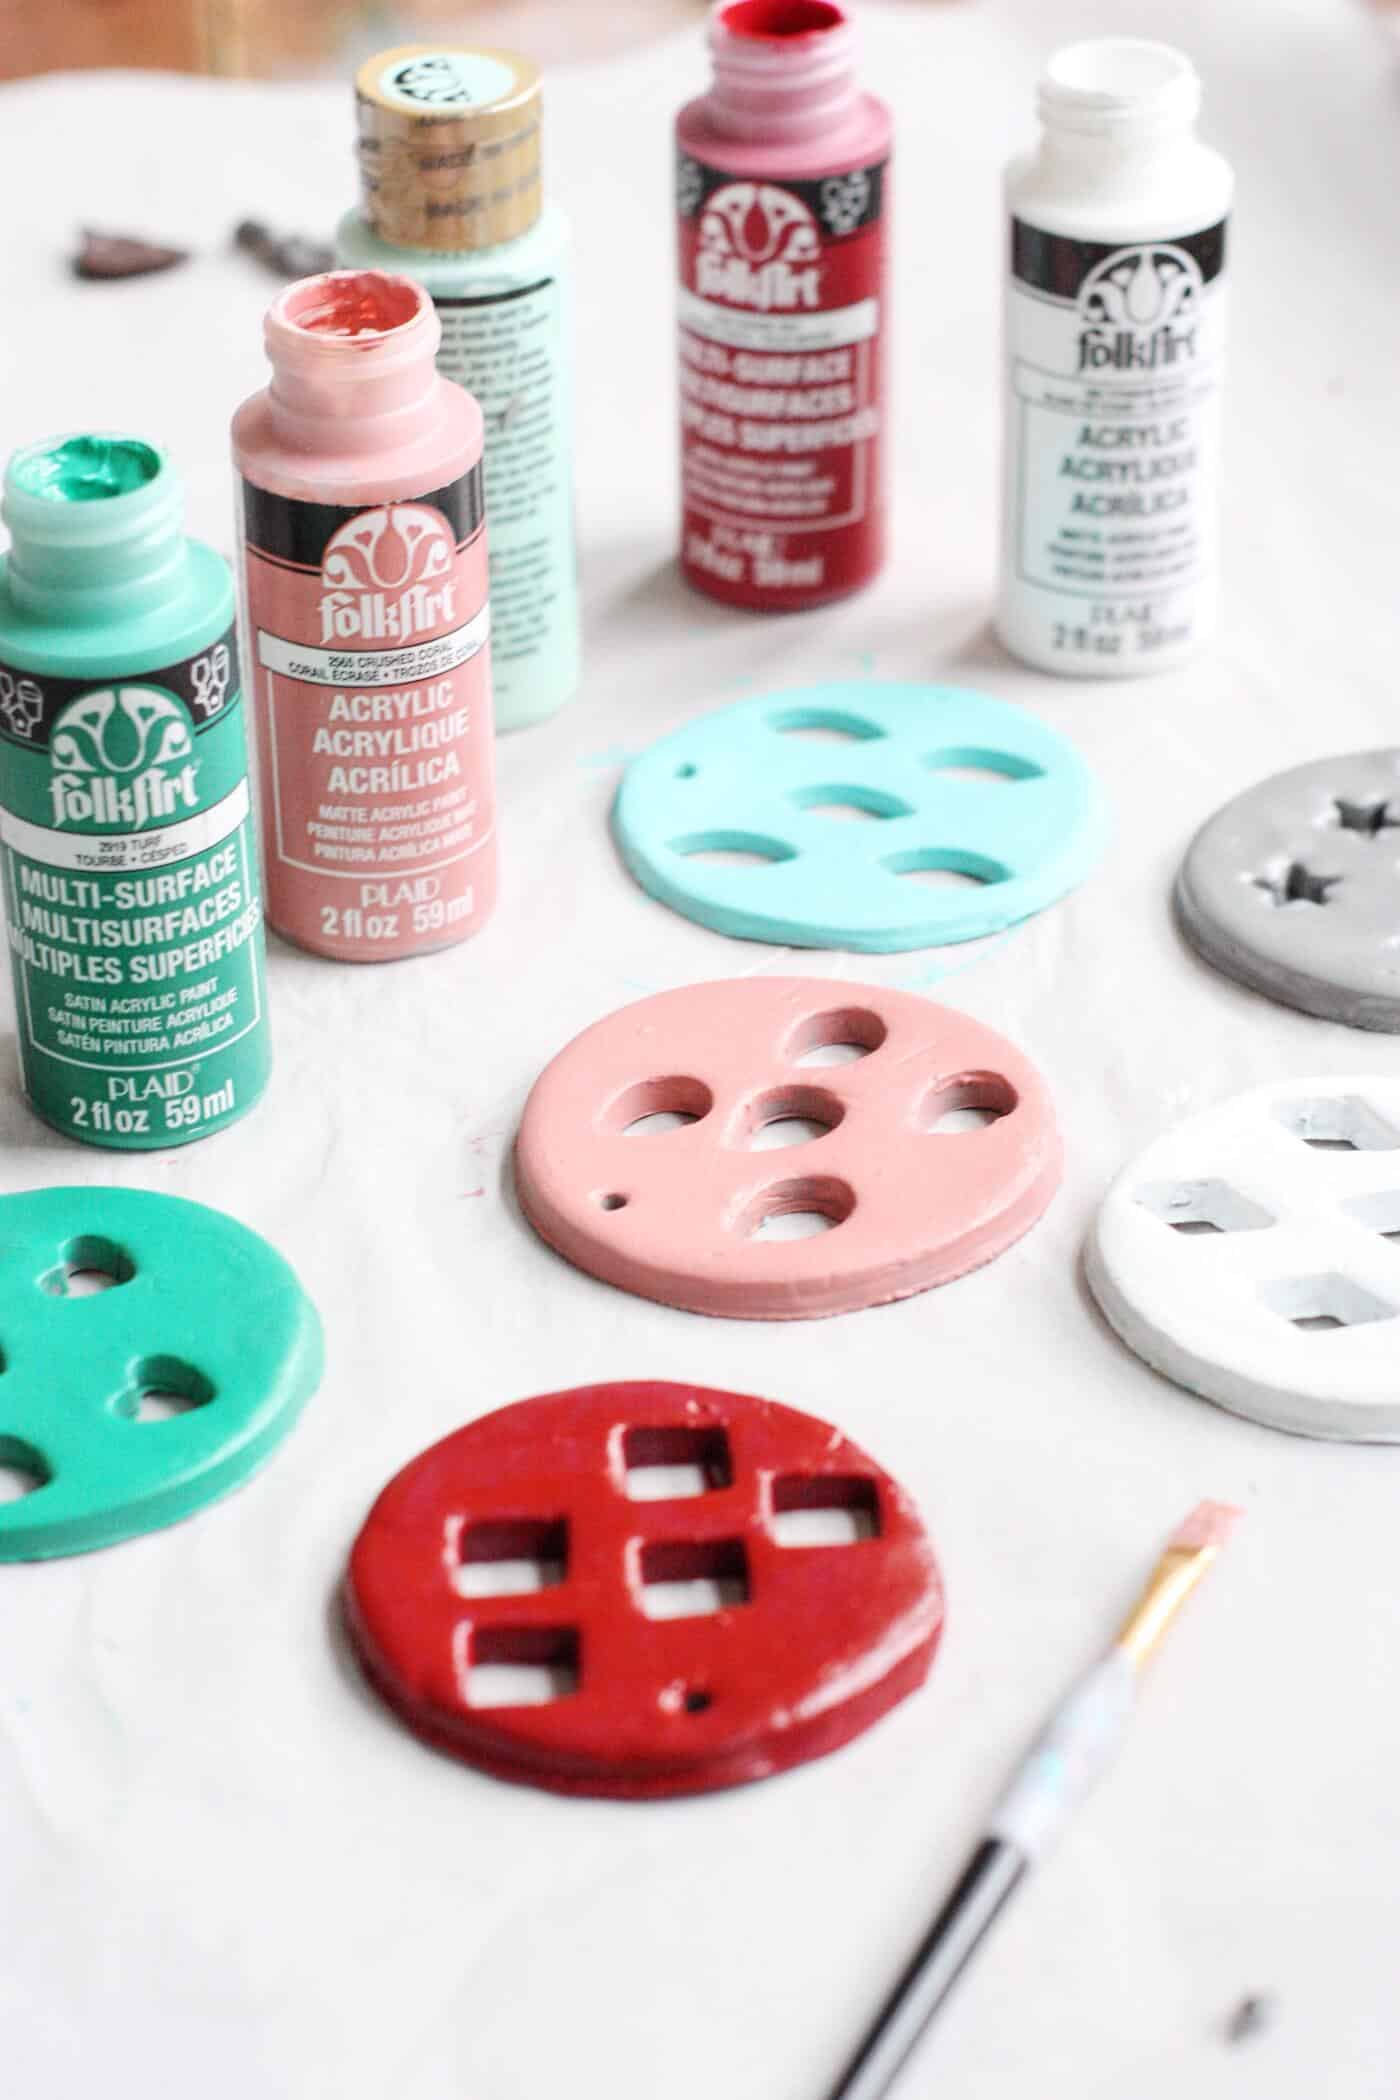
- Using mini metal cutters, cut out shapes from the clay circles.
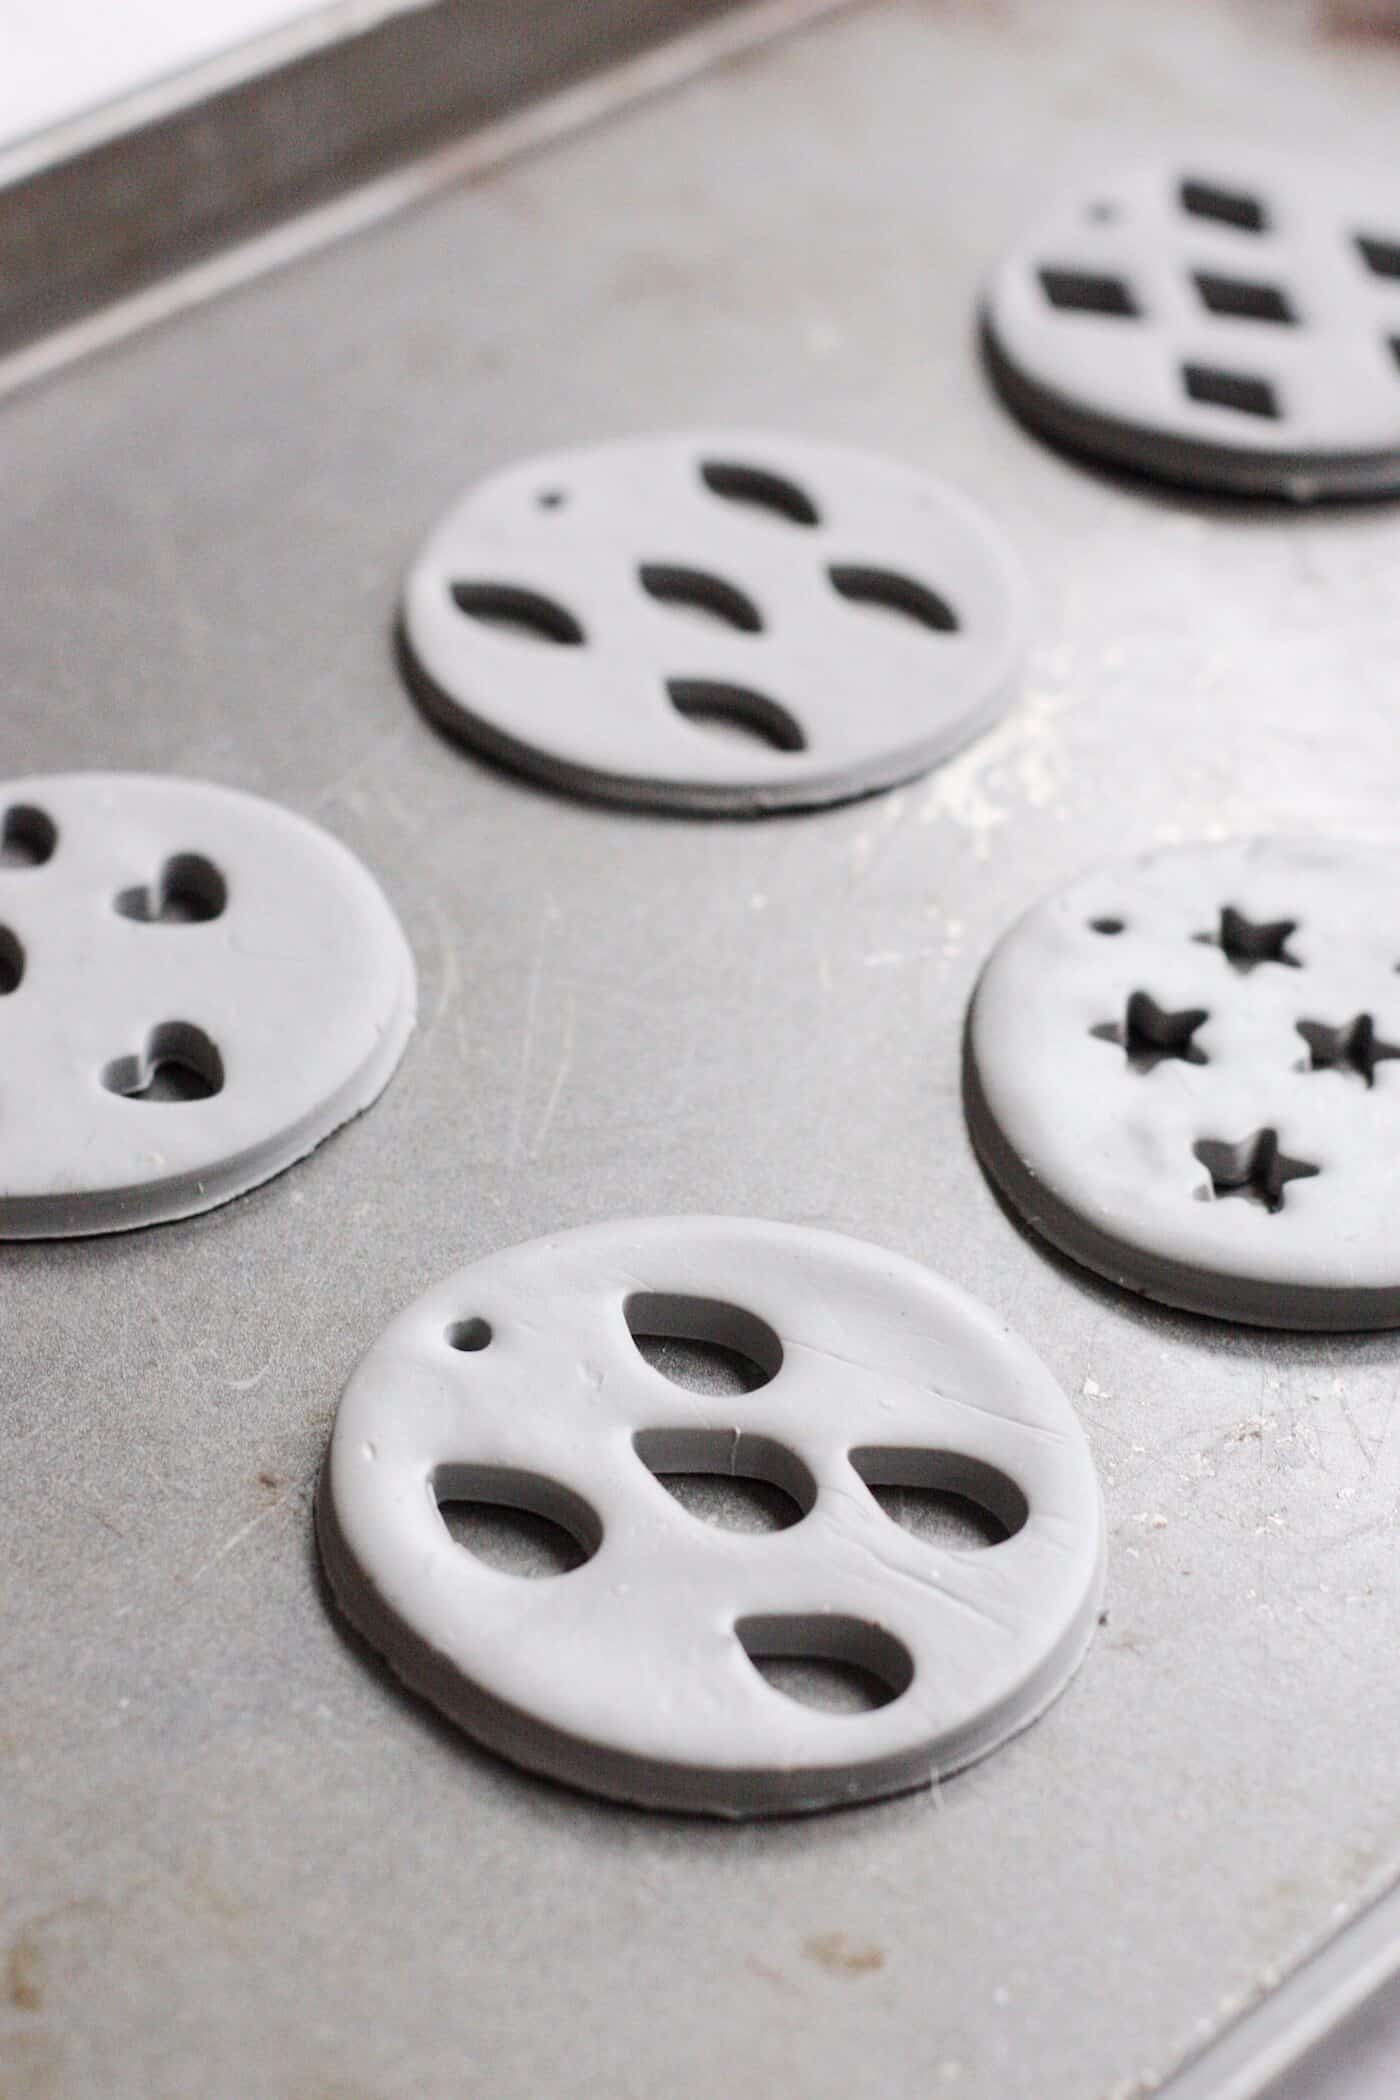
- Use a skewer or toothpick to make a hole in the top for the string.

- Place clay on baking sheet and bake according to package directions. I baked for 15 min at 275F.
- Remove the clay ornaments from the oven and let cool completely.
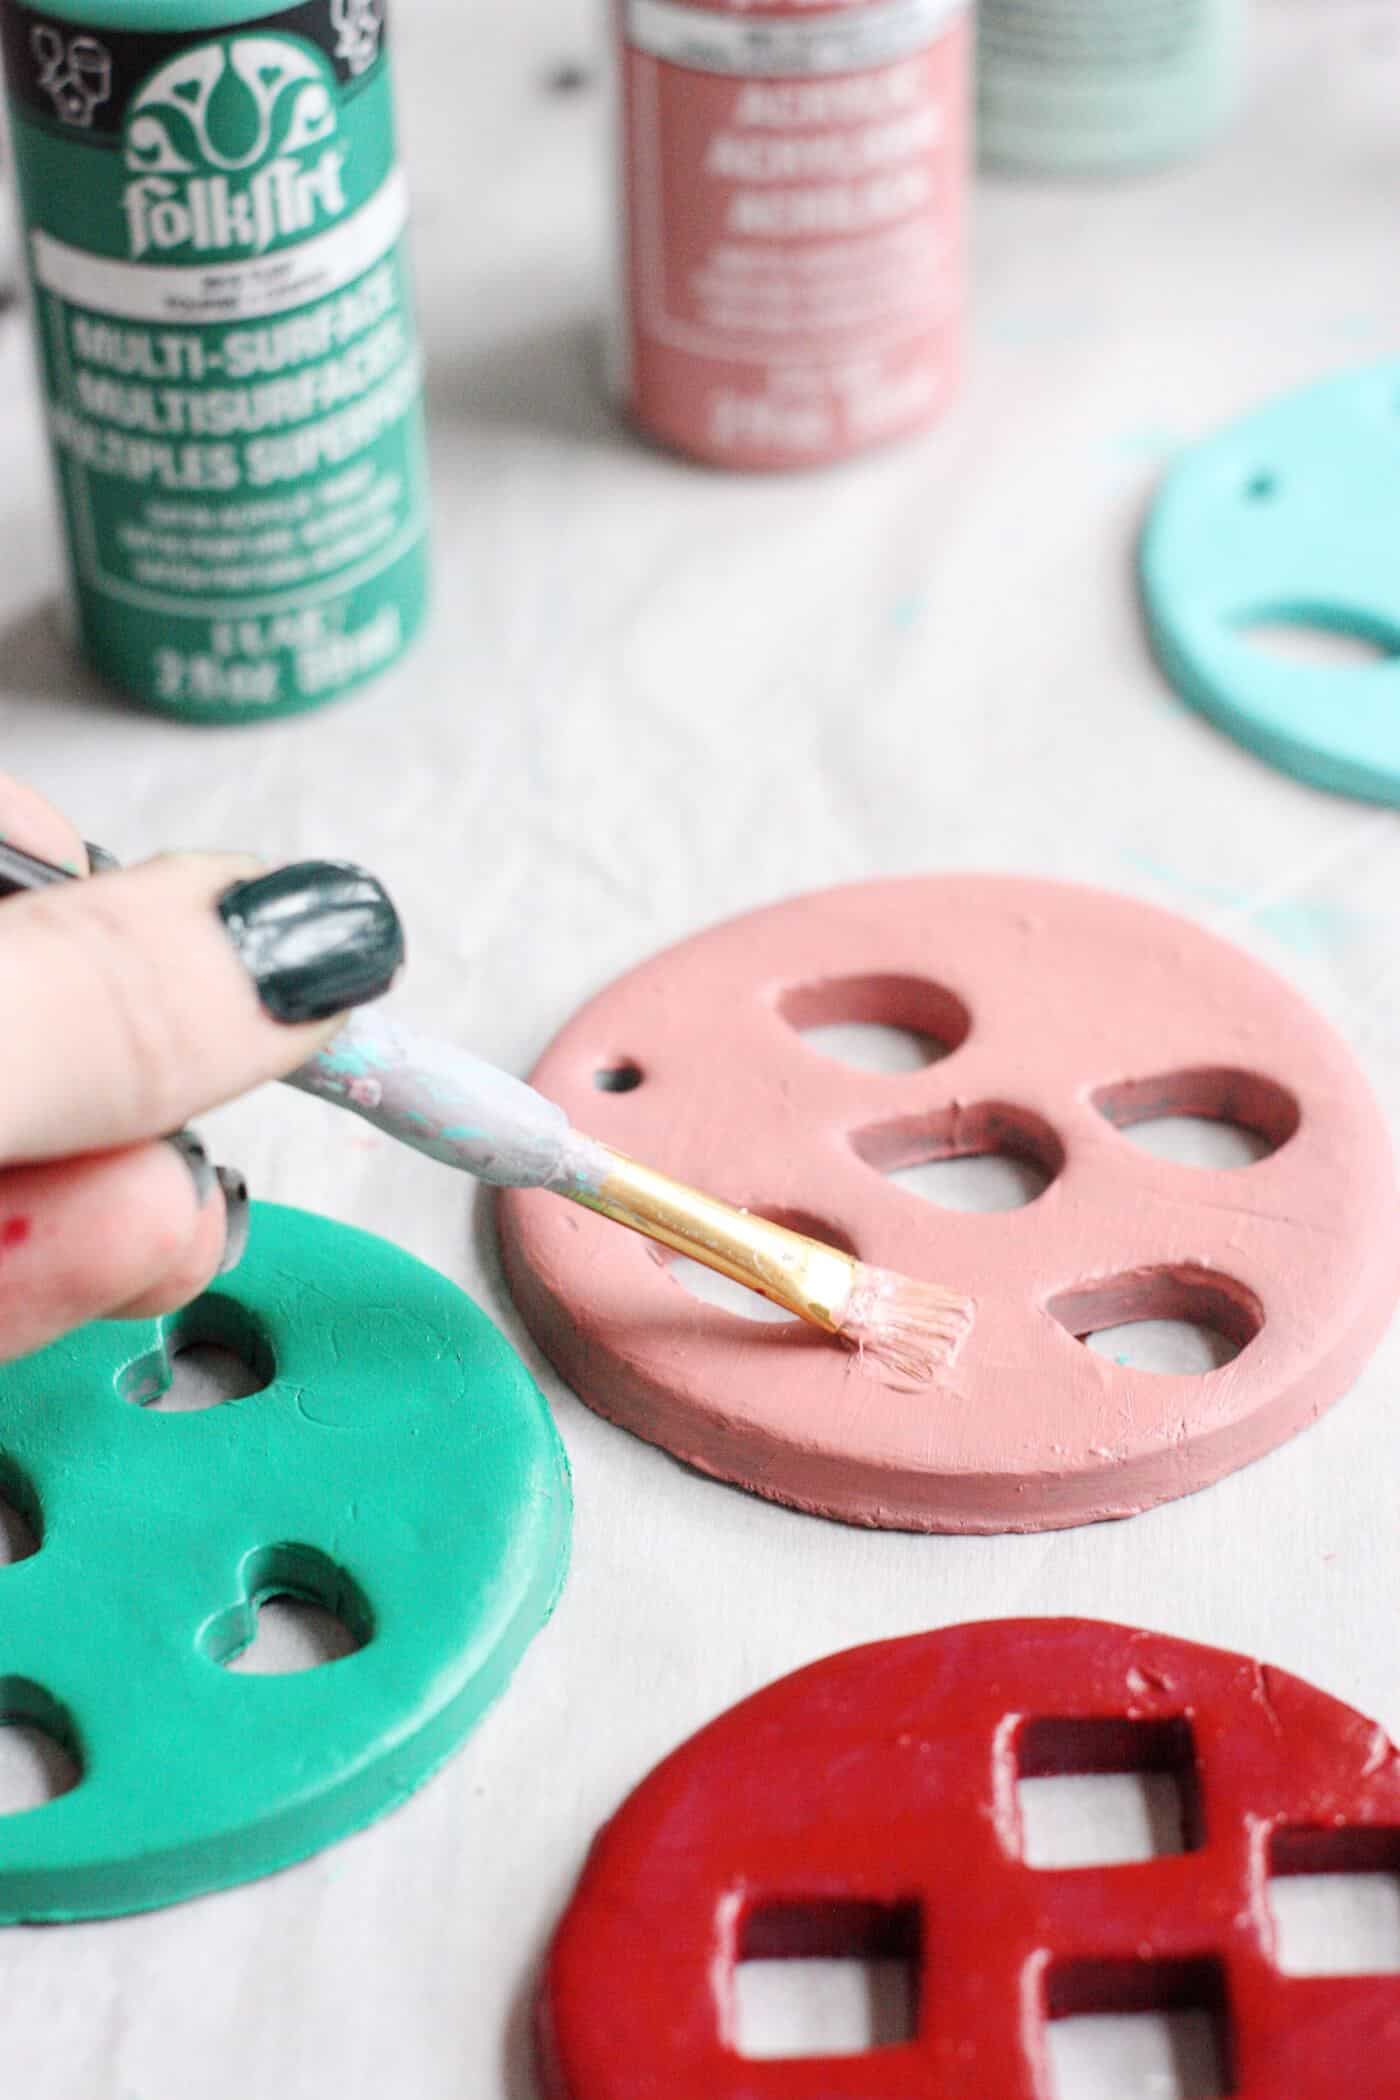
- Once cooled, paint each ornament. Let dry completely..
- If a more enamel looking desired, spray with a glossy sealant. You can also seal with Mod Podge.
- Cut string to about 6 – 8 inch pieces and tie to the ornaments to finish.
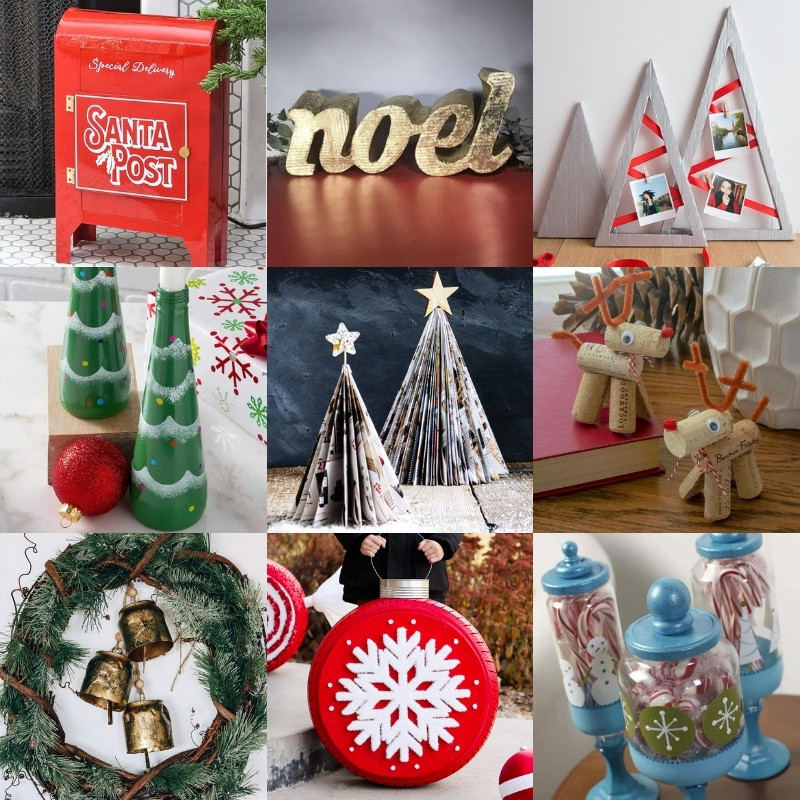
These clay ornaments are SO easy and an inexpensive Christmas craft! If you’re looking for other ornaments that are really easy to make, try the following ornies:
Candy Cane • Cookie Cutters • Crochet Angel • Crochet Bell • Cross Stitch • DIY Gnomes • DIY Snow Globe • Mandala • Metallic Keys • Mini Wreath • Origami • Poinsettia • Temporary Tattoos • Washer Star • Wood Bead • Wood Bead Snowman • Wood Bead Star • Wood Slice • Yarn Wrapped