Gorgeous DIY Wood Bead Ornament in Just Four Steps
Learn how to make a wood bead ornament that looks beautiful on your Christmas tree! You can make this holiday craft in four simple steps.
Skills Required: None. Even if you’ve never made anything before, this Christmas ornament is easy. You’ll be stringing beads and hot gluing. It’s a perfect beginner craft project.

I’m kind of hooked on unfinished wood beads lately! This happens to me all the time. I get hooked on a craft supply, and then I try a bunch of different ideas with it. And this time? I made a wood bead ornament!
It started with the wood bead garland, and then I made the snowman ornaments and the gnome ornaments. And the star ornament. I’ve even tried a wood doormat where I used 42 painted orange beads!
That’s a lot of beads, my friends.
And I really love working with them, which is why I’m very excited to share this project with you. You’re not going to believe how easy these are to make to grace your tree!
They’re perfect for farmhouse or rustic style . . . and you can use them as gift tags. You can stain and paint the beads as well, I just happen to like them unfinished.

You’re going to make this cute Christmas ornament in four simple steps. You’ll string the wire with wood beads, then form a circle. Then you’ll add the baker’s twine, and finally the embellishments.
Are you ready to learn how to make these wooden bead Christmas ornaments? Keep on reading!
Gather These Supplies
- Wood beads (5/8″) – 15
- Floral wire – at least 22 gauge
- Wire cutter
- Hot glue gun and glue sticks
- Small wood circle
- Fir branch pieces
- Baker’s twine – about 12″
- Scissors
I wanted these to feel a little rustic and woods-y (I’m vibing on Yellowstone lately so think Montana Christmas). So for the embellishments, I decided to add a few bits of fir from my yard and a wood circle I had in my stash.
But you can use anything! Think mini wreaths, a small bow, a button, etc. There are a lot of options. I always suggest checking your stash to see what you can use.

Let me know what you think of this project in the comments! Get the printable how to card below:

DIY Wooden Bead Ornament
Equipment
- Wire cutters
- Needle(s) optional
Materials
- 15 Wood beads 5/8"
- Floral wire at least 22 gauge, see notes
- Small wood circle
- 2 pieces Fir branch
- 12 inches Baker's twine approximately – more for larger branches
Video
Instructions
- Cut piece of wire about 13 – 15" or so, depending on the size of your beads. I used 15 beads, but you can make your wreath shape as large as you like.
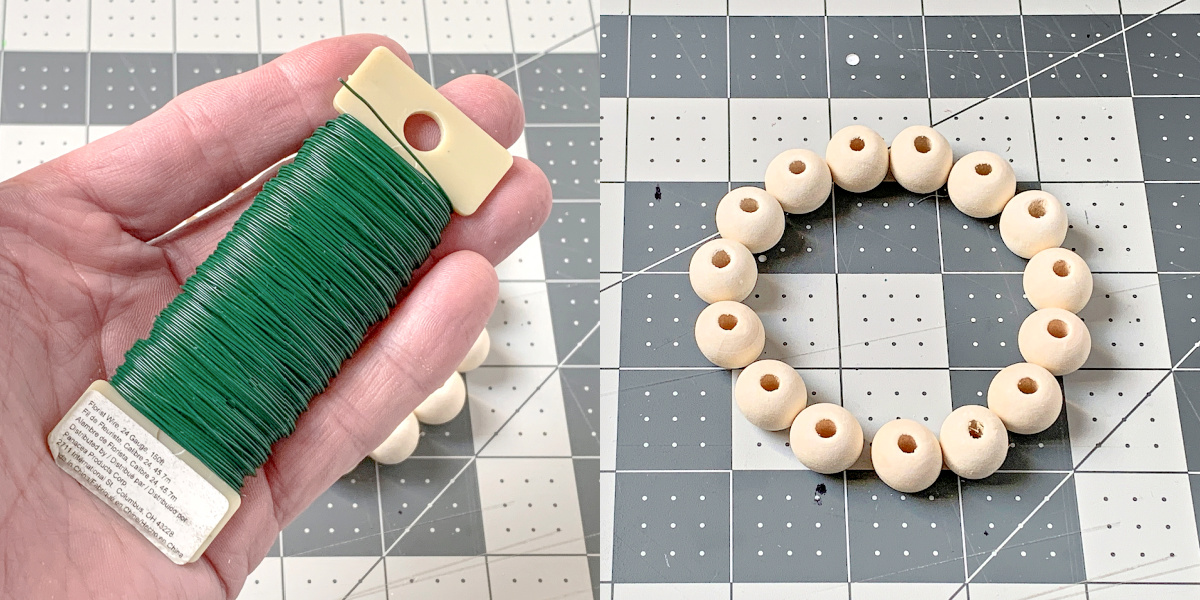
- Begin stringing the beads onto the wire, pushing all the beads toward the center and leaving wire on both ends.
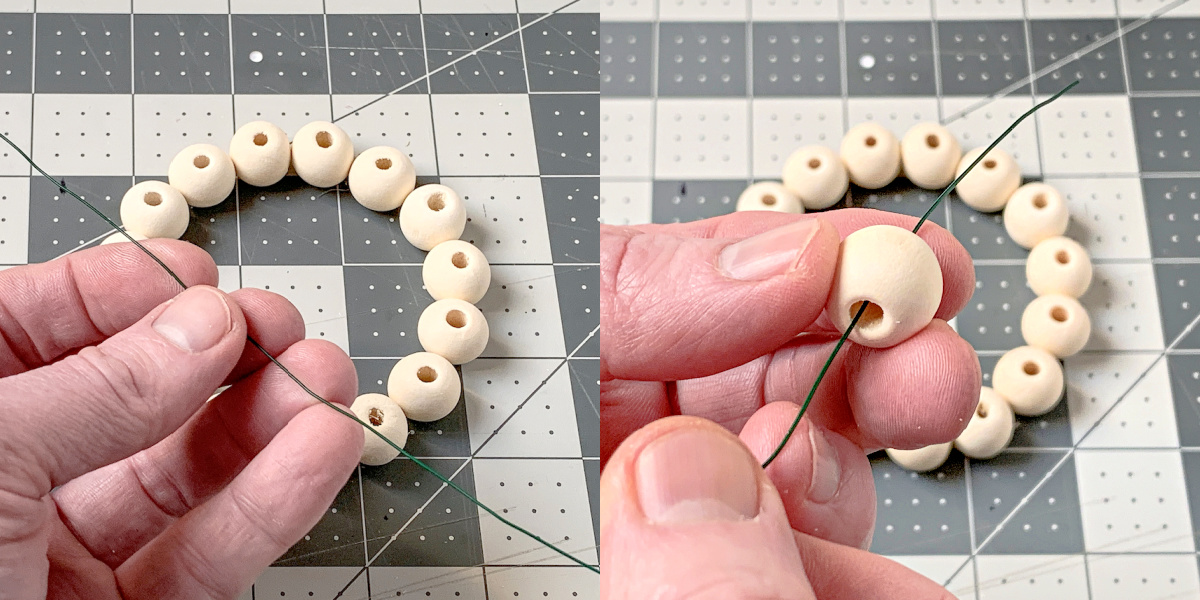
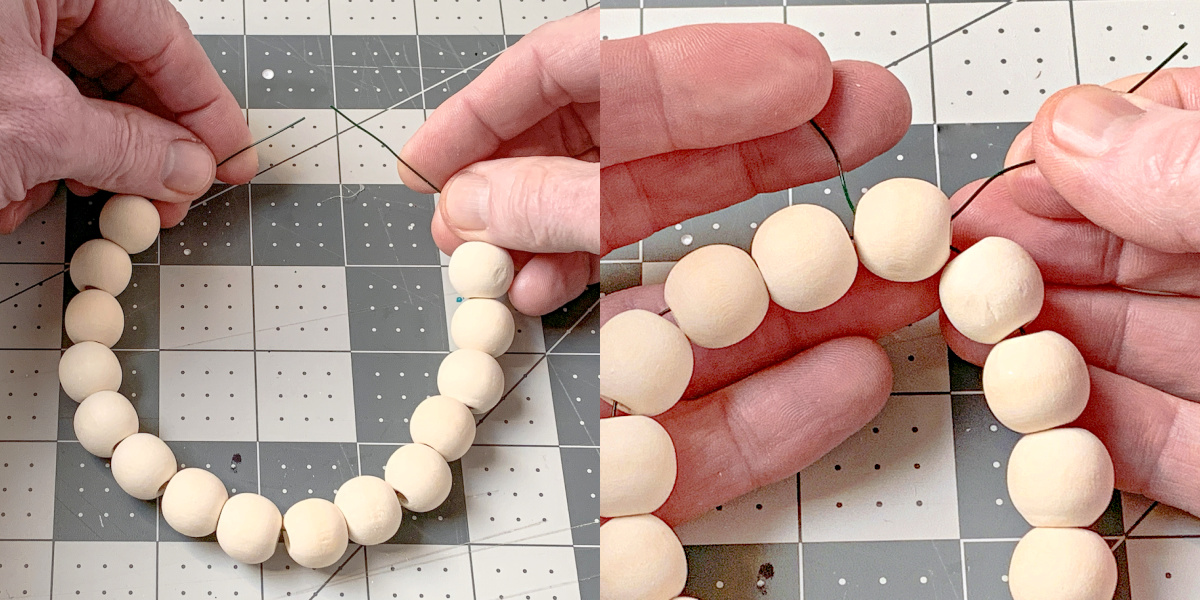
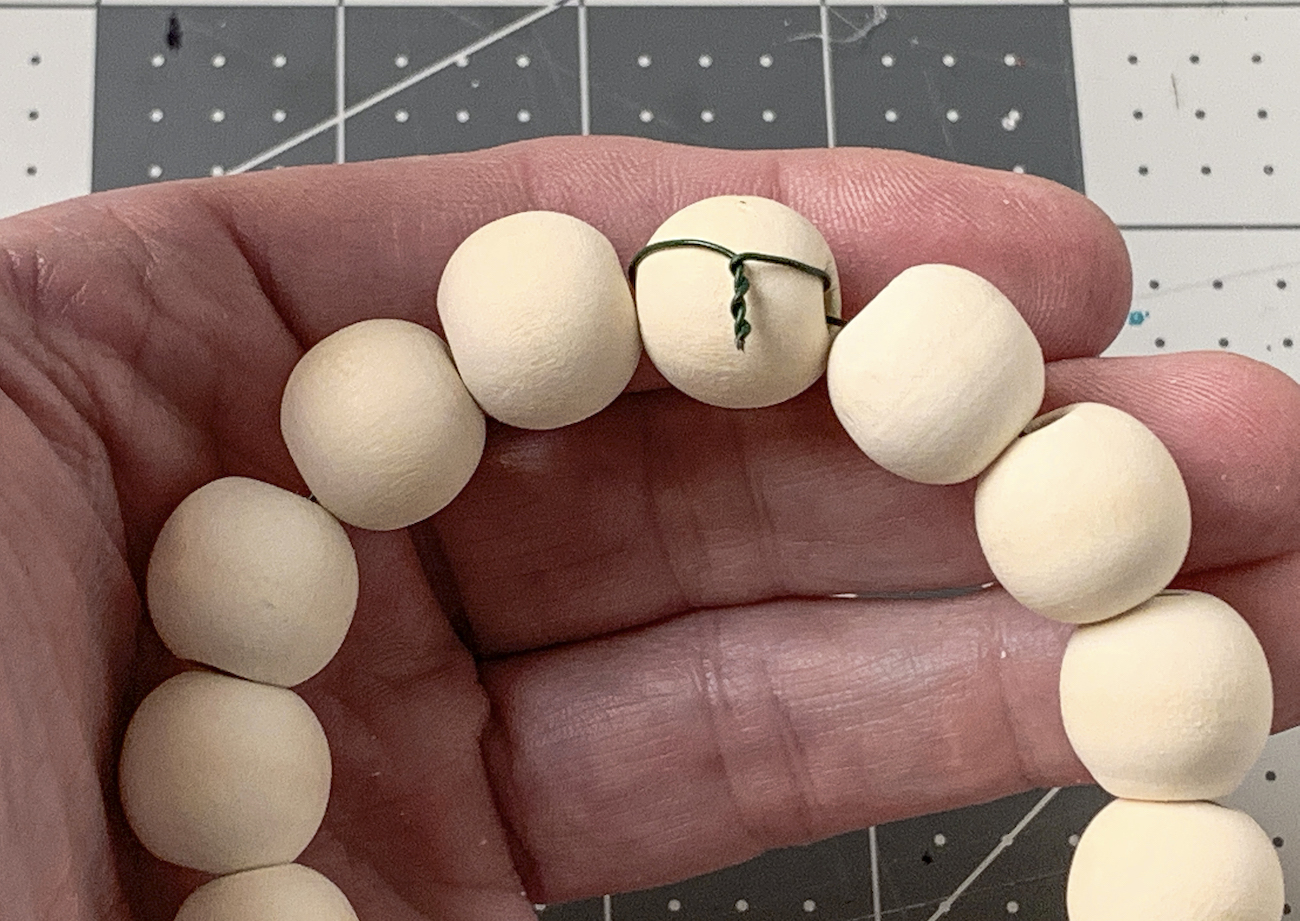
- Now you will create a circle with the wire. Bring the wire around to form a circle, and string the wire from the right side through the last bead on the left. Pull together to tighten the circle.
- Twist the wire behind the wood bead to secure your ornament. Clip off the excess wire with the wire cutters.
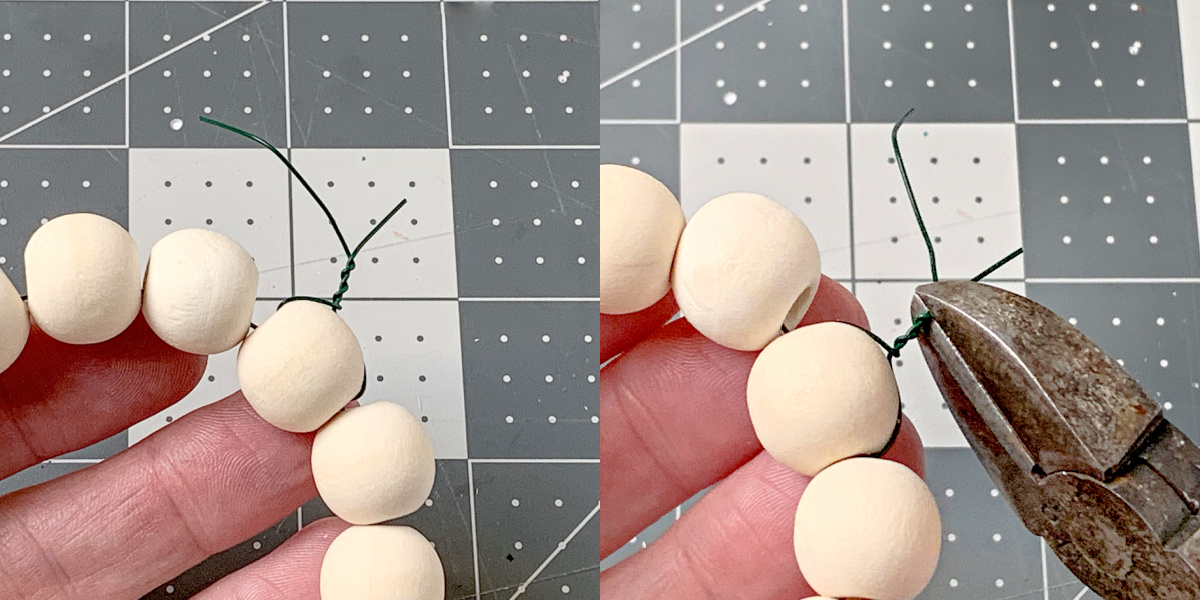
- Push the wire down behind the bead. This will be the back of the ornament.
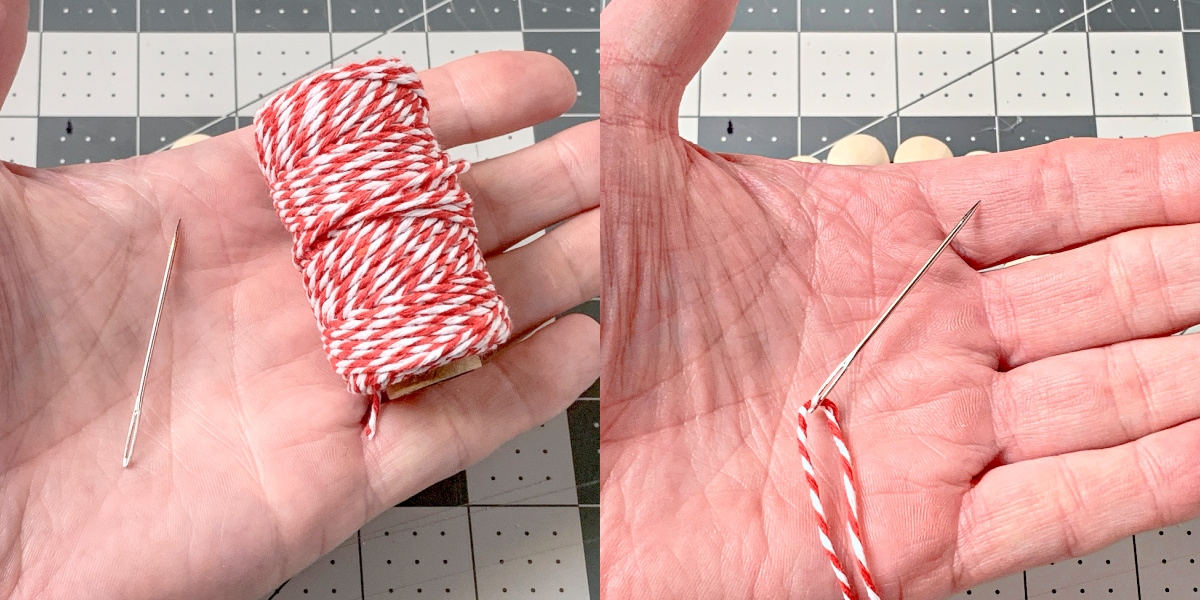
- Cut about 12" of baker's twine and thread through a needle (optional).
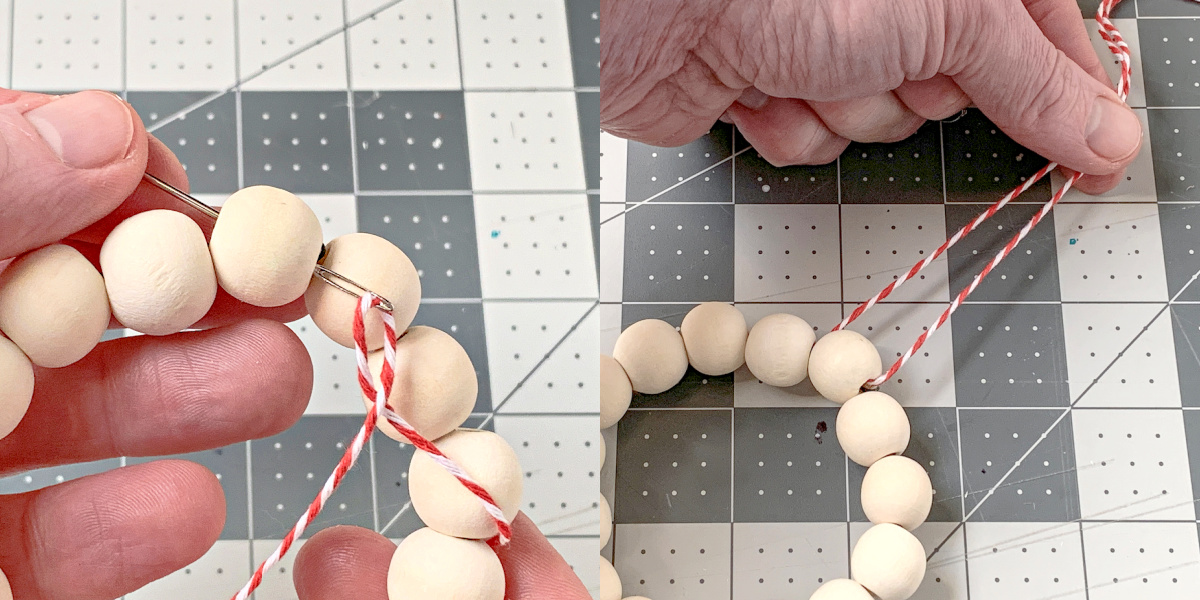
- String through the top bead – this is the way to string your ornament so that it will face out when it hangs (and not to the side).
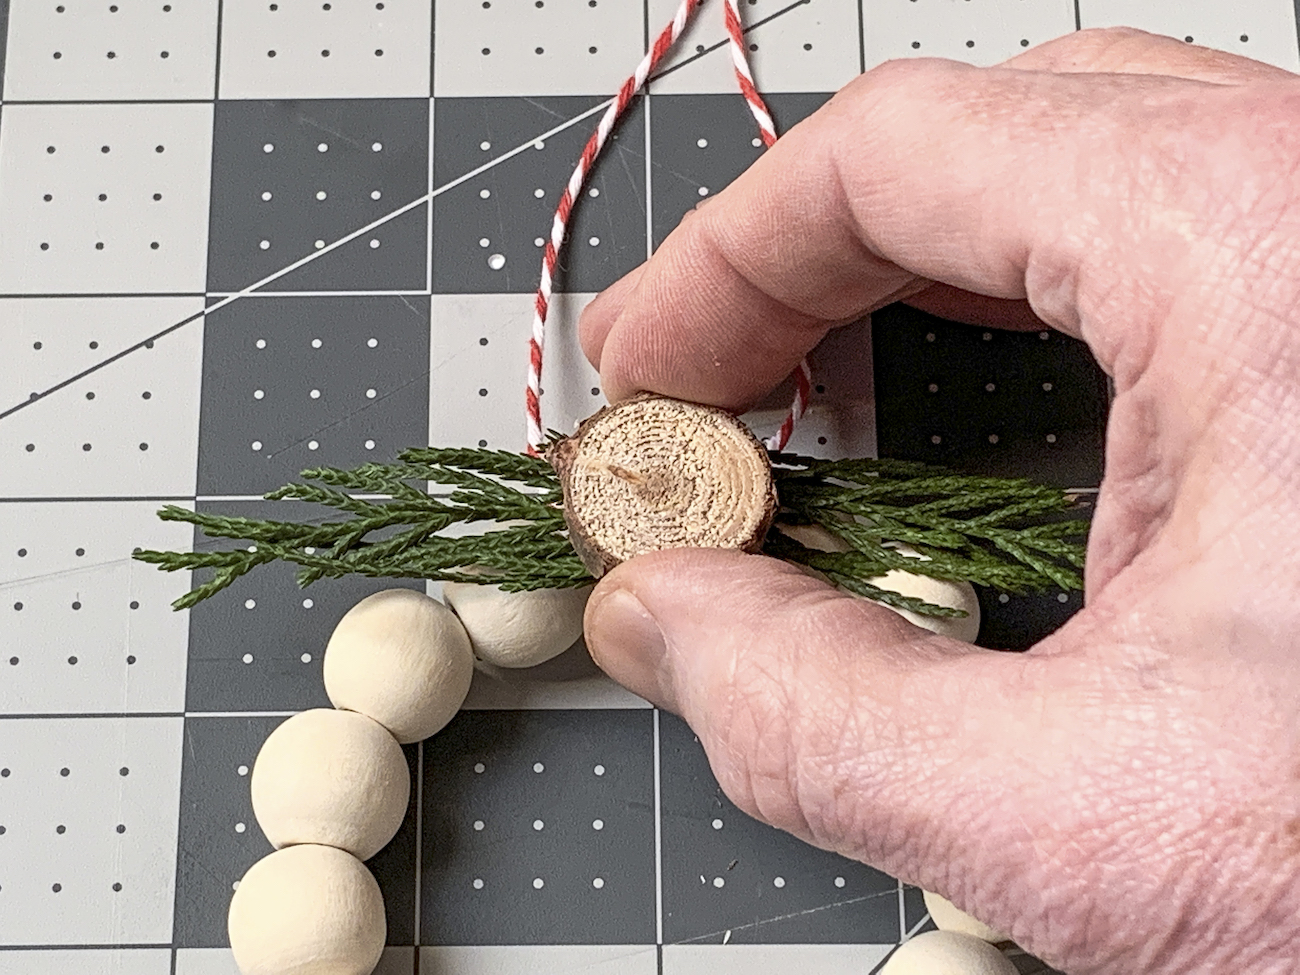
- Attach the greenery and wood circle with a hot glue gun and let cool before hanging.
Notes
Did you enjoy making this project? Let me know in the comments! I’d love for you to check out these other ornament ideas:
Candy Cane • Cookie Cutters • Crochet Angel • Crochet Bell • Cross Stitch • DIY Snow Globe • Mandala • Metallic Keys • Mini Wreath • Origami • Poinsettia • Polymer Clay • Temporary Tattoos • Washer Star • Wood Slice • Yarn Wrapped