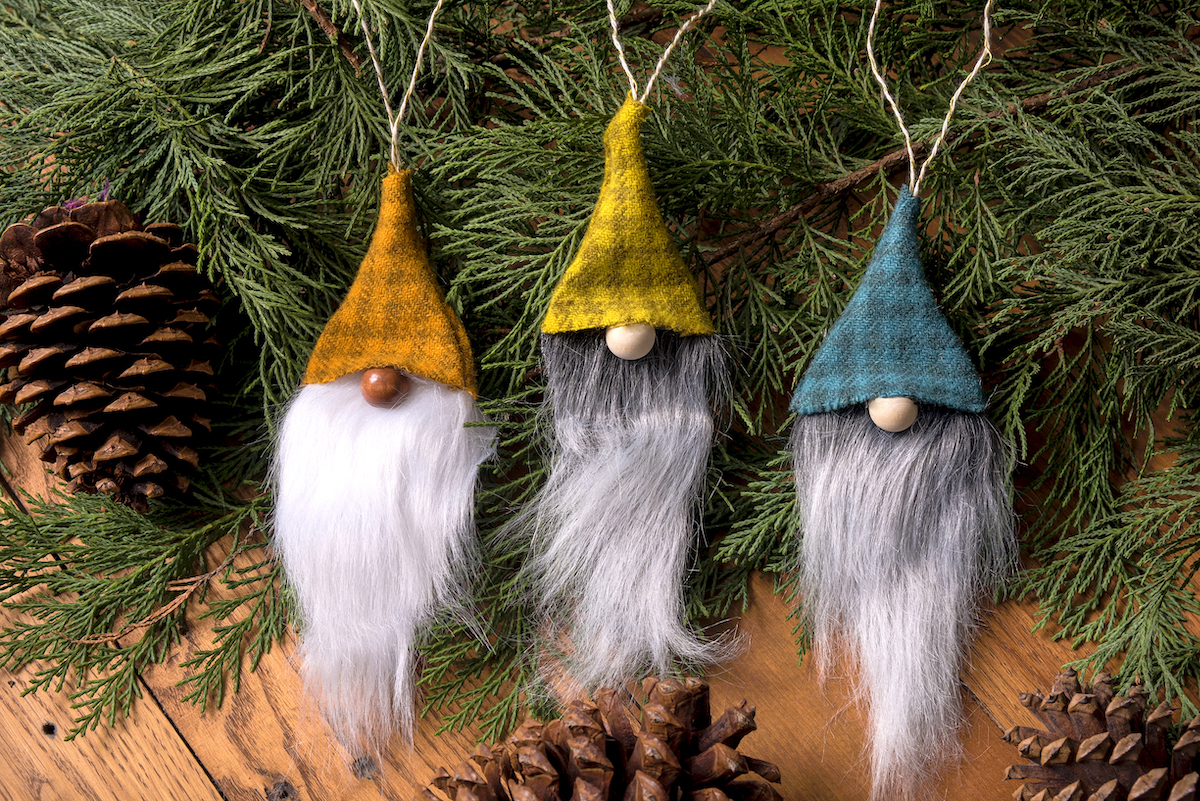
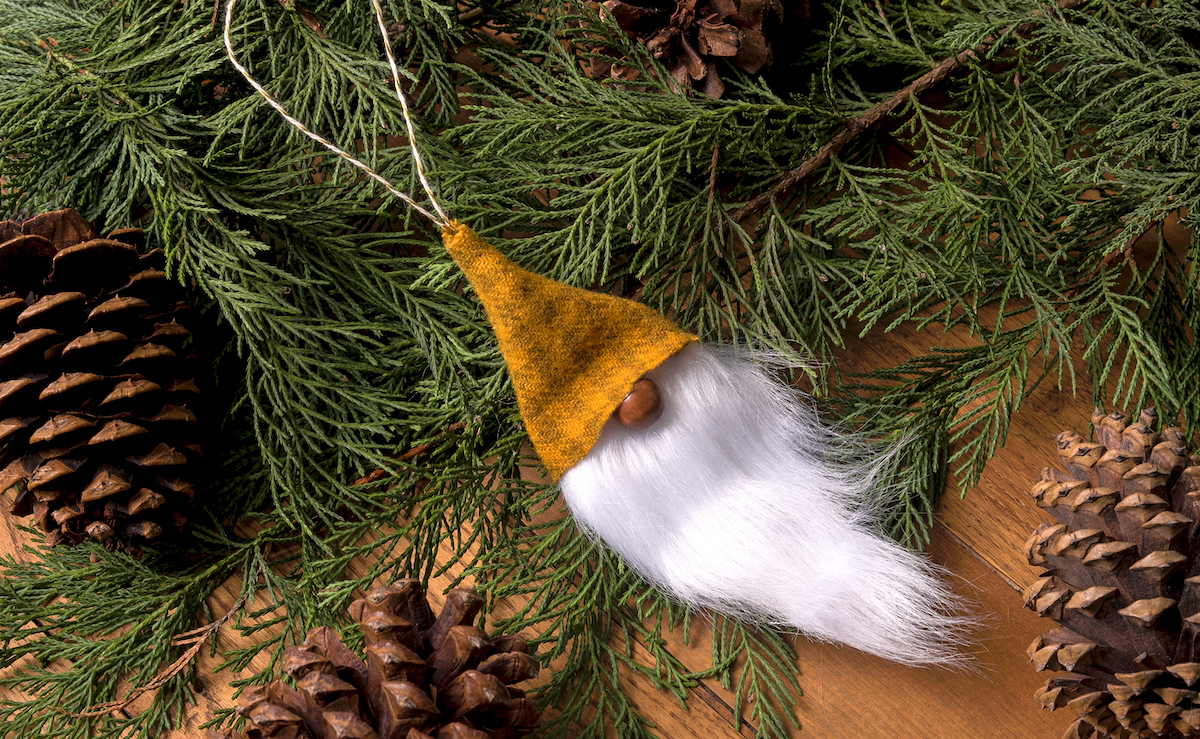
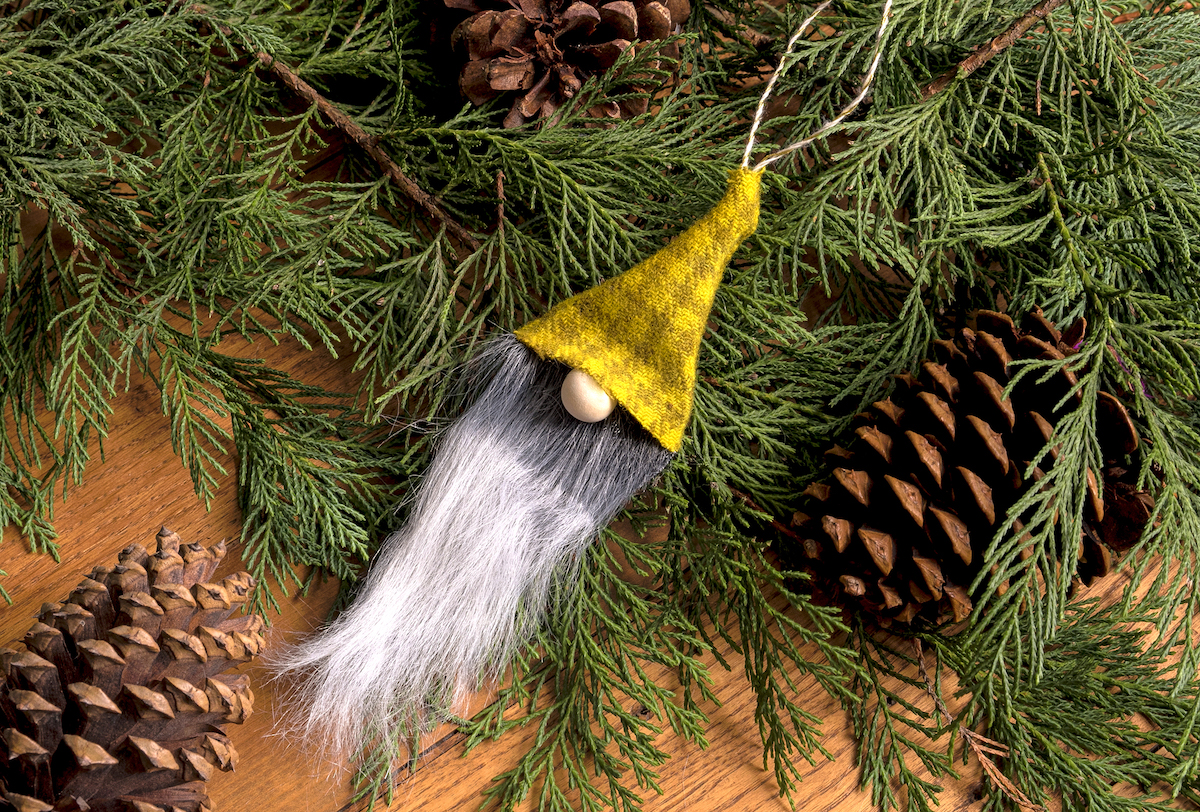
Adorable DIY Gnome Christmas Ornaments to Brighten Your Tree
Learn how to make the cutest DIY gnome ornaments for your Christmas tree! Great for beginners and includes a free beard template.
Skills Required: None. Even if you’ve never crafted before, you can make these ornaments. You’ll essentially be cutting and gluing, so it’s fine as a first project.
The whole world is obsessed with gnomes, and I’ll be honest, I am too. I’ve always loved them and have a few pairs of gnome socks. I also have a small garden gnome statue I bought at Target years ago, and has been at the front door of every place I’ve ever lived.
They have just always put a smile on my face!
I’ll admit that until today I didn’t know the meaning of gnomes – but get this:
“Historically, gnomes have always been thought of as good luck. In more spiritual times, they were thought to protect your home, property, livestock, or crops, watching over them to prevent thieves and pests from wreaking havoc.” –Source
Um, wow. That’s kind of cool! And sounds good to me.
I had no idea that they were good luck while I was making these DIY gnome ornaments. And oh my, were they fun to make!
They are at the top of my handmade ornaments list. And if you know me – you know I love making ornaments and that I’ve made a lot.
These cute gnome Christmas ornaments were made in five simple steps. You’re going to cut out the beard, then attach it. Then you’ll make the hat, glue down the nose, and top the whole ornament off with a hat and hanger.
It’s easy Christmas decor that even kids can enjoy. I’ve tried to make it as simple as possible by providing a template for the beard that you can download and print!
Note that you can easily customize the color of the nose bead, the beard, and hat to whatever works for you. Your gnomes can have any skin color, beard color, and style that you like.
I guarantee that once your friends and family see these on your Christmas tree, they’re going to want you to make one for themselves. Maybe give them as gift tags if you are feeling nice? They’re not only super easy, they’re inexpensive.
So let’s get to it. Learn how to make these below!
Gather These Supplies
- Wood circles (2.5″) – 1 per ornament
- Felt – a 6″ square scrap minimum
- Wood bead (5/8) – 1 for the nose
- Fake fur
- Beard template
- Baker’s twine – about 12″ or so
- Scissors
- Hot glue gun and glue sticks
- Sharpie
It will be just minutes before these are ready to hang on your tree – or to use as a garland. You can also tape to a present with washi tape.
Are you ready to make these cute gnome Christmas ornaments? Let me know what you think in the comments!
DIY Gnome Ornaments
Equipment
- Marker
Materials
- Wood circle(s) 2.5″ – 1 per ornament
- Felt sheet(s) a 6" square scrap minimum
- Wood bead 5/8 – 1 per ornament
- Fake fur
- Baker's twine about 36"
- Beard template optional
Video
Instructions
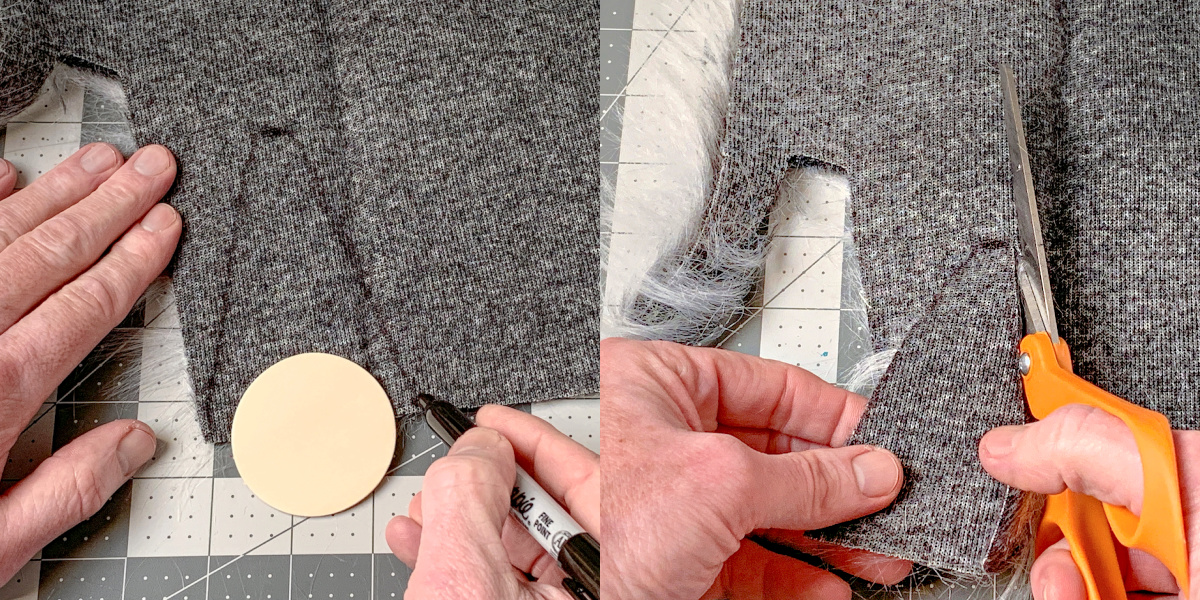
- Draw a beard shape on the back of the faux fur with your Sharpie. You can use the template I've provided.
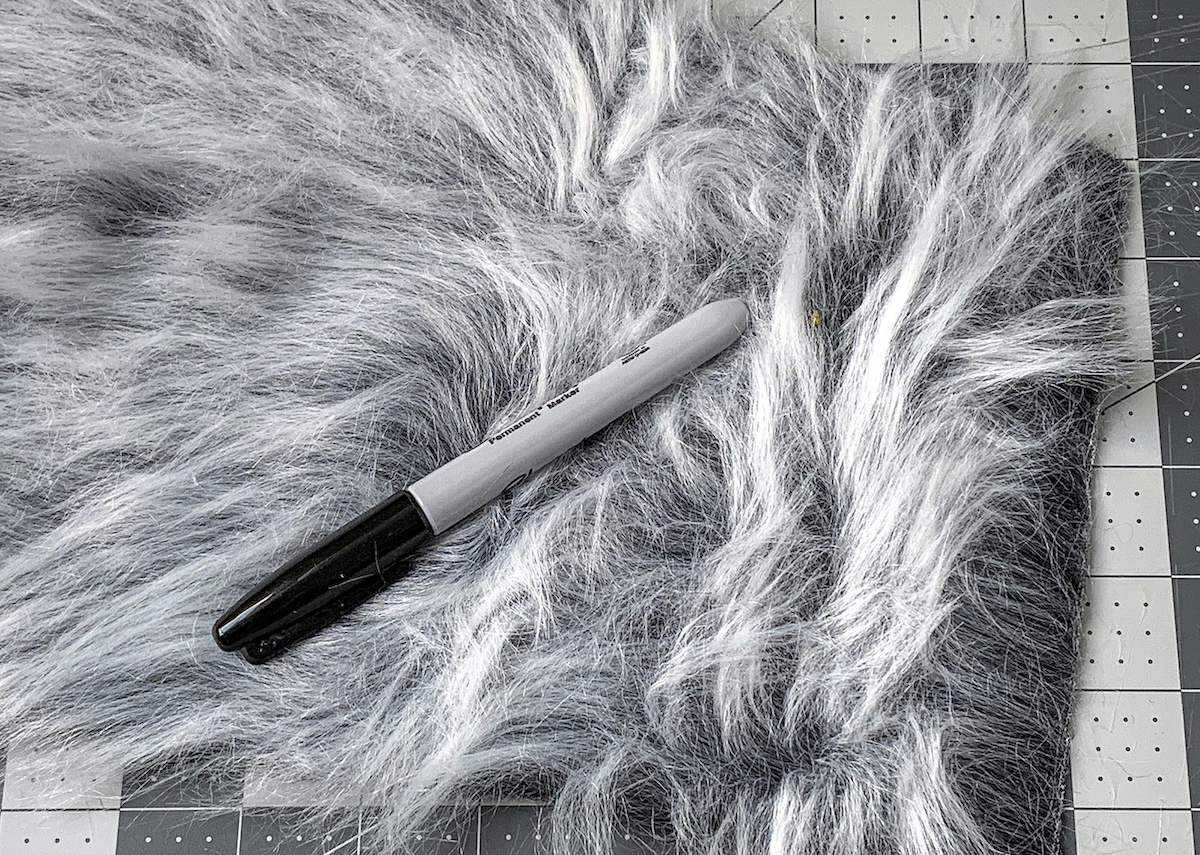
- Cut the faux fur piece out with scissors. Pull the fur/beard material forward AWAY from you while cutting, towards the front of the fur. This is so you only cut the background of the material, rather than snipping random fur pieces off.
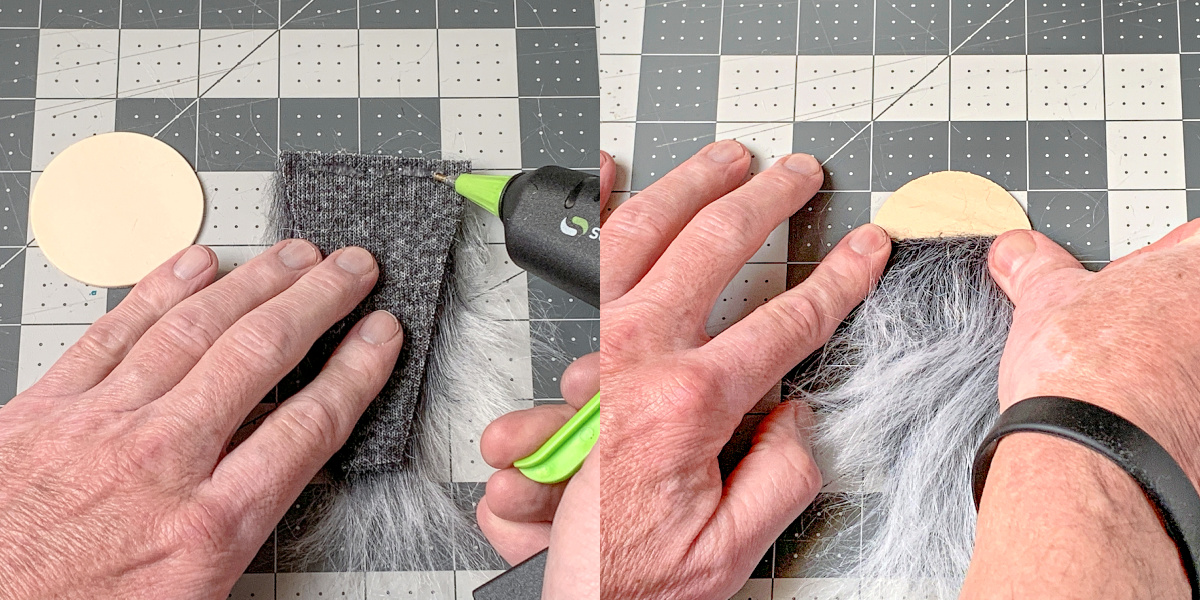
- Place a line of hot glue across the top of the beard and attach to the circle a little under halfway down. Let cool.
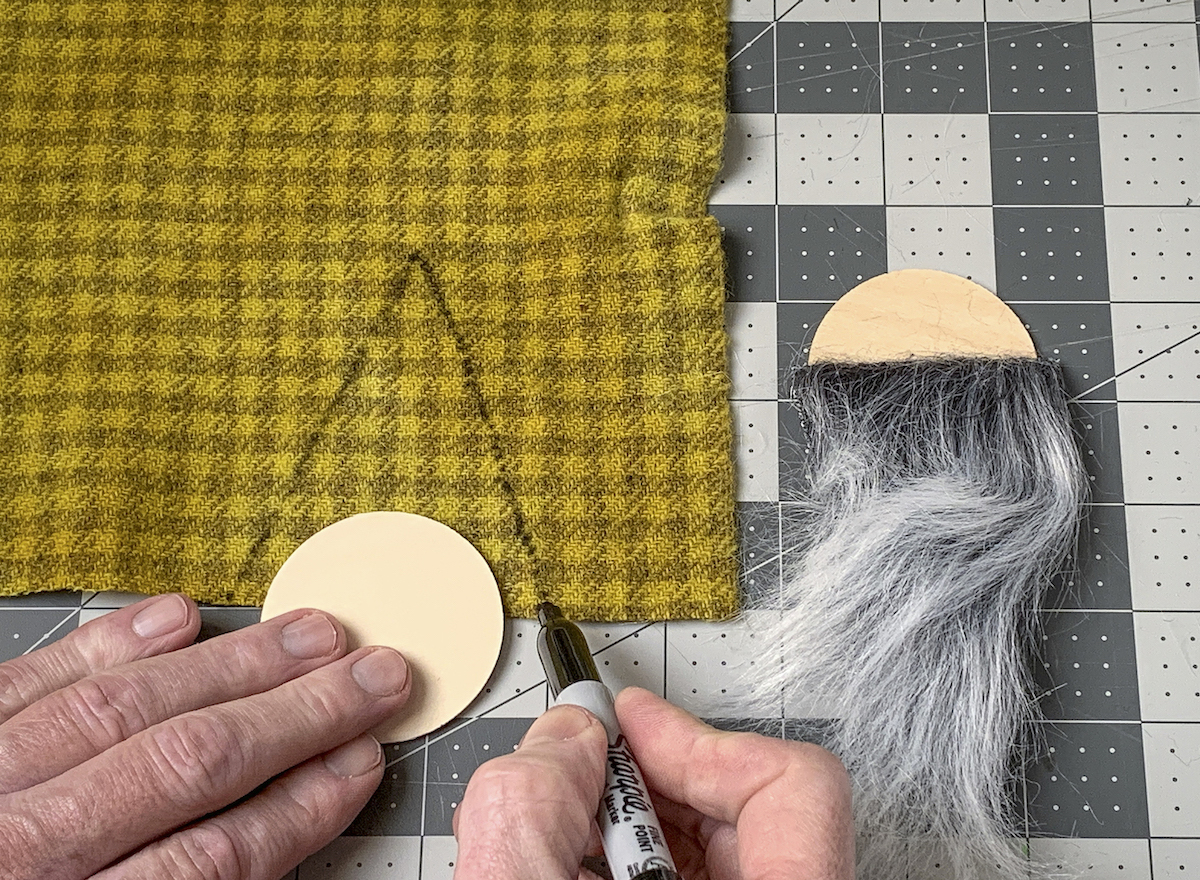
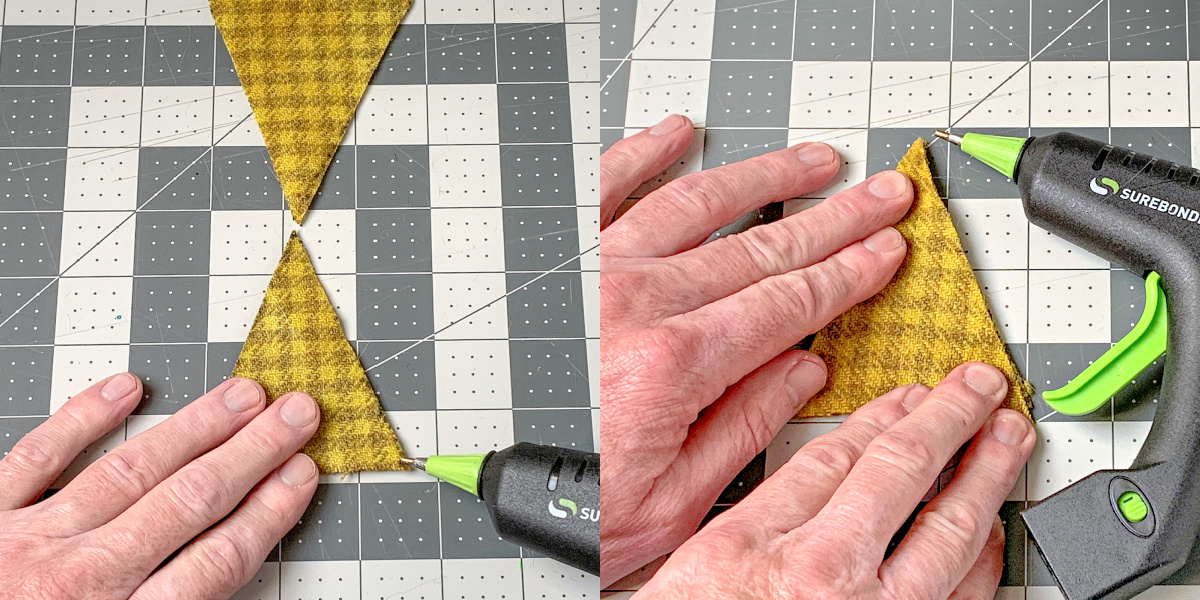
- Draw a triangle with a base slightly larger than the wood circle onto the felt with Sharpie (about 2.75" base).
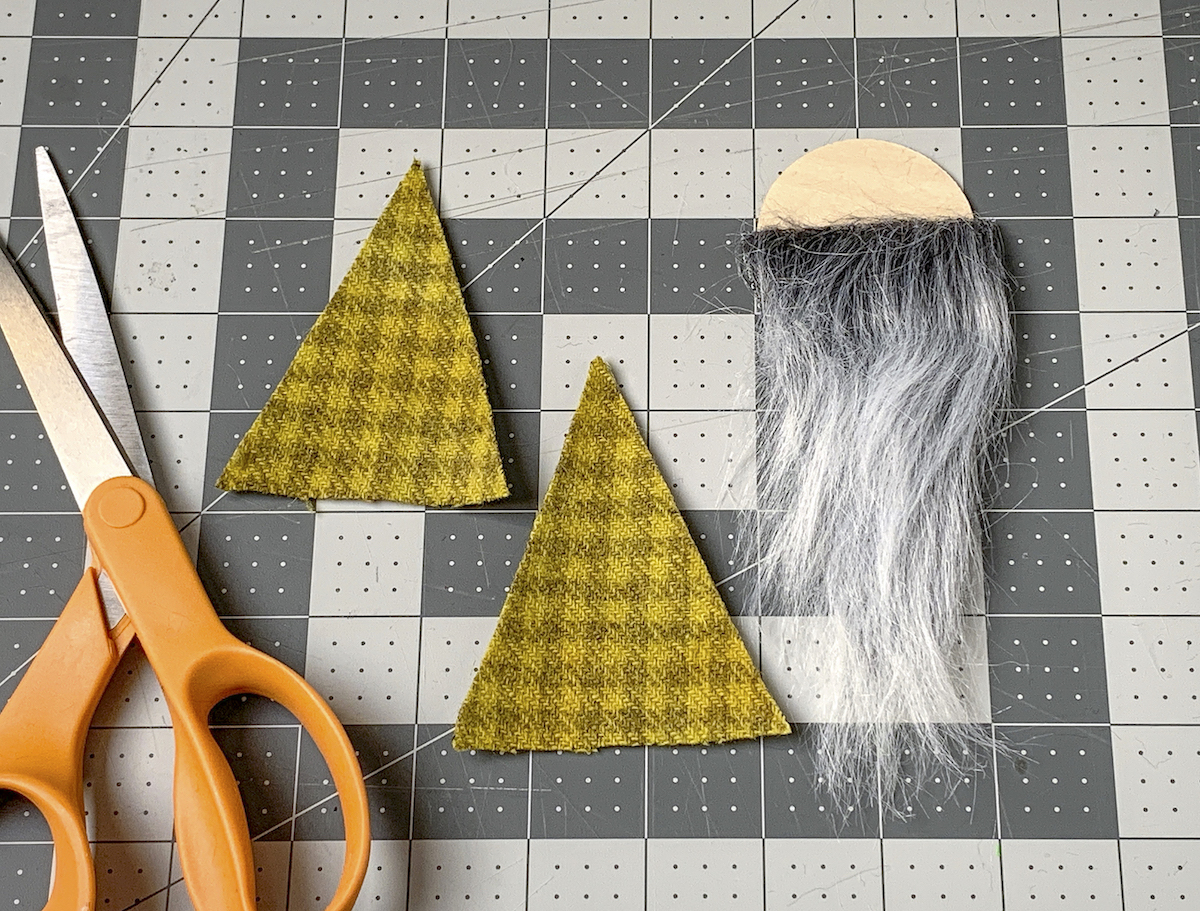
- Cut the triangle out with scissors. Then use that hat as a template to cut one more out of felt.
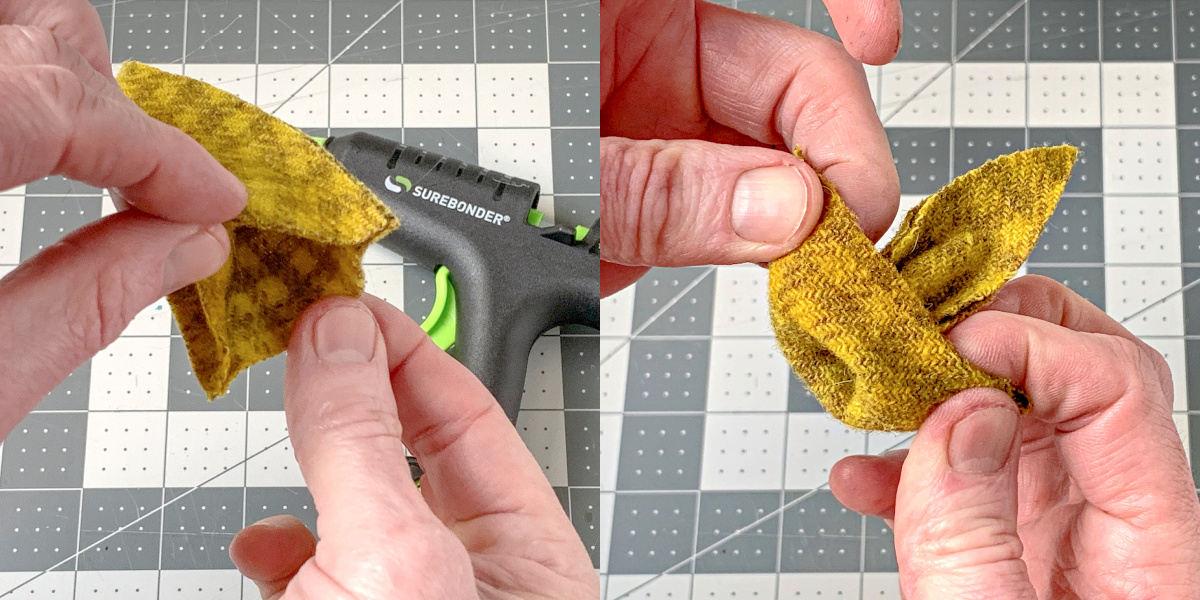
- Glue the triangles together by placing a line of hot glue on the long sides and smoothing together. Let cool.
- Turn the hat inside out and set aside. It should fit over the circle, but if it doesn't, you can stretch it a little.
- Place a dab of hot glue onto the wood ball and attach as a nose.
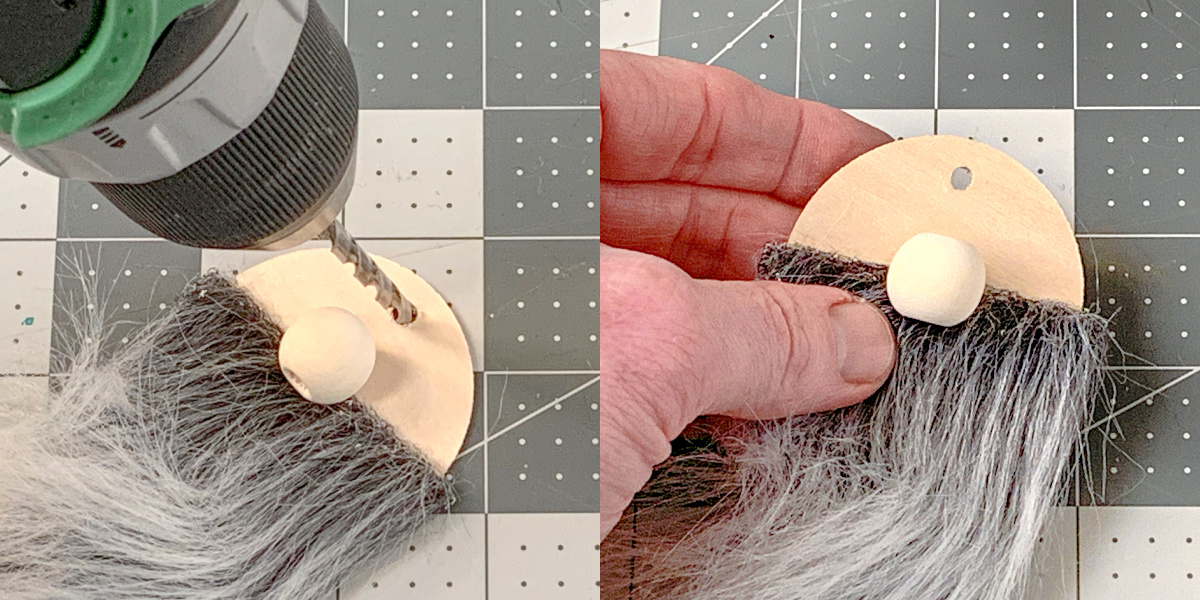
- Drill a small hole into the top of the wood circle. Tie a 12" length of baker's twine into a knot at one end and pull through from front to back.

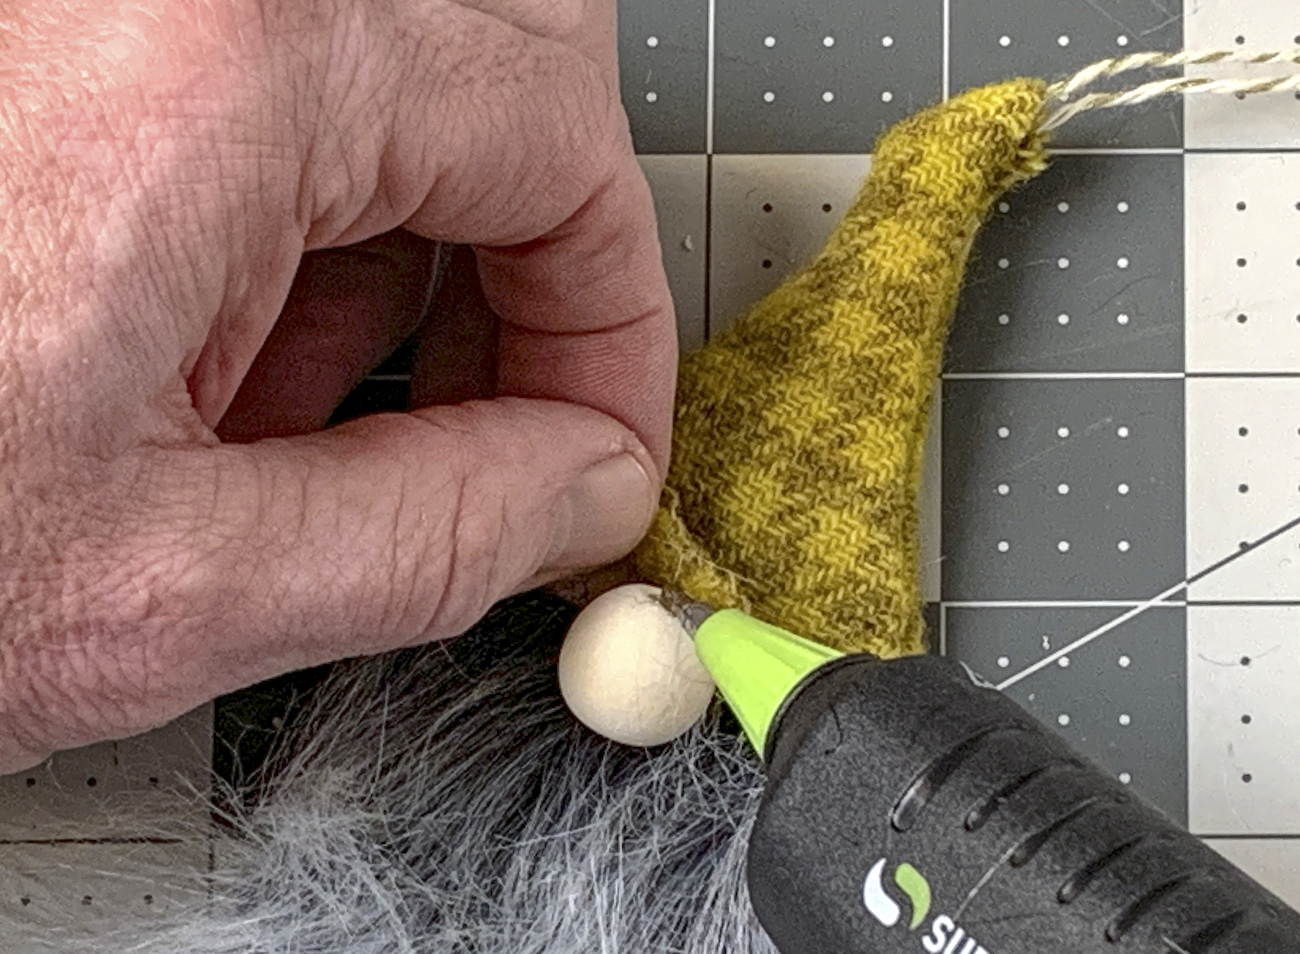
- Cut the very tip off the top of the gnome hat and thread down onto the baker's twine and onto the head.

- Organize the hat so the seams are on the sides and glue down around the ornament onto the nose to finish.
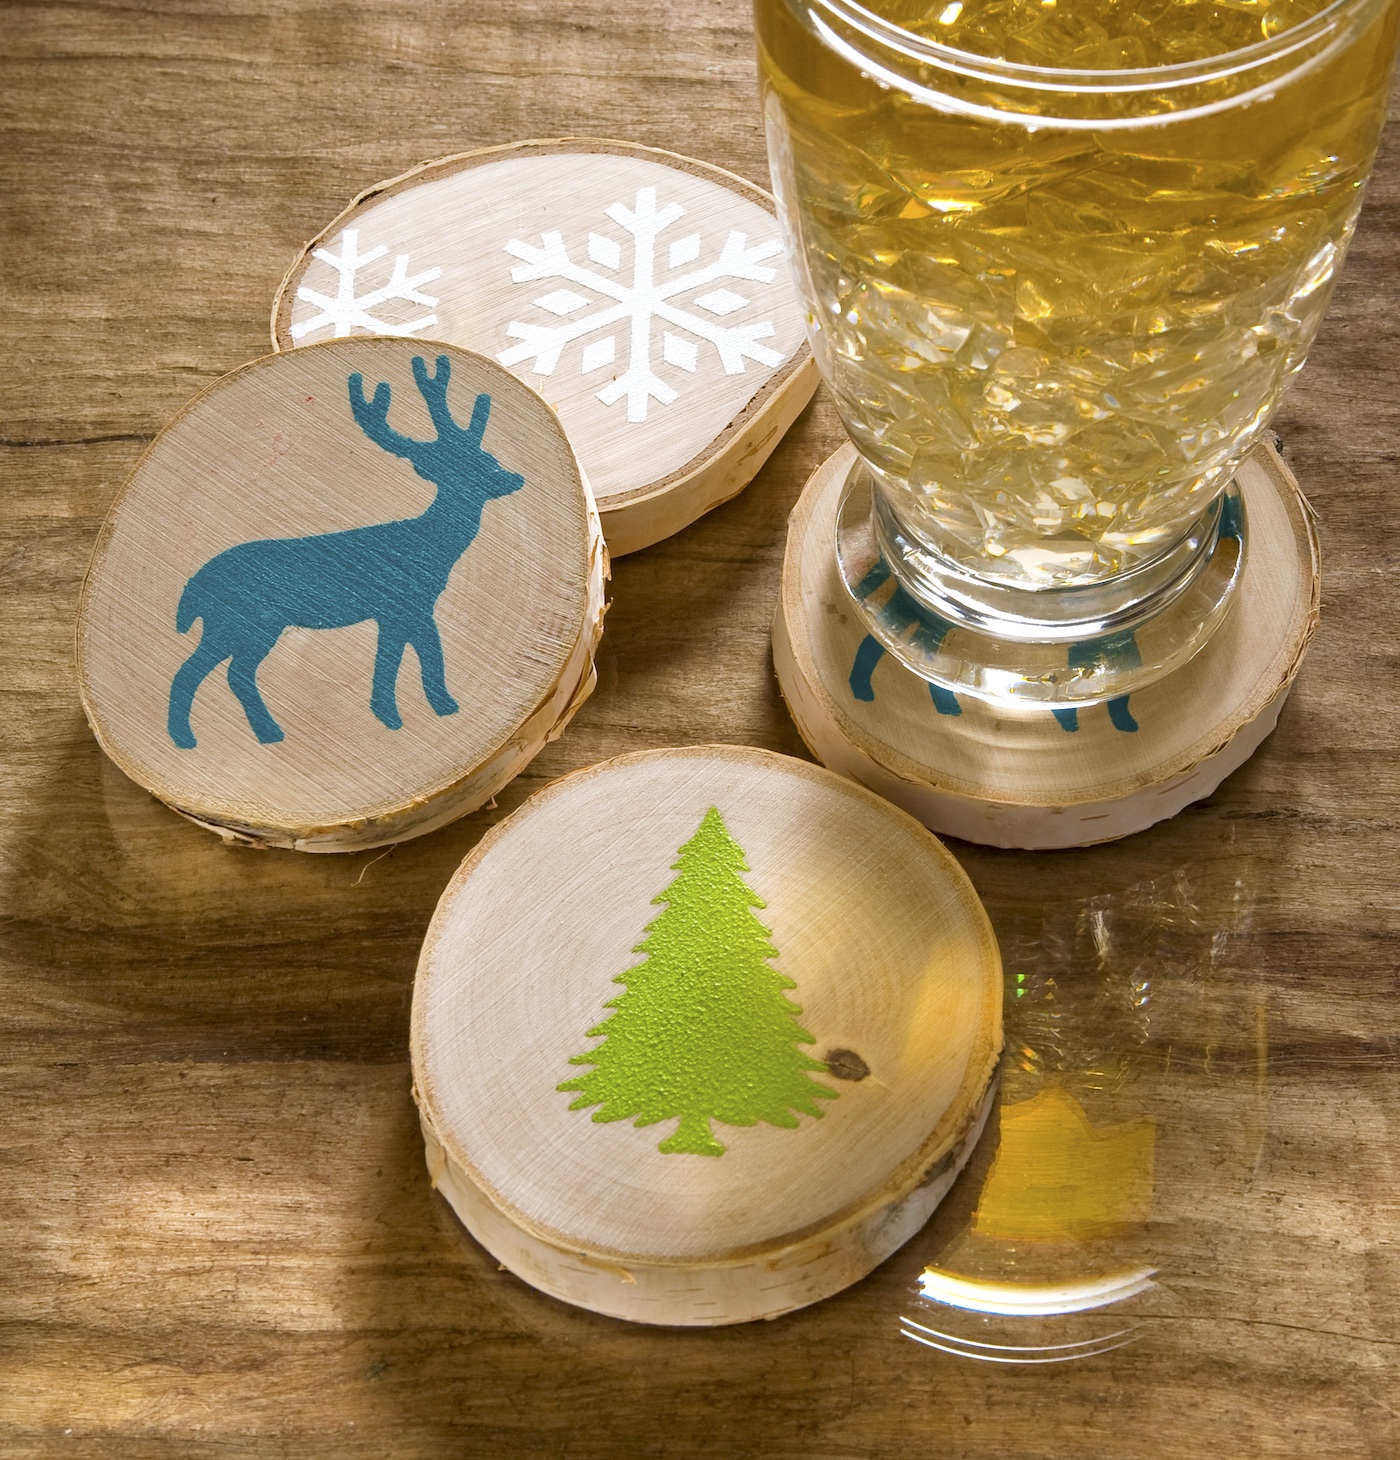
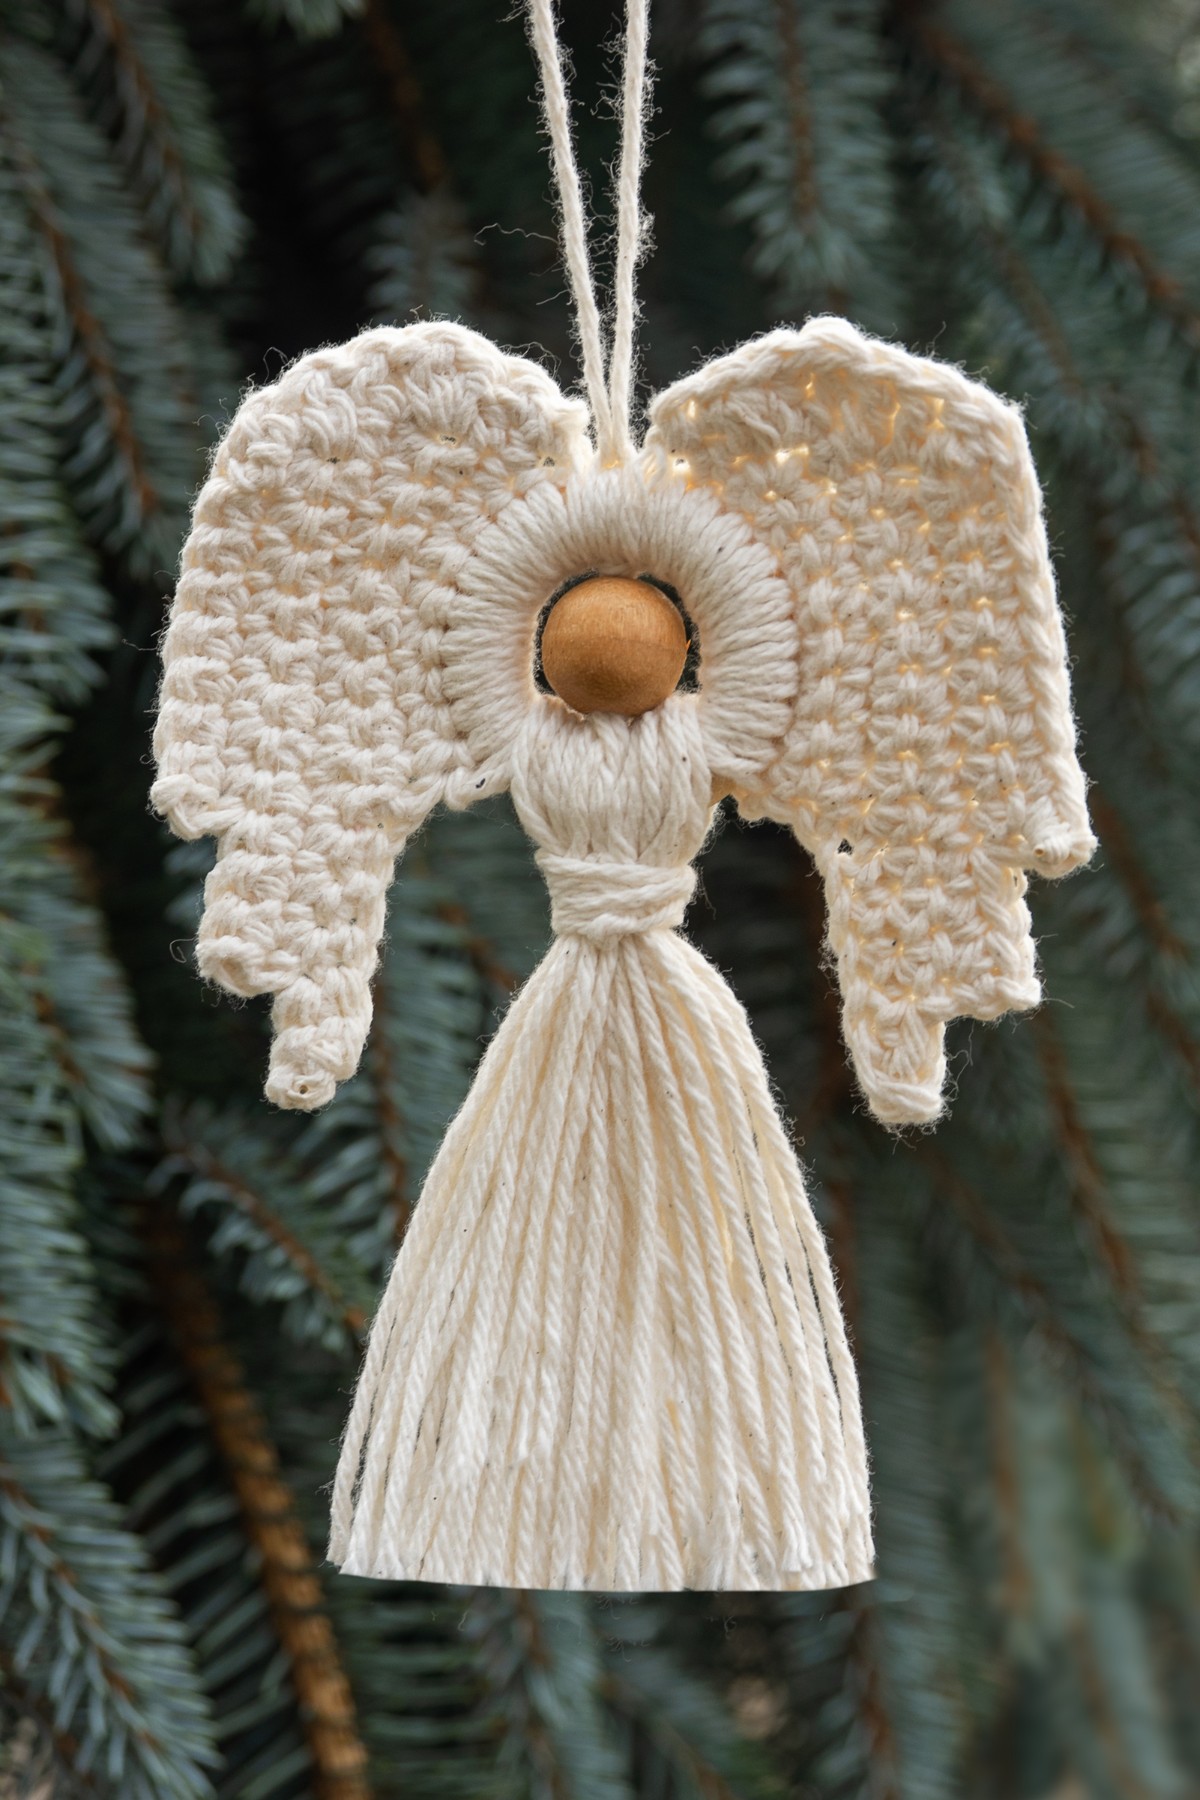
If you enjoyed making this project, I’d love for you to check out these other ornament ideas:
Candy Cane • Cookie Cutters • Crochet Angel • Crochet Bell • Cross Stitch • DIY Snow Globe • Mandala • Metallic Keys • Mini Wreath • Origami • Poinsettia • Polymer Clay • Temporary Tattoos • Washer Star • Wood Bead • Wood Bead Snowman • Wood Bead Star • Wood Slice • Yarn Wrapped