Festive DIY Christmas Candle Using Dollar Tree Finds
Learn how to decorate a candle for the holidays using Dollar Tree supplies! This DIY Christmas candle is easy enough for beginners and makes a perfect addition to your festive decor.
Skills Required: None. If you’ve never crafted before, that’s okay. You’ll be wrapping mesh around a candle and using a hot glue gun. It’s pretty simple.
I have a Dollar Tree within a short distance from my home, and while running some errands the other day I decided to stop in and see what I could find in their holiday section.
Have you been to the dollar store recently?! The selection is pretty amazing, and they have a ton of craft supplies for the holiday season. In just a few minutes I was able to find some items to make this pretty and sparkly Christmas decor – and for just a few dollars!
There are a lot of ways to decorate candles for Christmas, but this is one of my favorites because it’s 1) inexpensive and 2) so easy.
In terms of project cost, I bought supplies to make six candles for a total of $9 . . . resulting in a cost per candle of $1.50 (plus tax).
As far as ease, these DIY Christmas candles are made in just a few easy steps. You’re going to cut the mesh and glue it down, then glue down the trim, then add embellishments.
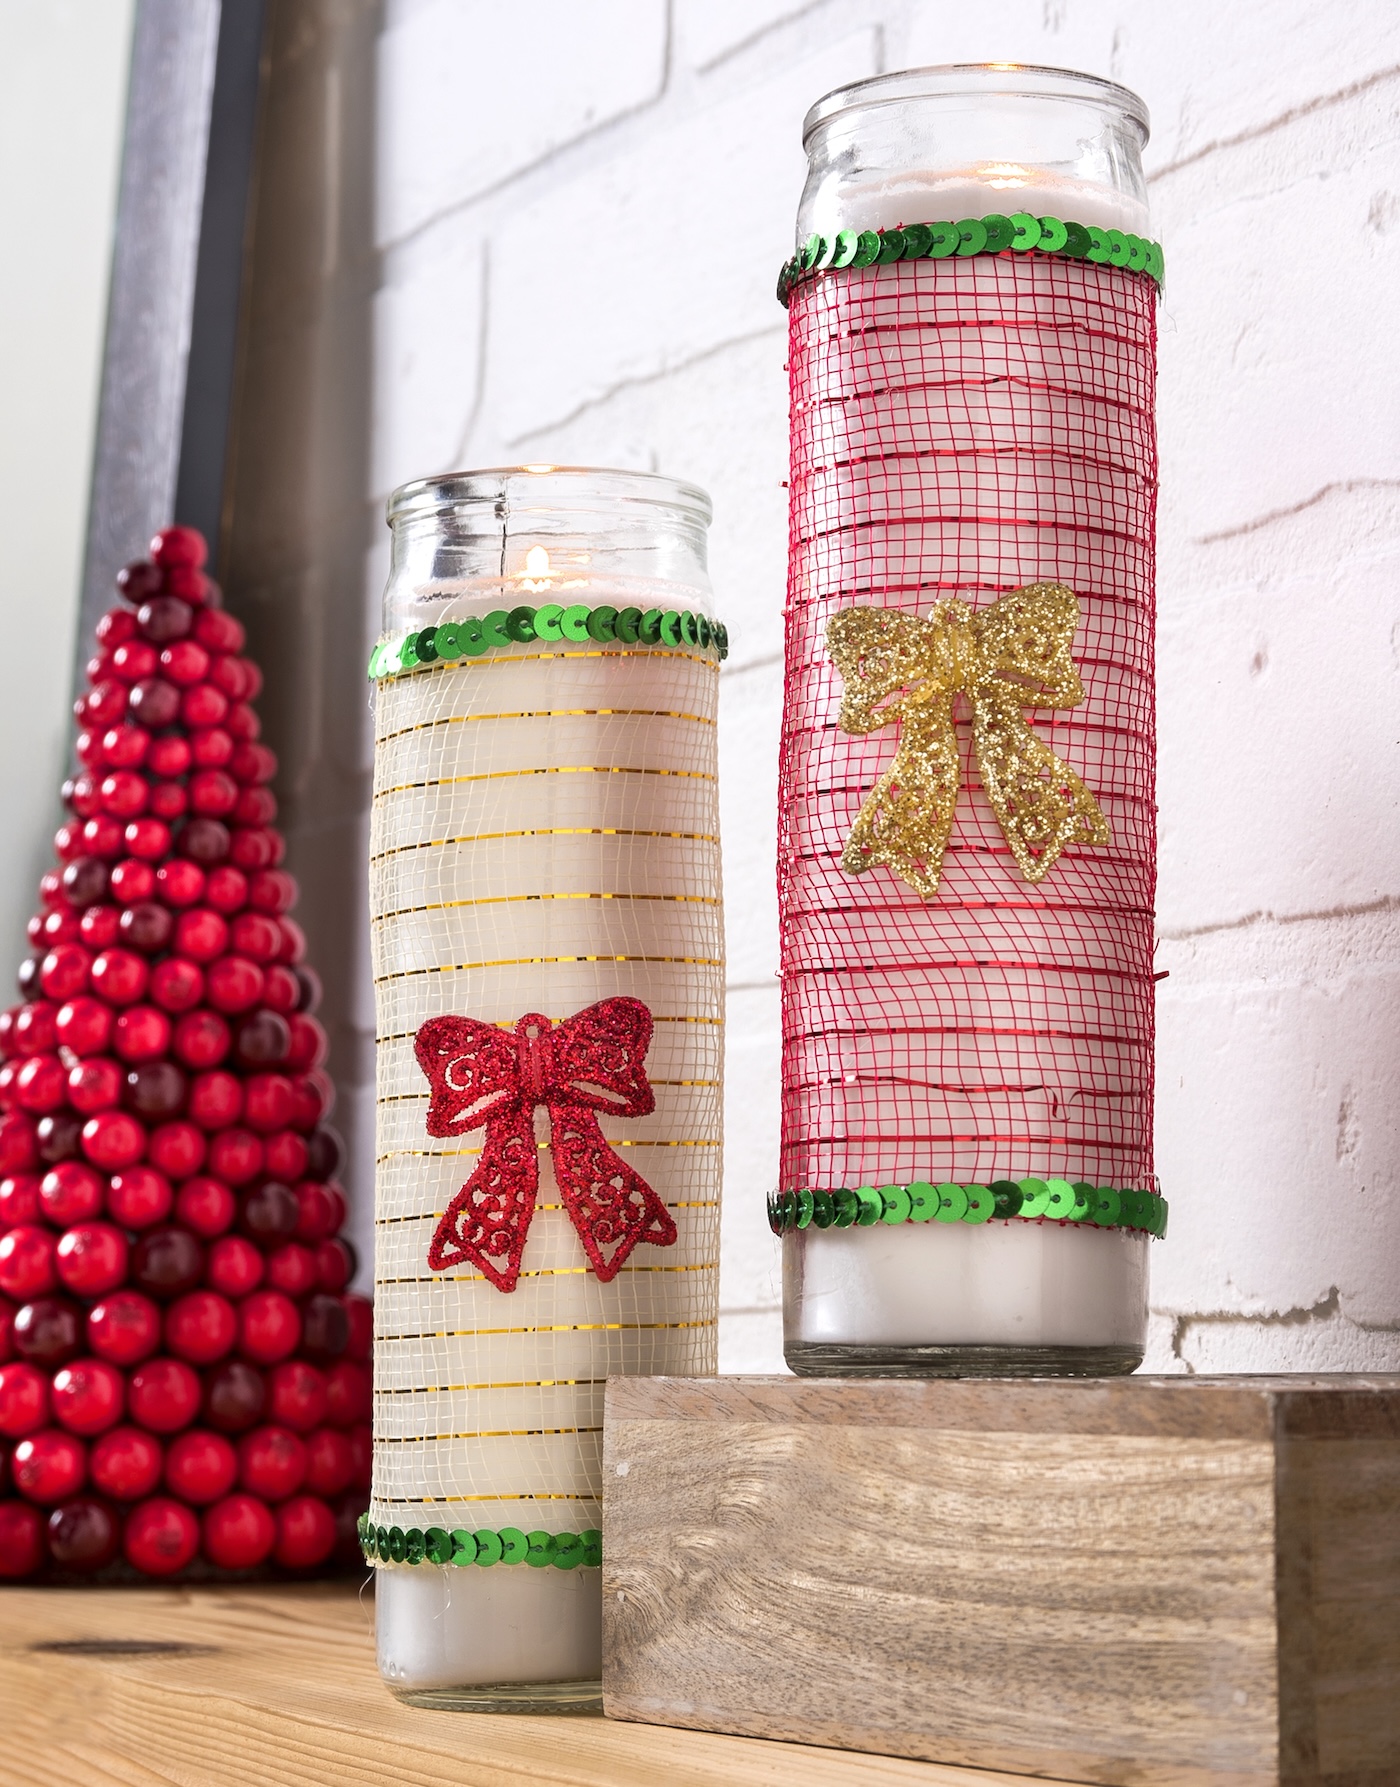
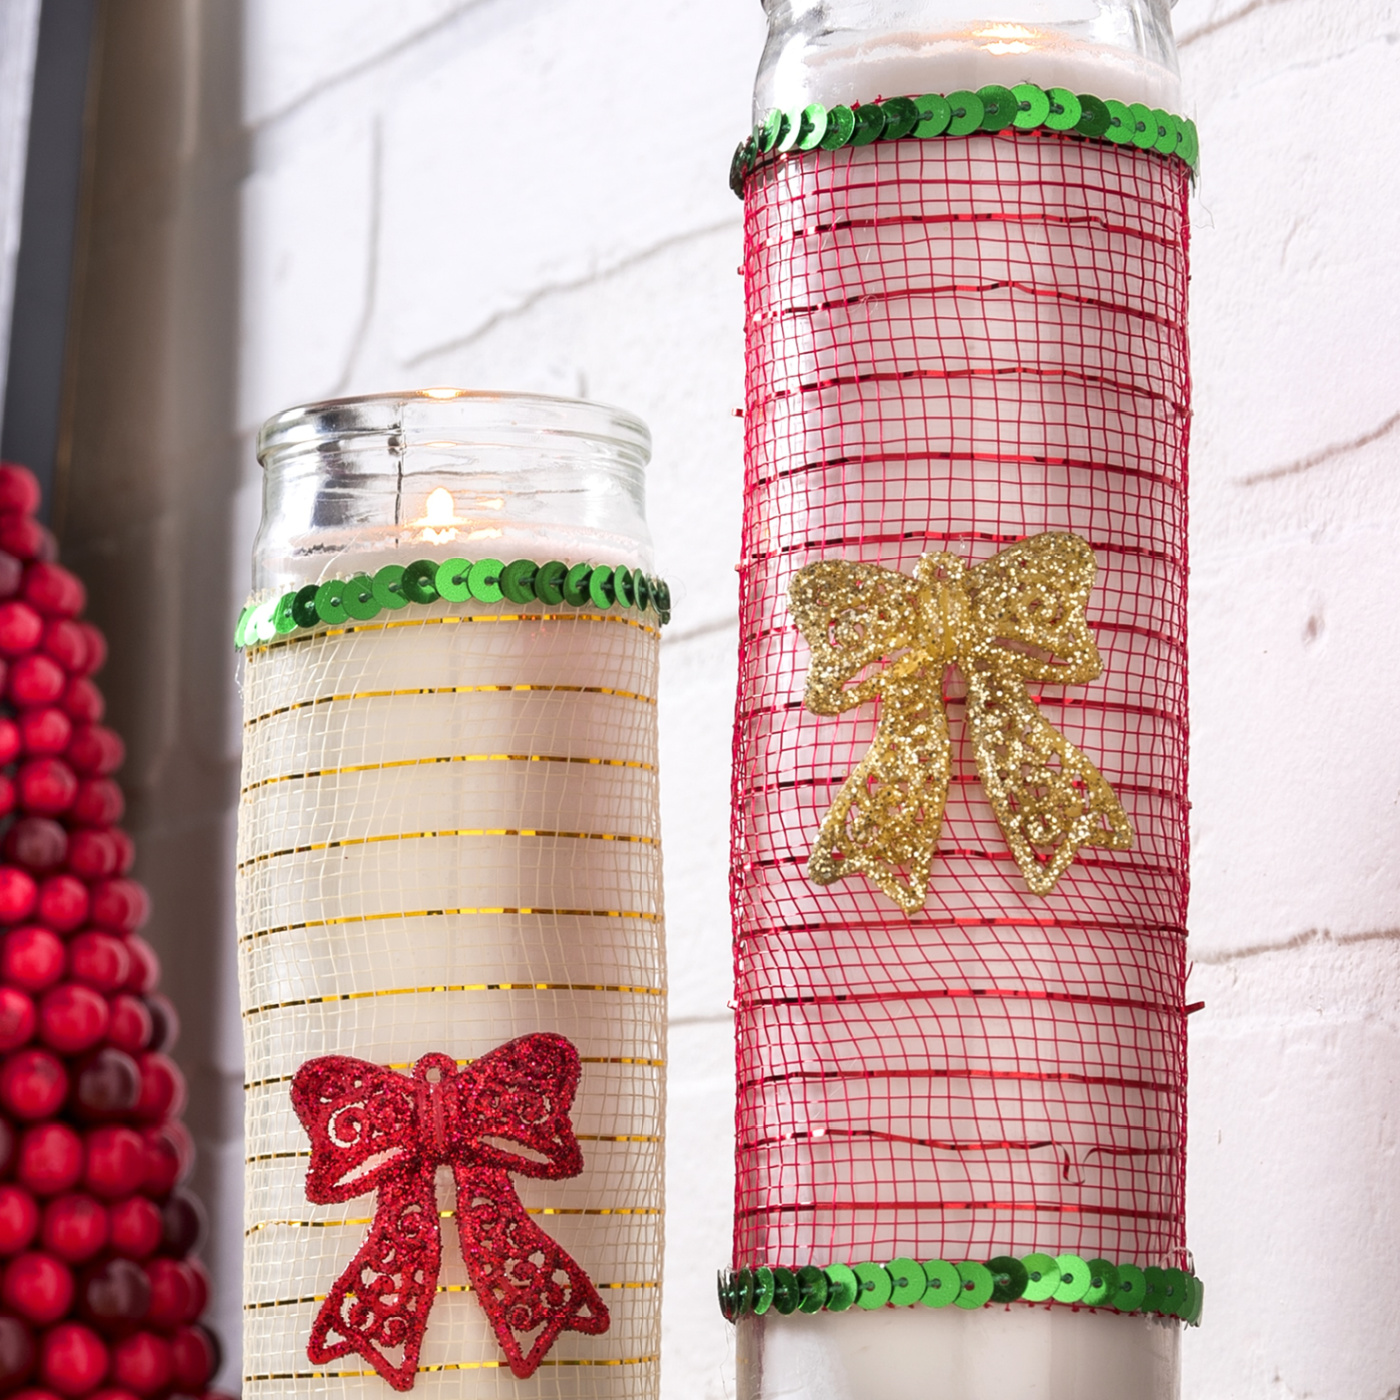
I’m so thrilled with how they turned out and love these for hostess gifts or placing around the home or on a Christmas mantel display. As they burn down, the mesh casts a cool glow on the wall. These candles have great ambiance.
Plus the possibilities for customization are endless. Here’s how they are made!
Gather These Supplies
- Votive candle
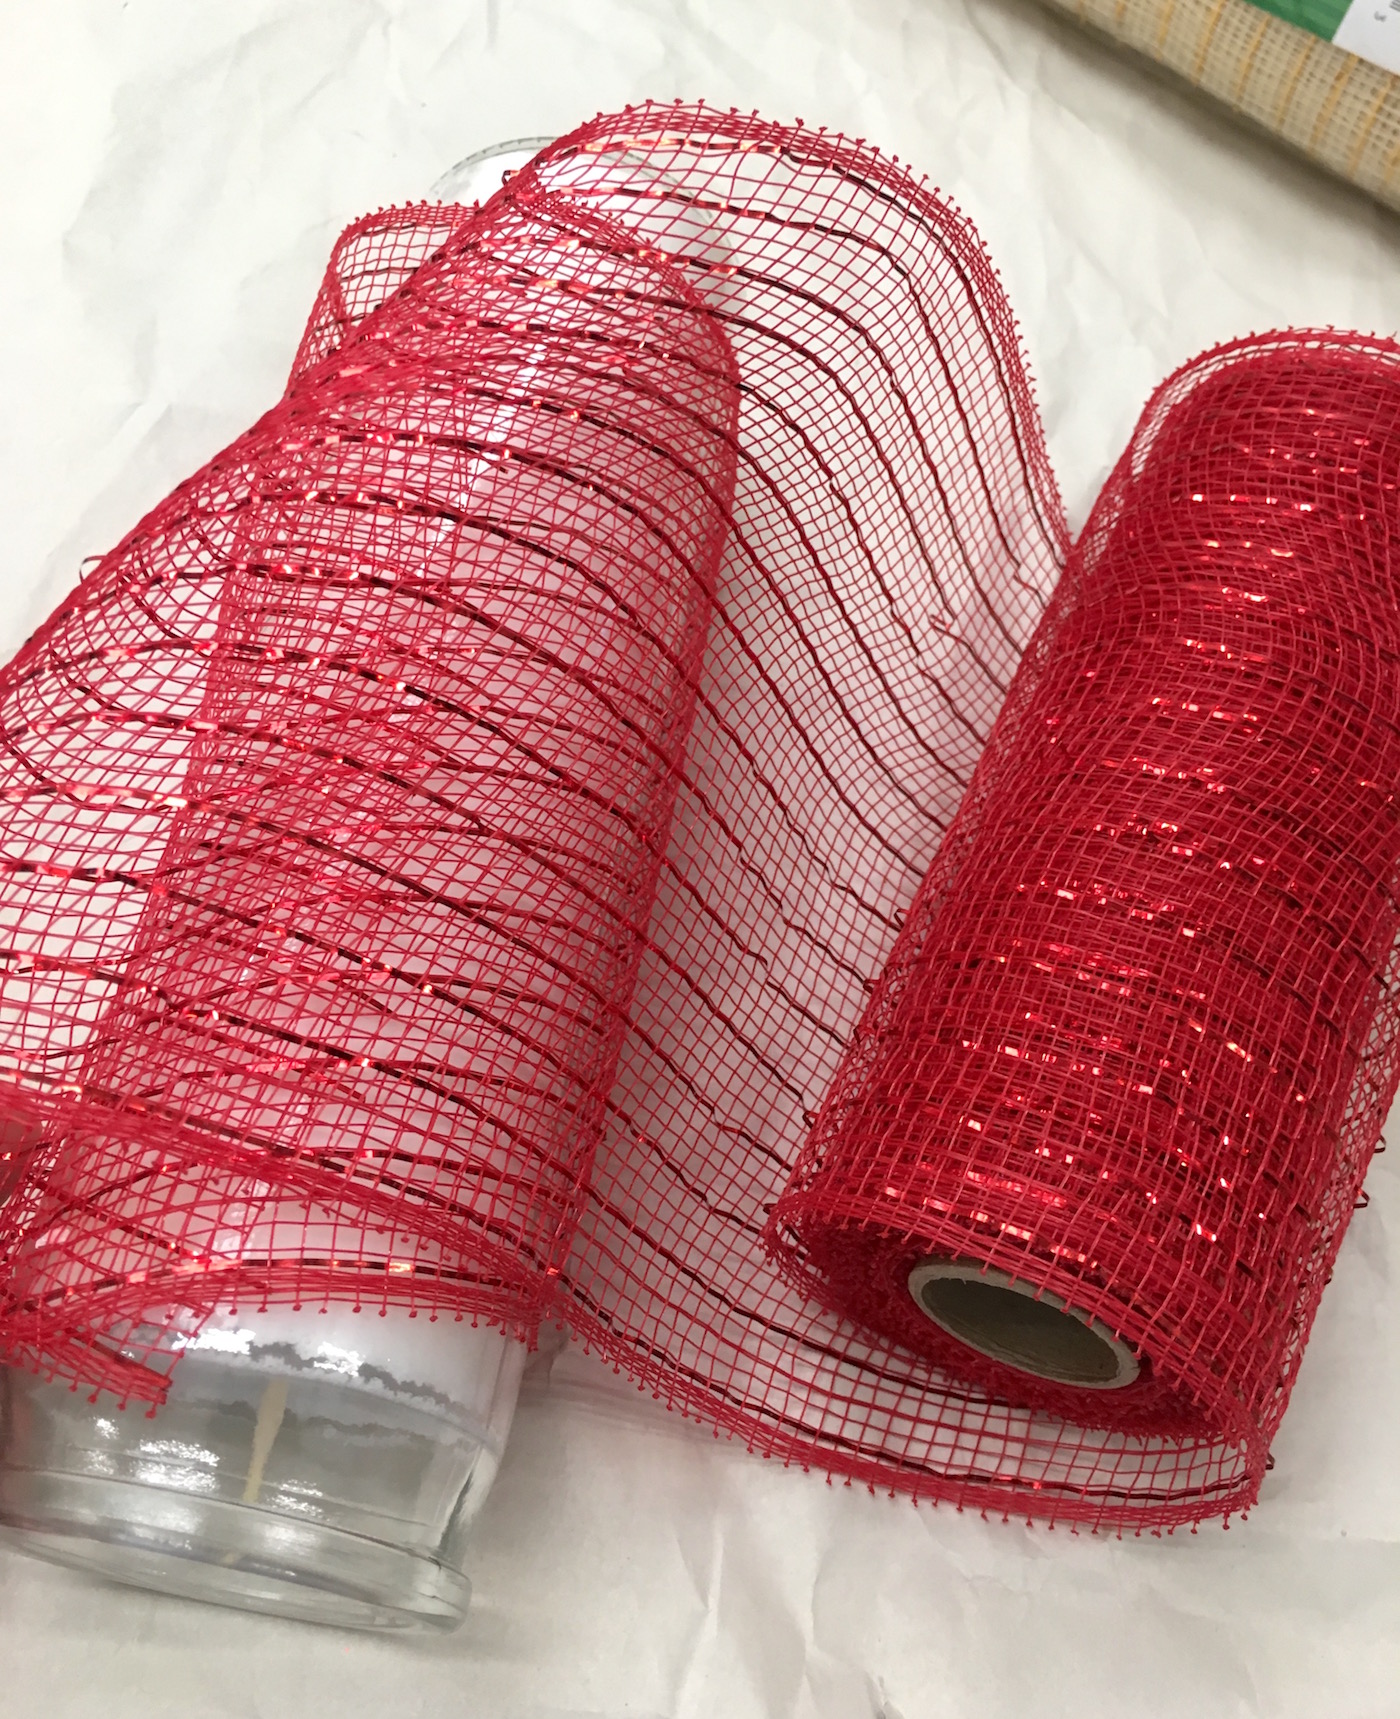
- Mesh ribbon
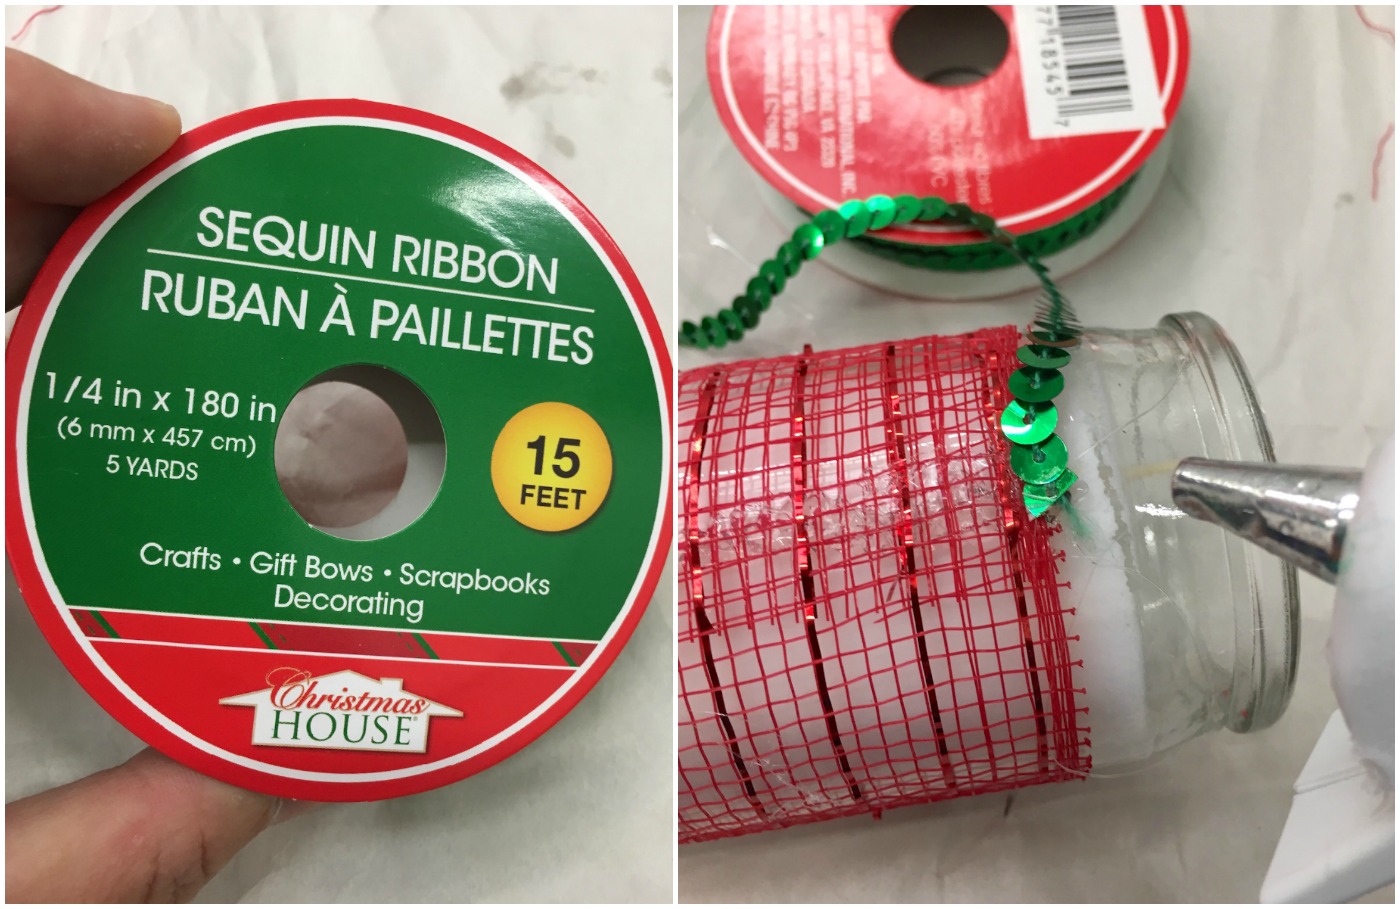
- Sequin trim
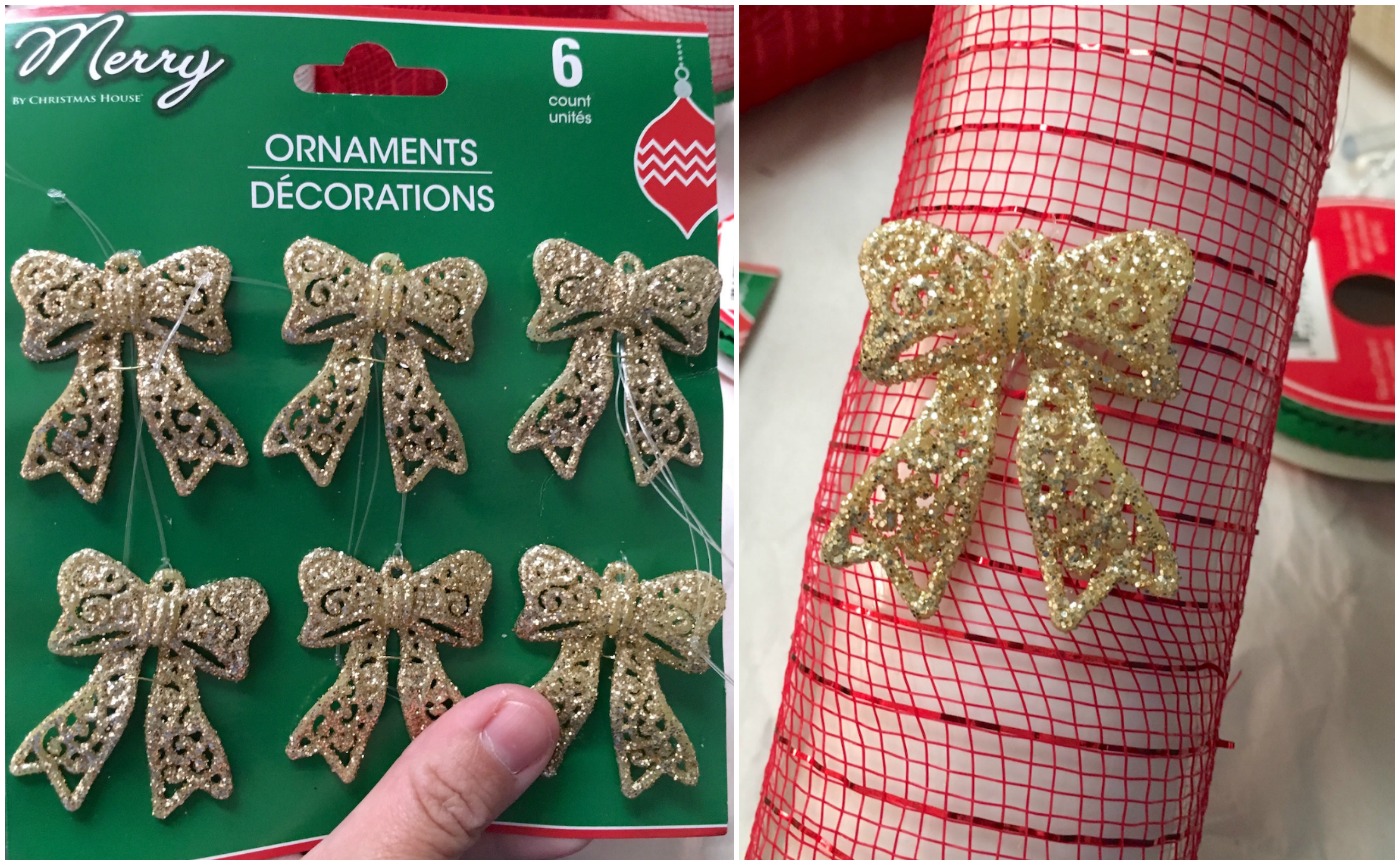
- Ribbon ornaments
- Scissors
- Hot glue gun and glue sticks
- Silicone finger covers or tool (optional)
Notes: your Dollar Tree might not have this exact mesh, trim, or ornaments, but they will have something close. Use my candle to inspire you to play around with your dollar store finds but also what you already have in your stash!
Once you get the hang of this easy dollar store Christmas decor craft, you can make several in a matter of minutes! See this craft in action in the video in this post.
You can also get the printable how to card below:

DIY Christmas Candles
Equipment
- Silicone finger covers or tool
Materials
- 2 Prayer candles
- Mesh ribbon
- Sequin trim
- 2 Ribbon ornaments
Video
Instructions
- Wrap the mesh around the votive candle and trim to fit (with a little overlap).
- Place a thin line of hot glue on your candle and press the mesh ribbon into it being careful not to burn your hands/fingers. I use silicone finger covers to prevent burns. Overlap and glue down to cover the candle.

- Place a dab of hot glue on the seam formed by the mesh ribbon, and place the end of your sequin trim down.Continue placing dots of hot glue and the sequin trim until the candle is fully wrapped. Repeat at the bottom.
- Add a ribbon ornament or other embellishment with hot glue to finish.
If you like this idea, let me know in the comments! You’ll also love the following Christmas crafts:
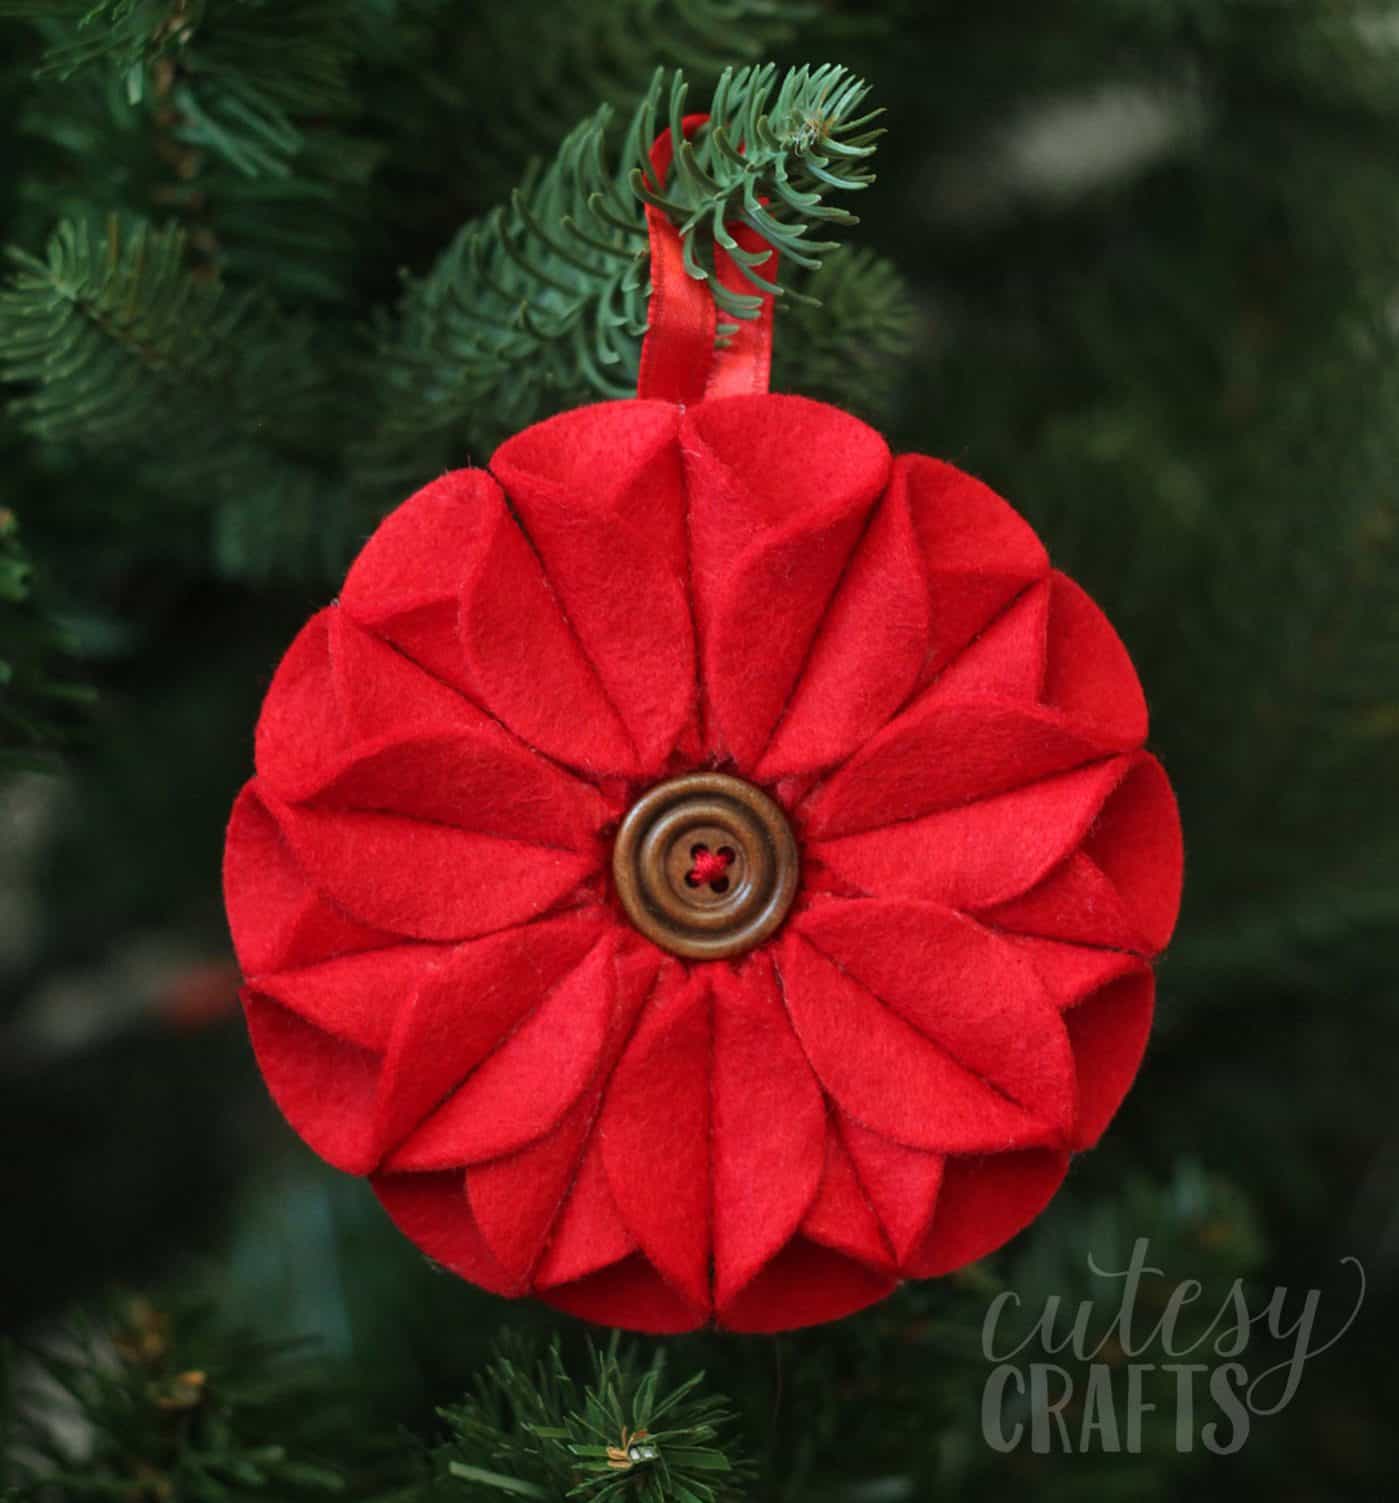
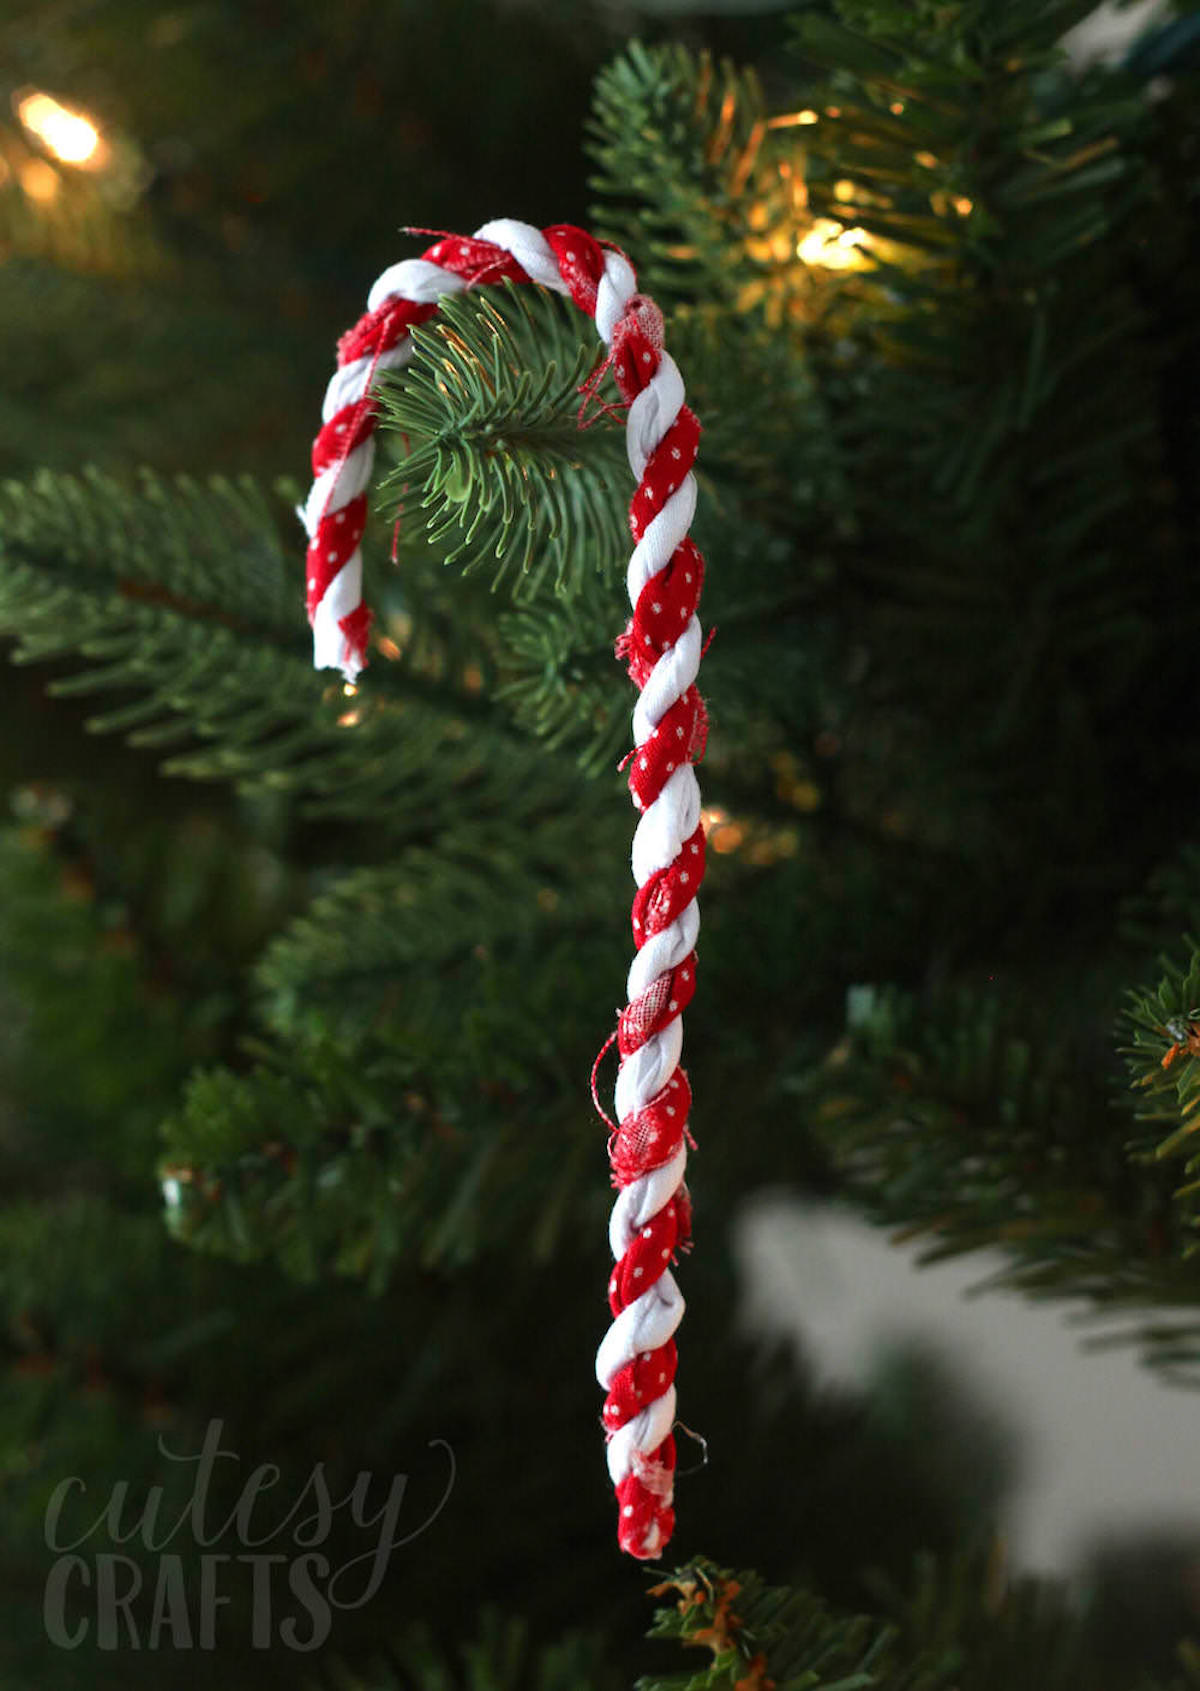
Apothecary Jars • Candy Cane Centerpiece • Candy Cane Wreath • Christmas Magnets • Christmas Shadow Box • Felt Mistletoe • Gnome Decor • Magazine Christmas Tree • Mesh Christmas Wreath • Pom Pom Garland • Santa Hat Topiary • Santa Mason Jar • Santa Napkin Rings • Snowman Mason Jar • Wine Cork Snowman