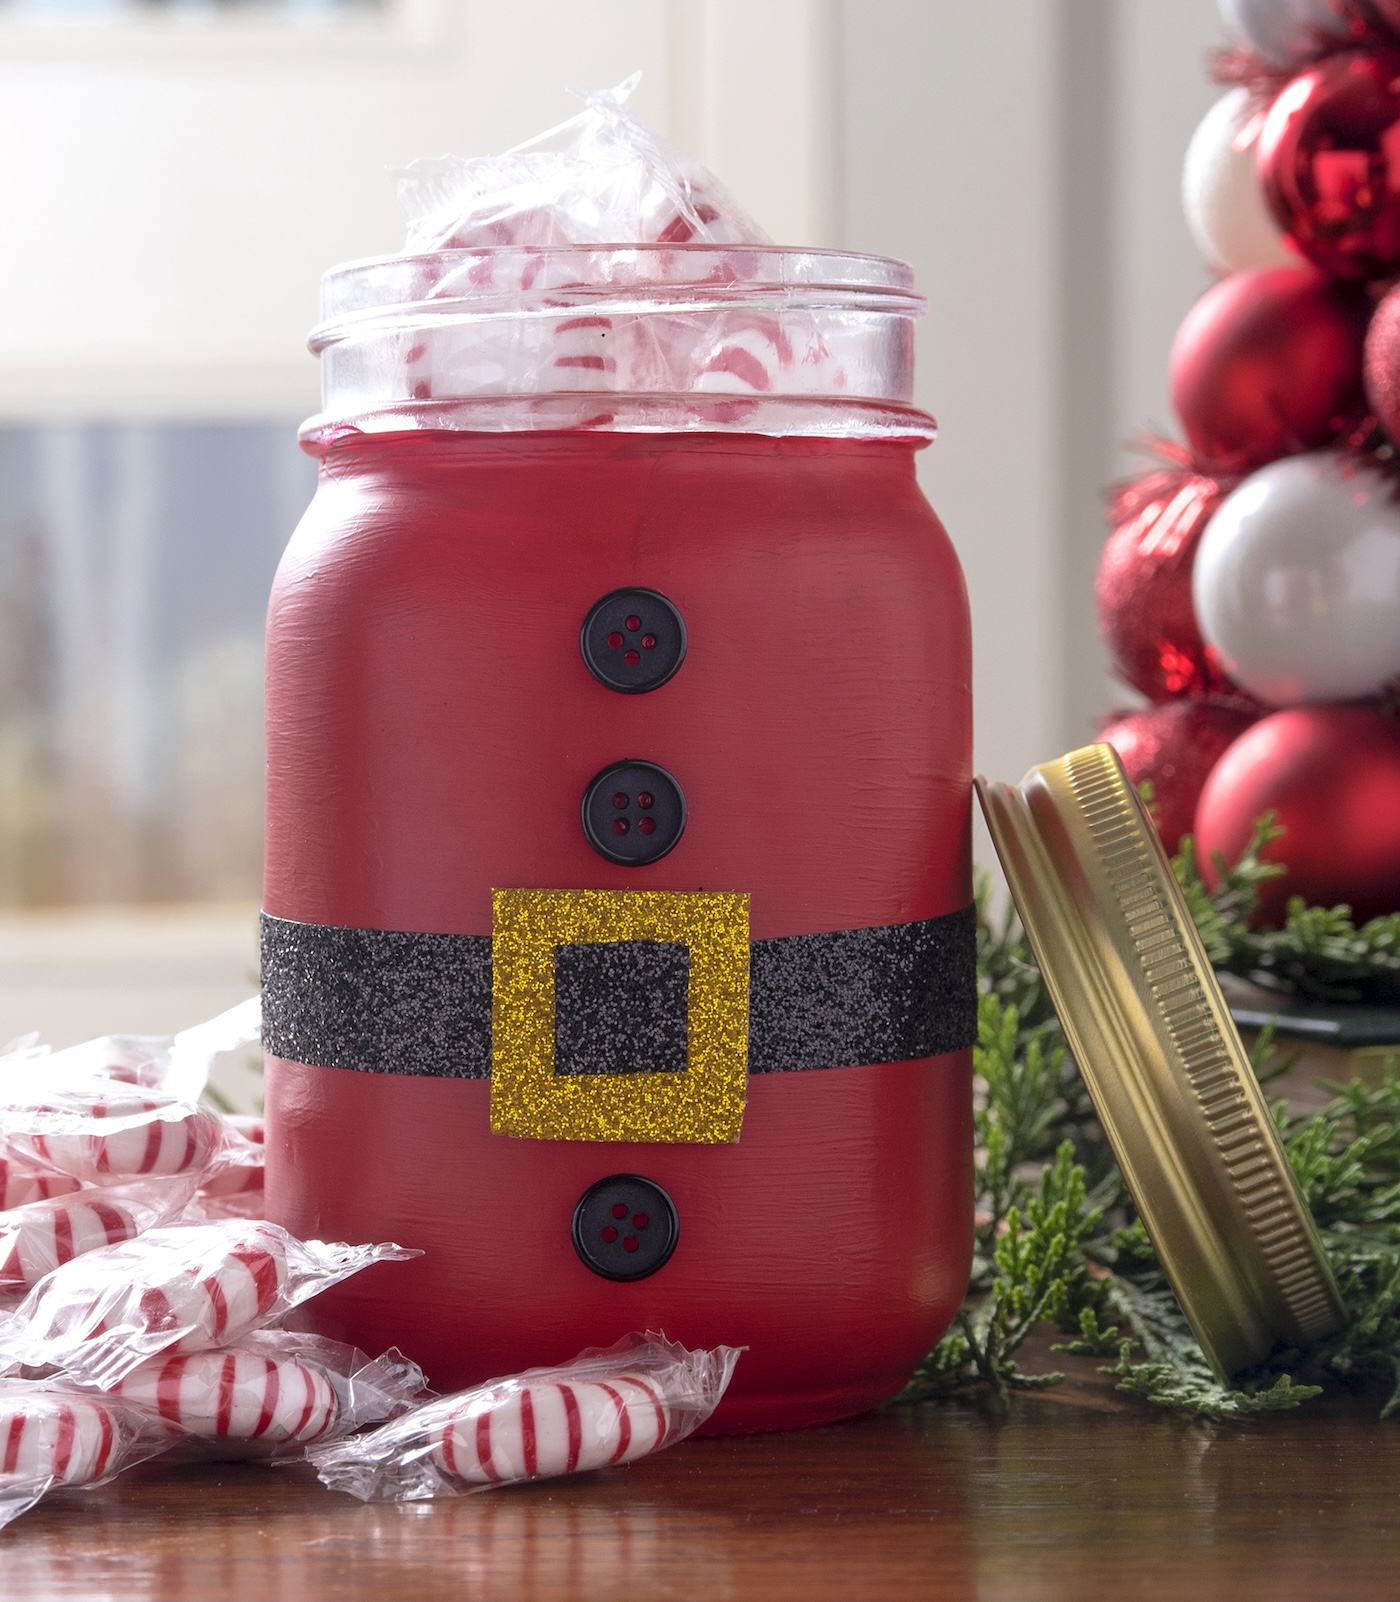
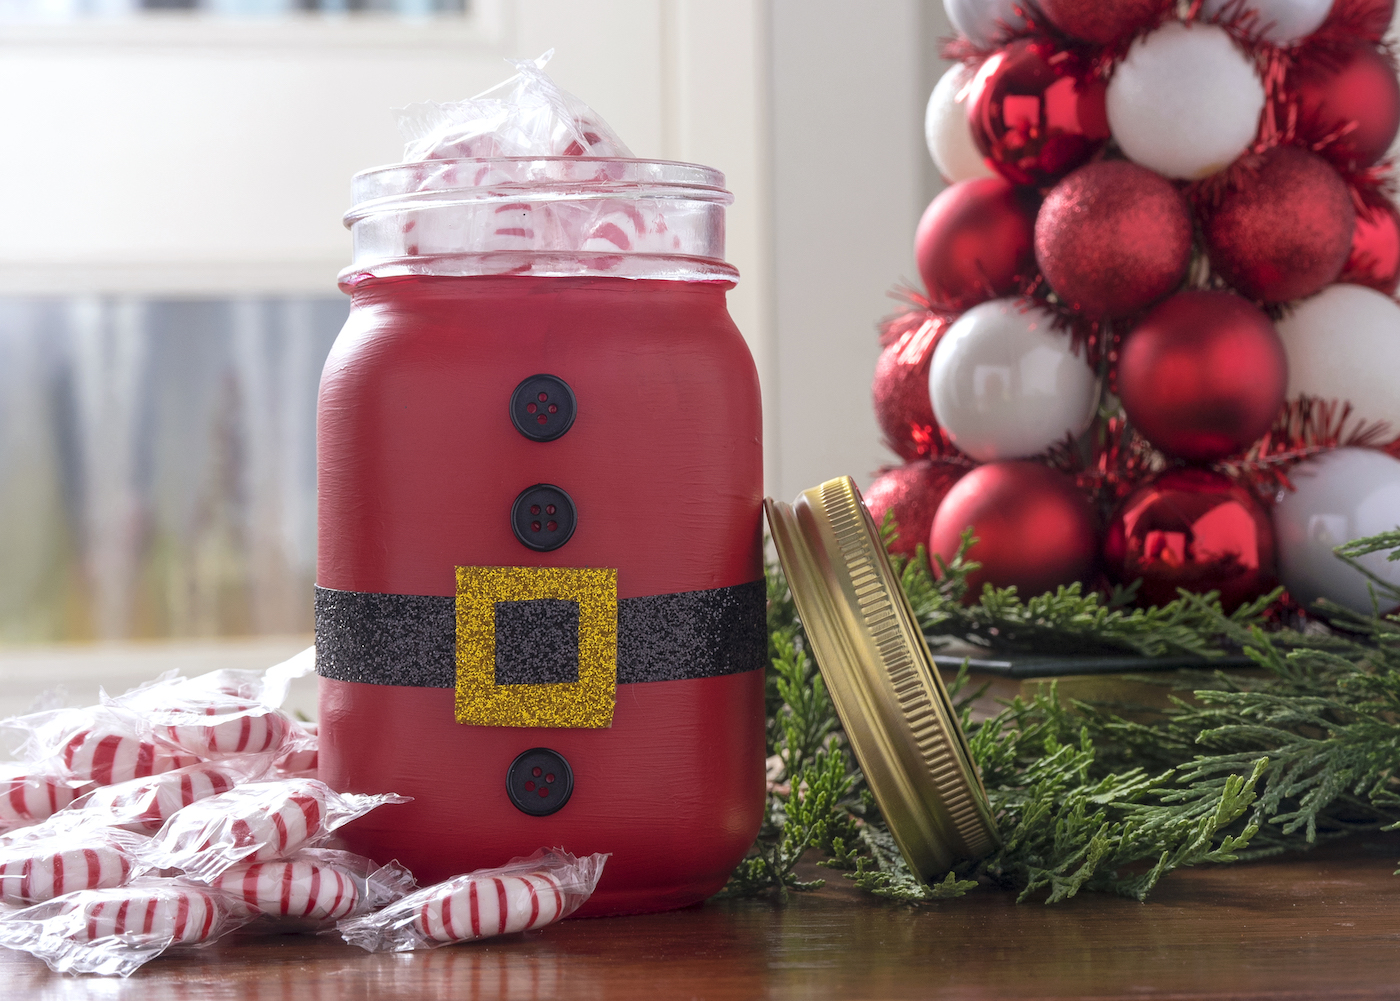
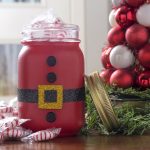
Santa Mason Jar Craft: A Cute and Easy Christmas Gift
This painted Santa mason jar is such a cute Christmas gift idea! It also works as part of your holiday decor – and it’s very easy to make.
Skills Required: Beginner. The only “difficult” part of this project is painting on glass (which is a bit different than wood). It’s going to require patience, but I provide all the instructions below.
I carry an extreme amount of guilt about last Christmas. Why? Because I have good neighbors. And last year, unexpectedly, several of them showed up with boxes of baked goods or candy gifts. And guess what . . . your girl had nothing. Nada.
I didn’t expect it, but I probably should have. I live around some nice, generous people and I feel very lucky!
But don’t worry, I’m not going to make the same mistake this year. I’m going to have something ready (not sure what yet), and I’m going to give whatever it is in a Santa mason jar.
If you’ve never painted a mason jar for Christmas . . . you’re missing out. It’s a fun craft and great for gifting, or just displaying with your holiday decor. Plus it’s easy enough for beginners or even children to do!

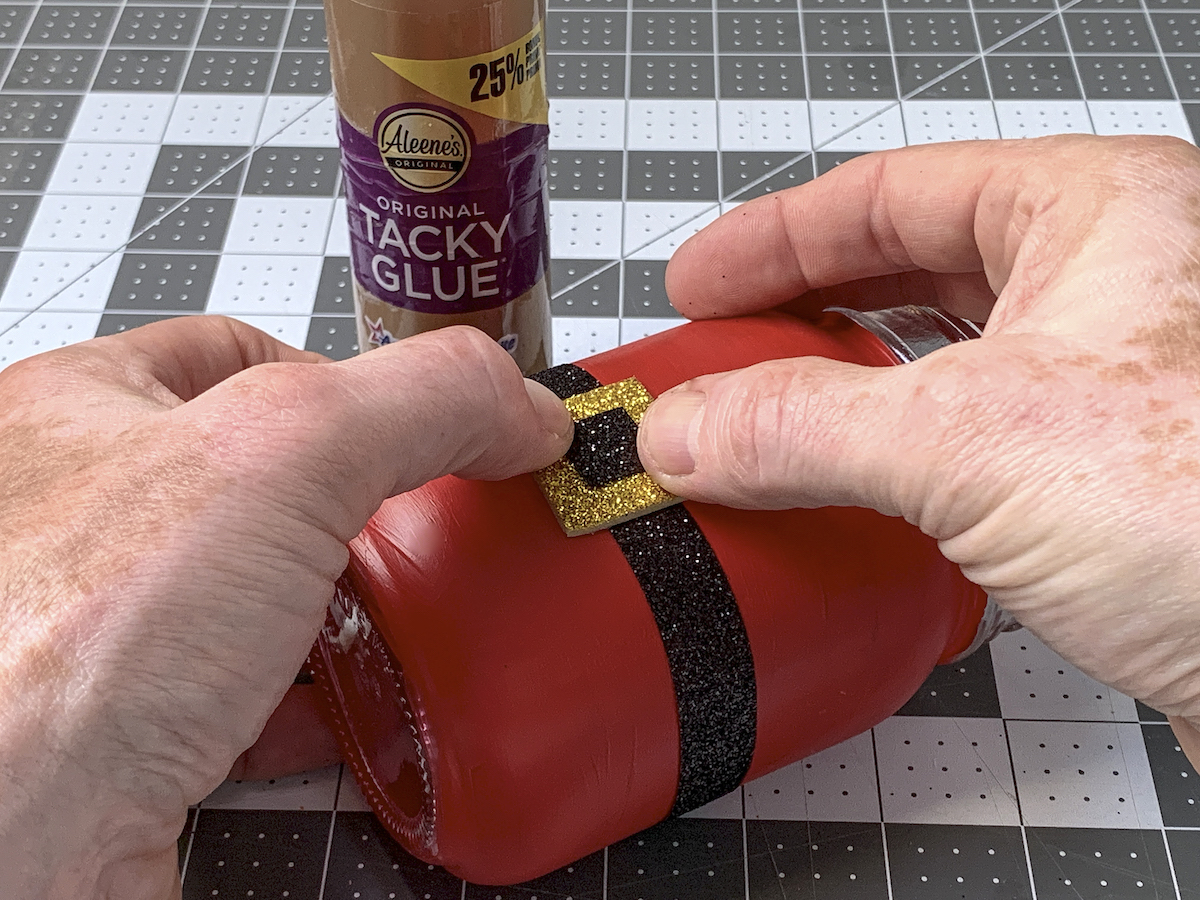
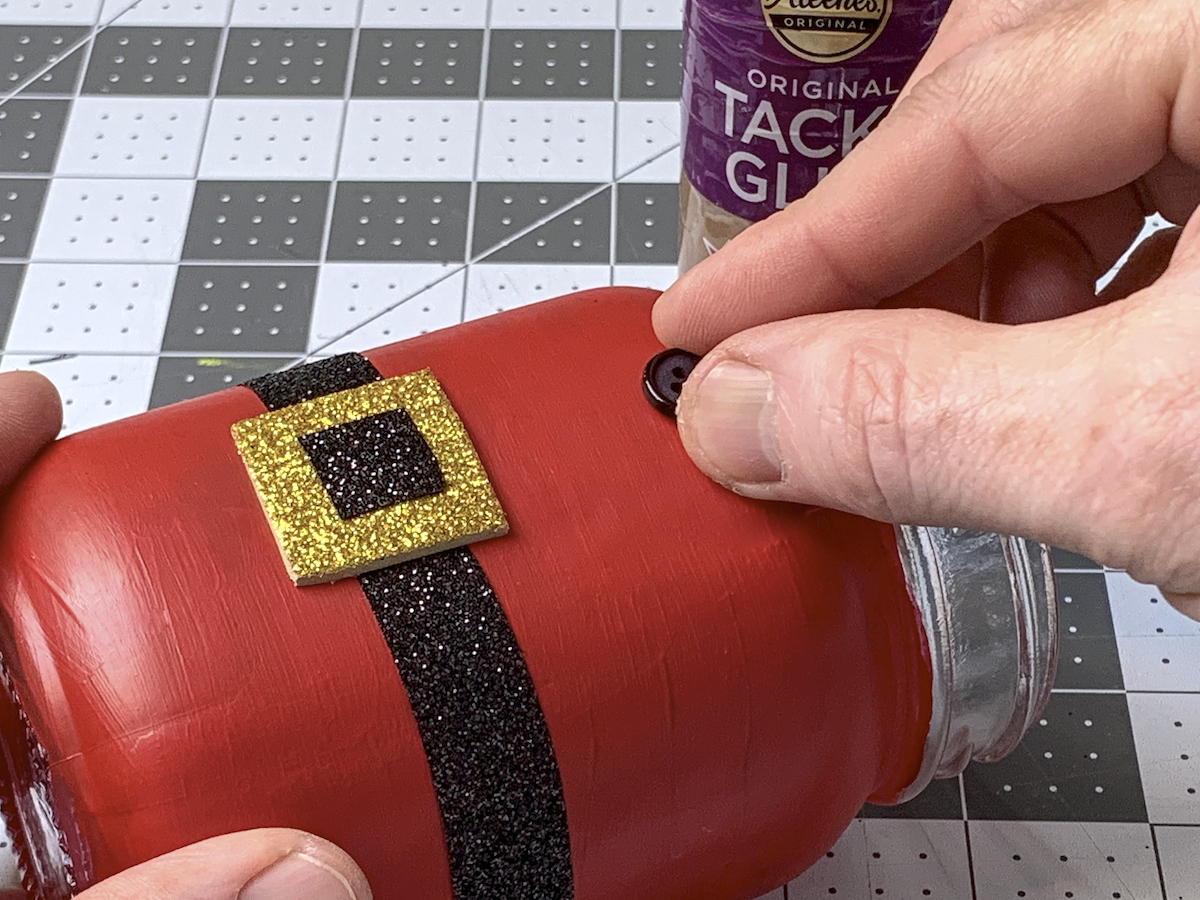
This PROJECT is completed in four easy steps. First you will paint the jar, then you’re going to add the belt, then the buckle, and finally you’re going to glue on the buttons.
Before we get started on the tutorial, I want to share just a few tips with you that might help as you make a jar of your own:
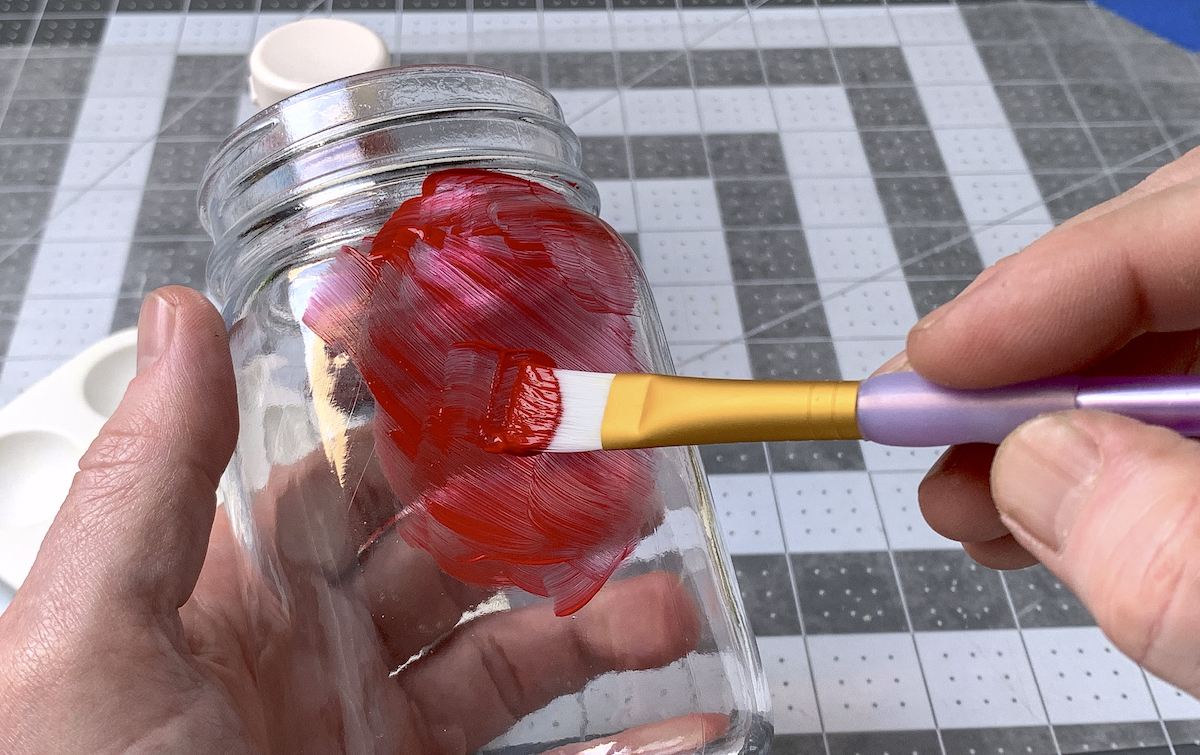
1. Use multisurface or glass paint on the jar. You can also use red spray paint. I don’t recommend regular red craft paint because it will be easy to scratch off the glass.
2. Glass paint looks worse before it looks better. Use a soft bristled brush and don’t paint the next layer until the layer before it is dry. Your first layer will be pretty thin. This is where you need the patience. Don’t glob the paint on; simply brush it on and it will start to flatten out.
3. Besides brushing, you can also spounce the paint on with this tool. It does give a bit of a texture to the paint though. You’ll find it goes on easier and more consistent, but the results won’t be completely flat (very slight texture). Also, you won’t have brush strokes.
Are you ready to make a Santa mason jar of your very own? Get the tutorial below!
Before you begin, you’re going to want to clean the glass jar. You are removing oils from fingers – oils that repel paint. Either clean the jar with mild soap and water and let dry, or use rubbing alcohol and cotton pads to clean the glass.
I can’t wait to find out if you make one of these for yourself or friends. Please let me a note in the comments!
Santa Mason Jar
Equipment
Materials
- 1 Mason jar(s) with a gold lid
- Multisurface craft paint red
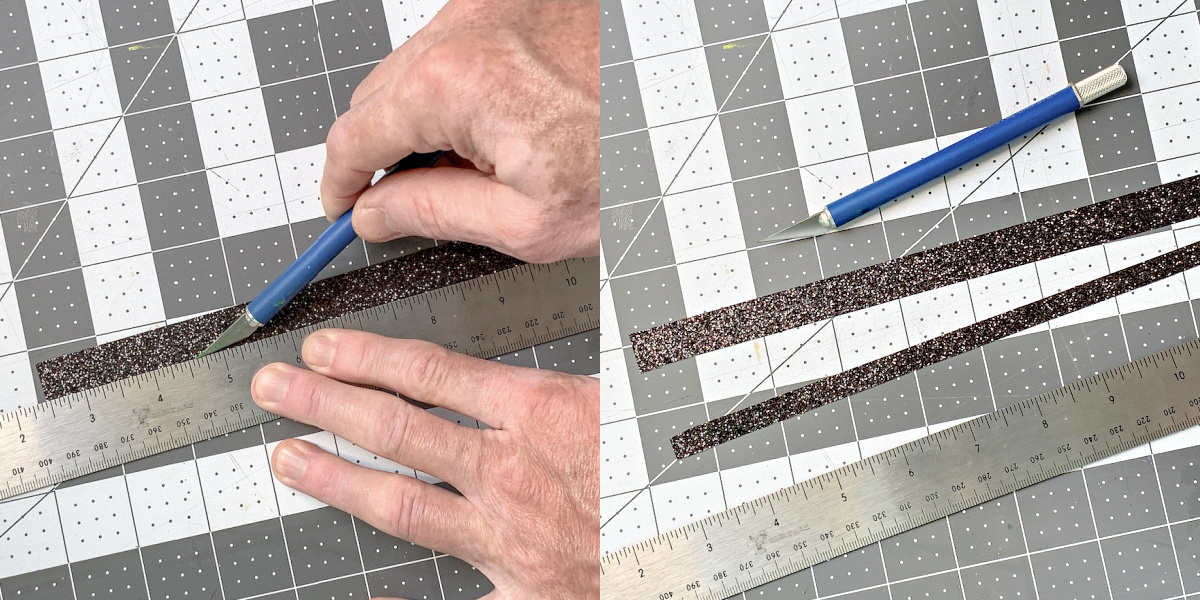
- 1 piece Ribbon(s) black glitter
- Craft foam sheets or felt, gold
- 3 Buttons small, black
- Craft glue
Video
Instructions
- Paint the mason jar with red glass paint, starting with a thin layer and building up. Let dry completely between layers until the entire jar is covered.
- Cut black glitter ribbon to fit around the center of the jar. Trim if needed.
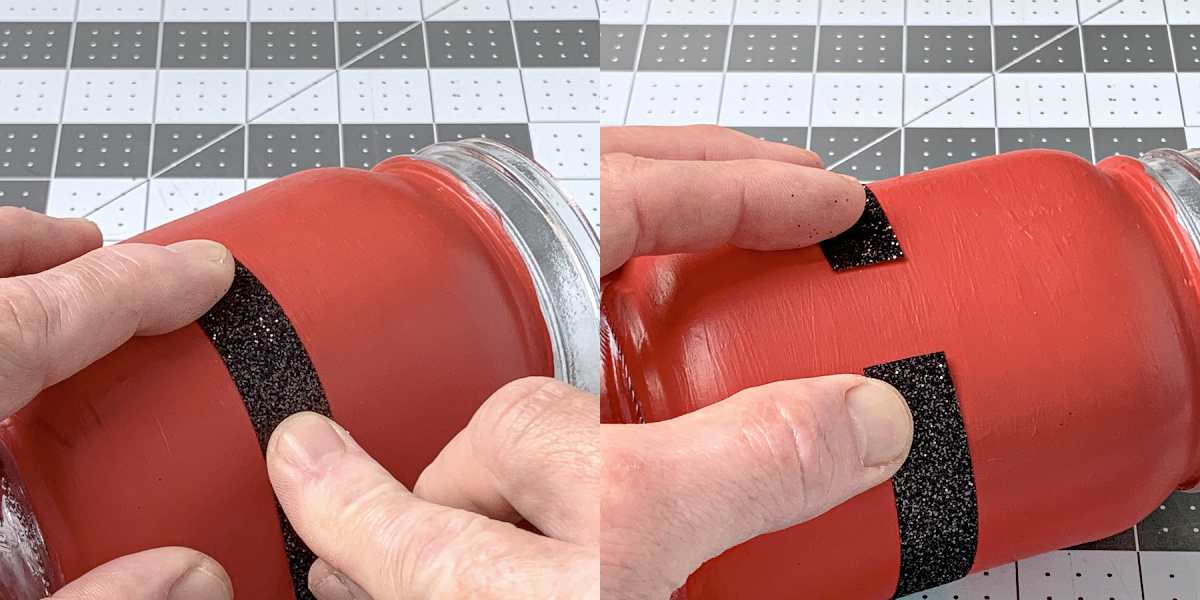
- Glue the ribbon down around the jar using craft glue. The ribbon doesn't have to meet all the way – you'll be covering the seam.
- Cut a small square of gold glitter foam or felt to act as the belt buckle. Glue down and let dry.
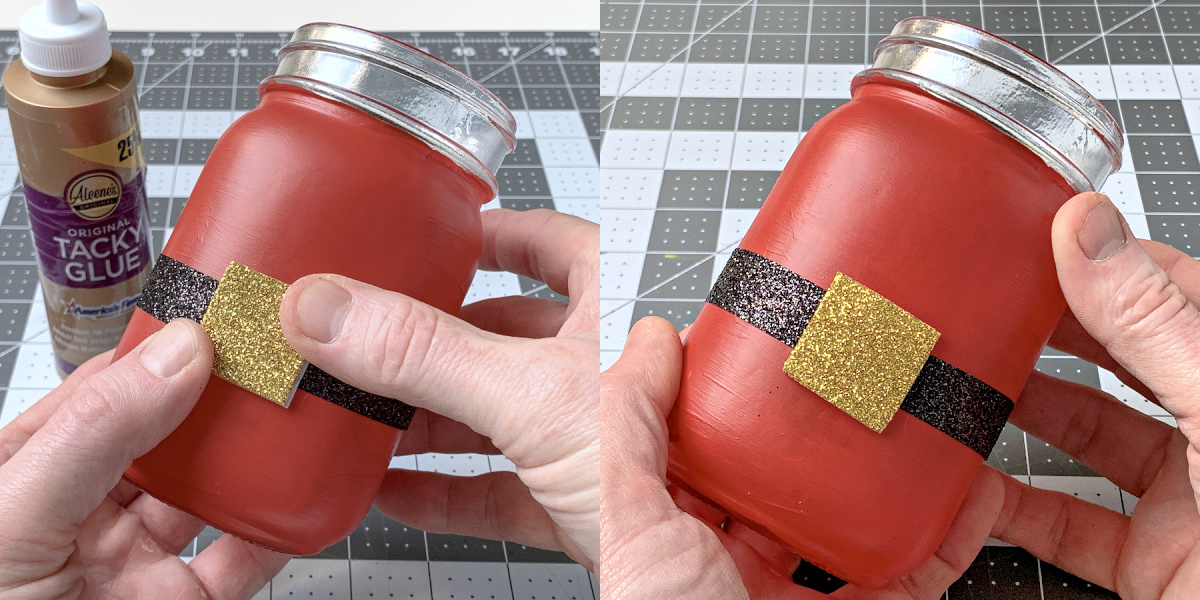
- Cut a small square of black glitter ribbon to fit inside the gold foam. Glue down and let dry.
- Glue small black buttons to the front of the jar; two above and one below. Let dry before replacing the lid on the jar.
If you enjoyed this Christmas craft, I’d love for you to check out these other ideas:
Apothecary Jars • Candy Cane Centerpiece • Christmas Magnets • Decorative Candles • Felt Mistletoe • Gift Card Holders • Gnome Decor • Magazine Christmas Tree • Pom Pom Garland • Santa Hat Topiary • Santa Napkin Rings • Sweater Clips • Wine Cork Snowman