How to Craft DIY Christmas Gnomes for a Festive Touch
Make these DIY Christmas gnomes using simple supplies from the craft store! These are perfect for decorating a mantel or table for the holidays. This is a great project for both kids and adults.
Skills Required: Beginner. Even if you’ve never crafted before, you can easily make a gnome using a paper cone. You’ll be doing some cutting (using templates), painting, and attaching things using adhesive.

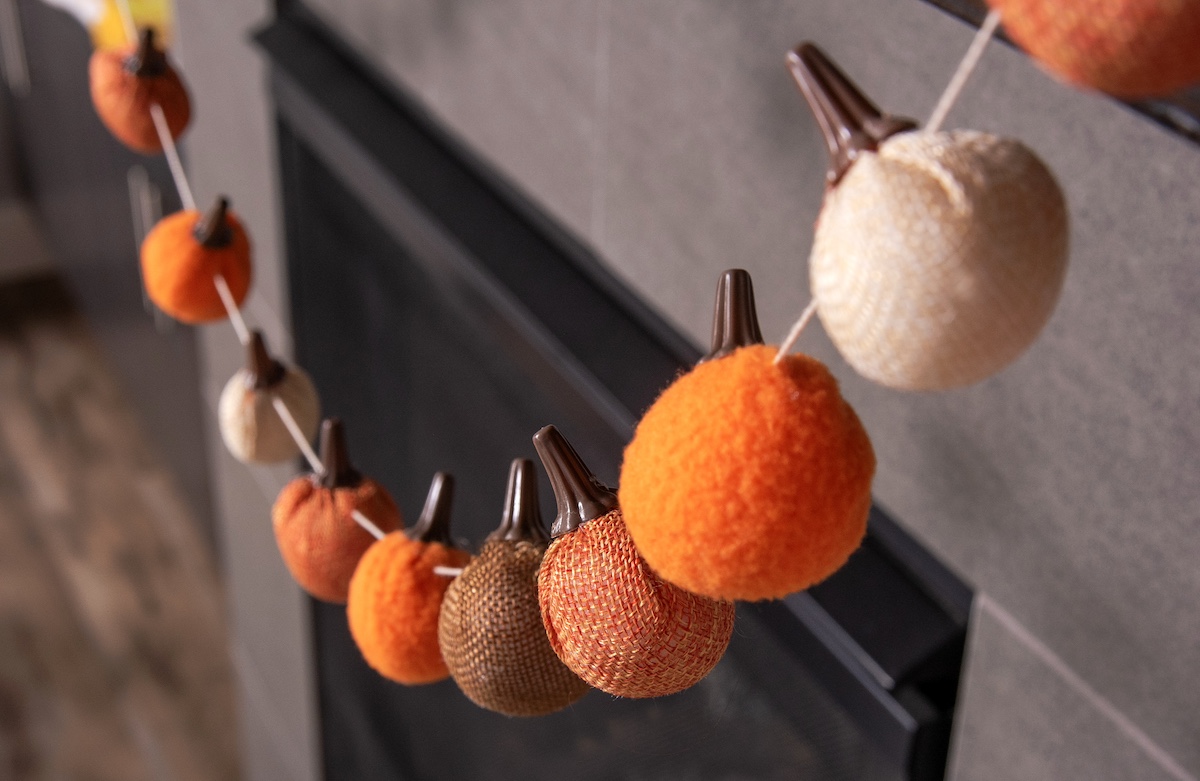
I acknowledge that things have gotten a little out of hand here with the homemade gnomes. I’ve loved making them for every holiday! Just like my felt ball garlands.
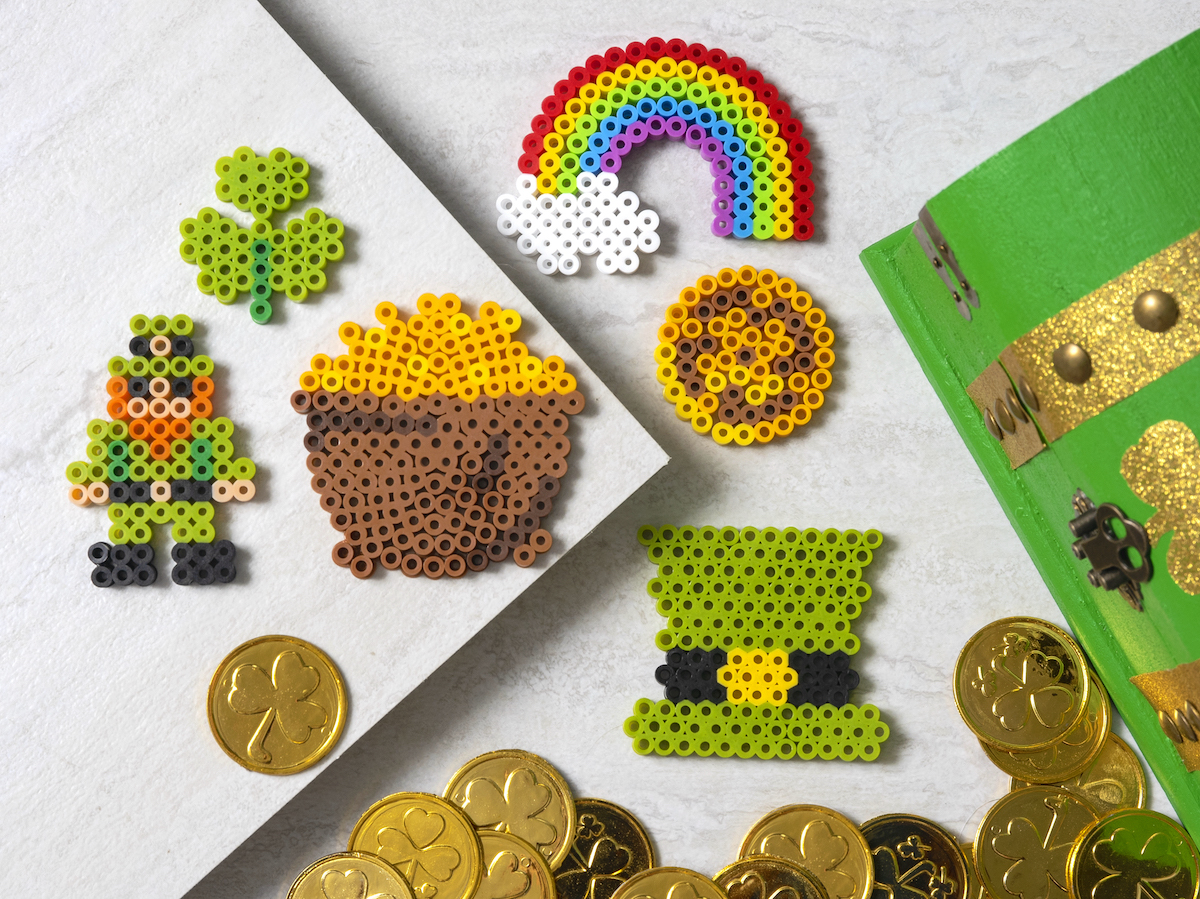
So far I’ve made fall gnomes, Thanksgiving gnomes, Valentine’s Day gnomes, St. Patrick’s Day gnomes – and done some gnome ornaments too.
The thing is, they’re just so dang easy to make! If you’re in need of some quick Christmas decorations, these guys can be made in a jiffy. They look great on a Christmas mantel or table, and kids love them. They might even give them names!
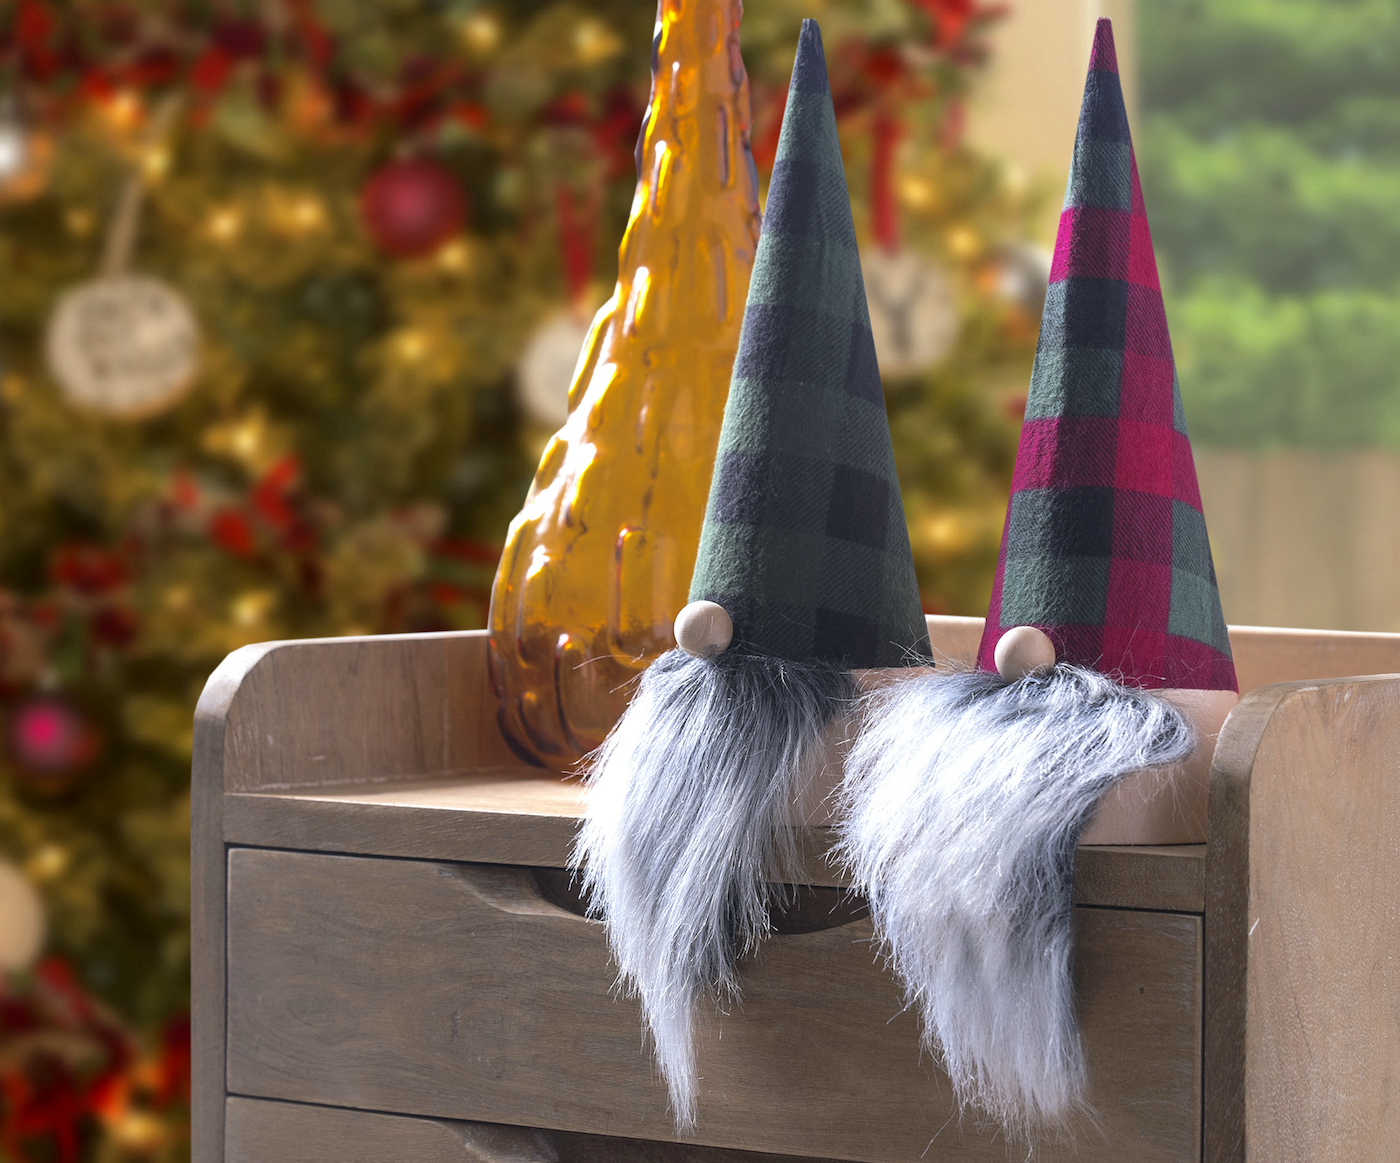
This is Larry and his brother Darryl (what show is that from, minus a Darryl?).
They’re made using paper mache cones, flannel fabric, faux fur, and a few other basics. Once you get the idea, you’ll want to make them for every holiday. And then you’ll have the same problem as me.
A straight up gnome addiction! But how can it be wrong when it feels so right?
You can make a Larry or Darryl in six simple steps! You’re going to make the template, then set aside and paint the cone. You’ll cut out the hat fabric. Then you’ll attach the fabric, then the beard, and then the nose.
Cones to Pick
I prefer the look of the paper mache, but you can also use foam cones. To be honest, they are a little bit cheaper and more readily available. I like that the paper mache can stack.
Material for Beards
I used faux fur for the beards, though some people use felt, yarn, or even a cut up dollar store mop head. There are a few options – I do like the faux fur best, plus it comes in a bunch of different colors.
Gather These Supplies
- Paper mache cones – 2
- Cone template
- Beard template
- Wood beads – 2 (5/8″)
- Acrylic paint – skin tone of your choice
- Flannel fabric – enough to cover the cone
- Faux fur pieces
- Paper to print template
- Paintbrushes
- Spray adhesive
- Sharpie or pen
- Painter’s tape
- Sandpaper
- Scissors
- Hot glue gun
Note: use spray adhesive in a well ventilated area and check safety information if you are sensitive (you might want to use a mask).
Make as many gnome as you like! Pick fun fabrics, and even add fun embellishments if you like. Here’s how mine turned out.
Display these bad boys anywhere you like. I love my gnomies!

DIY Christmas Gnomes
Equipment
- Sharpie or pen
- Sandpaper
Materials
- 2 Paper mache cones
- Cone template
- Beard template
- 2 Wood beads
- Acrylic paint skin tone of your choice
- Flannel fabric enough to cover the cone
- Faux fur pieces
- Paper to print template
- Spray adhesive
- Painter’s tape
Video
Instructions
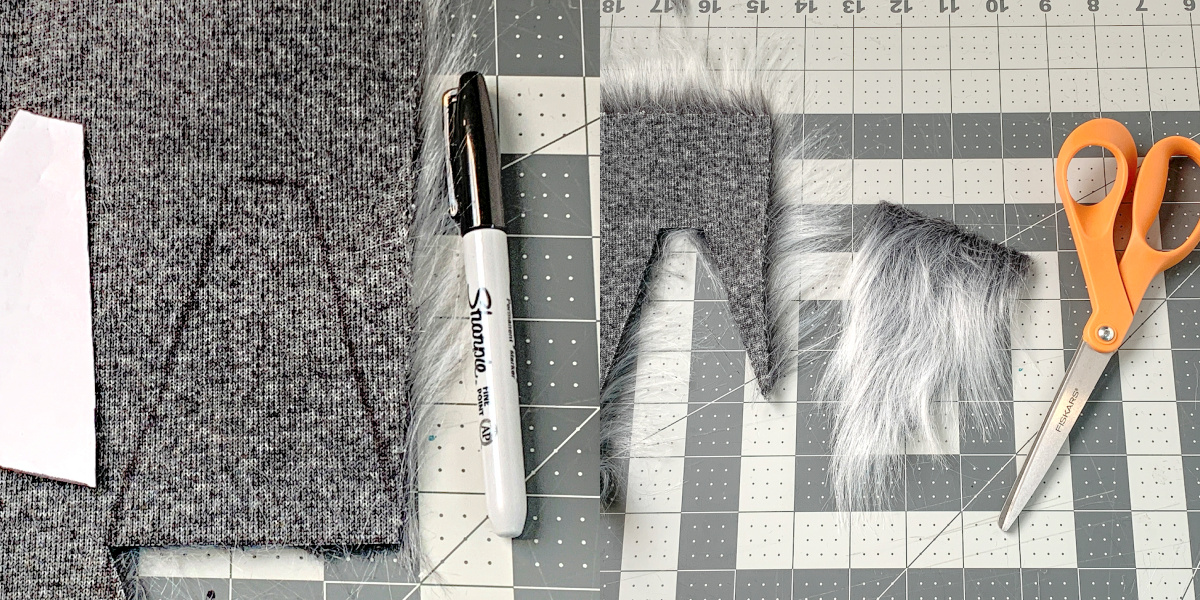
- Print out the template and assemble using tape. Cut out.
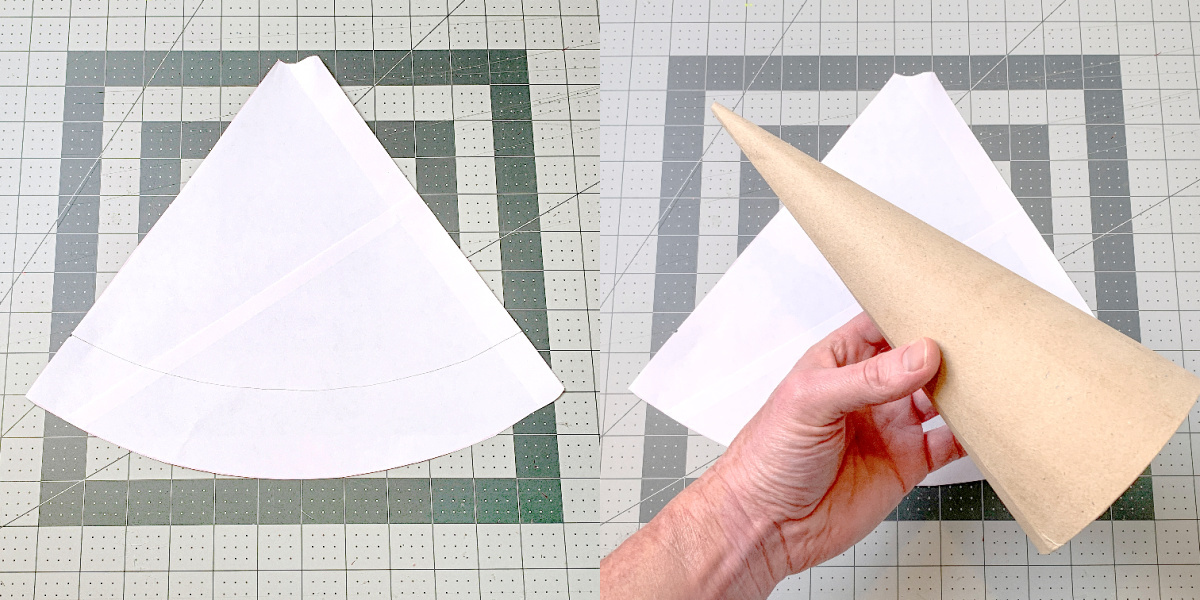
- Cut 1 3/4" off of the bottom of the template. Test fit and then set aside for the moment.

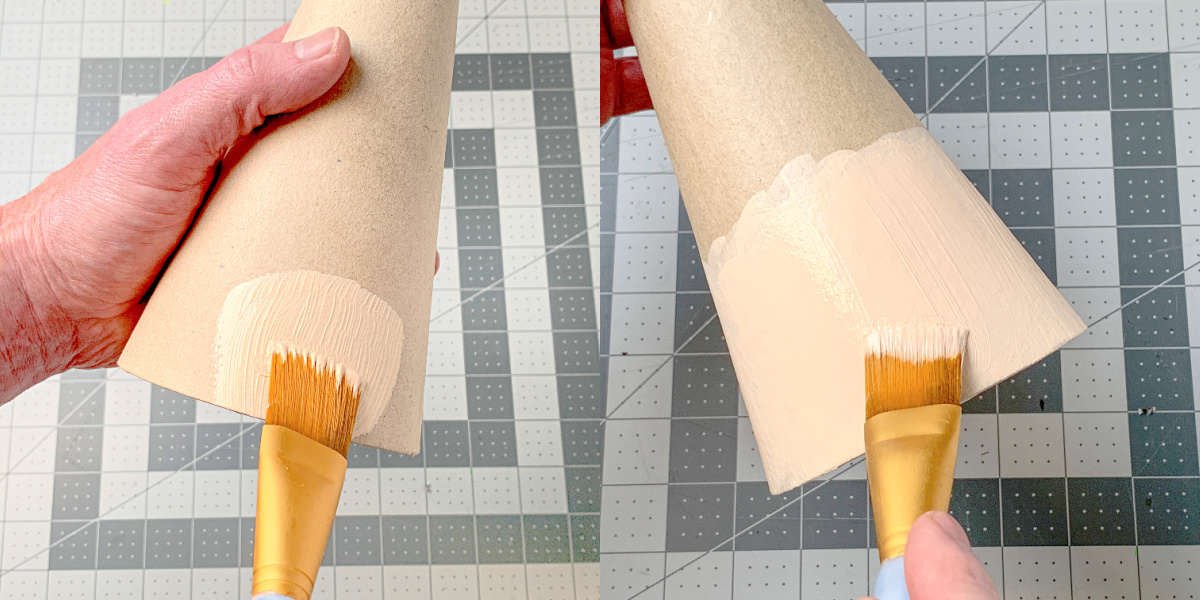
- Paint the bottom of the cone with a few coats of acrylic paint, using the skin tone of your choice. Let dry.
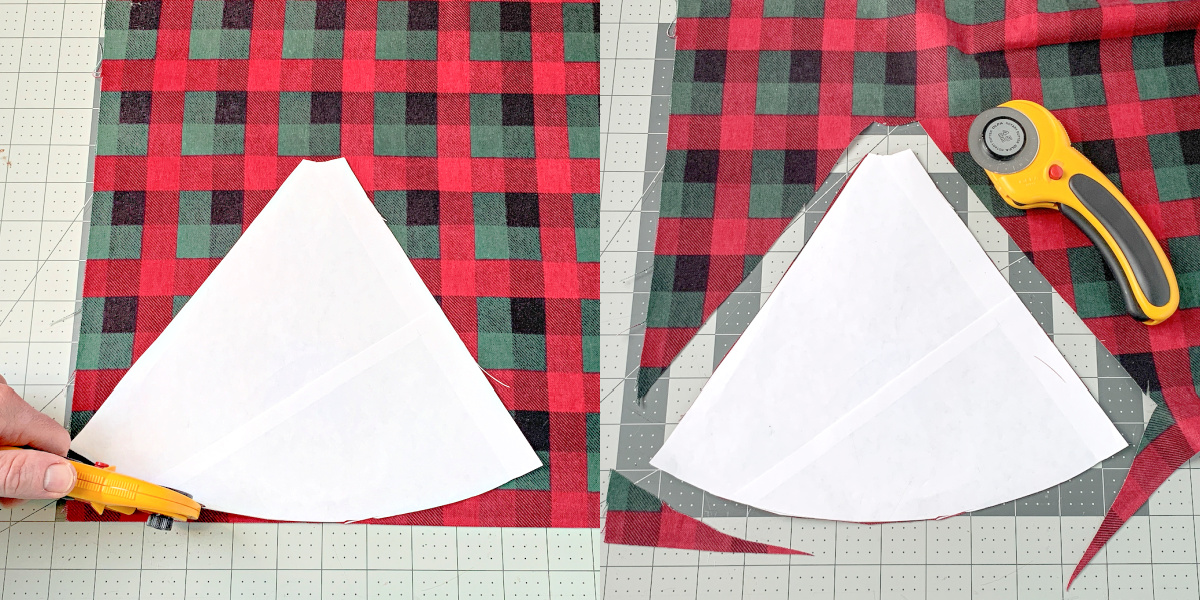
- Cut the fabric of the hat out using the template.
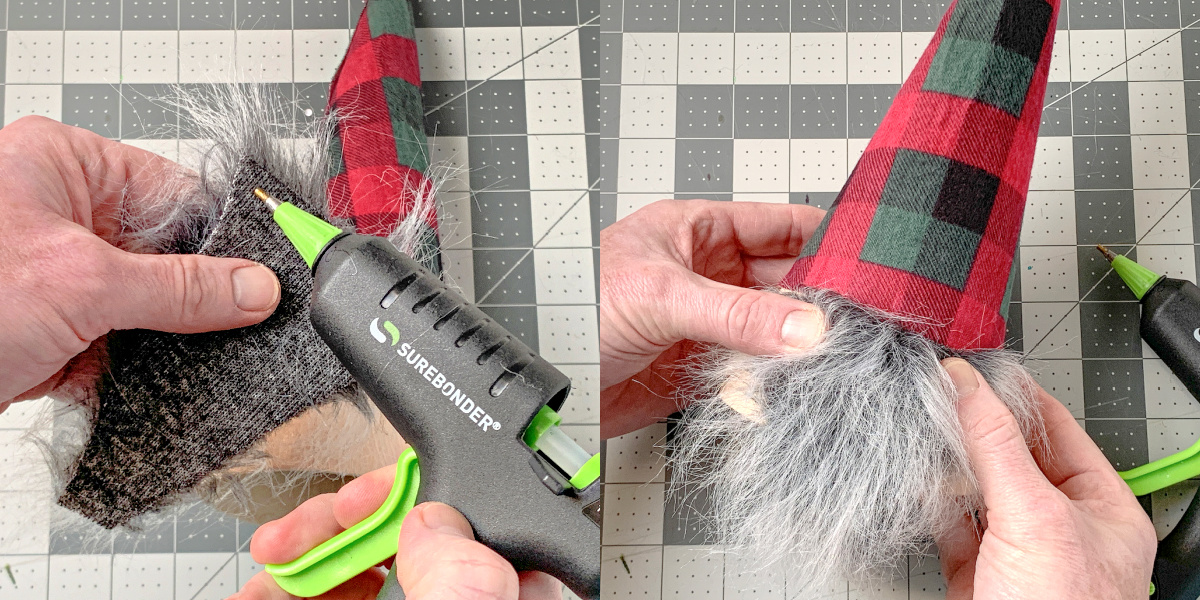
- Tape off the bottom of the cone using painter's tape so you don't get adhesive on the skin area.

- Apply spray adhesive to the top portion. Wrap the fabric around, smooth, and let dry.

- Cut the faux fur for beards using the template. Trace on the back and then keep the faux fur forward while cutting.
- Attach a beard piece to the base of the cone using a hot glue gun.
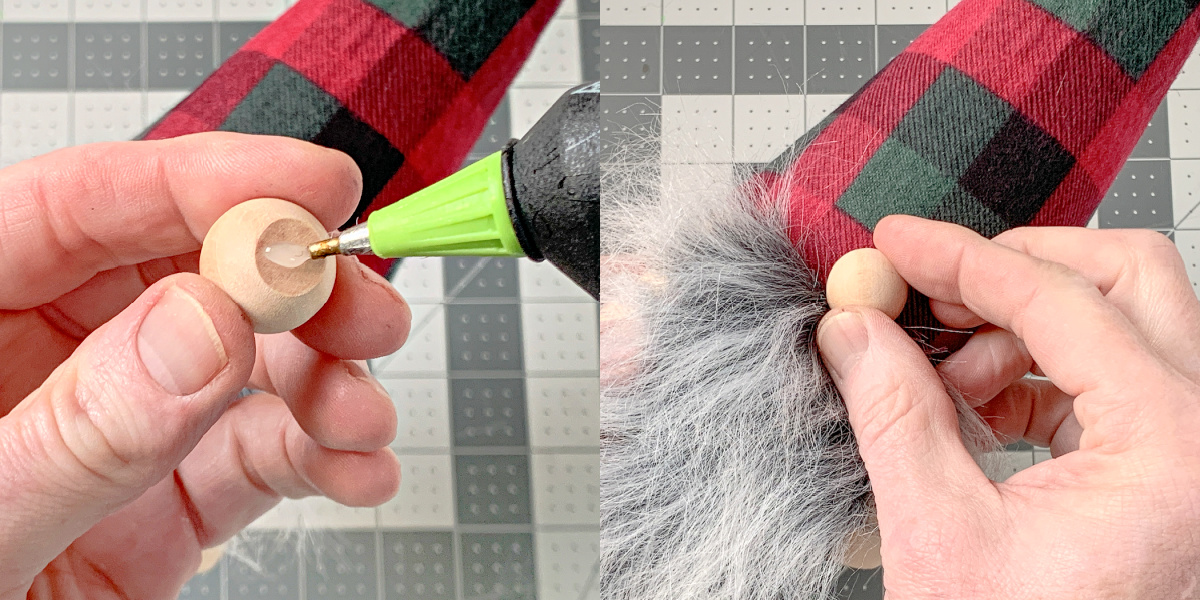
- Sand a flat spot on a wood bead using sandpaper. Hot glue the nose in the center where the beard meets the fabric to finish.
Notes

I hope you enjoyed this gnome Christmas decor! If you love them, let me know in the comments. Then check out these other posts:
Apothecary Jars • Candy Cane Centerpiece • Candy Cane Wreath • Christmas Shadow Box • Decorative Candles • DIY Nativity • Upcycled Stocking • Dollar Tree Christmas Crafts • Felt Mistletoe • Gift Card Holders • Magazine Christmas Tree • Mesh Christmas Wreath • Pom Pom Garland • Santa Hat Topiary • Santa Mason Jar • Santa Napkin Rings • Sweater Clips • Wine Cork Christmas Tree • Wood Slice Magnets