DIY Pumpkin Terrarium: Spooky and Simple Halloween Decor
Create a spooky pumpkin terrarium with ease for Halloween decor! This beginner-friendly project uses a faux pumpkin, fairy garden accessories, and succulents to craft a unique and eerie decoration. Learn how to make it step-by-step.
Skills Required: Beginner. You may be cutting out the front of a faux pumpkin if you can’t find a diorama version, and the rest is just simple cutting, taping, and placing items.
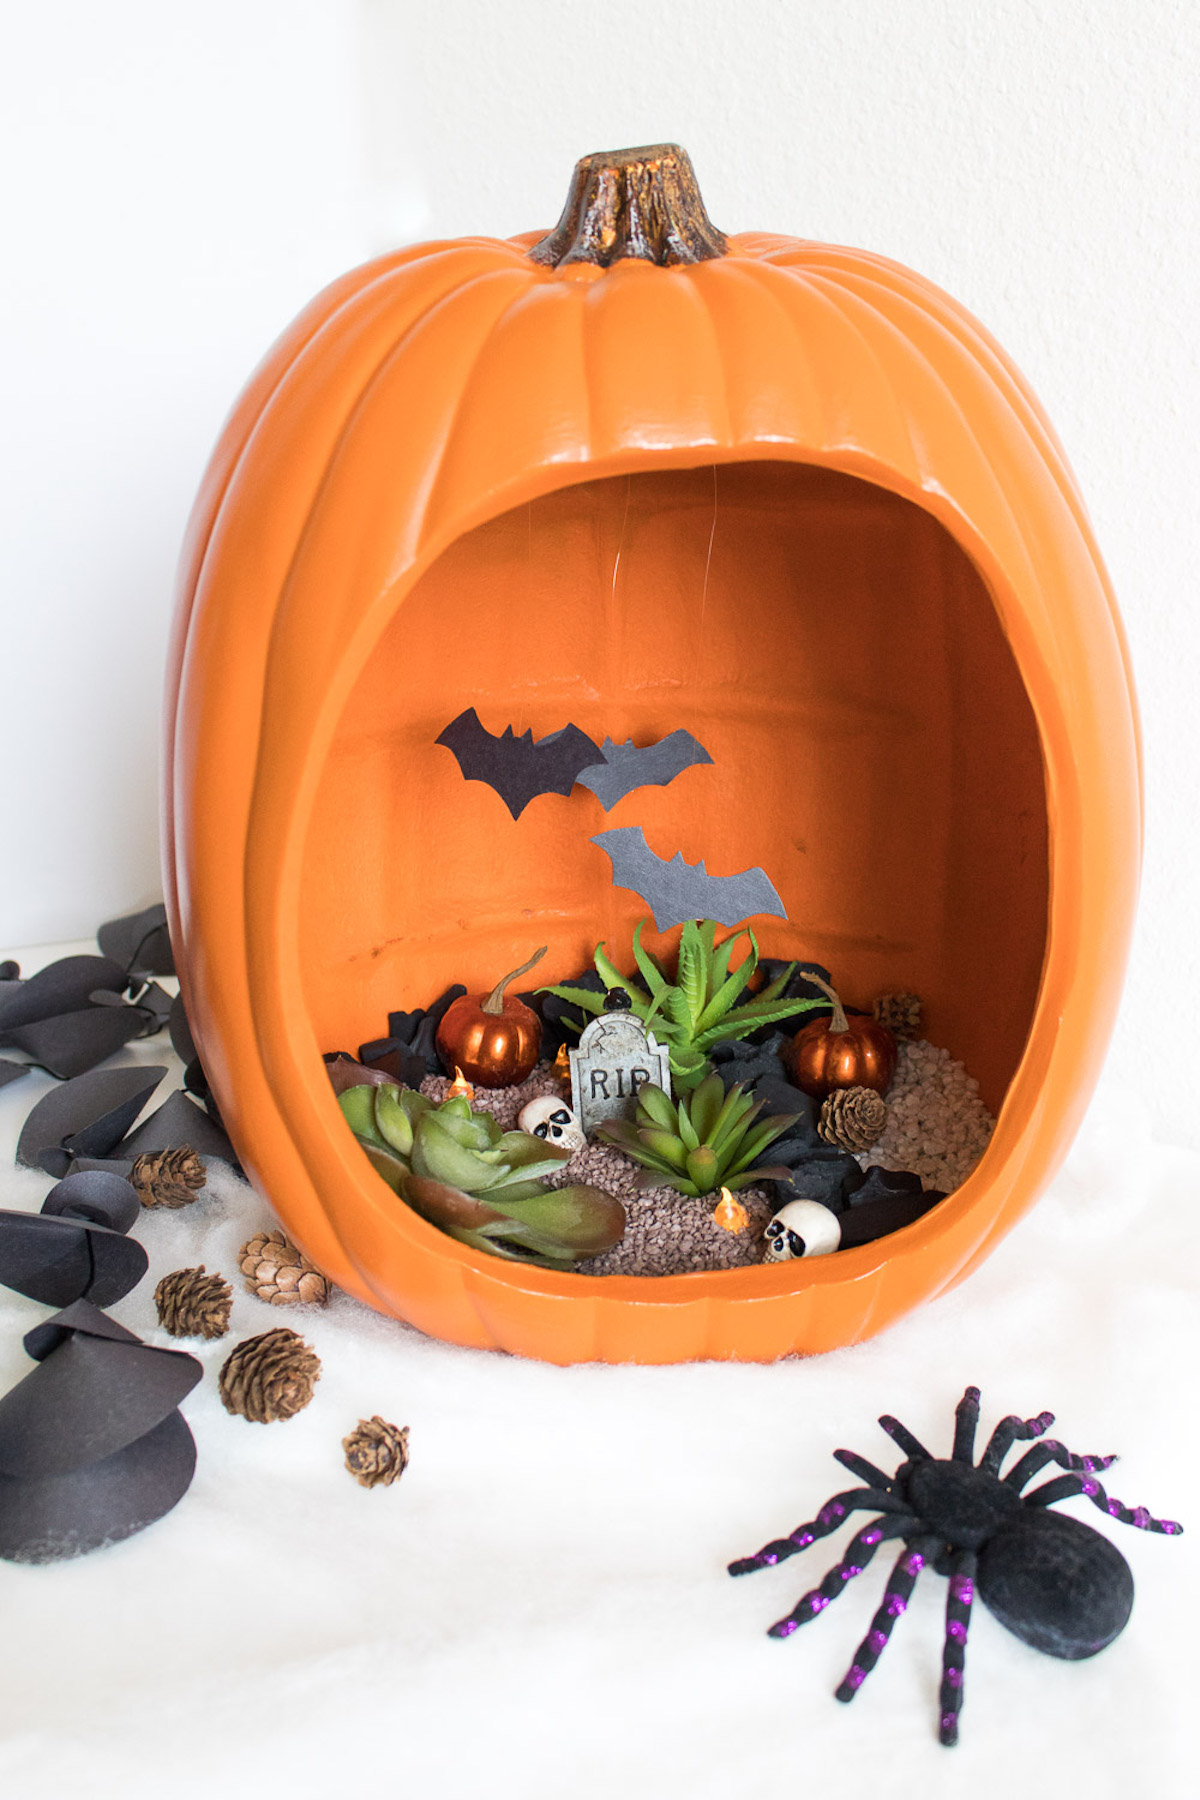
So I went to Michaels recently and stopped when I saw their big bin of pumpkins. Of course they had the standard pumpkins and even some different colors (teal, black, etc.). But what really caught my eye? Their 13″ diorama pumpkins.
I’m obsessed with fairy gardens and the precut opening gave me the potential to turn it into a pumpkin terrarium! What I also love is that it was really easy to grab some of the cute little Halloween fairy garden supplies because there is a whole section.
My point is, if you want to make this project (and who doesn’t?) for your Halloween decor, you can throw one together in just a few minutes using this tutorial.

DIY Halloween Terrarium
Gather These Supplies
- Hollowed fake pumpkin (large)
- Small terrarium/fairy garden rocks
- Charcoal or wood chips
- Battery powered tea lights
- Halloween-themed fairy garden/terrarium accessories
- Fake succulents
- Scissors
- Black construction paper or cardstock
- Clear fishing or jewelry line
- Tape
NOTE: If you can’t find a pumpkin with a hole cut out in front like this one – it’s okay. You’ll be able to carve a hole in the front of your fake pumpkin easy. Use the tutorial here.
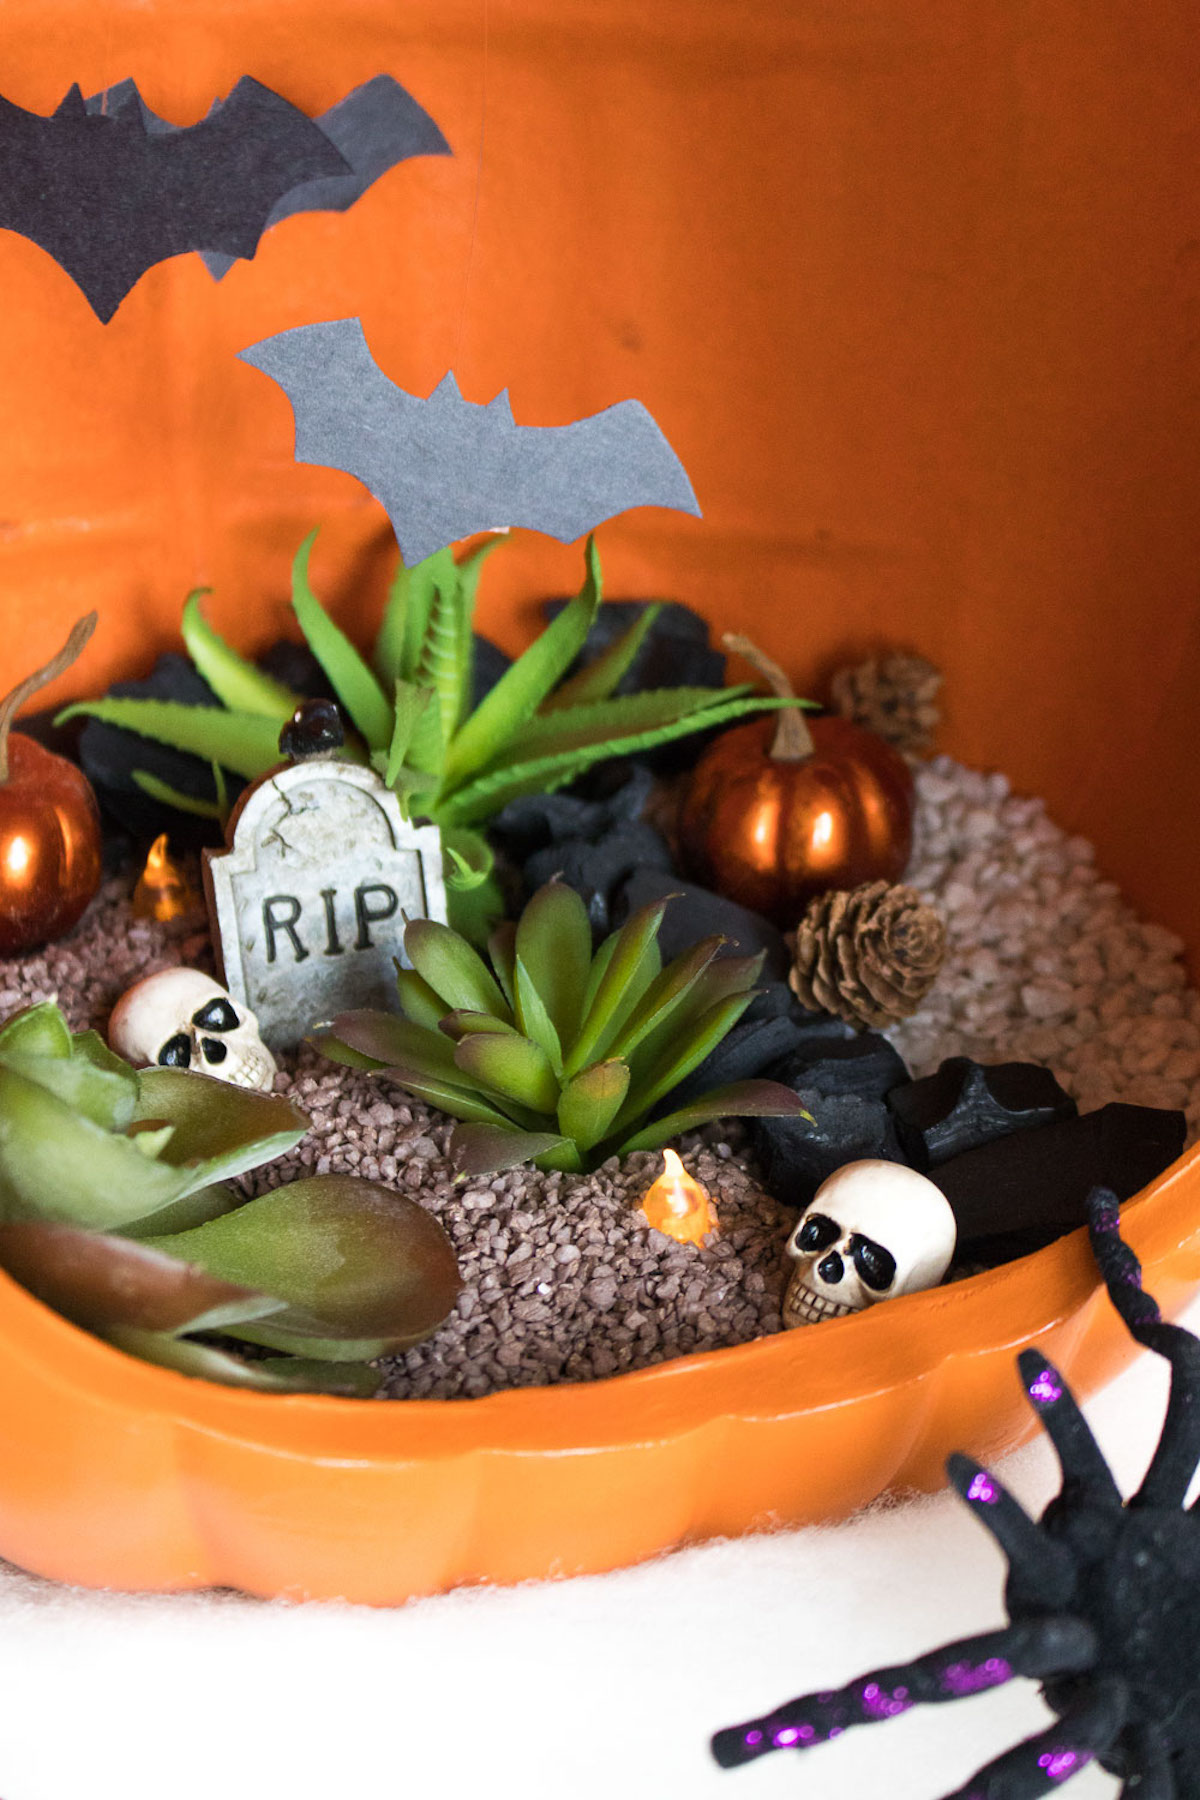
Place a Base Layer
Fill the bottom of the pumpkin with small rocks, even separating it into two sections with different colored rocks.
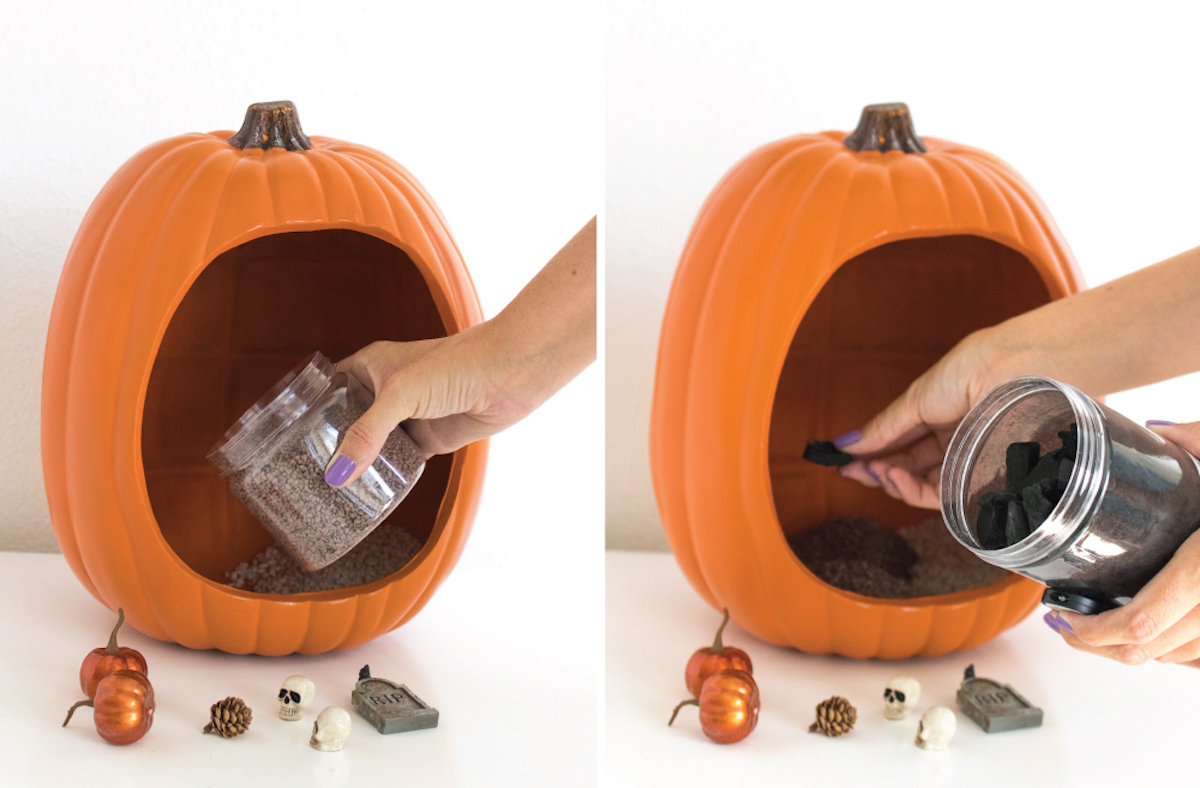
Use charcoal or wood chips to separate sections and/or line the outside edge to add depth and give the appearance of a pathway.
Add Tea Lights and Accessories
Carefully bury the tea lights into the rocks in various locations, turning them on beforehand.
TIP: if using tea lights, they will remain ON at all times so as not to disturb the terrarium decor. You may want to consider getting those kind with remotes.

Place Halloween-themed accessories like pumpkins, gravestones, skulls, etc. around the inside of the pumpkin, pressing into the rocks lightly to hold themselves up.
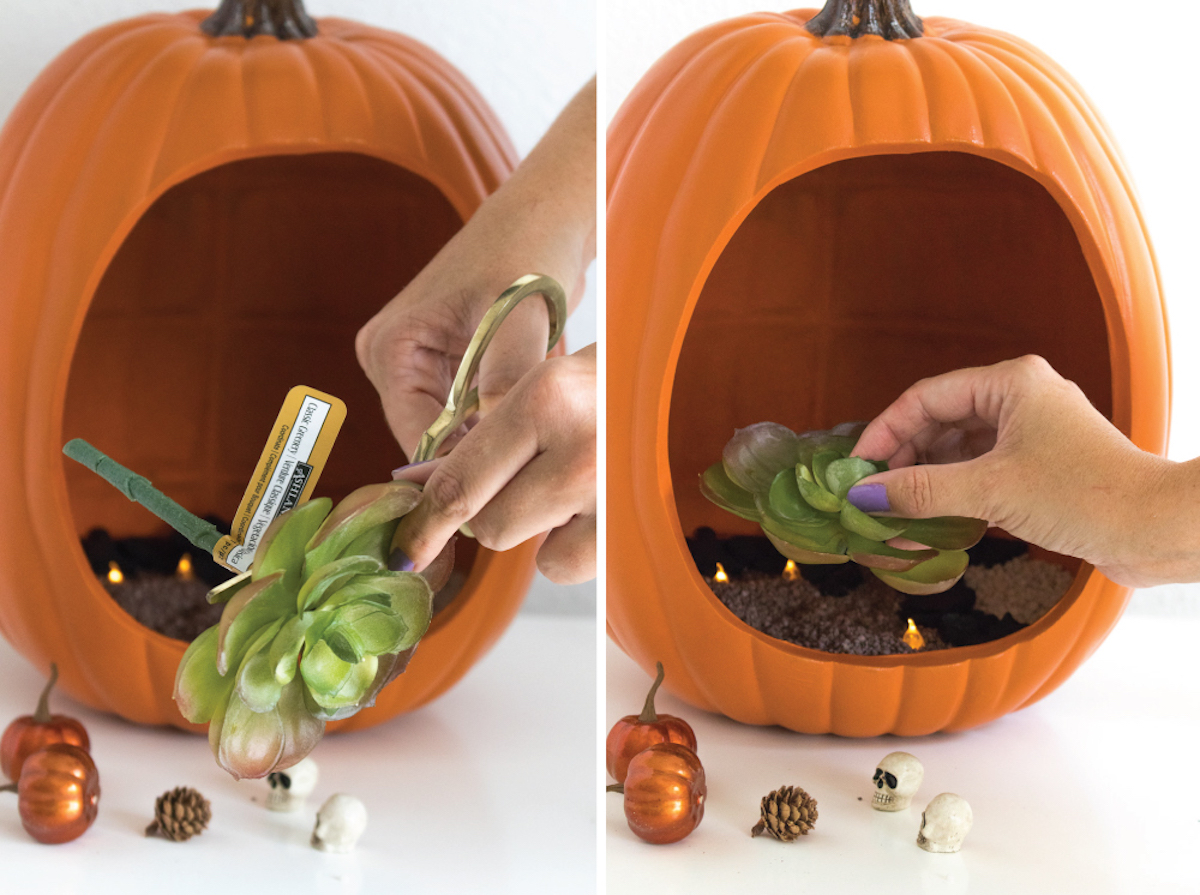
Add Succulents
Cut the stems off of fake succulents (2 – 3 for a large pumpkin) and place in open areas to appear like plants in a graveyard. Move other accessories as needed to make the scene appear cohesive.
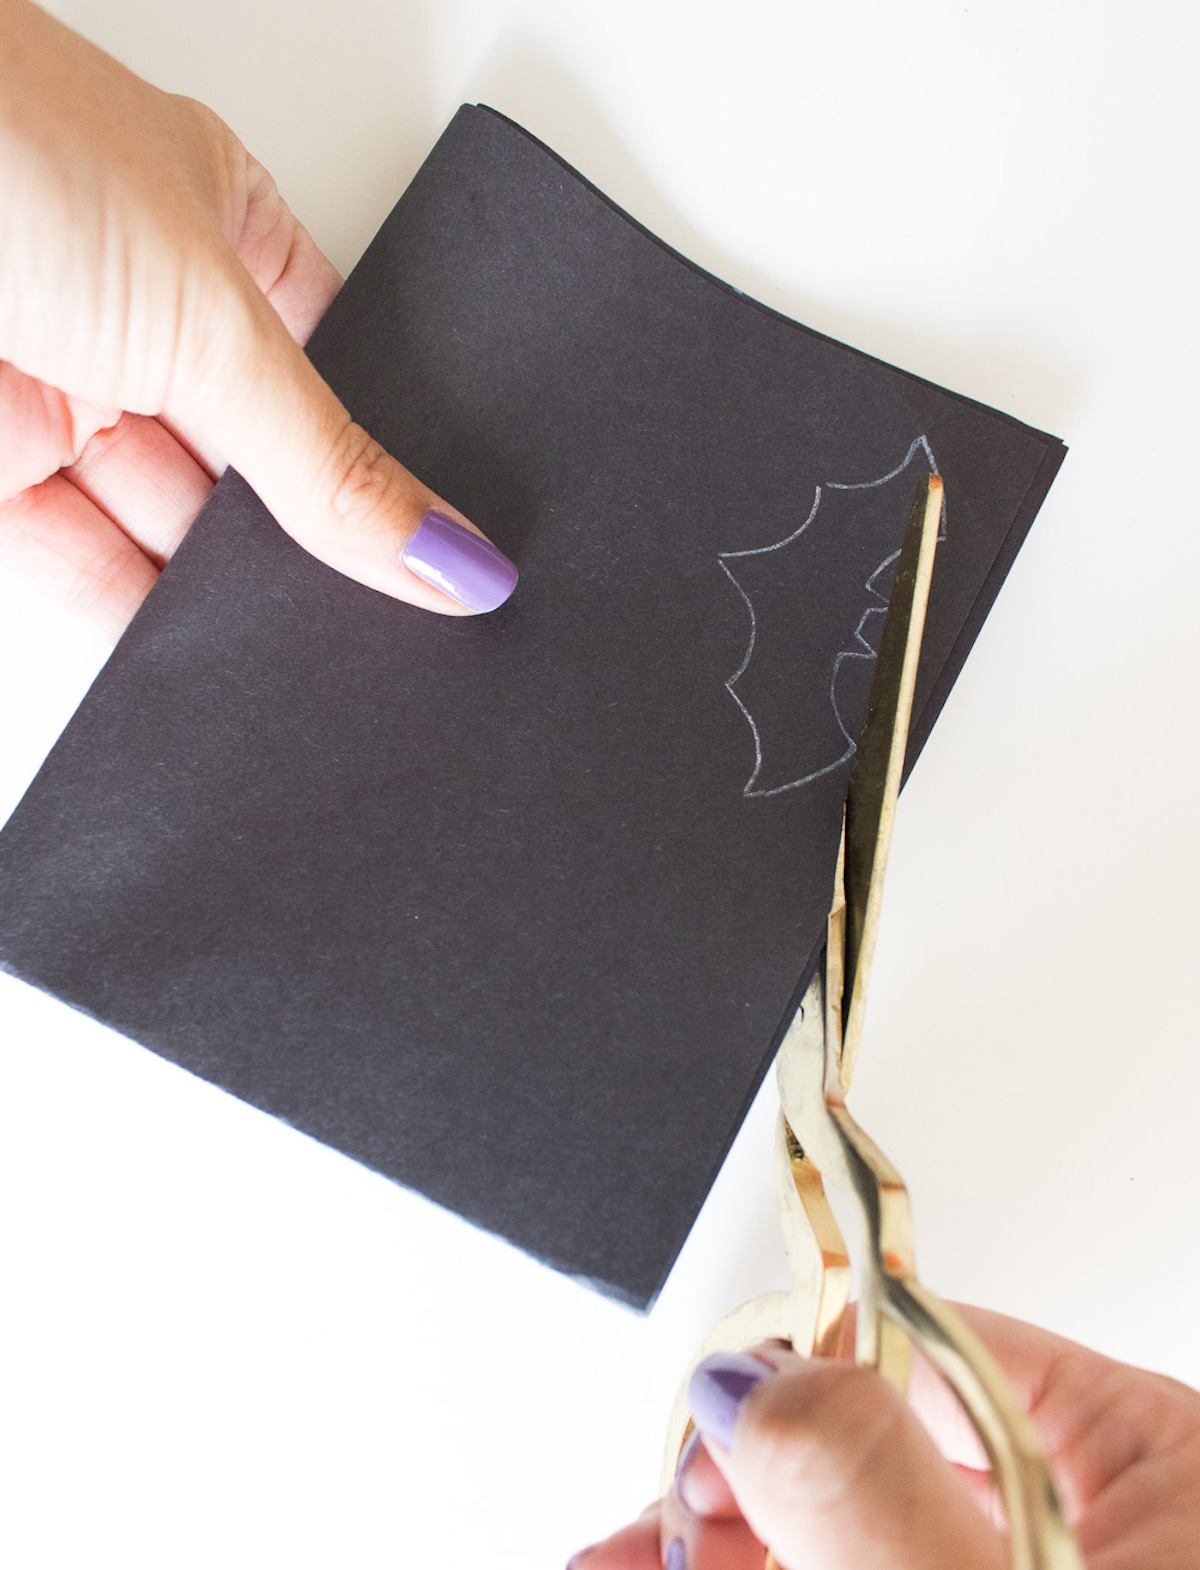
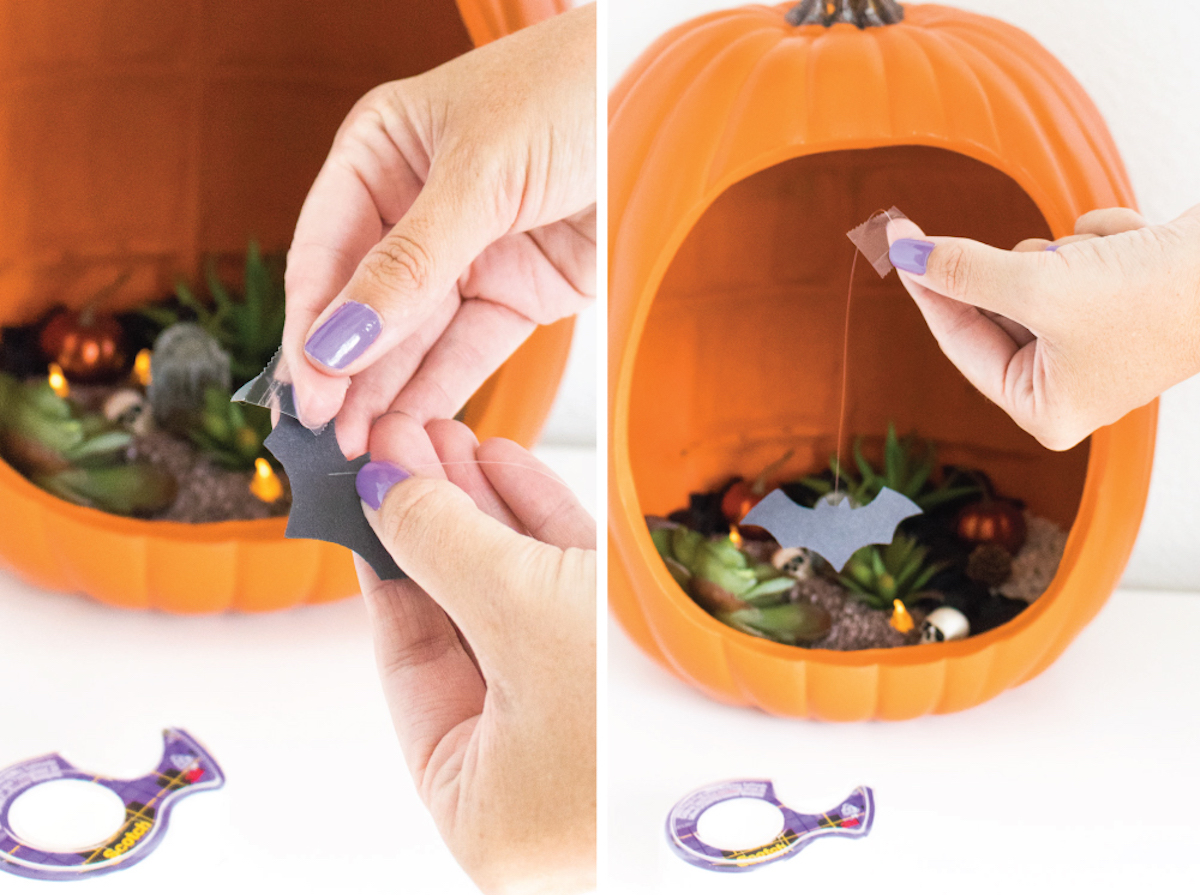
Make and Attach the Bats
Cut small bat shapes out of black construction paper or cardstock either using a template or by drawing the shape. Cut 2-3 for a large pumpkin, about 2 inches wide.
Cut a piece of fishing line about 4 inches long and tape to the back of a bat shape. Tape the other end to the top inside of the pumpkin and repeat with the other bats, varying the lengths slightly to achieve the appearance of bats flying in the night.
And that’s how easy it is to make this Halloween terrarium! Anyone can do it.
Let’s get a close up . . .
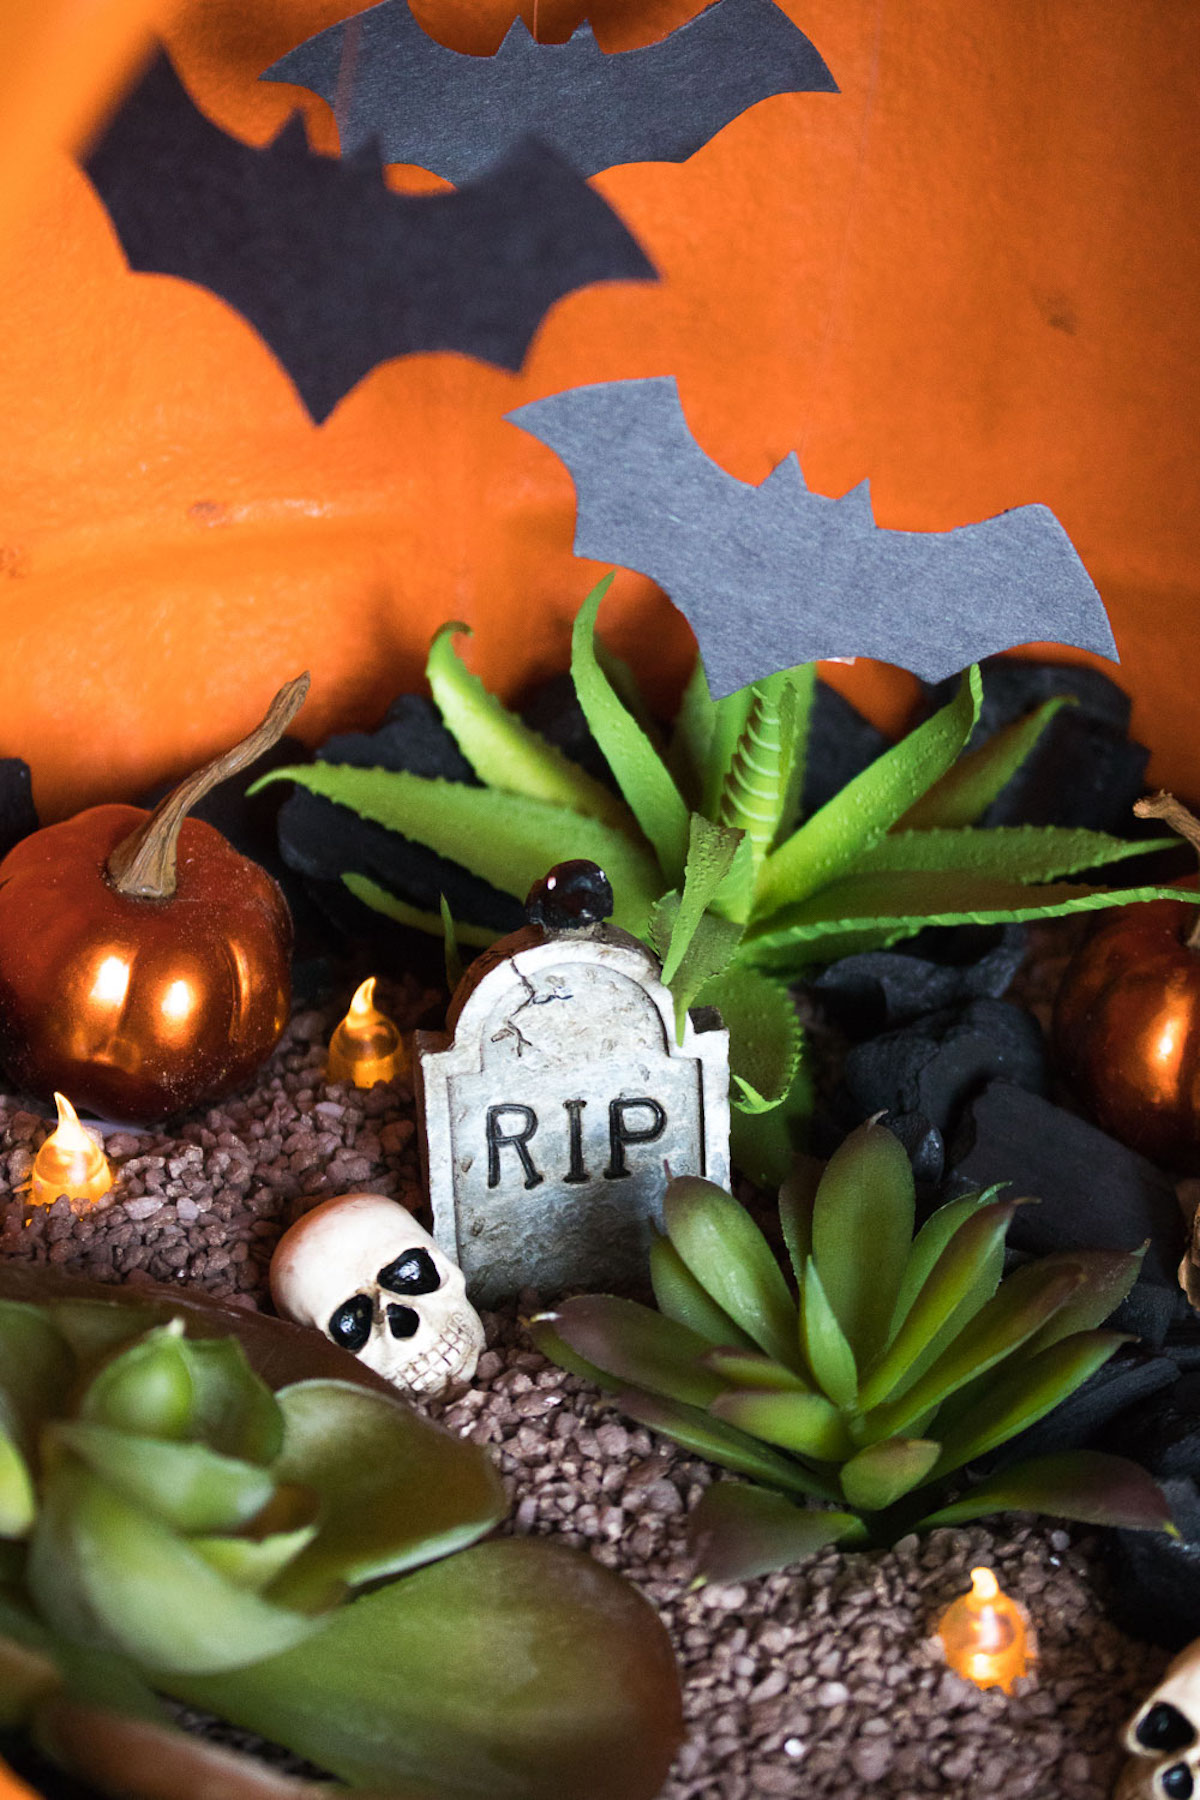
Isn’t it spooky and wonderful? Please let me know what you think in the comments!
Don’t forget to check out all of our Halloween crafts including these fun ideas:
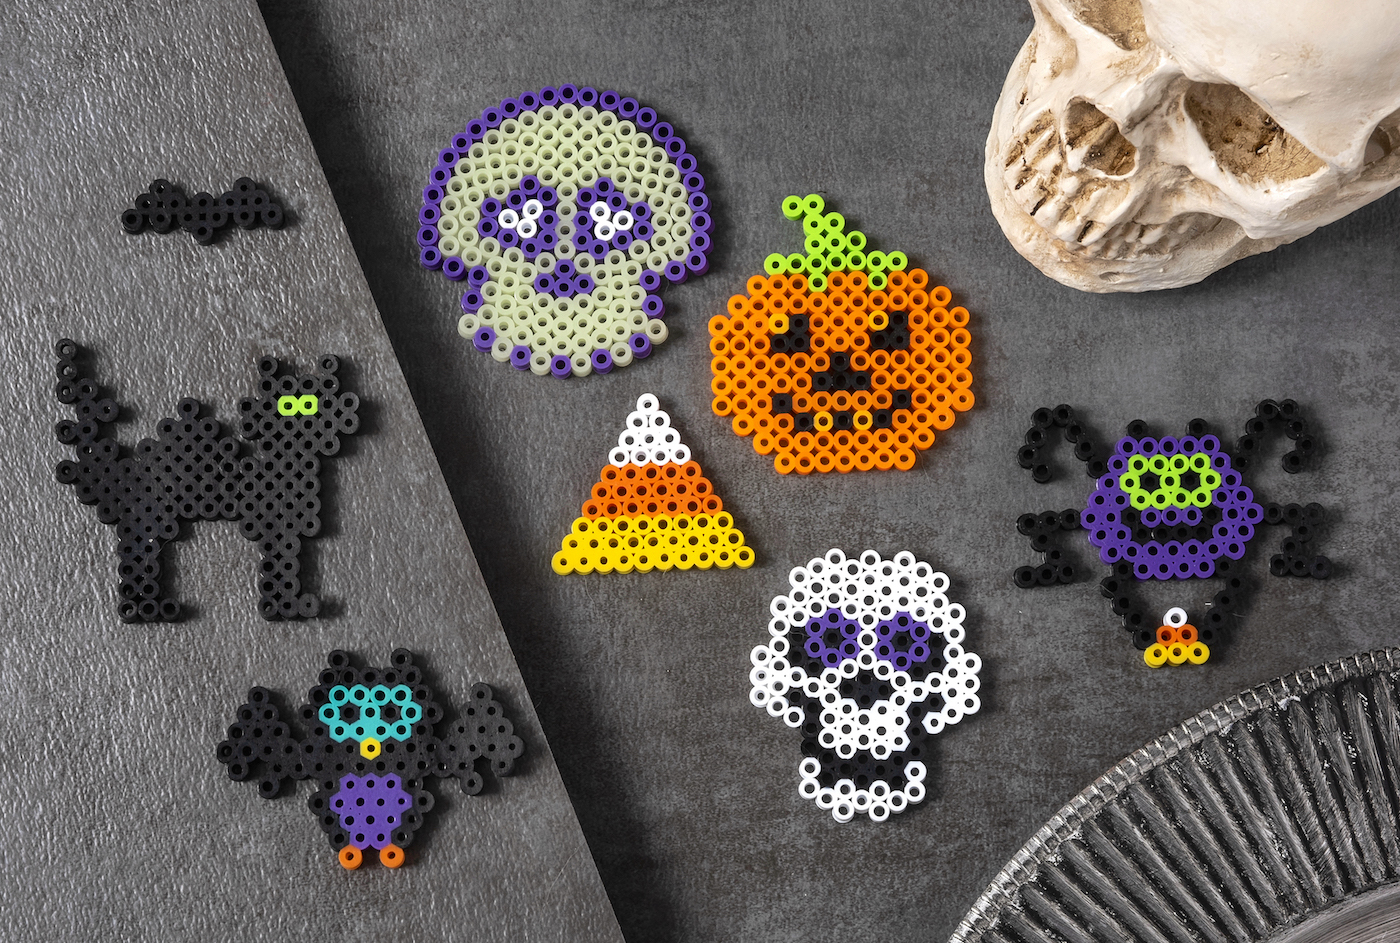
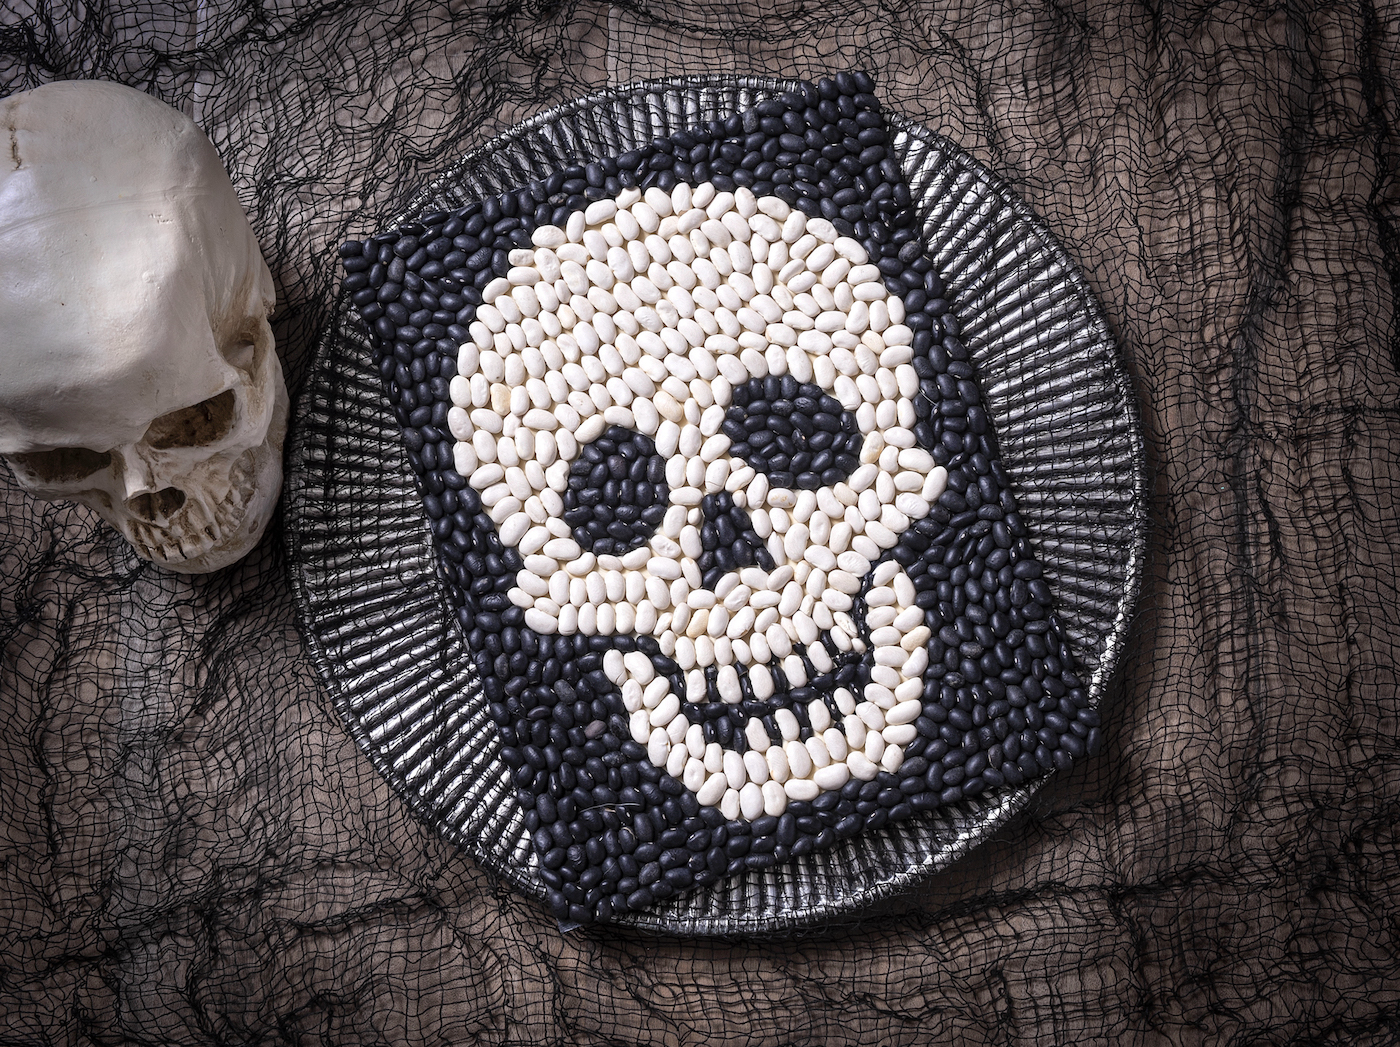
Borax Crystal Skull • DIY Halloween Doormat • DIY Paper Pumpkins • Felt Ball Garland • Home Sweet Haunted Home • Lighted Pumpkin Topiary • Jack O’ Lantern Jars • Mesh Halloween Wreath • Shrunken Apple Heads • Skull Bean Art • Skulls Makeover • Spooky Apothecary Jars • Spooky Skull Decor • Star Wars Pumpkins • Wine Cork Pumpkins • Wine Cork Skeleton • Witch Hat Wreath • Witch Mask