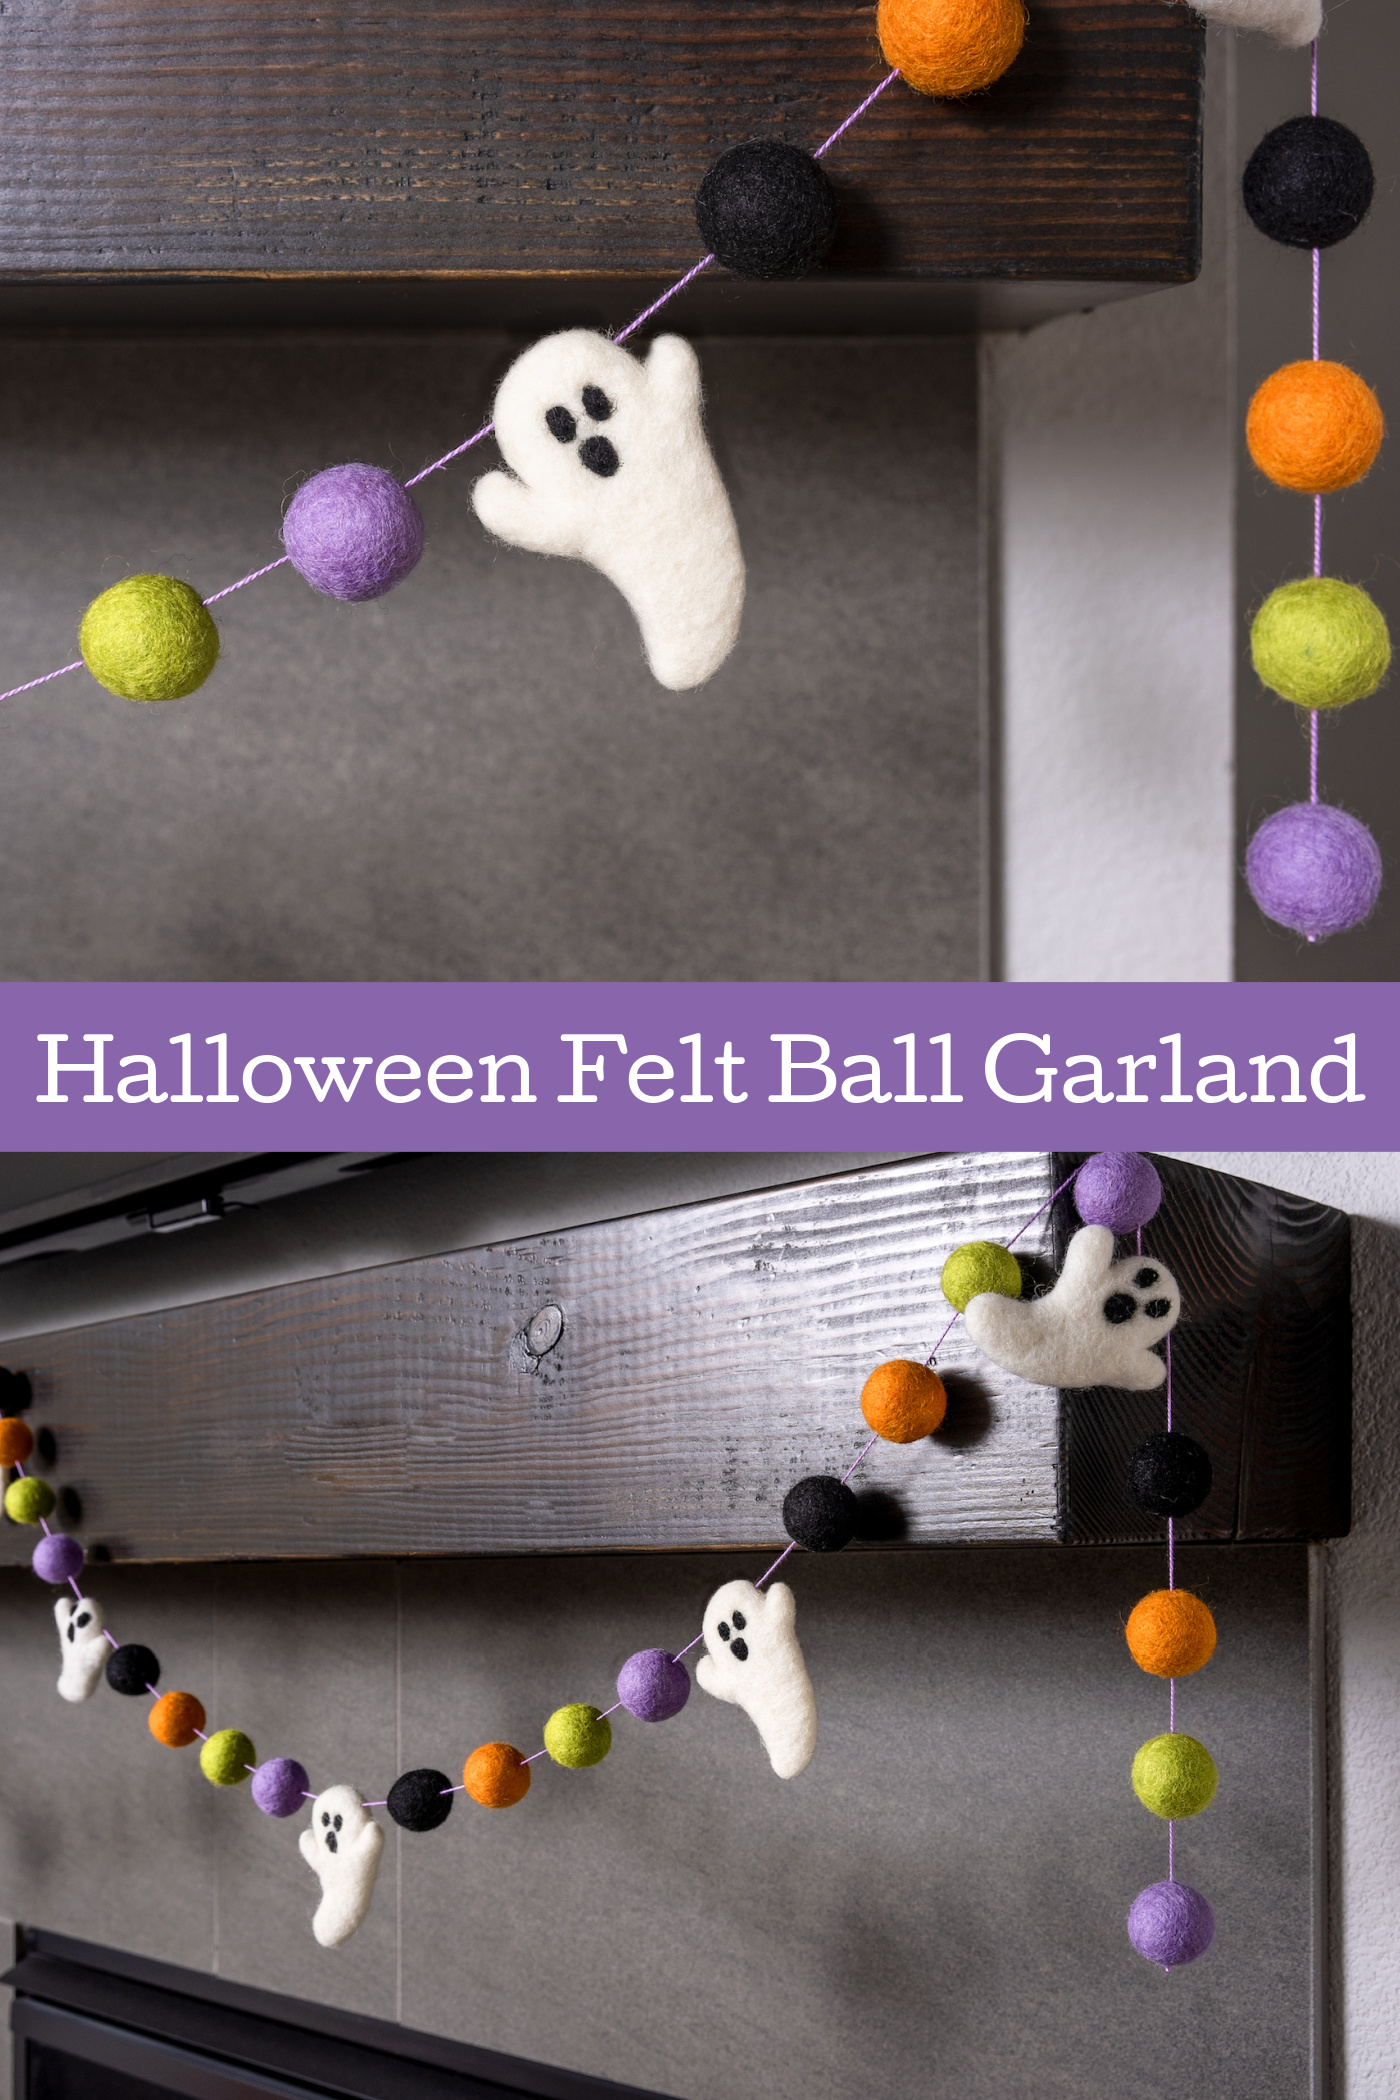
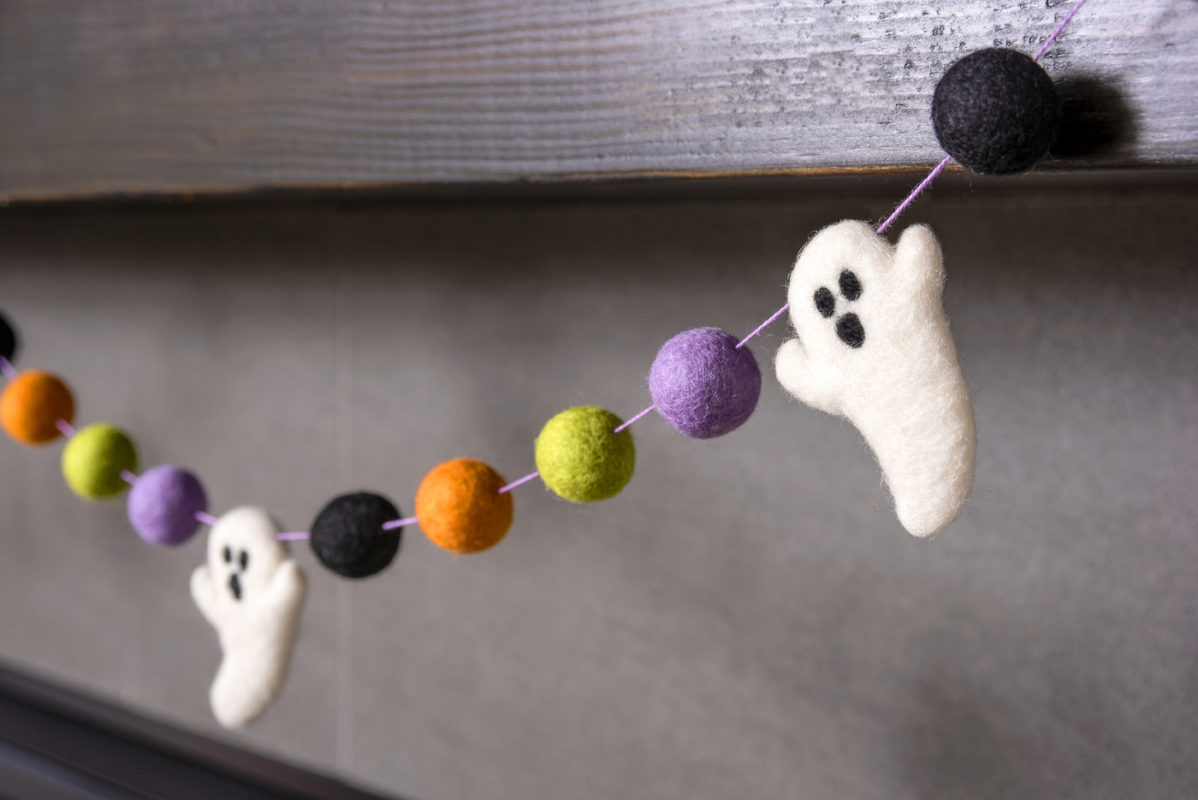
Halloween Felt Ball Garland for Your Decor
Make a Halloween felt ball garland perfect for decorating a doorway or a mantel! This is easy to make and looks great with any decor. Scroll down to the bottom of the post to see a video of how it’s made.
Skills Required: Beginner. This felt garland is as easy as it gets, especially if you purchase the felt balls ready-made.
However, you can also make the balls using wool, and that process is quite easy as well. Even a child could make this garland.
I’m kind of excited to share this Halloween decor project. It was such a FUN and easy one to put together that I can’t wait to show you!
What happened was that I made a felt ball garland, and I noticed some cute felt candy canes in the shop I purchased my materials from. So I went ahead and made a Christmas and a winter one too.
It was obvious that I couldn’t stop and that I needed to do the same for Halloween as well. Sure enough, I went to back to Etsy and found some felt ghosts. And shortly thereafter? My Halloween felt ball garland was born!
This garland can be hung around a doorway, on a mantel (that’s how I display mine), or even on the wall. It’s lightweight and easy to hang up with pins or Command strips. So basically? It can go anywhere!
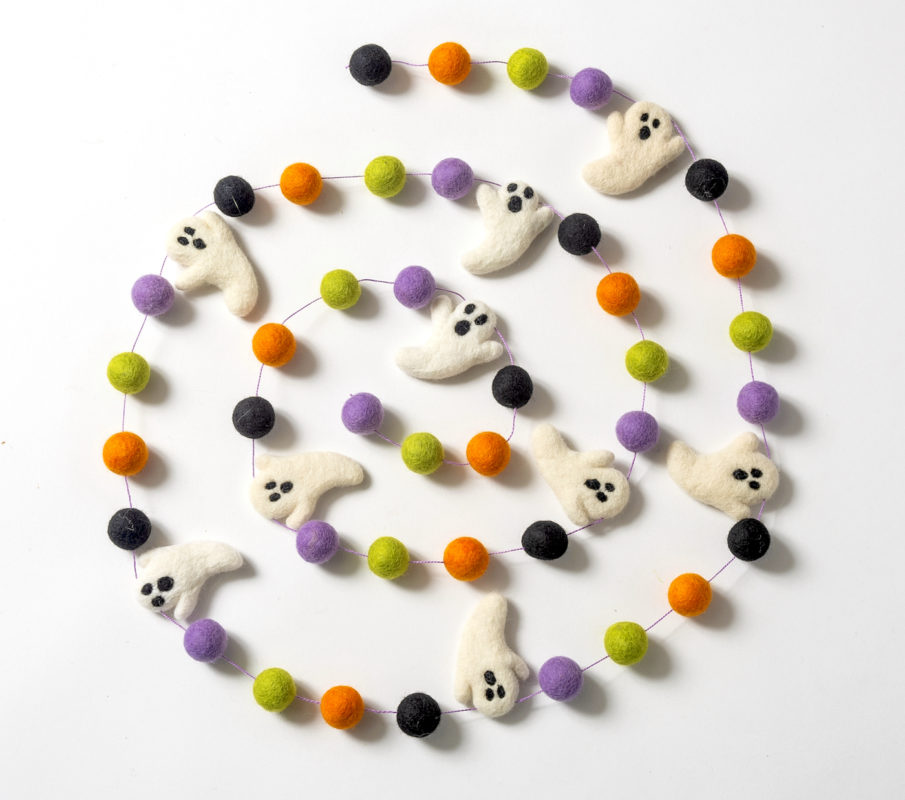
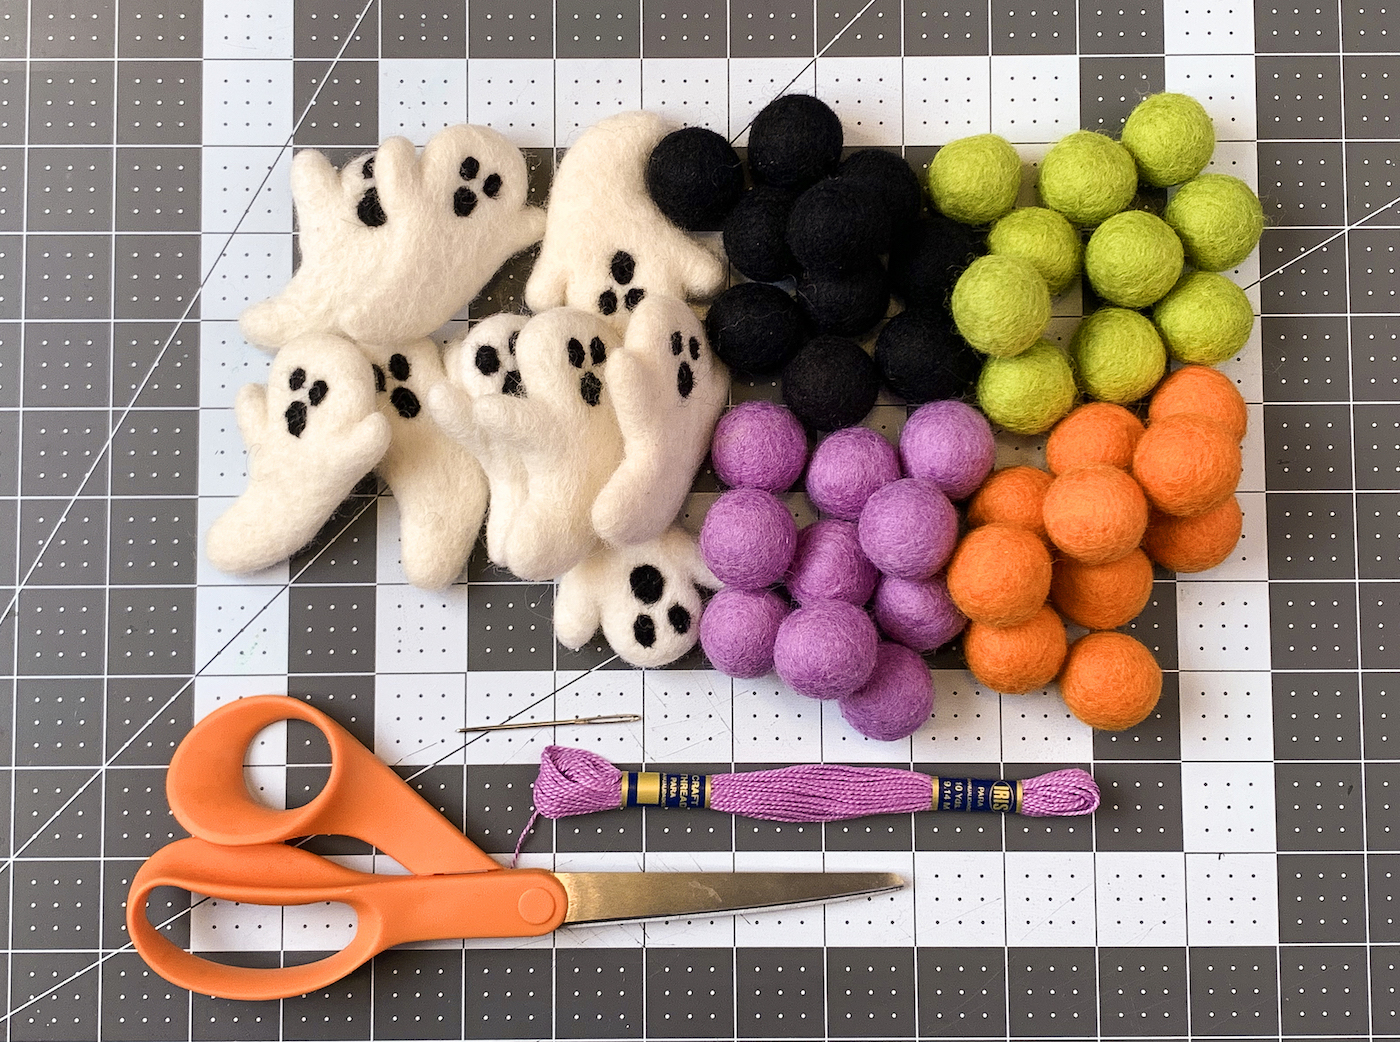
For this ghost garland, you will need felt balls (I used 40 1″ balls), a skein of embroidery floss, 9 felt ghosts, and a thick needle. Embroidery floss comes in skeins that are 8.7 yards long, or 26.1 feet.
These are the supplies you’ll need for one garland, and you can obviously tie two garlands together if you like. You can also use more or less felt ghosts, or add in some felt bats, etc. There are lots of options.
Making Felt Balls
Since I wanted a wide array of different felt colors, I found it more practical to buy my felt balls already made.
However, you can definitely make your own felt balls using roving, felt sheets, or yarn scraps. It’s more time consuming but it’s fun, especially when you can put the kids to work doing it! 😀
How to Make Felt Balls Using Roving
If you want to make your own felt balls, the process is called “wet felting.” You’ll need to purchase wool roving. Besides the wool, you’ll need hot water and dish soap.
The basic process is to dip pieces of wool roving into warm, sudsy water and then shape into balls. Then you’ll let them dry overnight before creating your felt ball garland (you can get more details here on the process).
Using Felt Sheets or Yarn Scraps
You can also make your balls using felt sheets (or scraps of felt sheets), or yarn scraps. The process is very similar to using the roving, but you’re going to have to work the material a little more. You’ll still want to use wool felt or wool yarn.
There will be quite a bit of manipulation of your felt or yarn as you massage it in the water and soap mixture. Having said that that, the colorful effects you can get when using scraps are very unique, so it’s something to consider. No two balls will be the same, and it’s very colorful!
How Many Balls?
How many wool balls will you get out of a 1/2 oz. package of wool roving? Approximately 12 – 16 at about a 1/2″ diameter. It varies greatly depending on how tightly you squeeze the balls, etc.
I recommend estimating conservatively so that you have wool roving to make your balls. Also you can’t lose if you have too many, but it can look sparse if you don’t have enough.
Are you ready to make your garland? Here’s what you’re going to need.
Gather These Supplies
- Felt balls – 1″ or 2.5cm (around 40)
- Felt ghosts – I used 9. If you use less, add in more felt balls
- Embroidery floss – 1 skein, color of your choice
- Tapestry needle
- Scissors
How to Hang
You can drape your garland over just about anything. I highly recommend doing it the way I’ve shown in the pictures below. If you don’t have anything to hang the garland on, just use thin pins or small nails to hang on the mantel.
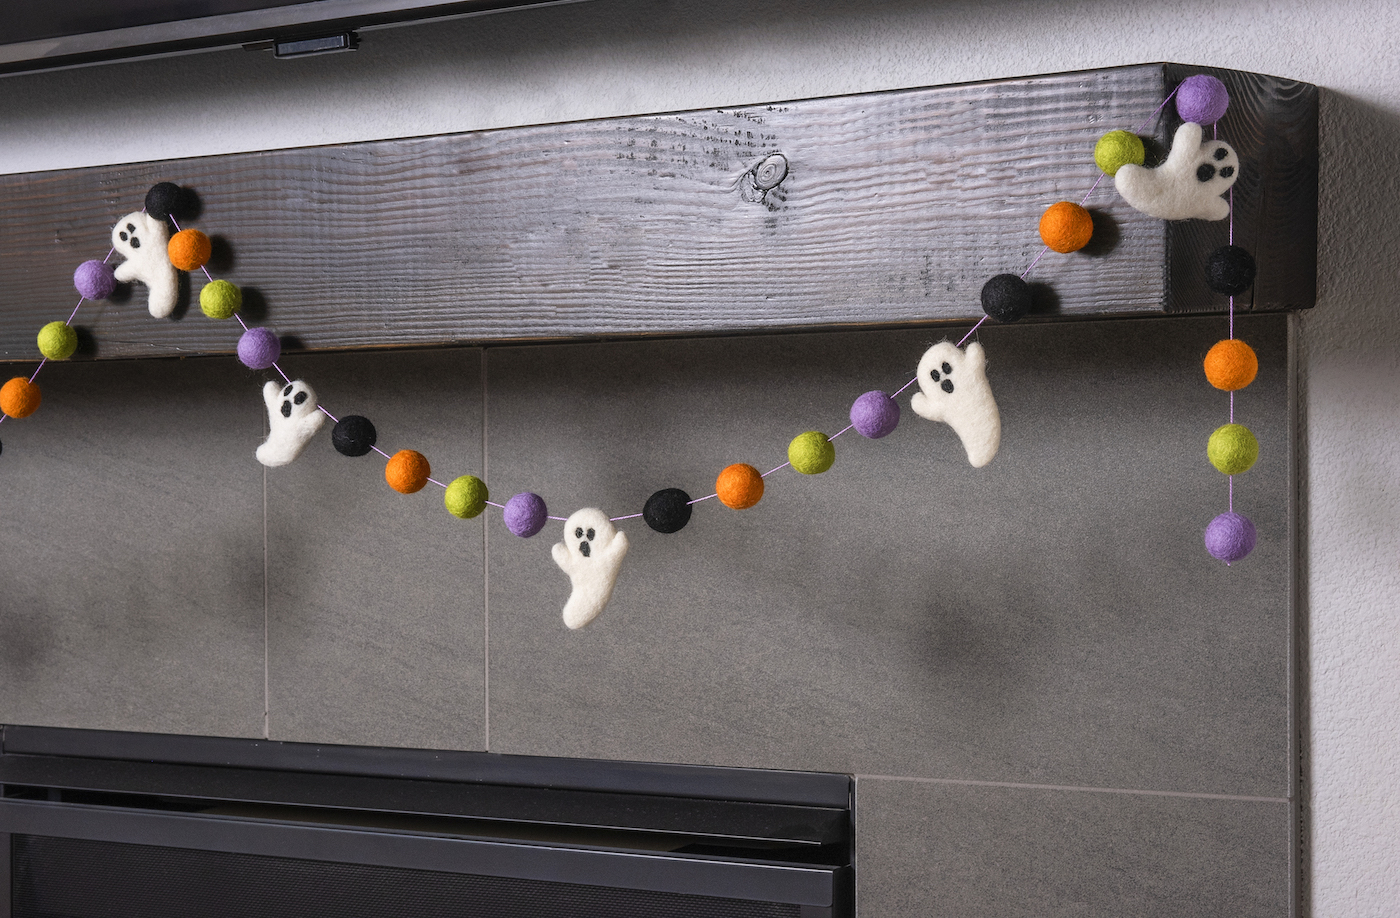
Swag your DIY garland about every three to five feet for a little interest. You never want to hang it straight. The swag (tacking it up at various points) will integrate into your decor better. Trust me!
This Halloween felt ball garland doesn’t have to be the same colors I used. Just customize the color of the balls. So to speak.
Get the printable how-to card for this project below!
Halloween Felt Ball Garland
Equipment
- 1 Needle(s)
Materials
- 40 Felt balls
- 9 Felt ghosts
- 1 skein Embroidery floss
Video
Instructions
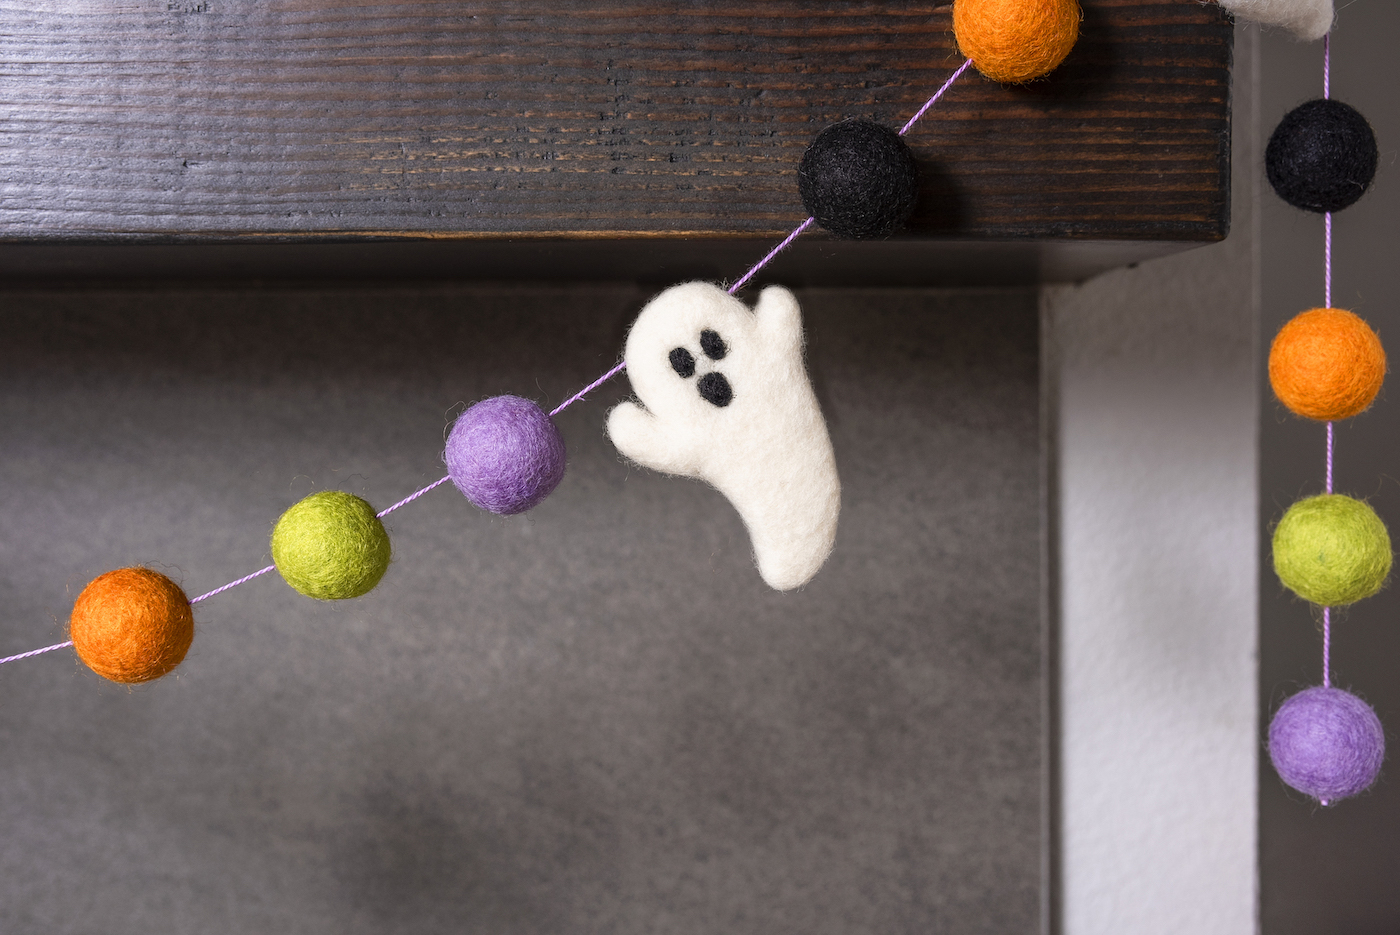
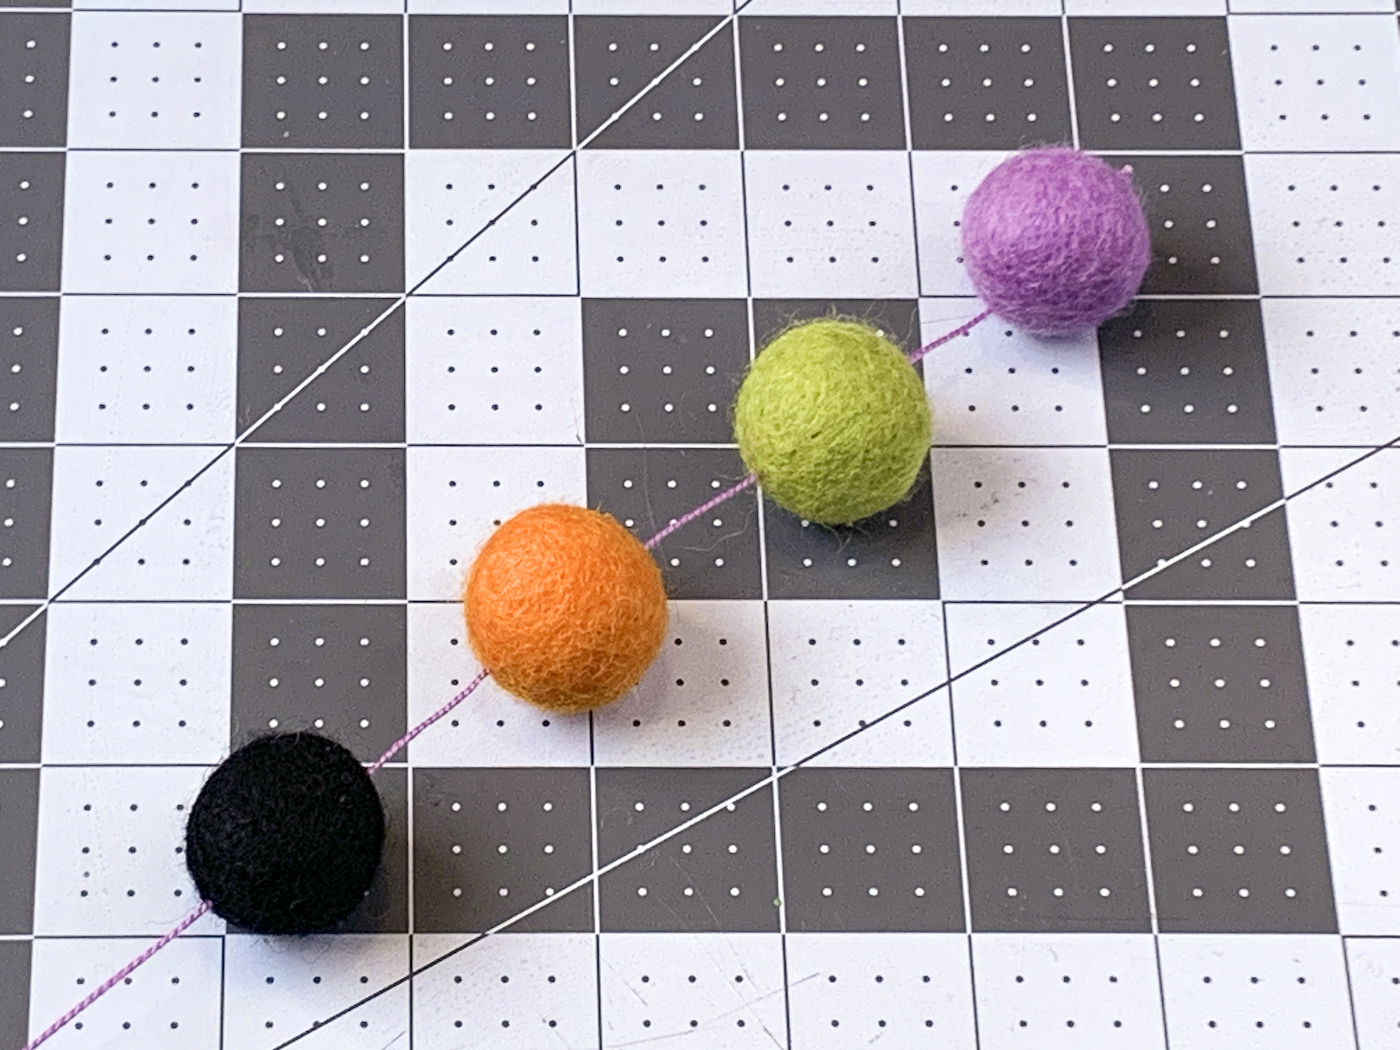
- Arrange your felt balls and ghosts in the order you will string them. You can string out the colors any way you like; I spaced them approximately 1" apart.
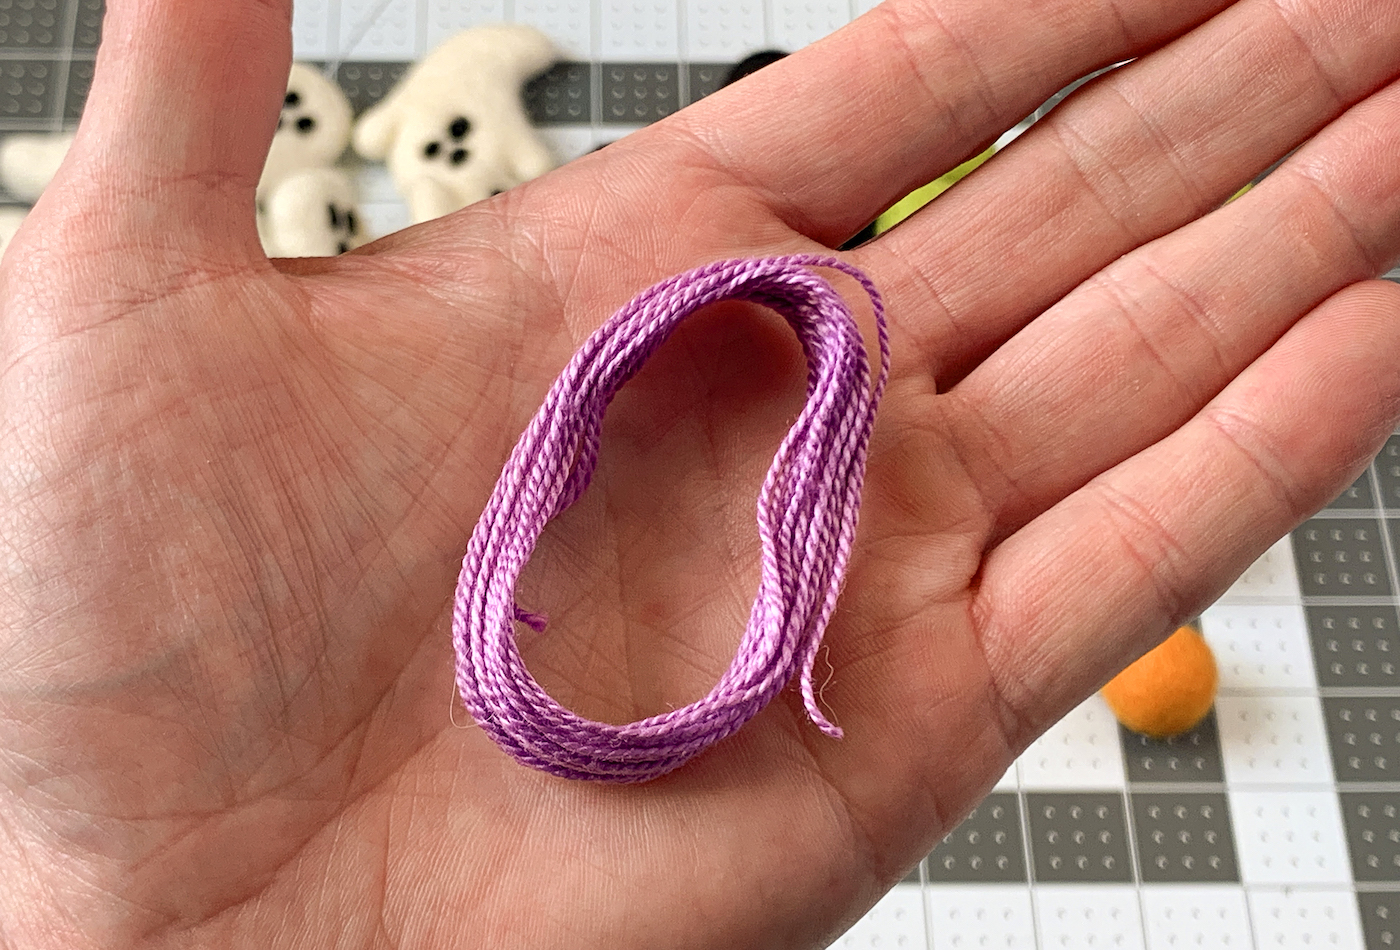
- Open the embroidery floss. The floss should be about 8 – 9 yards long, and you'll cut in half.
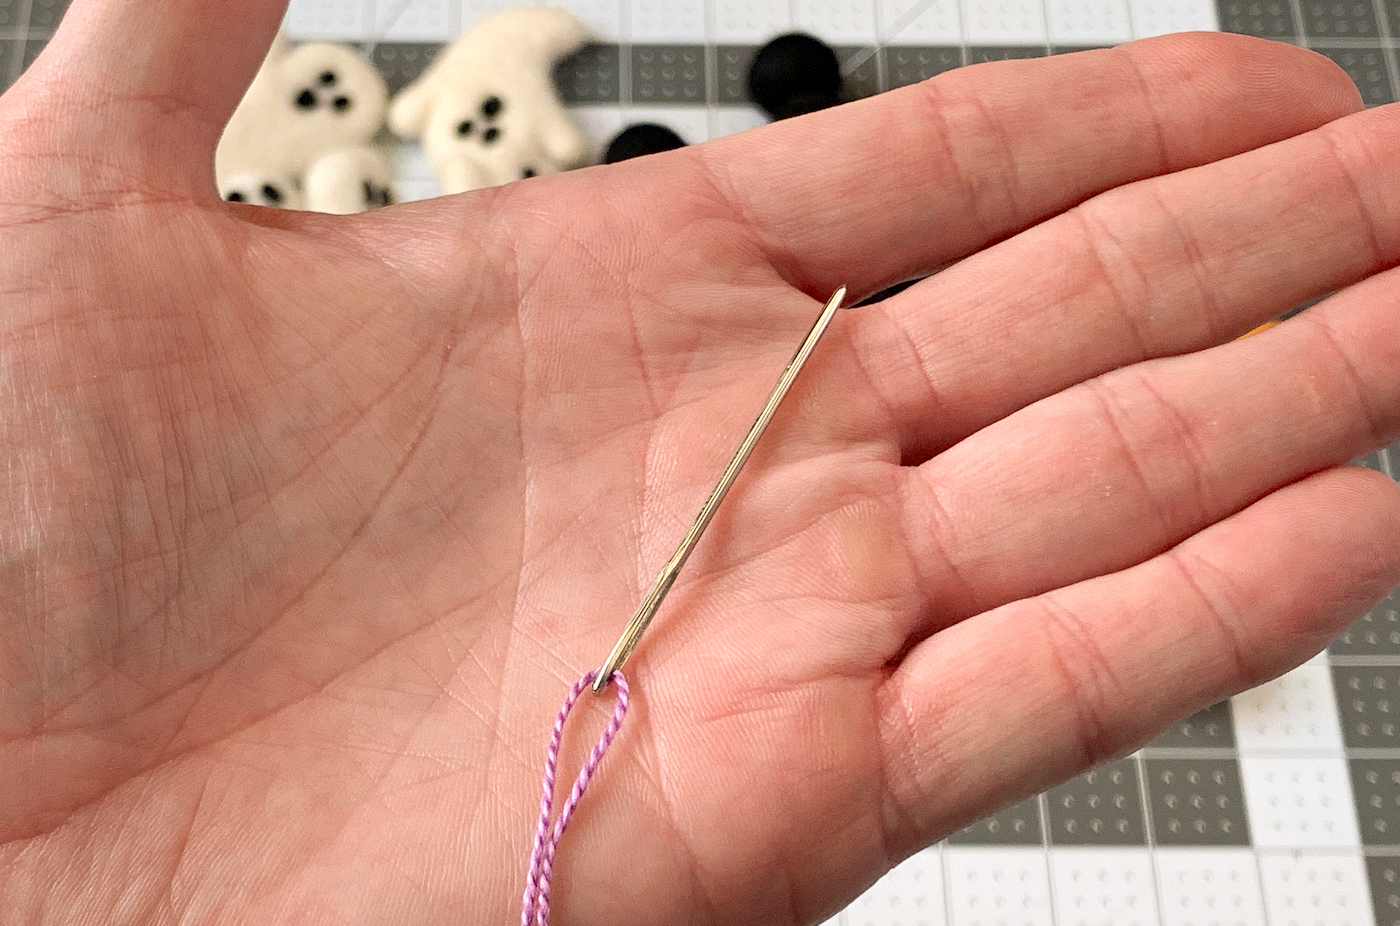
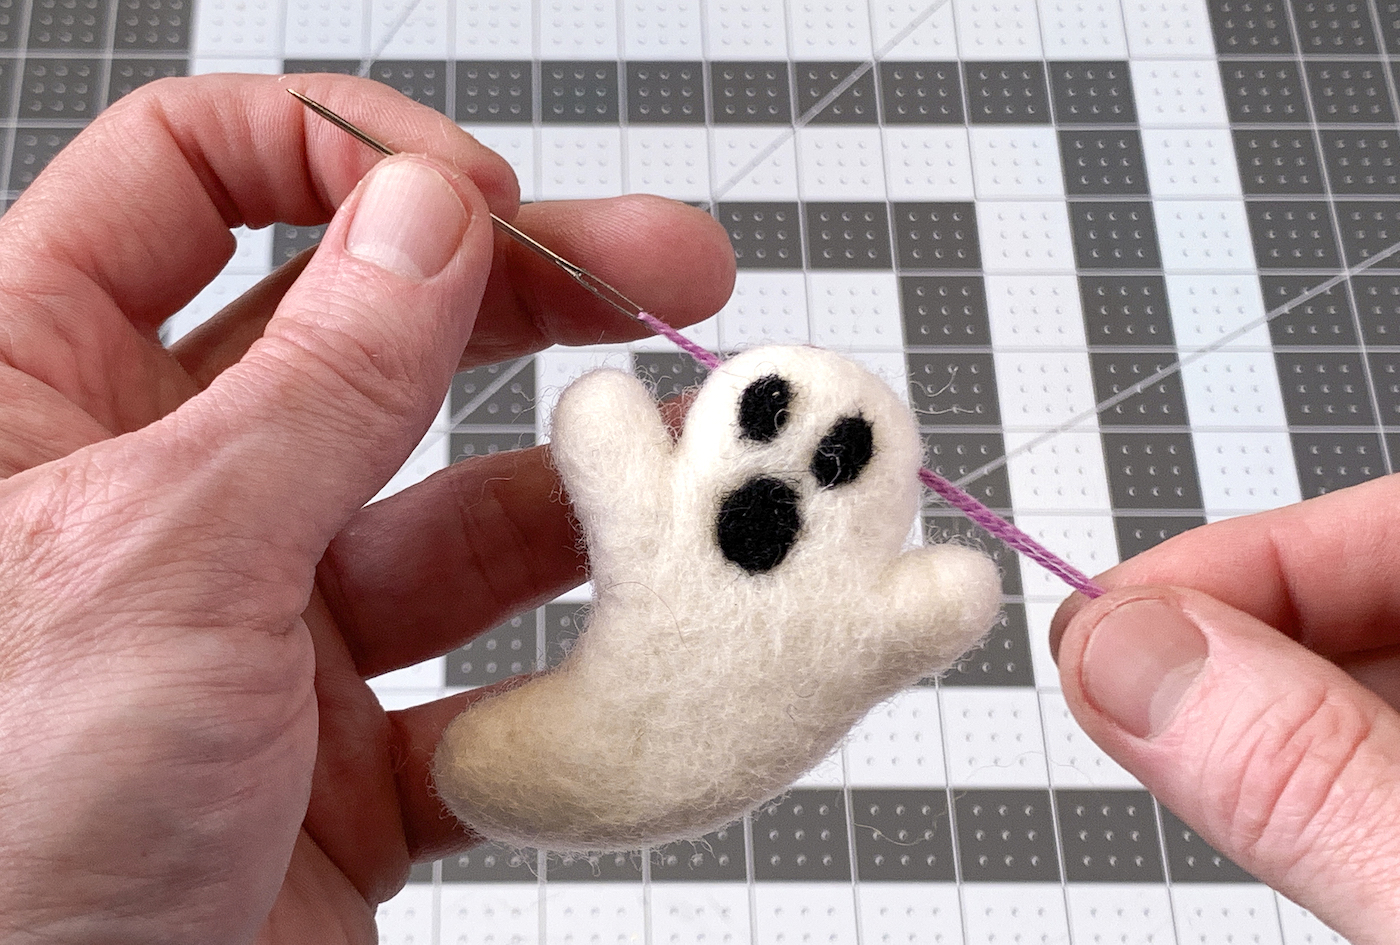
- Tie a knot at one end, leaving a 9" tail or so. String a needle onto the other end of the floss.
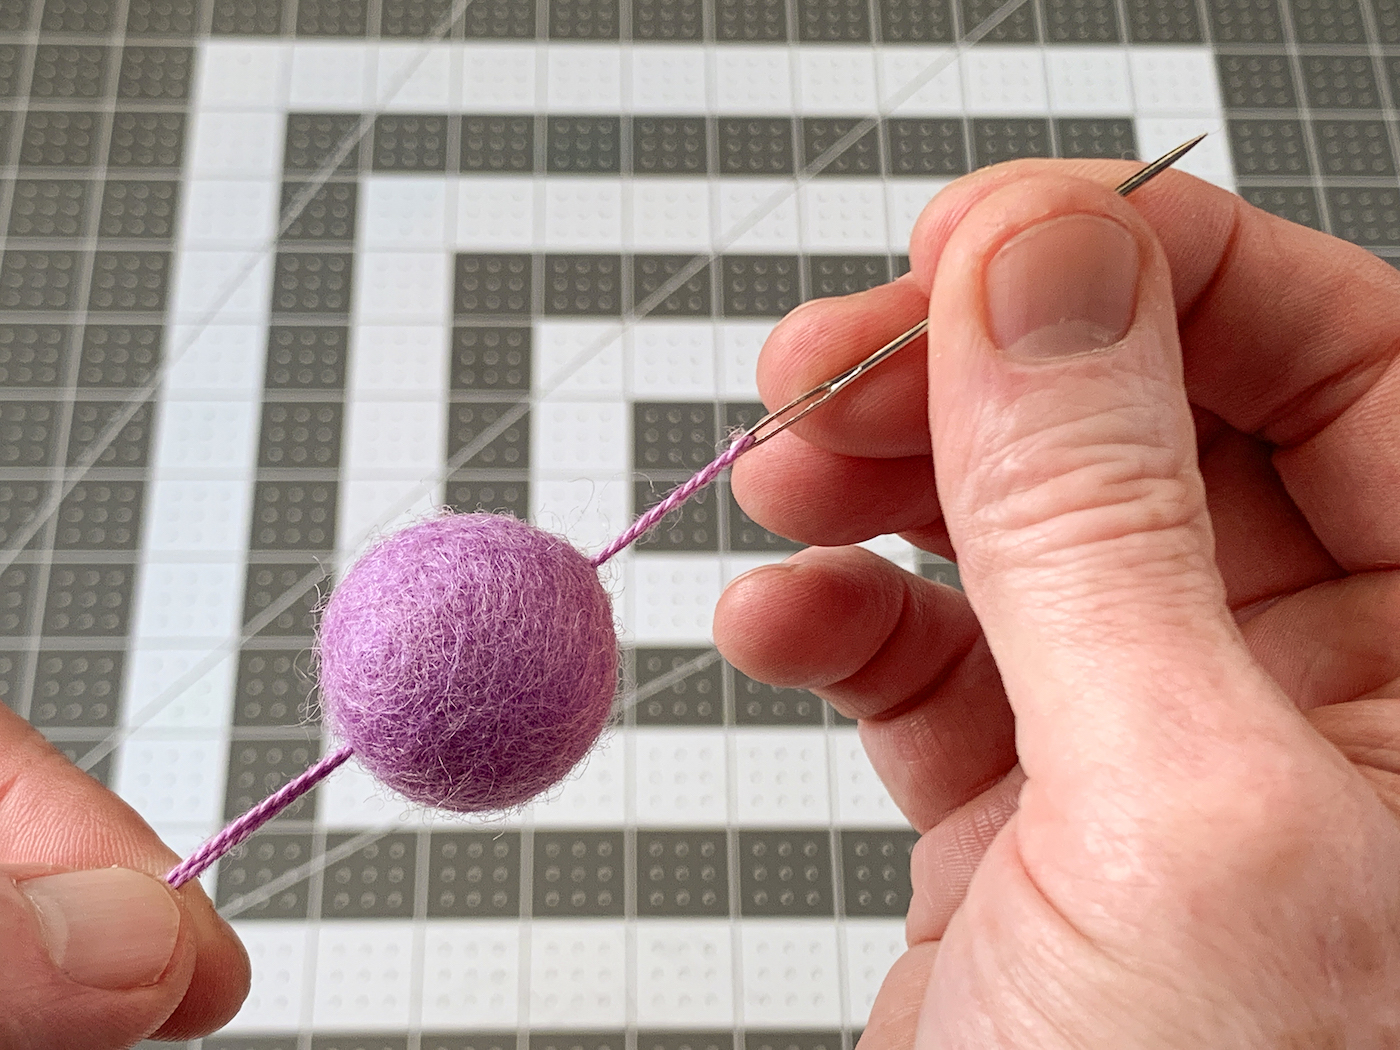
- String a felt ball onto the floss using the tapestry needle. Push the needle through the center of the ball and to the knot.
- Continue stringing felt balls onto the floss, doing several at a time. Every so often, add a ghost felt piece.
- Once you have several balls on the garland, space them out about 1" apart. Continue stringing balls onto the garland until you get it to the length you want (mine is about 9.5 feet long).
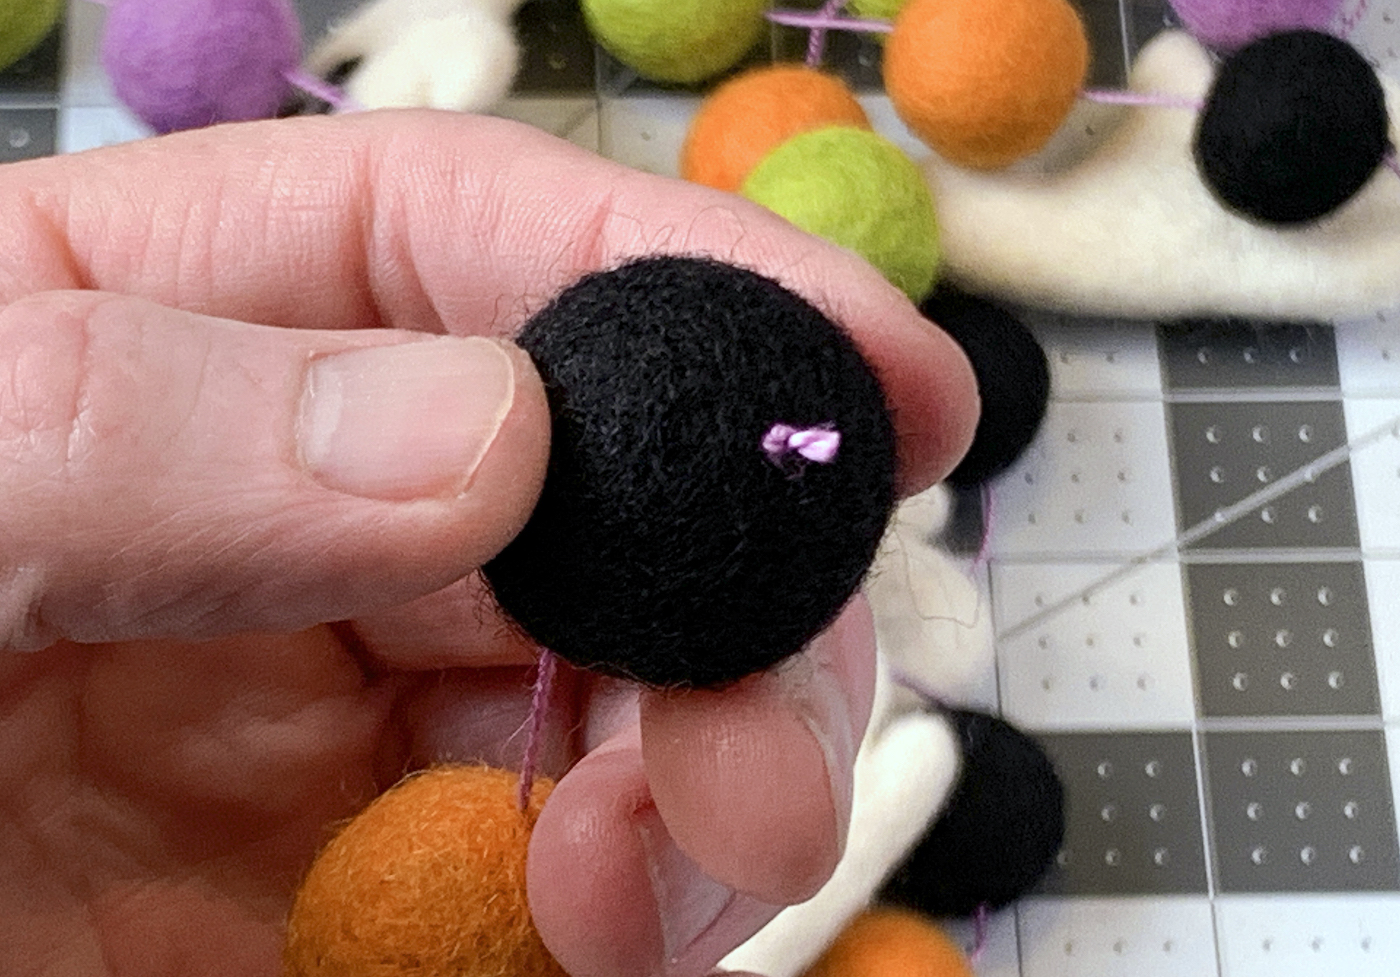
- Once you get to the last ball, tie off the end in a knot and trim with the scissors. Your garland is ready to hang.
Notes
Are you ready for a video that will show you how to make this fun garland? Check out the video in this post!
If you enjoyed this project, let me know in the comments. I’d also love for you to check out these other holiday ideas:
Borax Crystal Skull • Cross Stitch Canvases • DIY Halloween Doormat • Home Sweet Haunted Home • Lighted Pumpkin Topiary • Mesh Halloween Wreath • Pumpkin Terrarium • Shrunken Apple Heads • Skull Bean Art • Skulls Makeover • Spooky Apothecary Jars • Spooky Skull Display • Wine Cork Skeleton • Witch Hat Wreath