This DIY Haunted House Embroidery Is Drop-Dead Adorable
Make this haunted house embroidery for your Halloween decor! A cute and cozy twist on spooky season, using fabric scraps, cross stitch, and applique. Free pattern included!
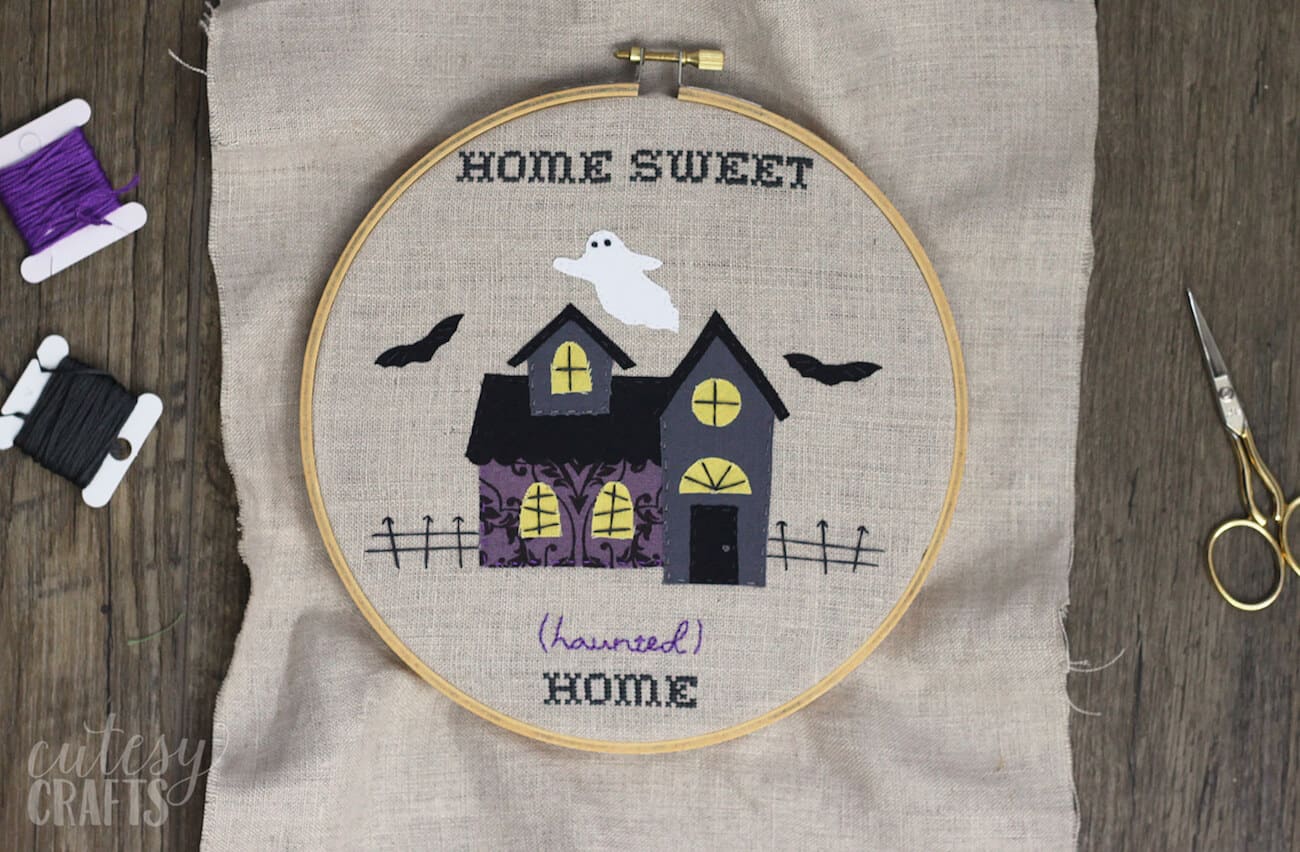
If your Halloween aesthetic leans more “cute spooky” than “blood-curdling horror,” this haunted house embroidery is calling your name. Like . . . softly. From the attic. With little ghost hands.
This Home Sweet (Haunted) Home embroidered art is perfect if you’re the type who decorates for Halloween with potion bottles, spell books, and maybe a tasteful skull or two.
It’s handmade, it’s cozy, it’s spooky without screaming. And the best part? It gives your fabric scraps a new lease on (after)life.

I love a good embroidery project because it’s basically crafting and stress relief all in one. Bonus points if you can do it while binge-watching your favorite Halloween movies (don’t worry, no judgment if it’s Hocus Pocus on repeat).
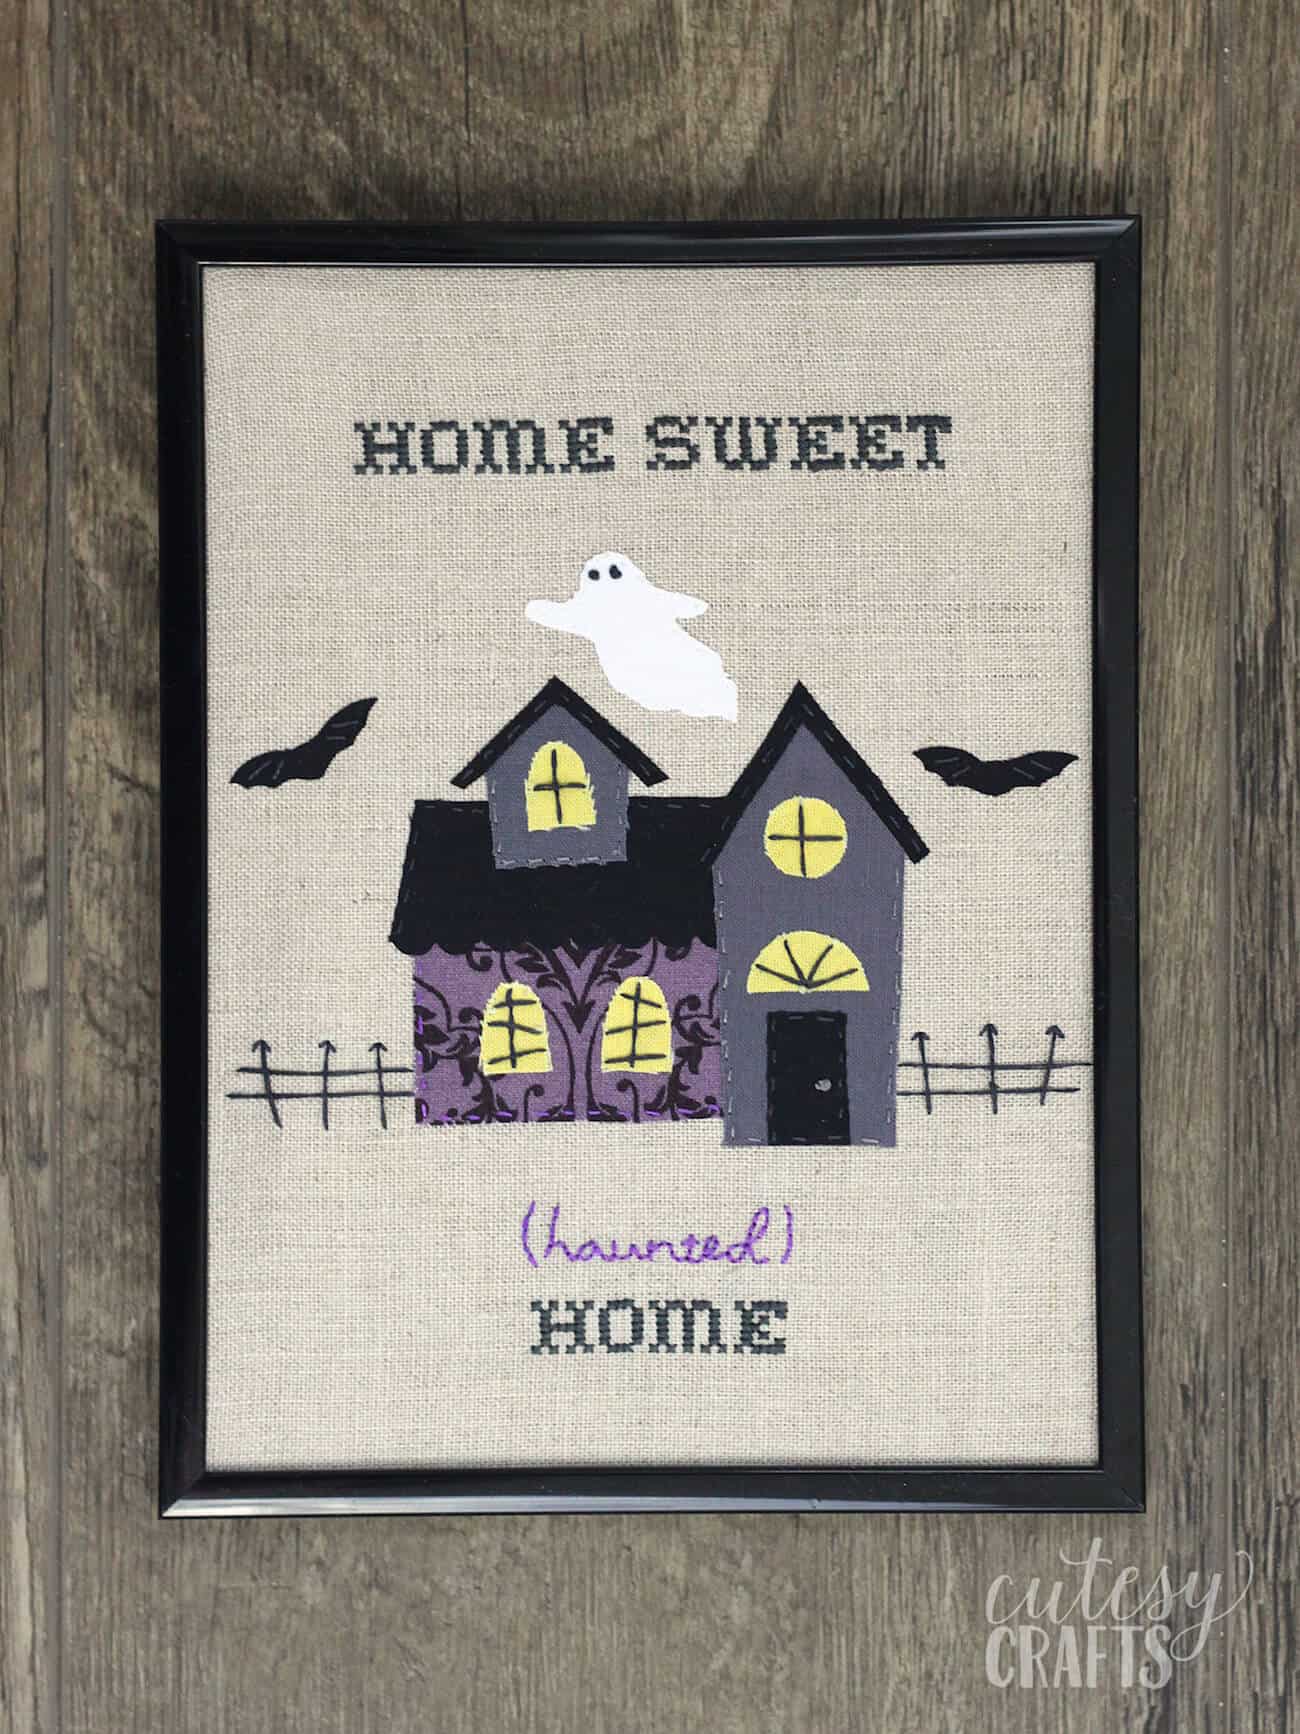
This project combines a little cross stitch, a little applique, and a whole lot of charm. Whether you hang it in a hoop or frame it up like the spooky art gallery piece it is, you’re gonna want to keep it up well past Halloween.
So grab your floss and fabric scraps, and prepare to stitch something boo-tiful. This haunted house might not scare your neighbors, but it will impress your crafty coven.
First, here’s what you’re going to need.
Gather These Supplies
- Free haunted house applique pattern
- 7-inch embroidery hoop
- 6 x 8 inch frame (optional)
- Linen fabric OR Aida cloth
- Fusible interfacing (Pellon 805 or Heat ‘n Bond Lite)
- Embroidery floss (dark gray, purple, black, white, and light gray)
- Fabric scraps
- Carbon paper
- Scalloped fabric shears (optional)
Get the printable how to card below:

Haunted Mansion Embroidery
Equipment
- Embroidery hoop 7-inch
- Scalloped fabric shears optional
Materials
- Haunted house applique pattern click to get free
- Aida cloth or linen fabric
- Heat n' Bond Heat ‘n Bond Lite or Pellon 805
- 1 skein Embroidery floss black
- Fabric scraps dark gray, purple, black, white, and light gray
- Carbon paper
- Tape
Instructions
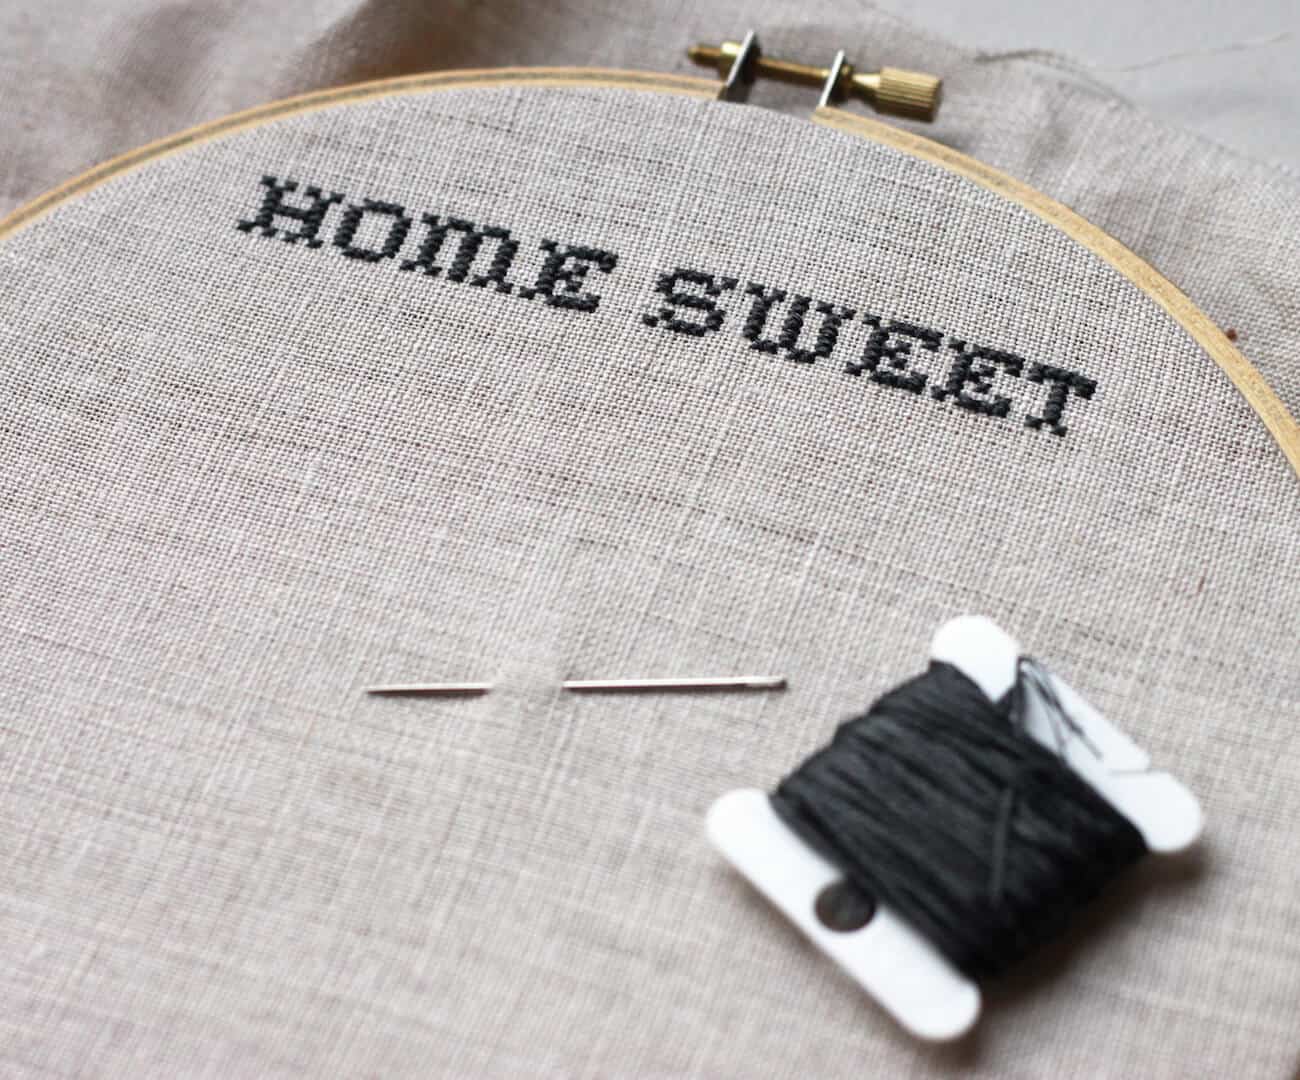
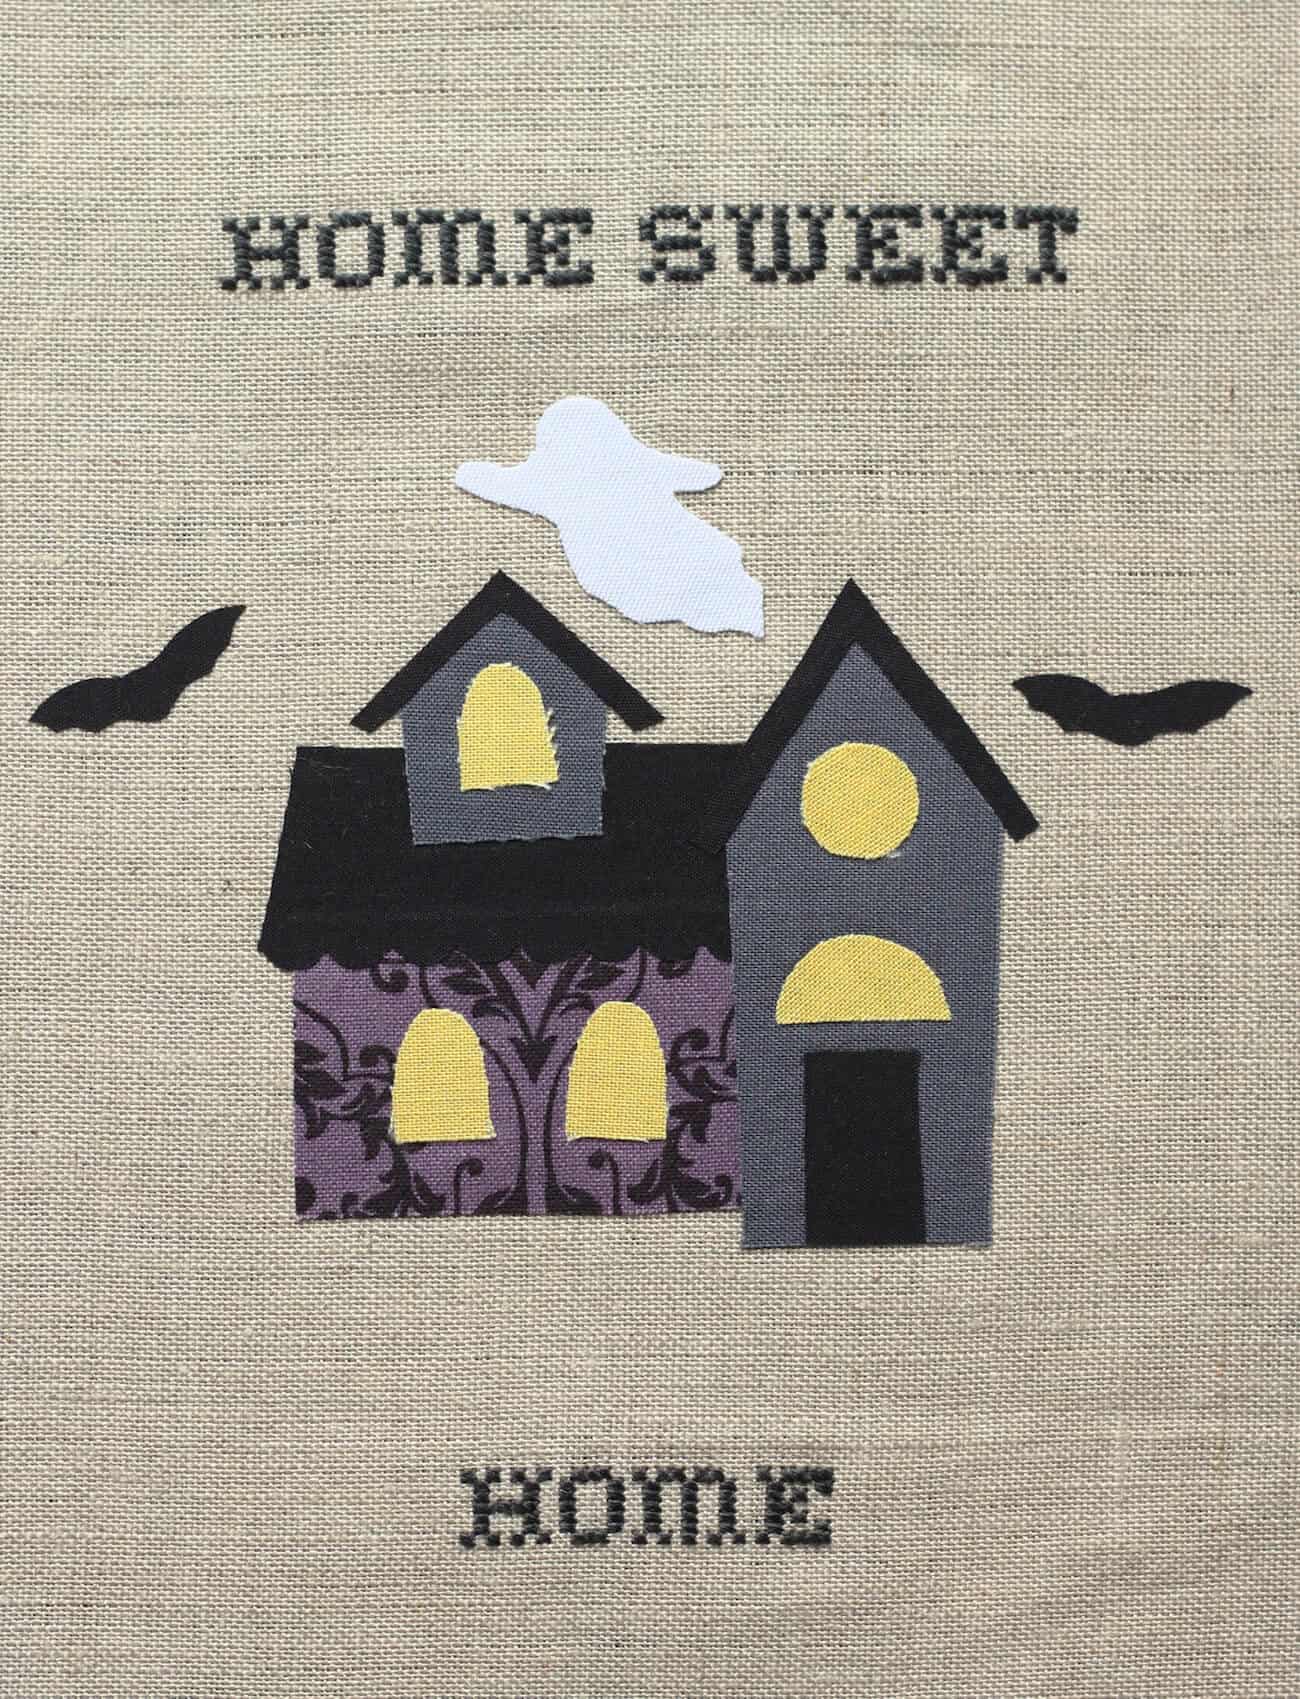
- Start by cross-stitching the top words "home sweet" with two strands of embroidery floss.
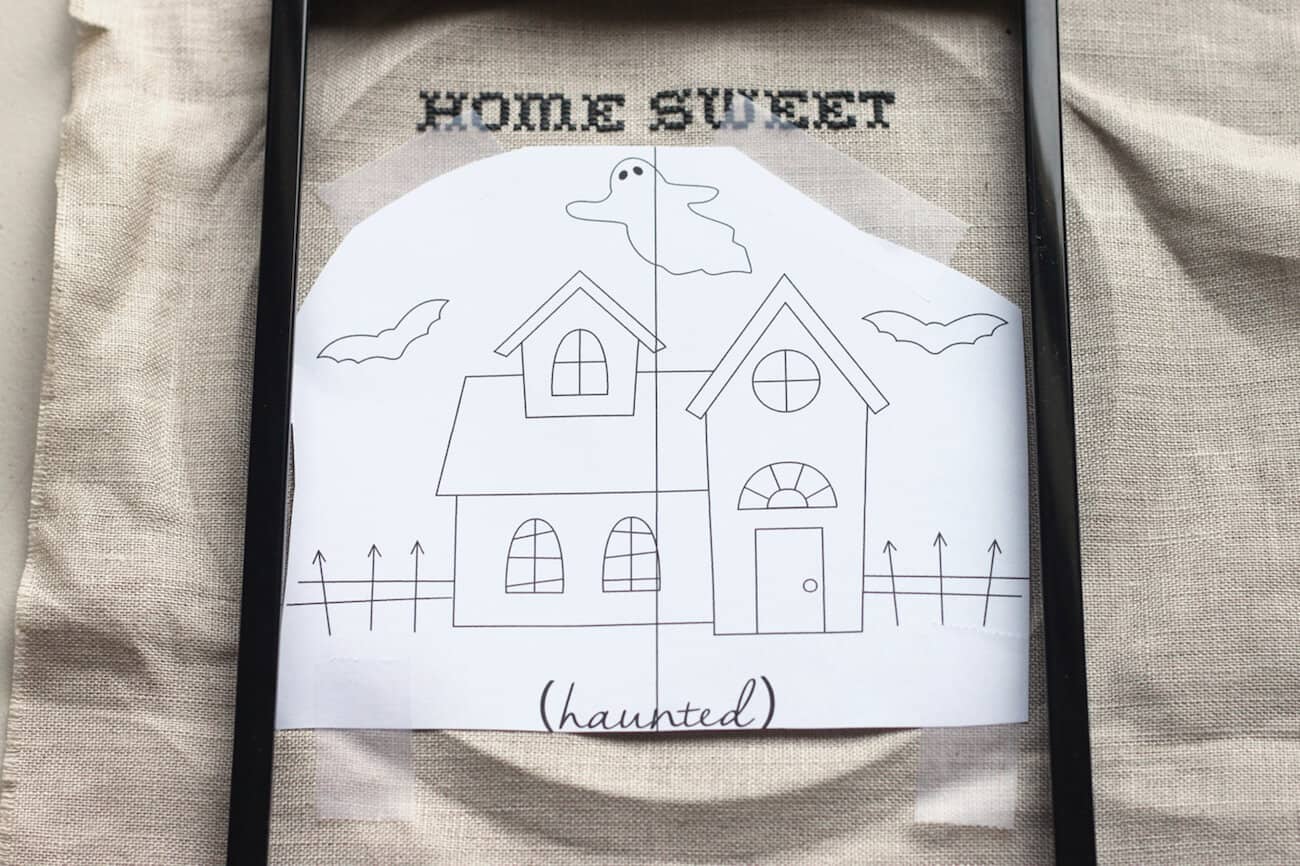
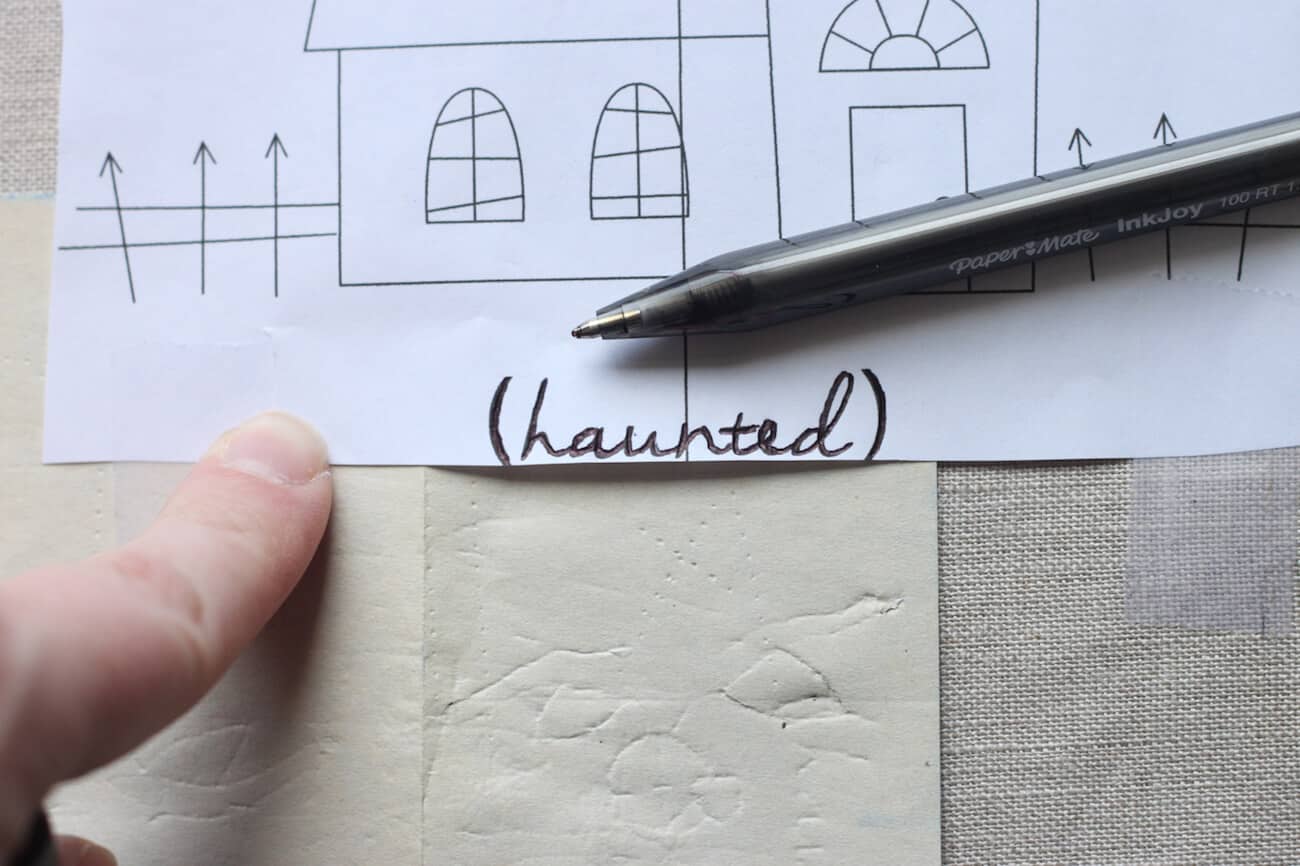
- Cut out your pattern and tape it onto your fabric to use as spacer for the bottom letters. Line everything up and cross-stitch the bottom word "home."
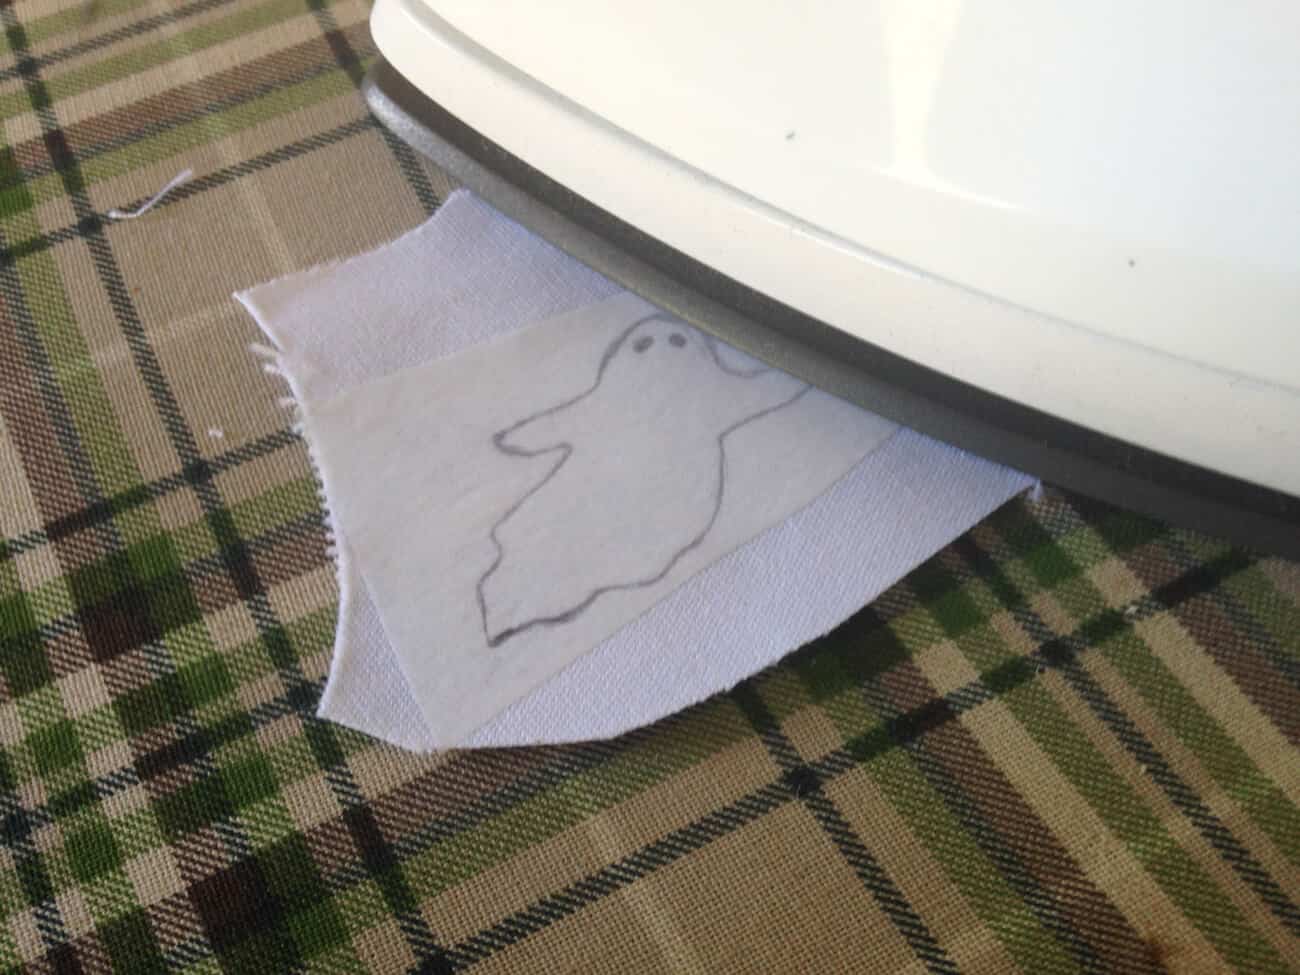
- For your applique pieces, first trace the shapes onto the paper side of your interfacing. Put the interfacing, paper side up, onto the back of your fabric, and press with a hot, dry iron.Cut out the shape (I used some scallop fabric shears on the bottom of the roof, but that is completely optional).
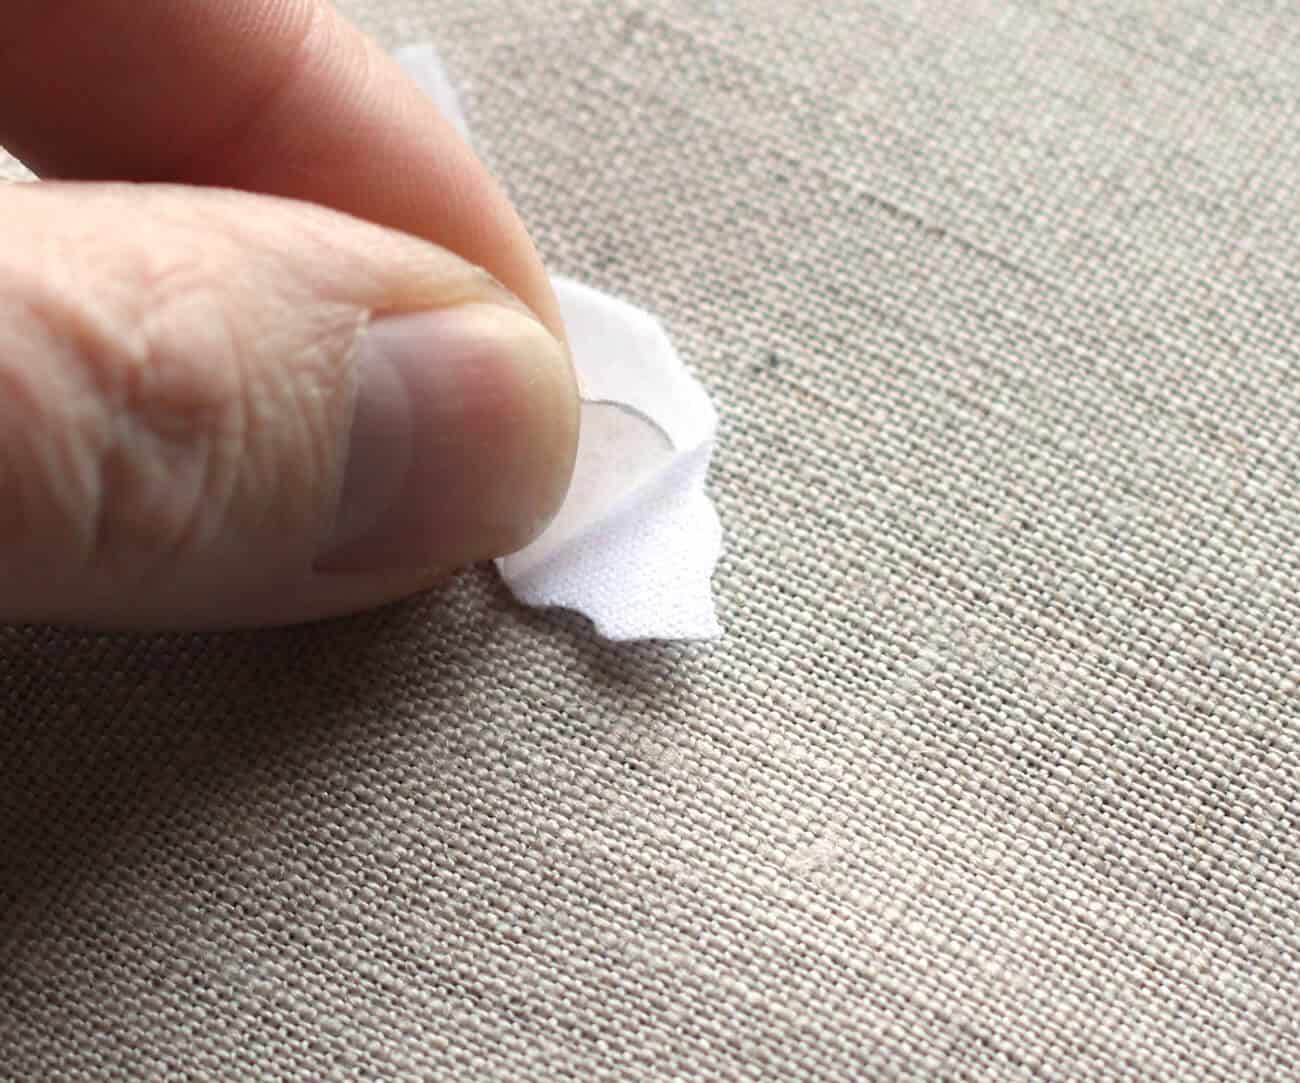
- Peel the paper backing off all of the appliques.
- To help me line up all of the house pieces, I placed them on top of the pattern and used small pieces of tape to hold them together.

- Bring the house over to your linen fabric, line it up, and iron the edges. Try not to iron over the tape. Once you have gotten the edges secure, remove the tape and iron over the whole house.
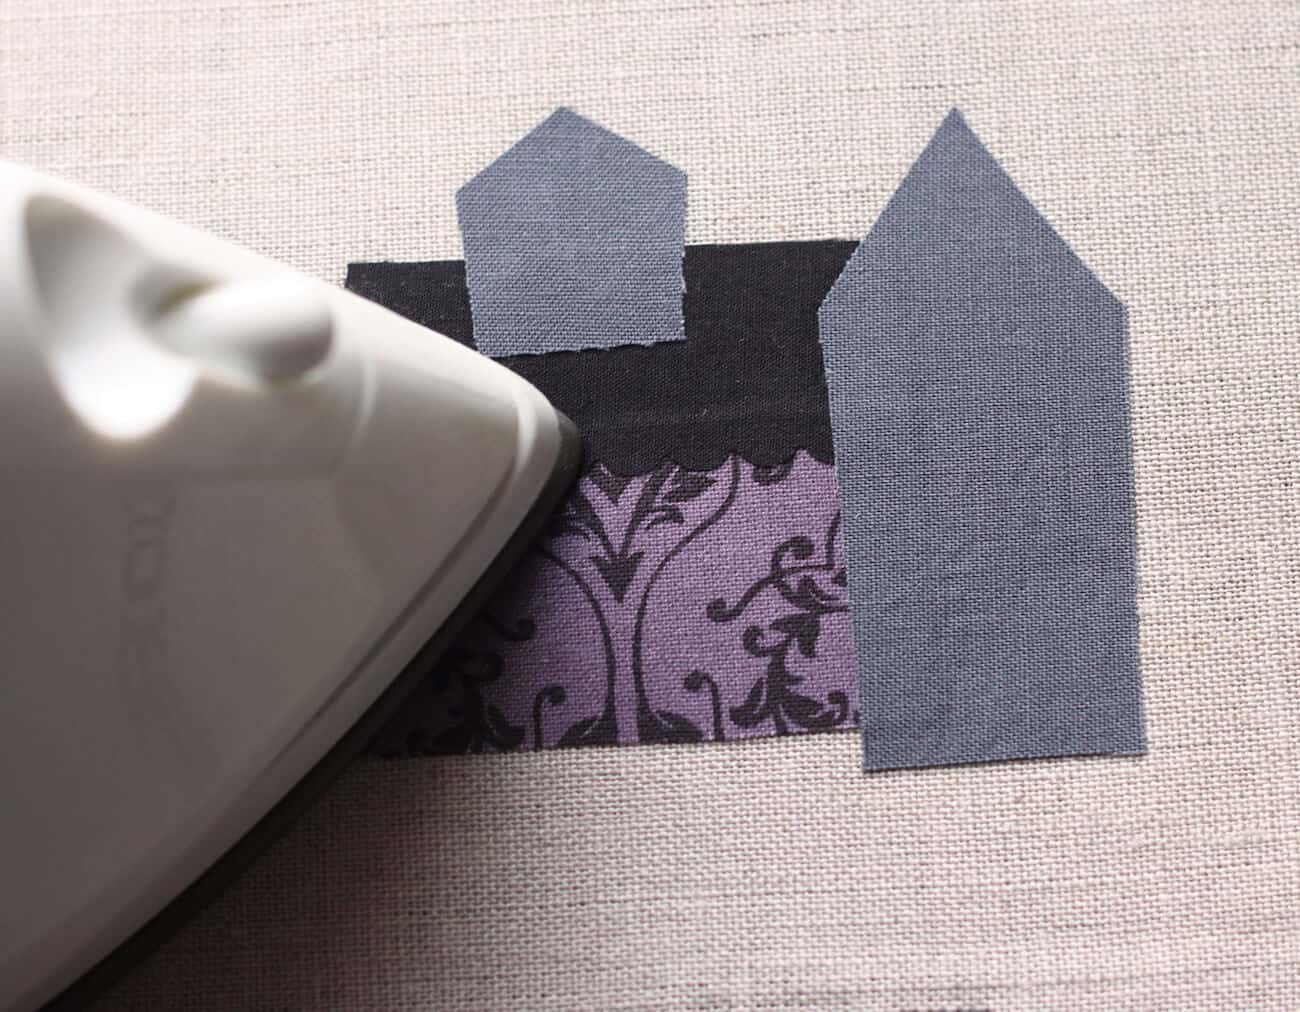
- Iron the remaining pieces onto the linen.
- Transfer the other elements of the design onto the linen. I like to use dressmaker's carbon paper that can be found at the fabric store. Just sandwich it in between the pattern and your project and trace over it. The design will transfer so you can embroider over it.
- Stitch around all of your applique pieces with a running stitch and one strand of embroidery floss. For the windows, I just stitched the detail on and didn't worry about stitching around the entire shape.Finish by removing from the hoop and placing in a frame (iron if necessary).
Notes
For more projects like this, visit my blog, Cutesy Crafts. I’d also love for you to check out the following projects:
Borax Crystal Skull • DIY Halloween Doormat • Felt Ball Garland • Jack O’ Lantern Jars • Lighted Pumpkin Topiary • Mesh Halloween Wreath • Pumpkin Terrarium • Shrunken Apple Heads • Skull Bean Art • Skulls Makeover • Spooky Apothecary Jars • Wine Cork Skeleton • Witch Hat Wreath


What a darling idea! Thanks for sharing!