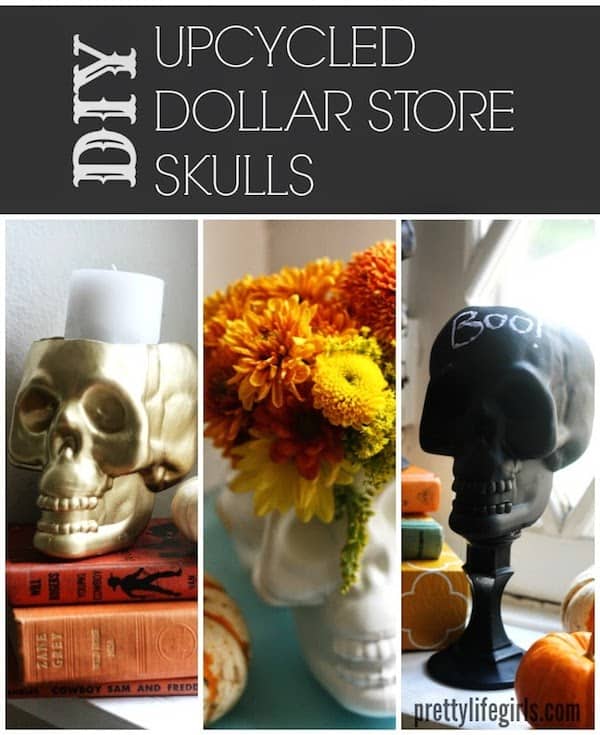
Dollar Tree Skulls Makeover (Three Ways!)
There are so many things you can do with Dollar Tree skulls! This post shows you three EASY options to revamp them for Halloween decor. They look awesome!
Skills Required: None. Even if you’ve never crafted before, you can accomplish this project. You’ll be cutting and spray painting to make these dollar store skulls your own.
Hey everyone! It’s Liz from The Pretty Life Girls and I’m here to give you some inspiration for decorating your home for Halloween for just a couple of bucks! I don’t know if you’re into skeleton crafts, but I really love them. I decided I definitely needed to incorporate some of this skulligan energy into my repertoire this year.
At my local dollar store I found these plastic skulls and it was clear, the DIY possibilities with these suckers were endless. So I picked up a bunch and here’s what I did to make them into some fab Halloween decor. You’ll love this dollar store craft!
Dollar Tree Skull DIY
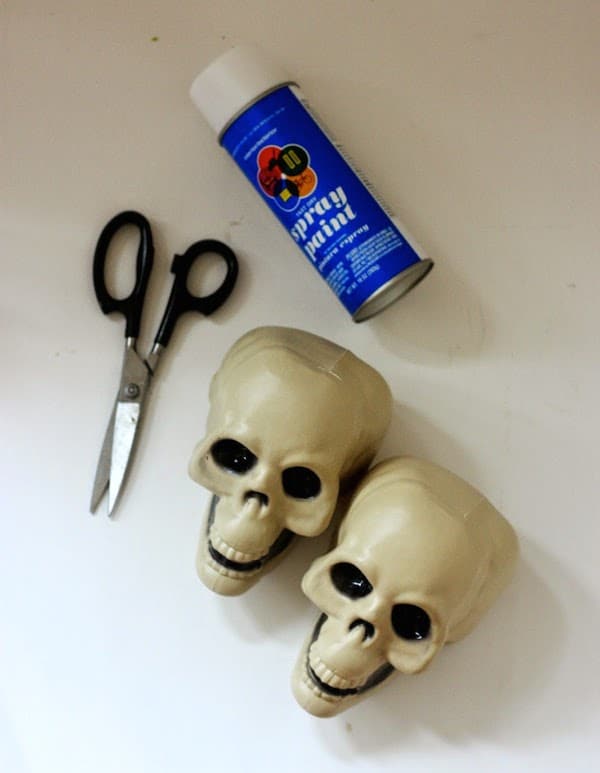
What you need:
- Hollow, plastic, skulls (I found mine at Dollar Tree)
- A good pair of scissors, craft knife, or a razor blade that can cut through thin plastic
- Spray paint
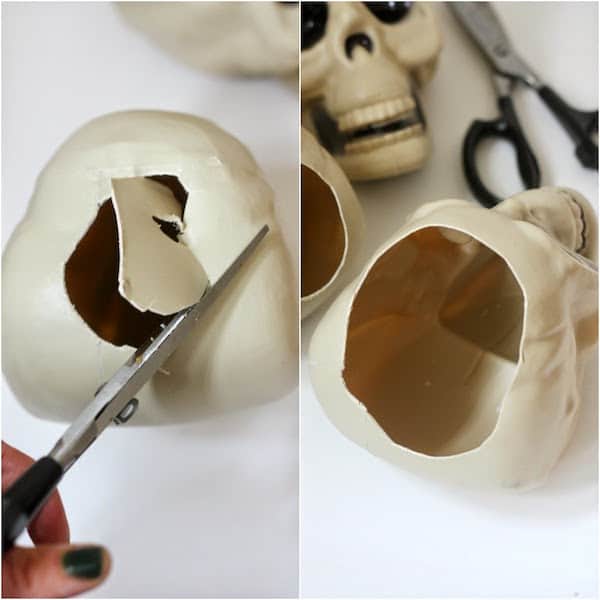
1. First, cut a hole in the skulls you plan to use as vases or holders. You’ll want to cut them before you spray paint them or else you will ruin your paint job trying to hack through that plastic.
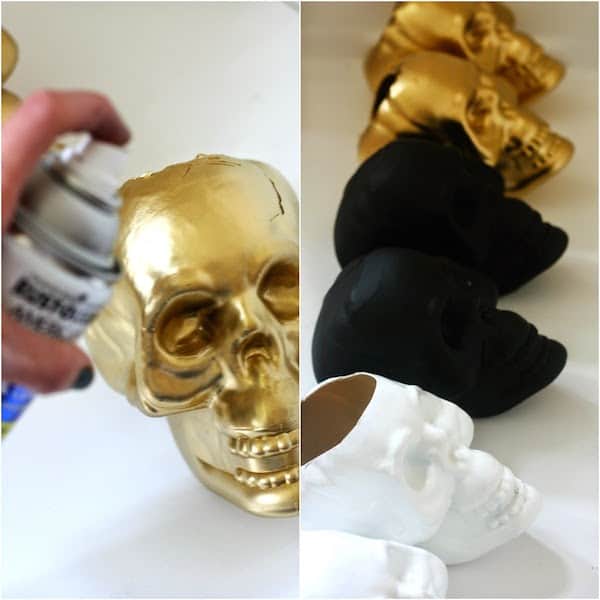
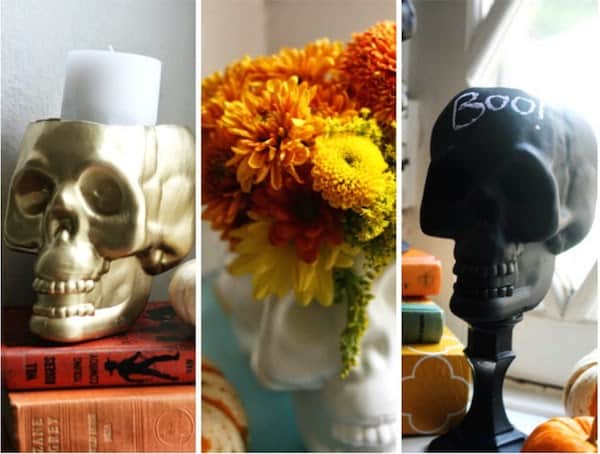
2. Next, paint! I used three kinds of spray paint for my skulls, a glossy white, a gold metallic, and a chalkboard black. I found all of my spray paints at Walmart.
TIP: if you can’t find chalkboard spray paint, you can use brush on chalkboard paint. You likely won’t need to prep, but if you find that you do, use a different color and then you can brush the black chalkboard over the top.
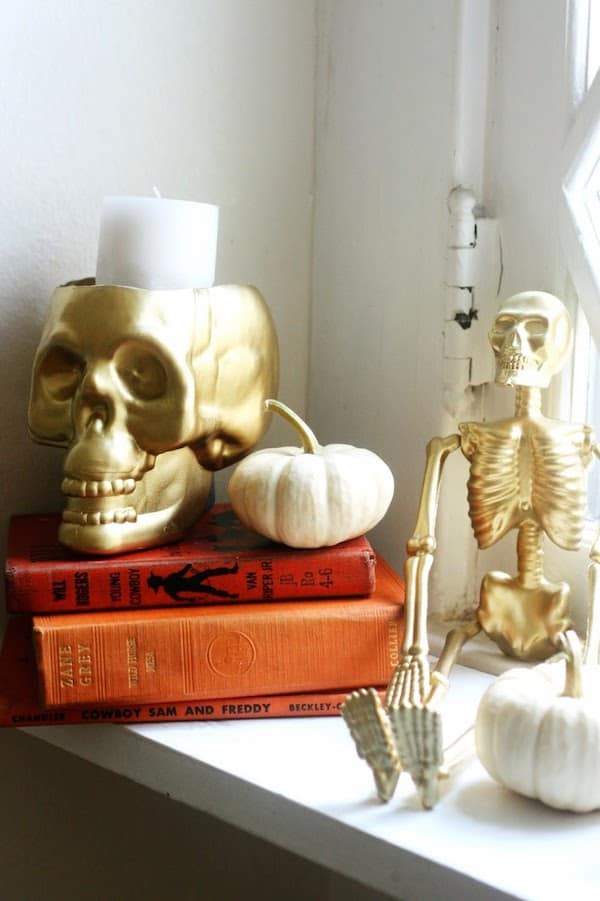
3. Once your skulls are painted there is so much you can do with them! Fill them will candy! Sit them all around your house on pedestals! Or you can do what I did:

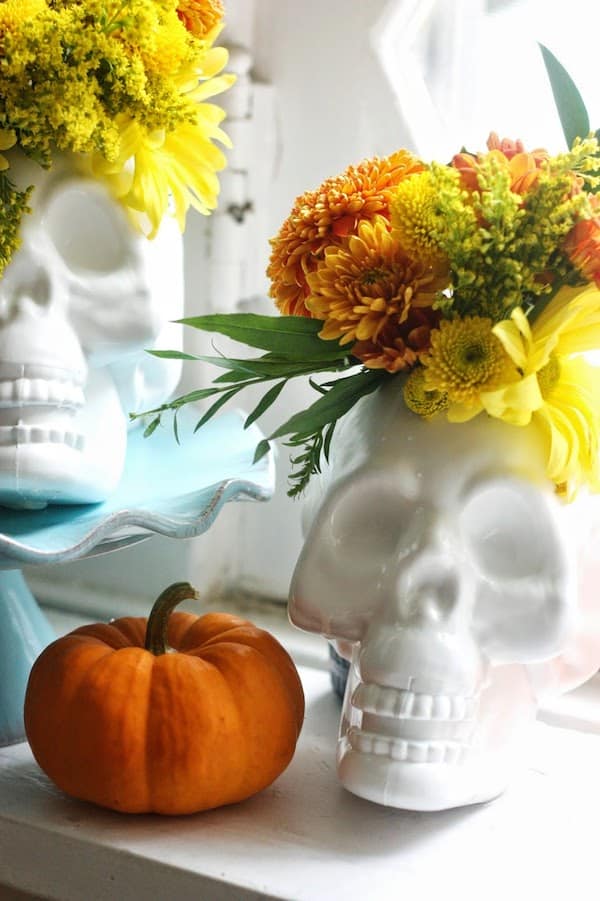
Skull Vases: First, I filled a couple with fresh flowers! All I had to do for this was fill in a small hole at the bottom of the skull with a little hot glue so that they could hold water. Then I was able to easily fill them with water and put in the flowers.

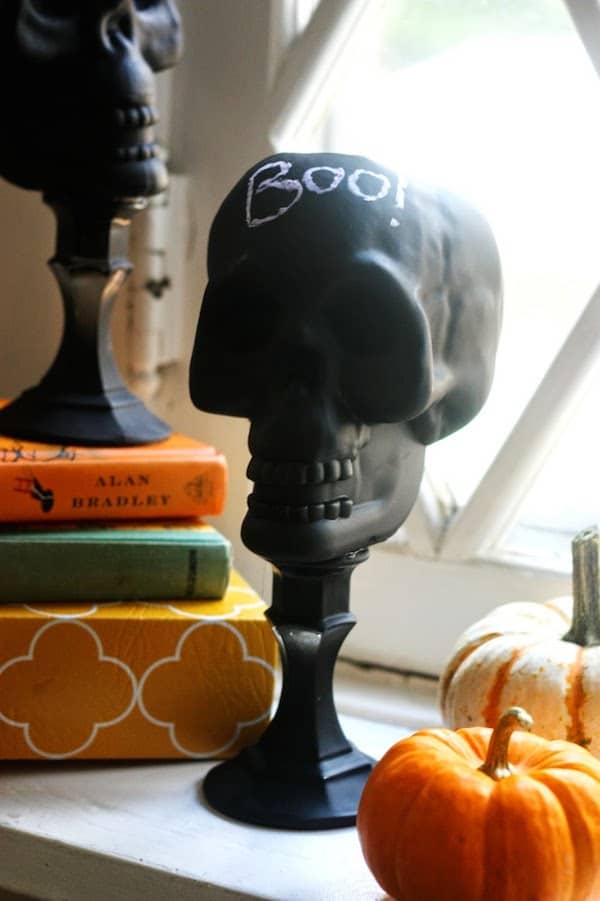
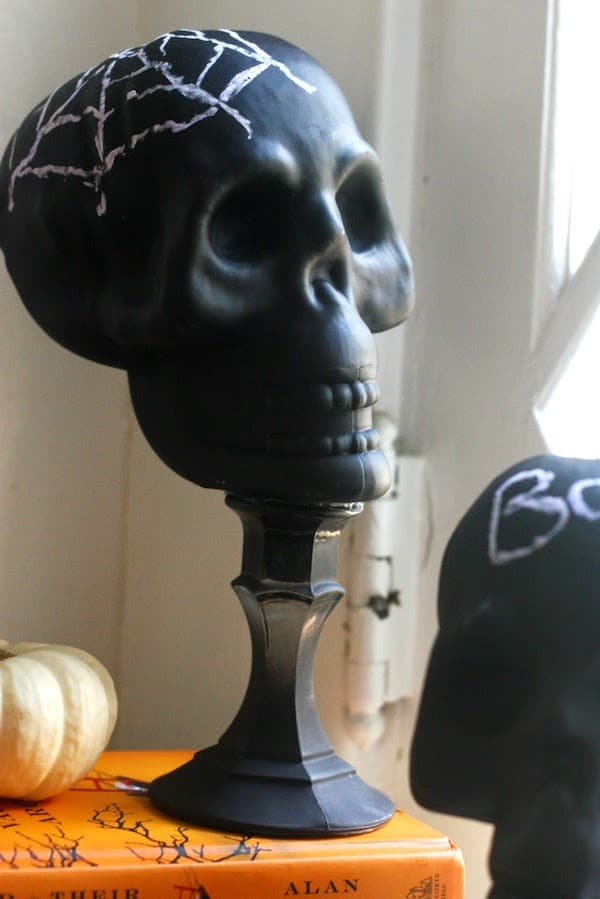
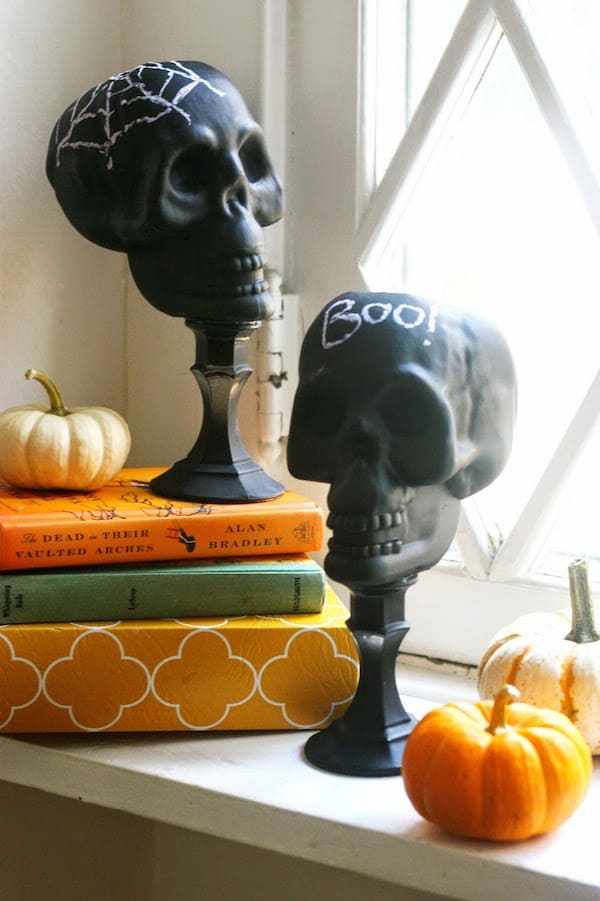
Chalkboard Skulls: With these skulls I chose not to cut holes in the top and just display them as is. I also picked up two glass candle sticks from the dollar store, spray painted them the same color, and glue gunned them together! So fun to draw on and spooky!
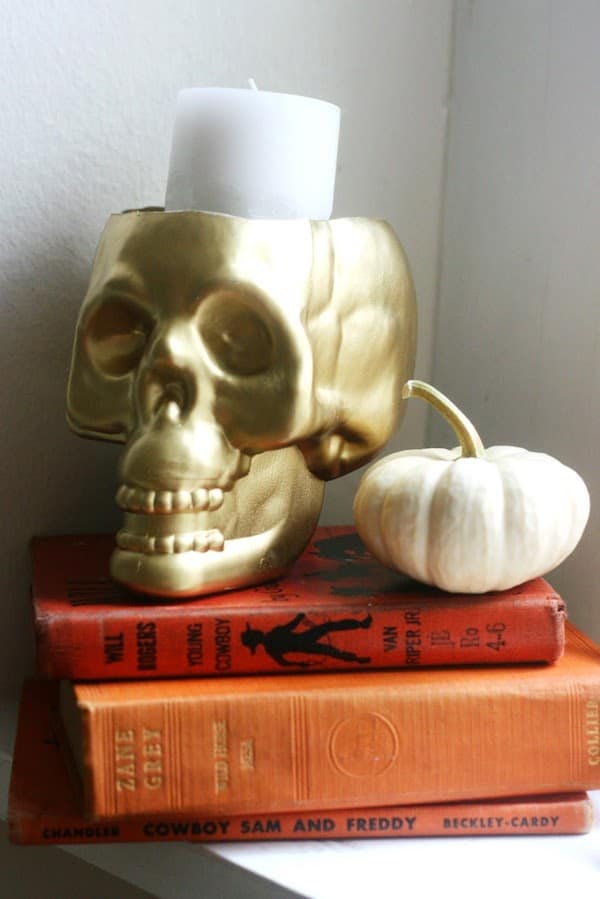
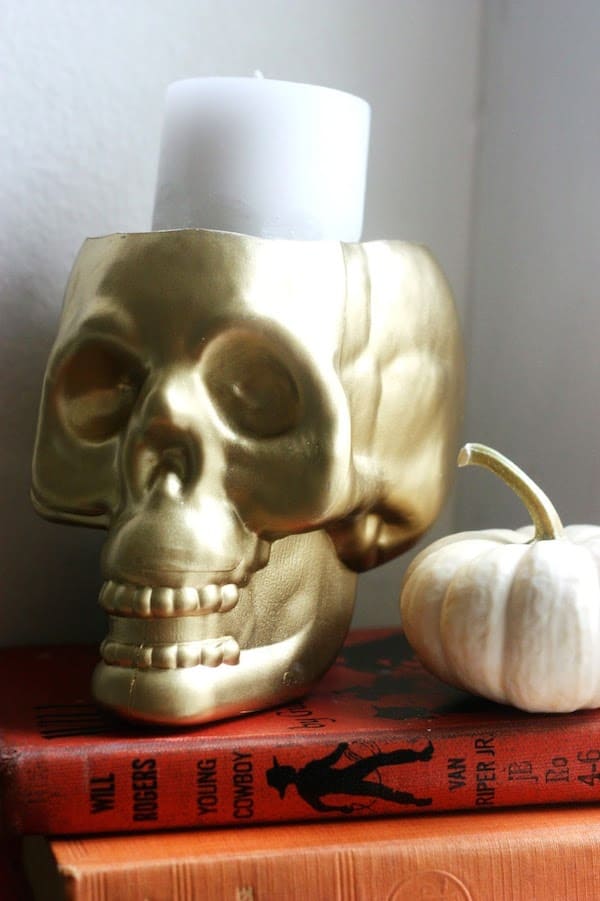
Gold Candle Holder: Lastly, I cut a hole big enough for a large candle that I also picked up from the dollar store! This one could not have been easier. Cut hole, put in candle. BAM. Halloween glam.
Happy (affordable) Halloween decorating! Let me know how you makeover Dollar Tree skulls in the comments. And be sure to come and visit my sister and me as we blog about style, food, and the things we love over at The Pretty Life Girls.
If you like these projects with Dollar Tree skulls, you might like these other holiday crafts:
Borax Crystal Skull • Cross Stitch Canvases • DIY Halloween Doormat • Felt Ball Garland • Home Sweet Haunted Home • Lighted Pumpkin Topiary • Jack O’ Lantern Jars • Mesh Halloween Wreath • Pumpkin Terrarium • Shrunken Apple Heads • Skull Bean Art • Skull Earrings • Spooky Apothecary Jars • Spooky Skull Decor • Wine Cork Skeleton • Witch Hat Wreath • Witch Mask